Learn practical audio-editing techniques to polish recorded guitar parts: use crossfades to smooth joins and reduce noise, copy accurately with Relative Grid, correct rhythm with audio quantization, and fine-tune timing with the Bend tool. These techniques also work for vocals and form a useful foundation for music production.
Editing techniques for recorded guitar
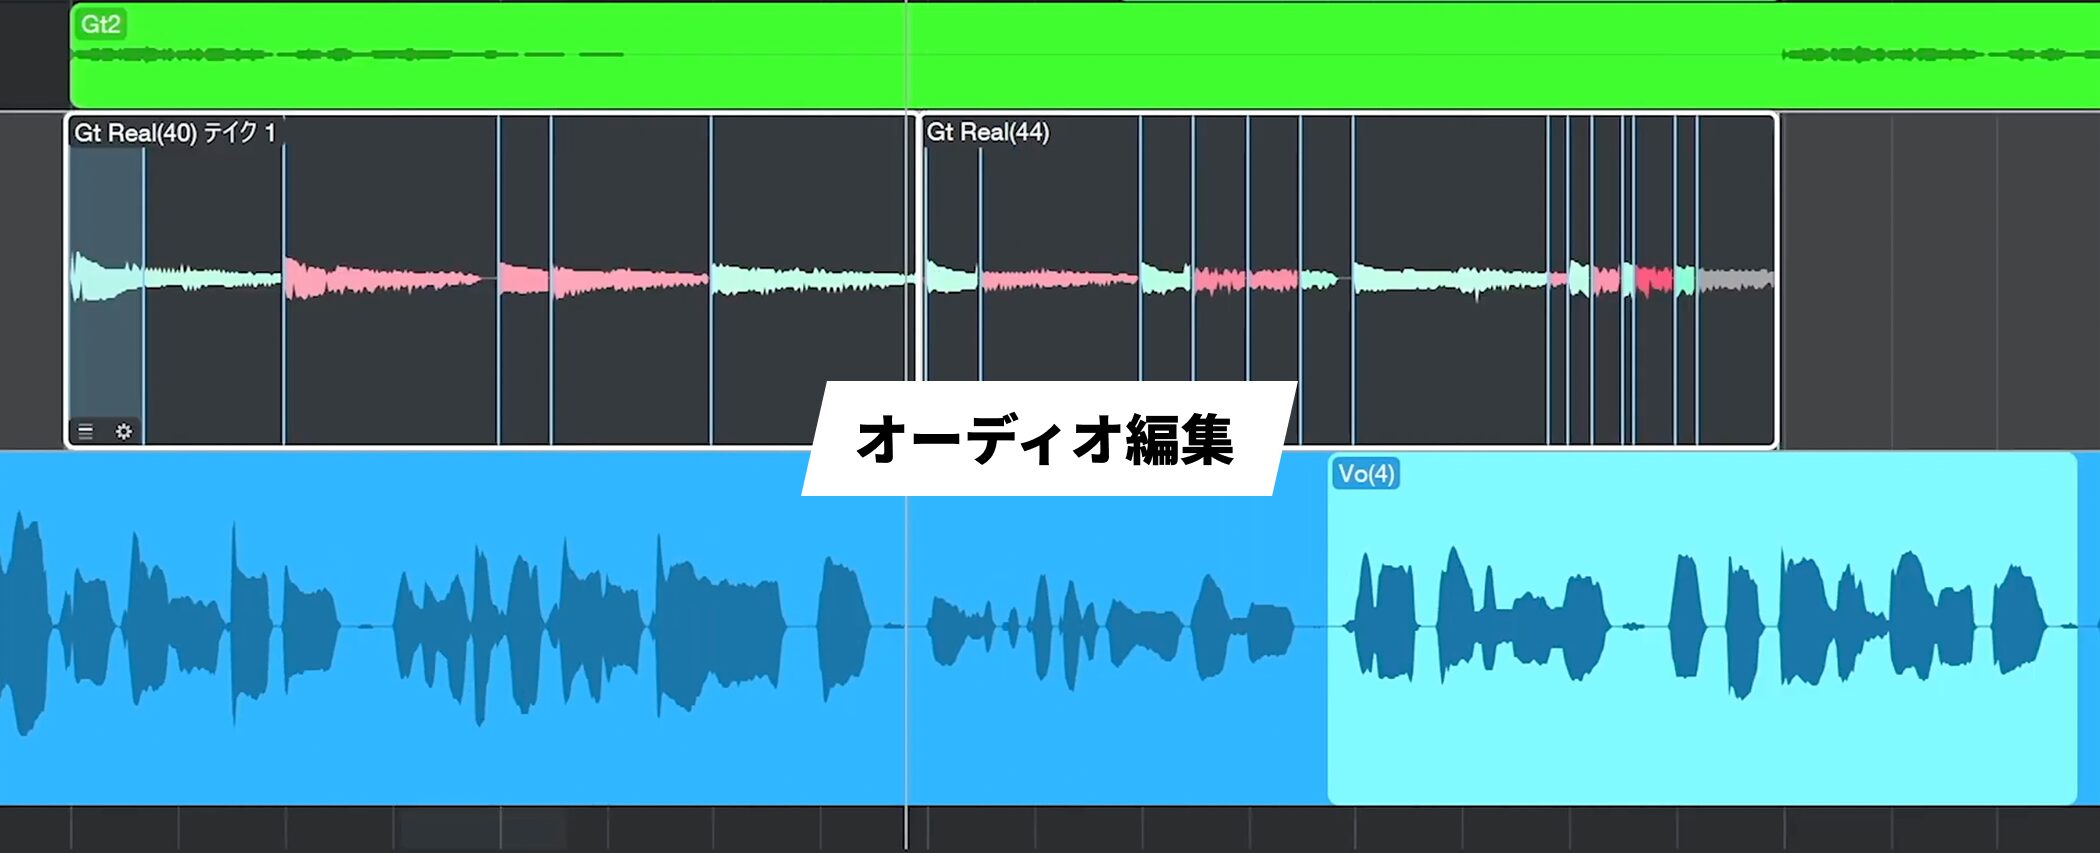
Now we will edit the recorded guitar material.
This guide covers the basics, from smoothing joins between takes to correcting rhythm with audio quantization.
Smooth the joins between takes
First, edit the takes so they join smoothly.
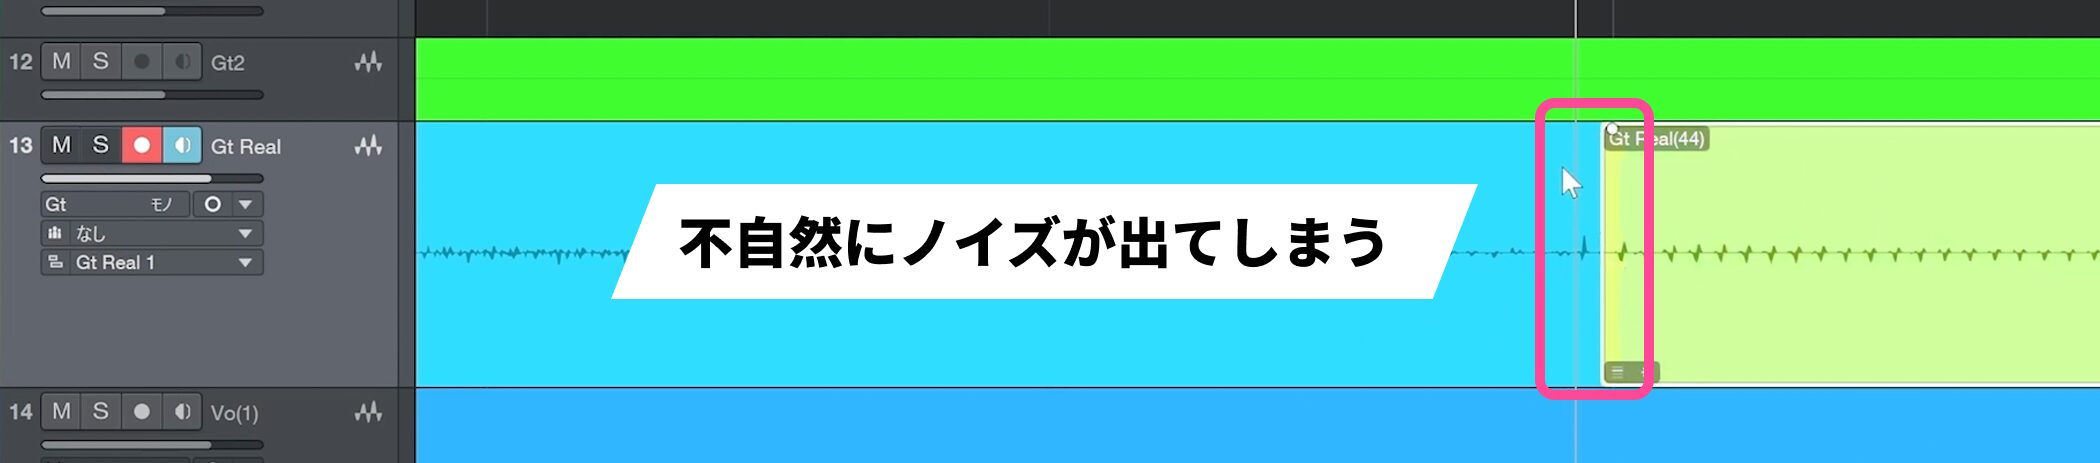
In the current edit, they are cut abruptly at the bar line, making the join sound unnatural and causing noise.
Extend the later event to the left so its attack comes through clearly.
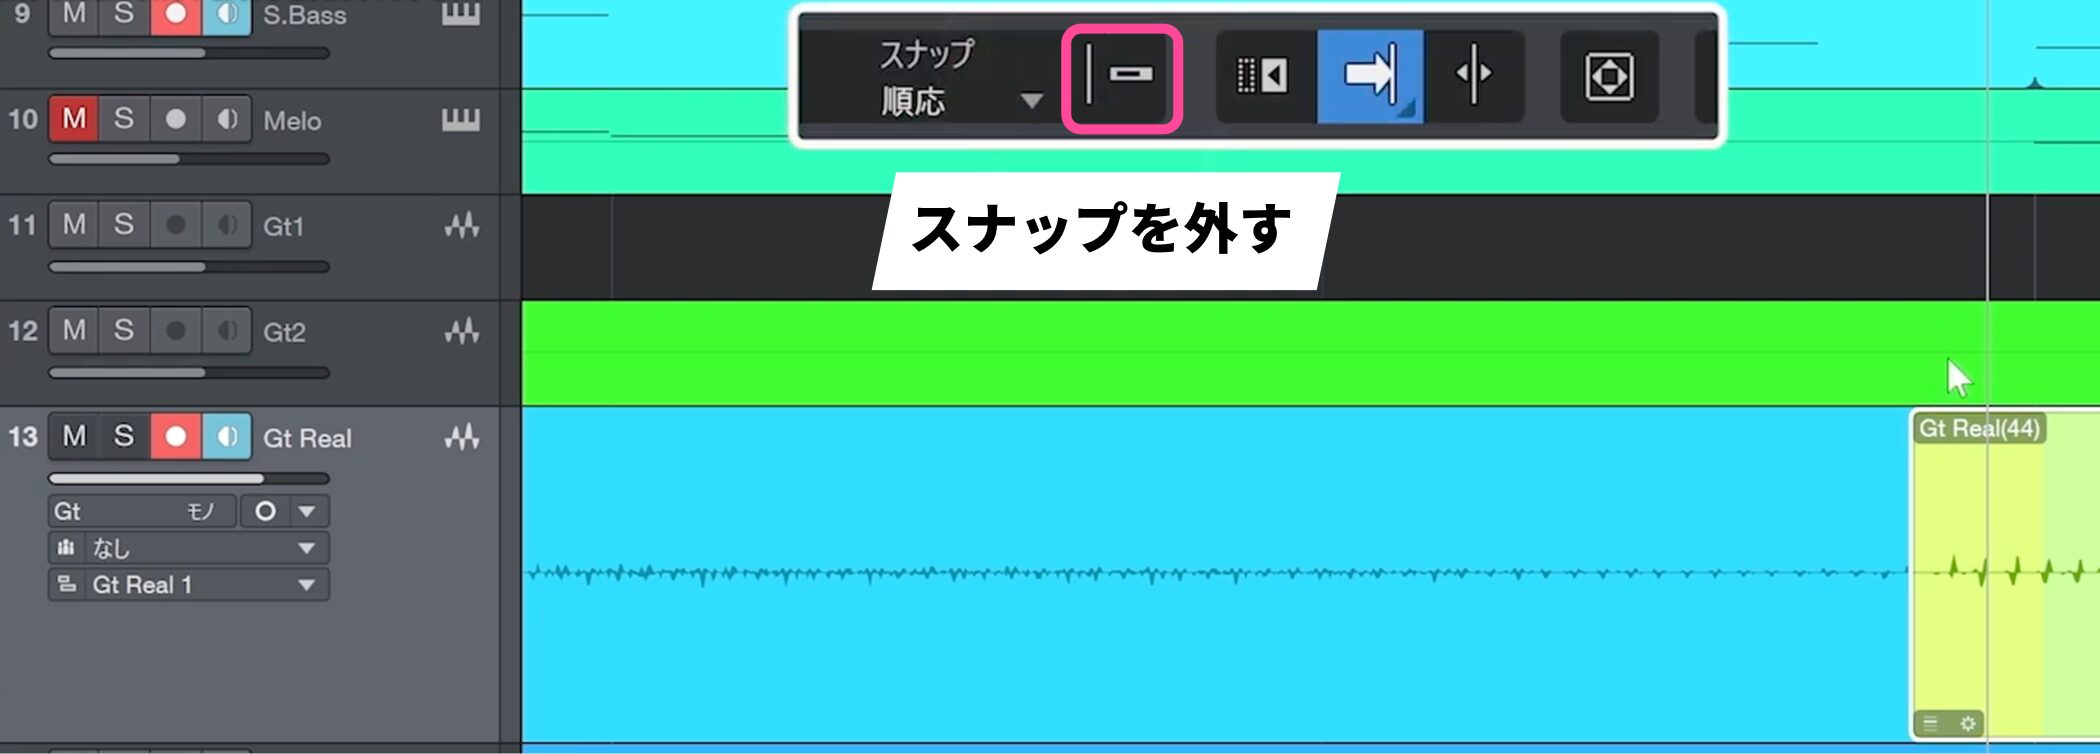
Turn off Snap so you can precisely adjust the section being used.
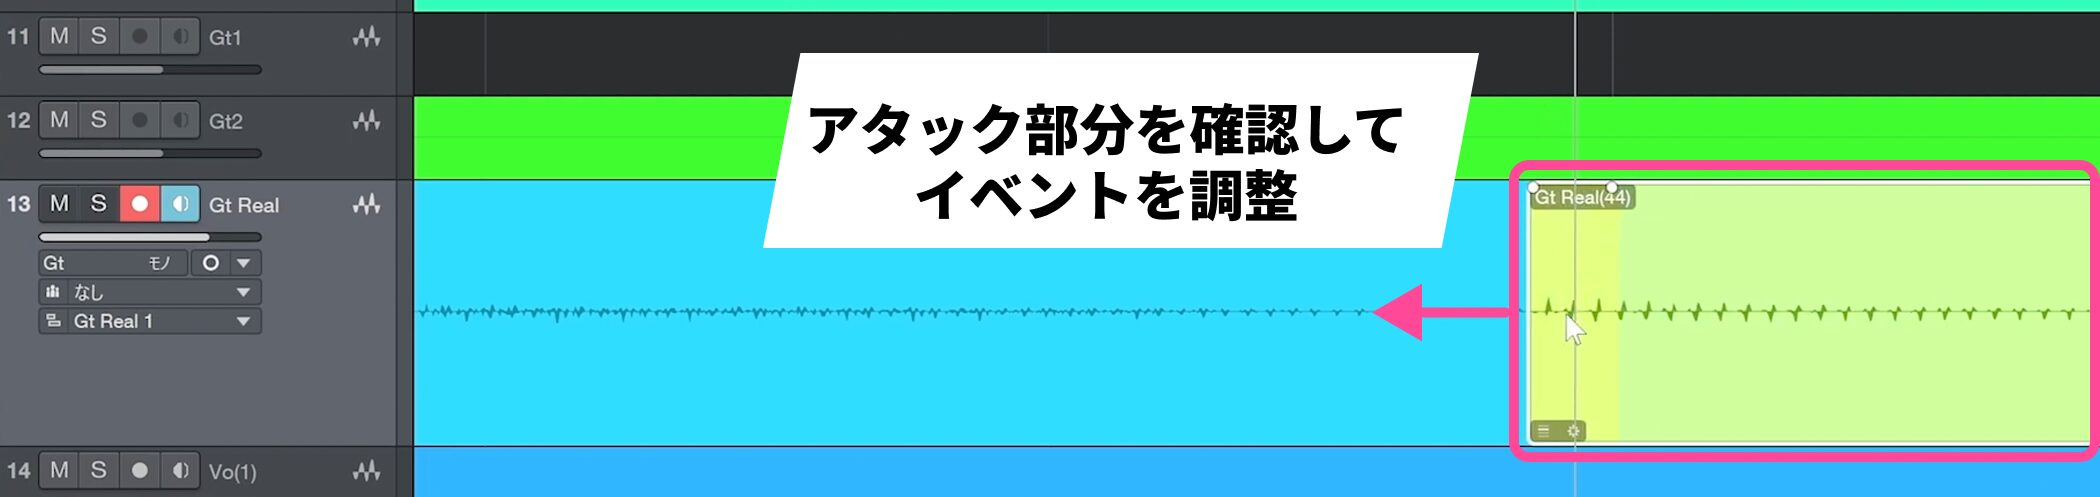
Check the attack and find a suitable position.
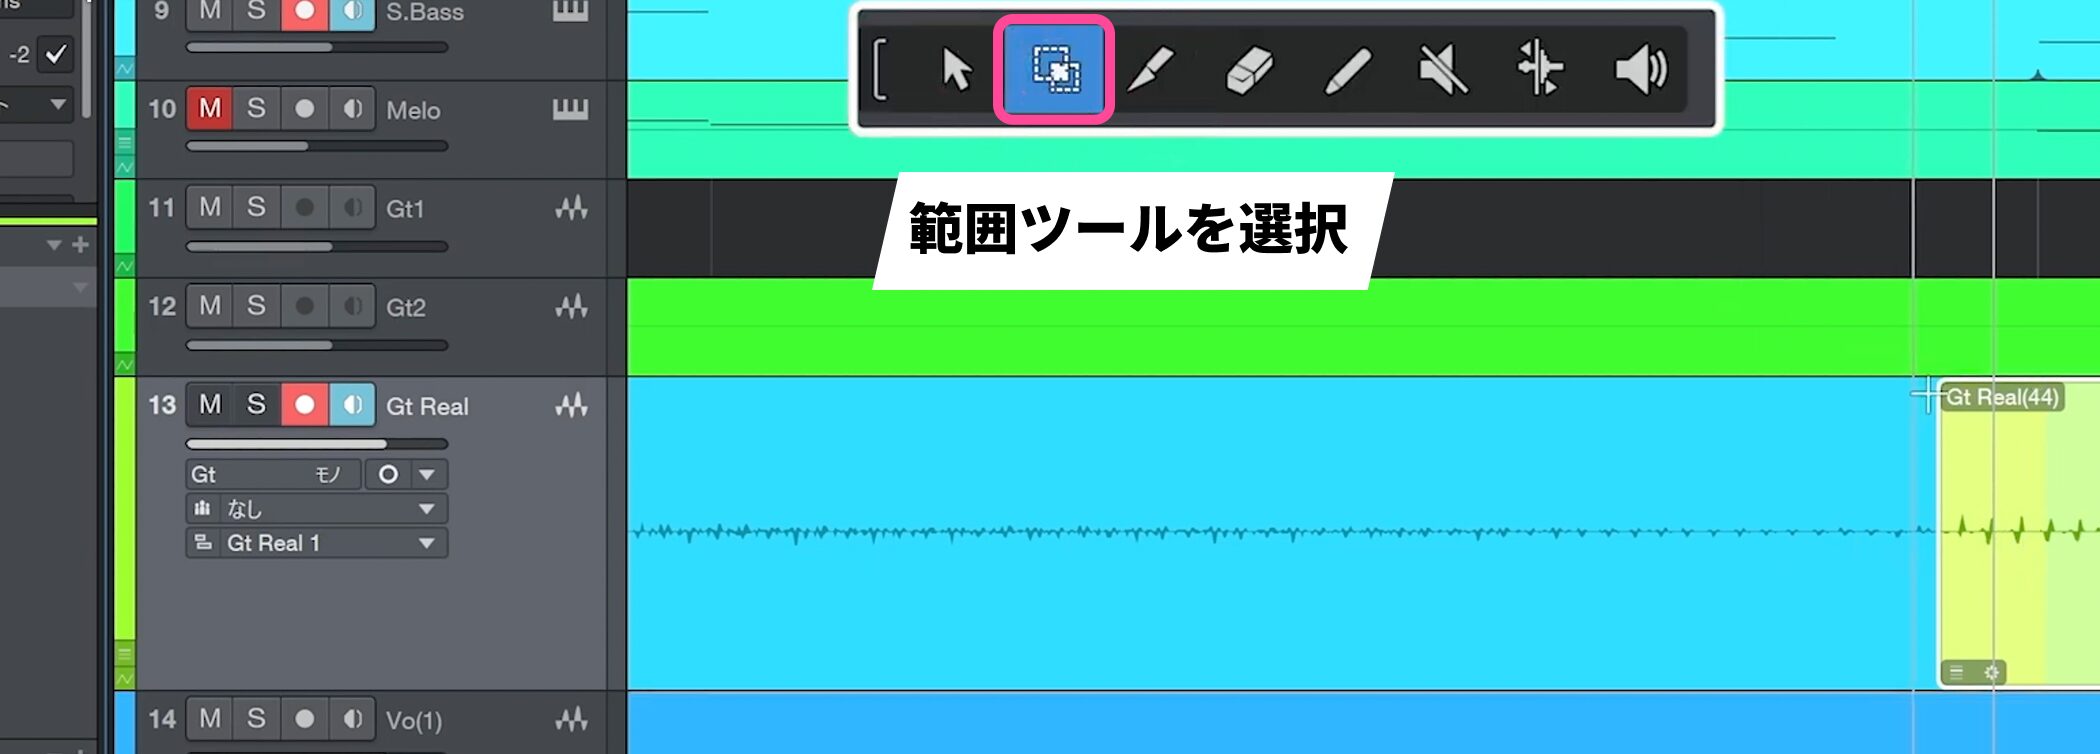
To smooth the join, choose the Range tool.
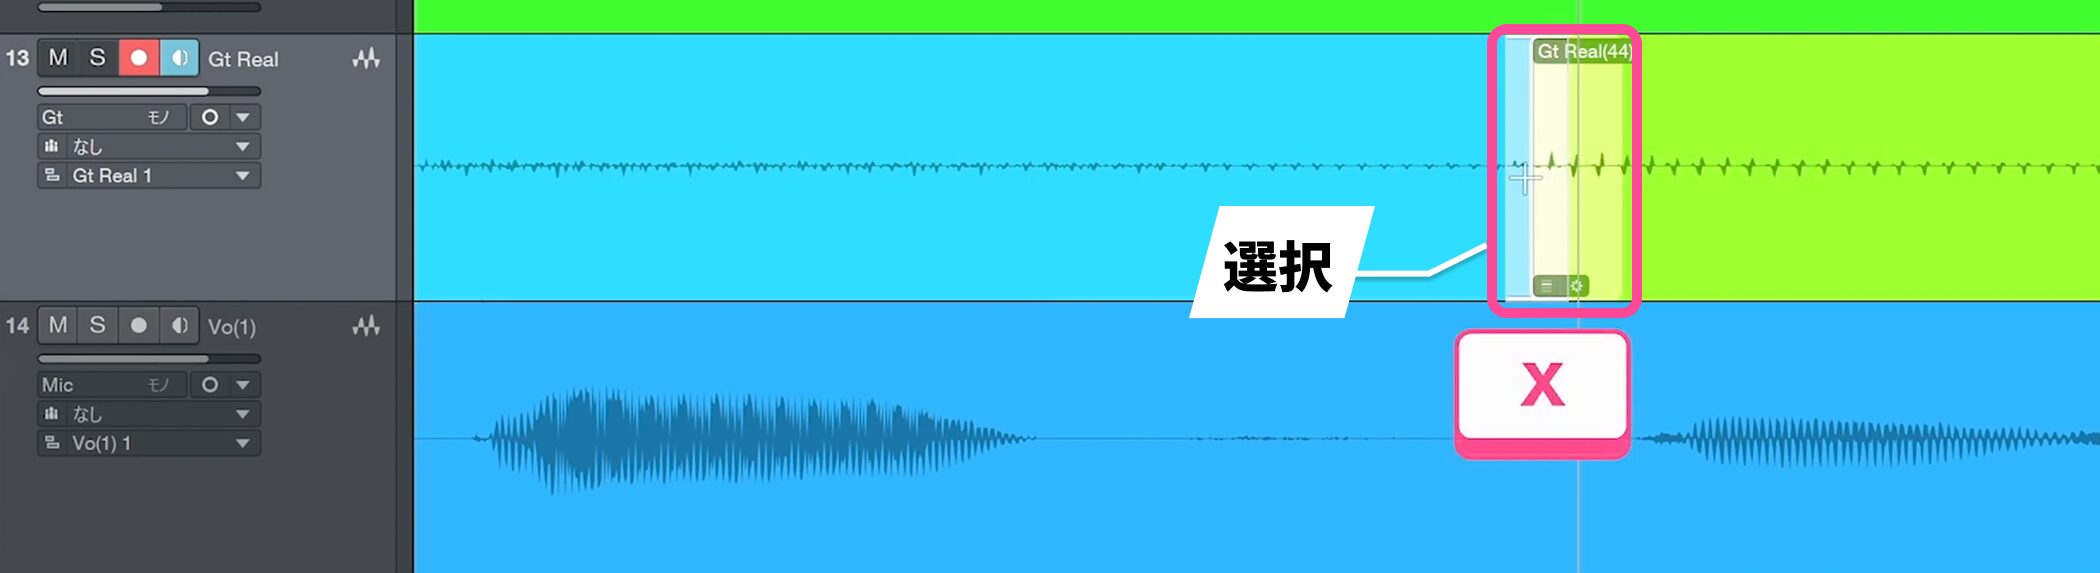
Select across both events and press X.
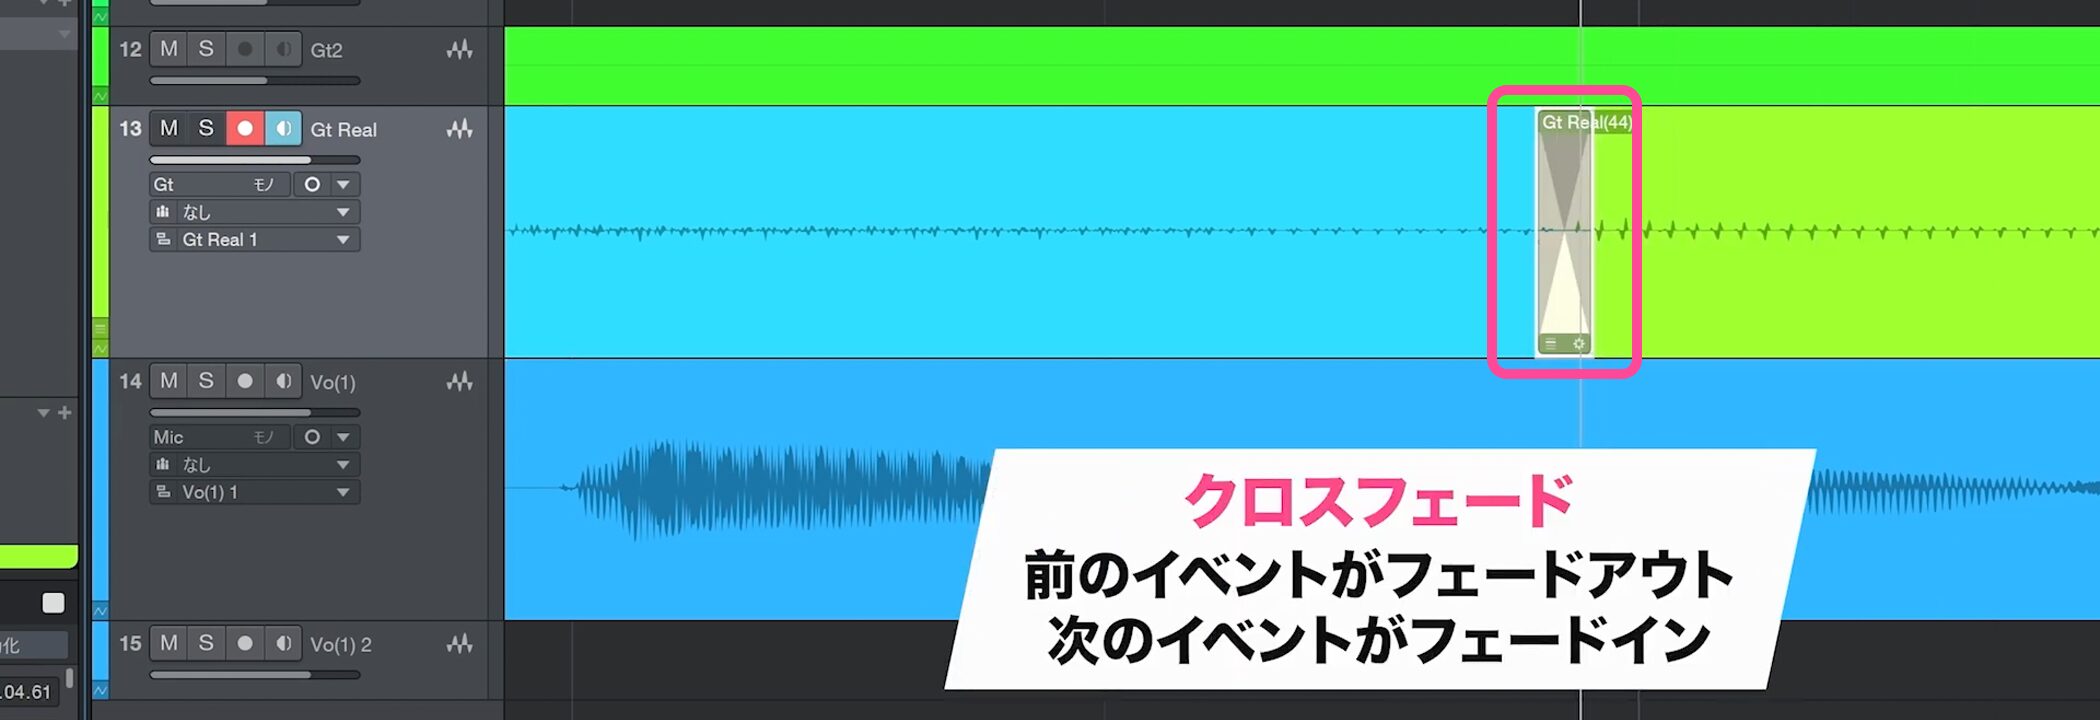
This creates a crossfade: the first event fades out as the next fades in, helping prevent noise.
Always listen to the result afterward.
Adjust the start of the event
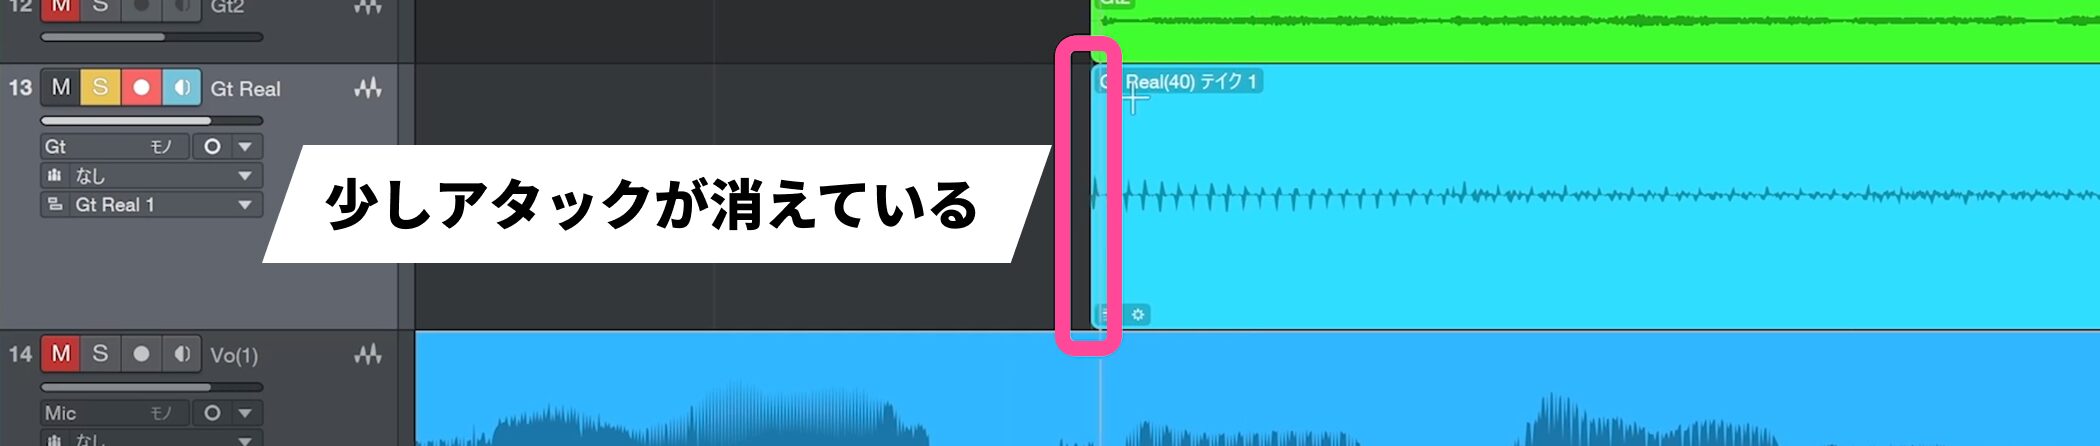
The event was also cut at the bar line, so some of its attack is missing.
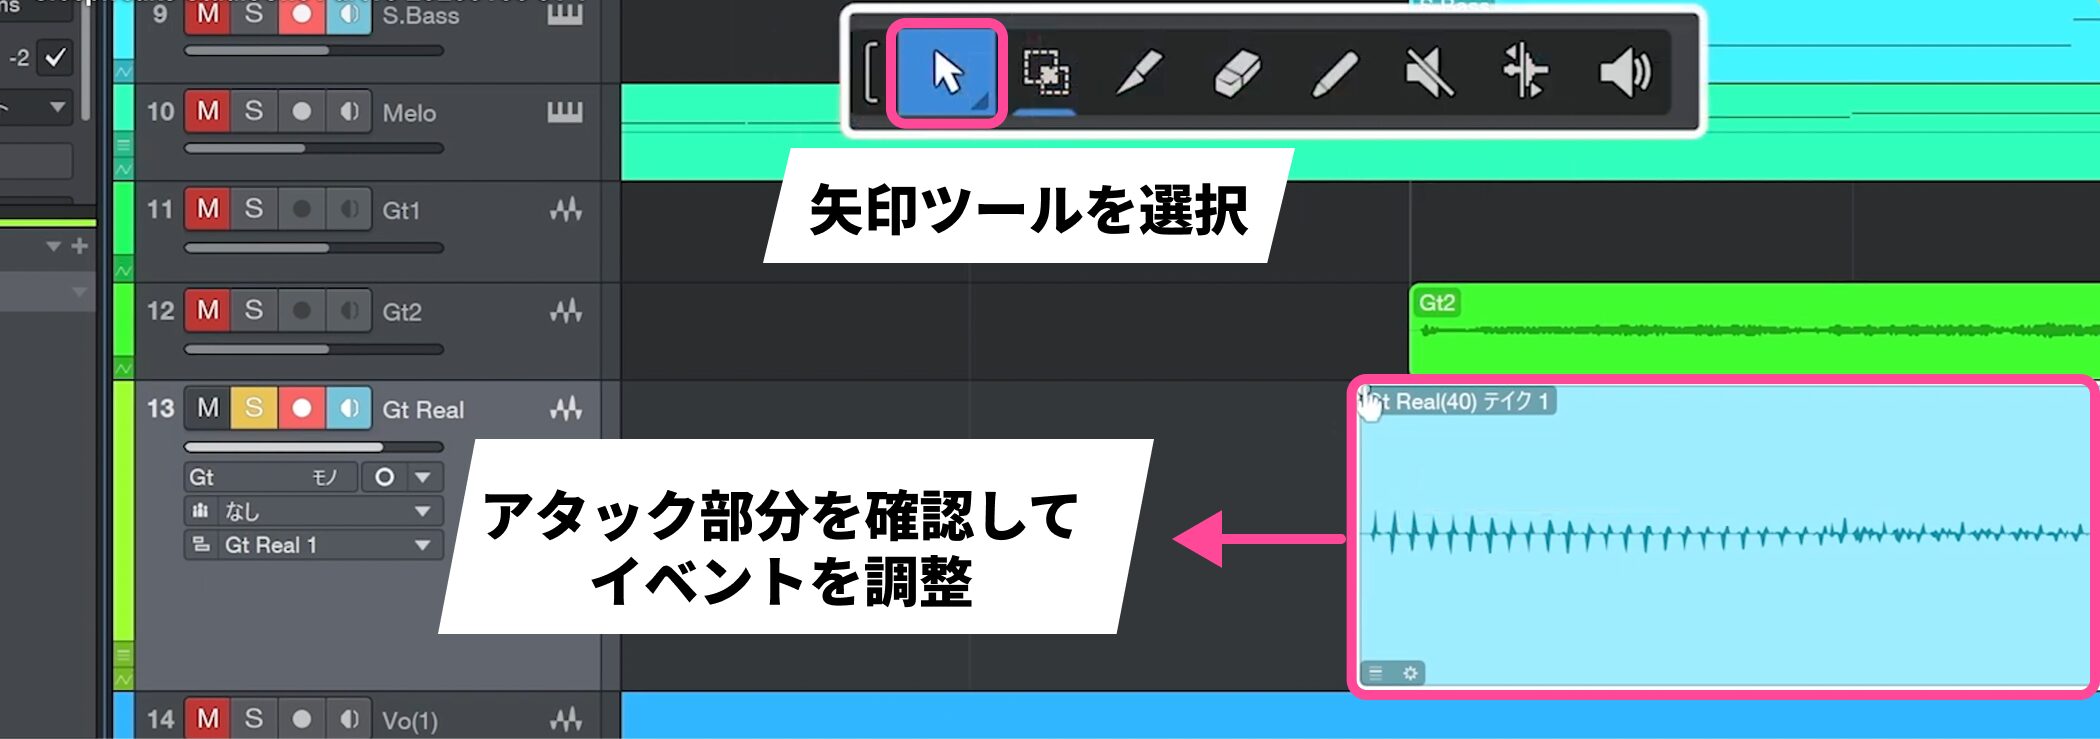
Switch to the Arrow tool and find the point where the attack comes through.
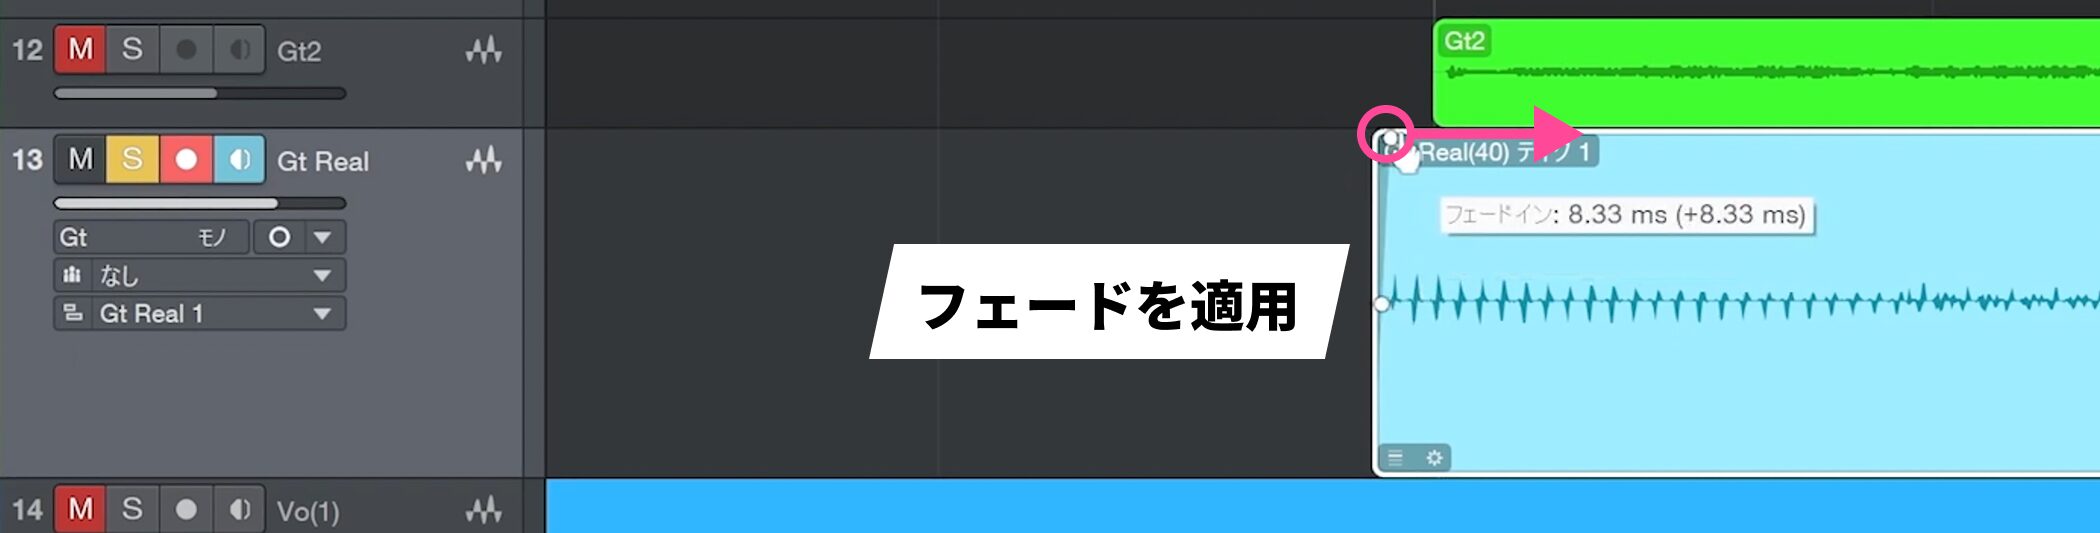
Apply a small fade.
Copy using Relative Grid
Now that the event’s start and the join are adjusted, we can copy it.
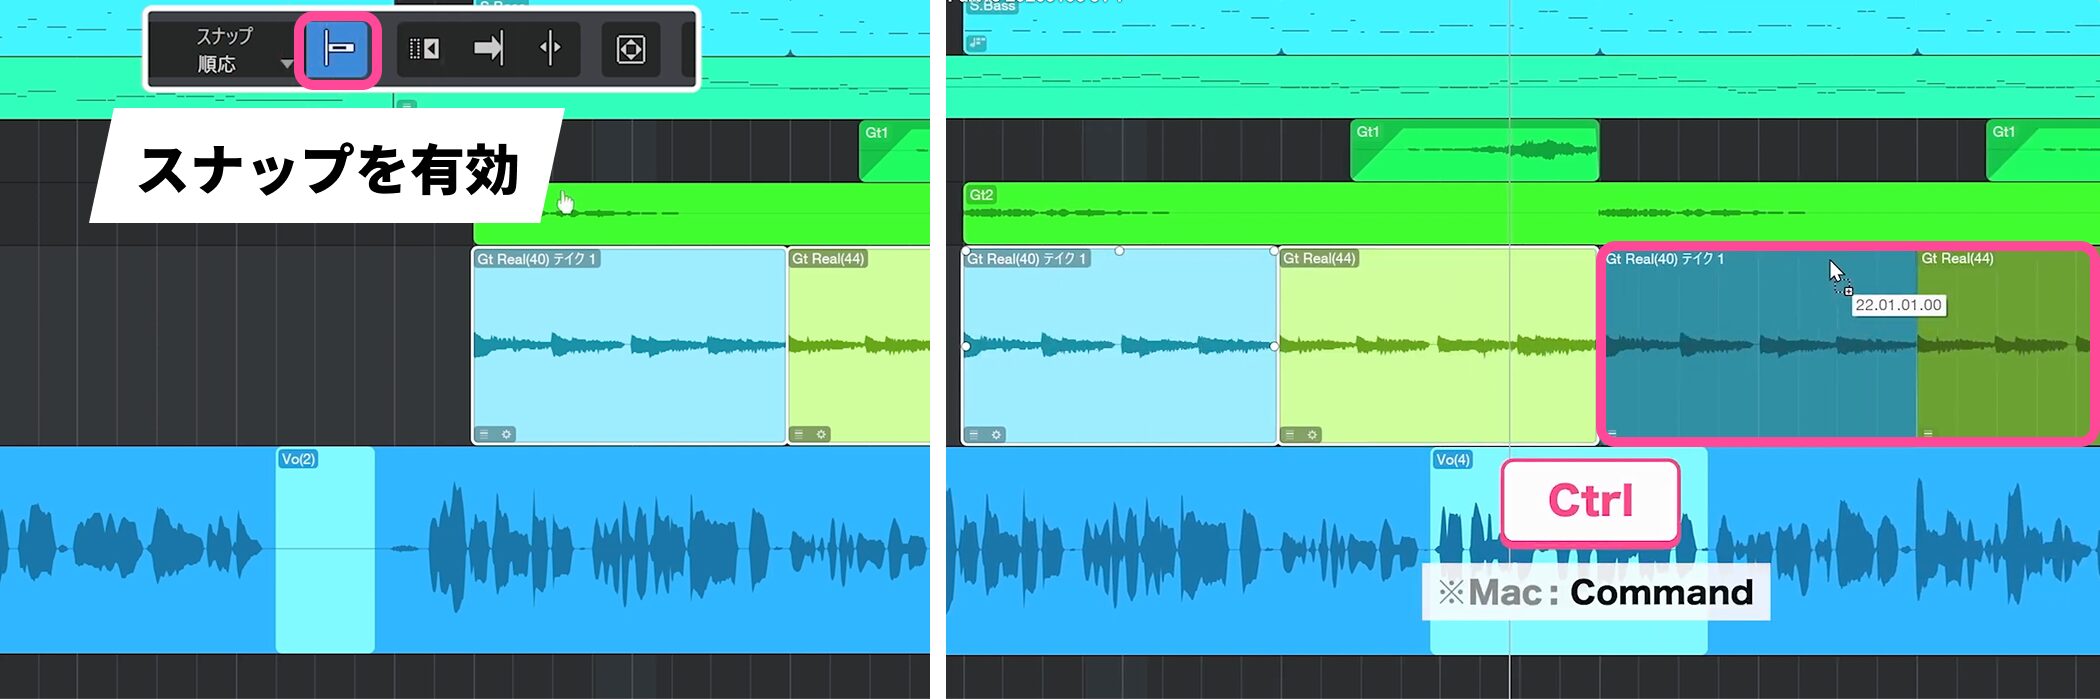
Enable Snap before copying.
As usual, drag while holding Control to copy, but there is a detail to watch.
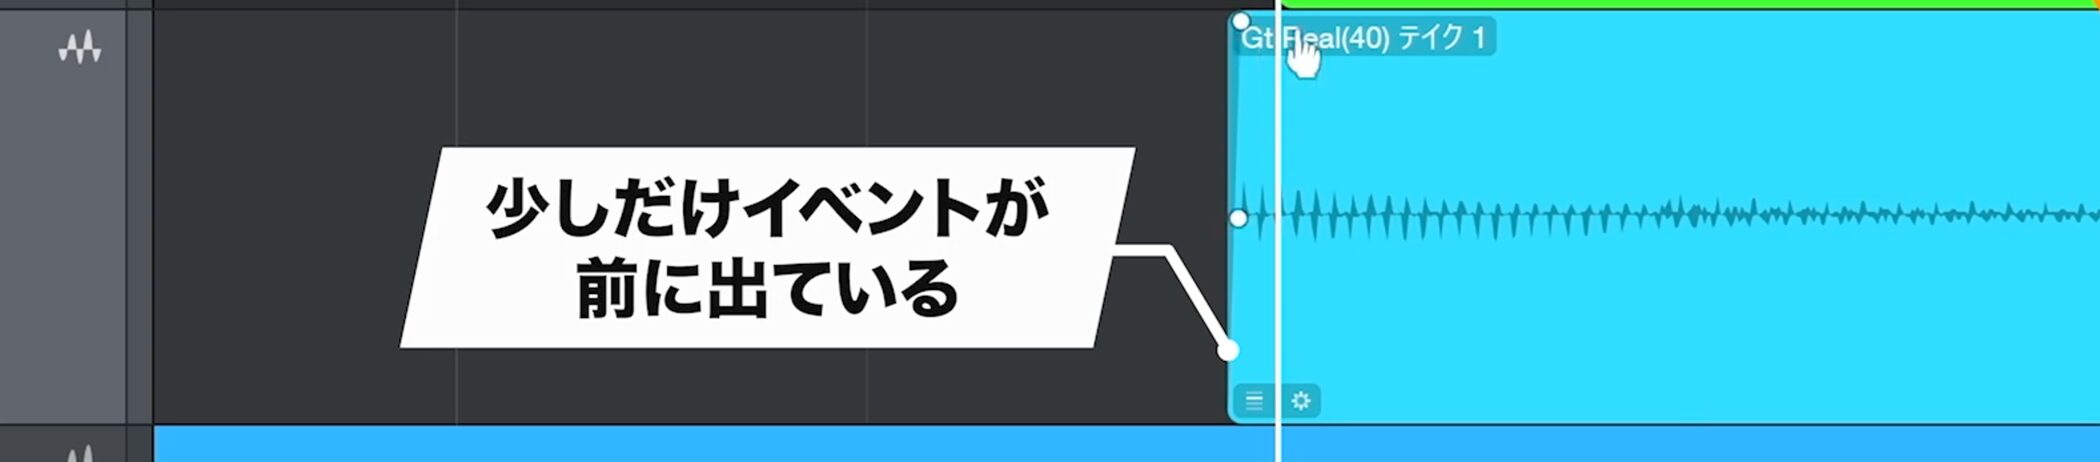
The first event starts slightly before the bar line to preserve the attack; copying in the usual way places the copy exactly on the bar line.
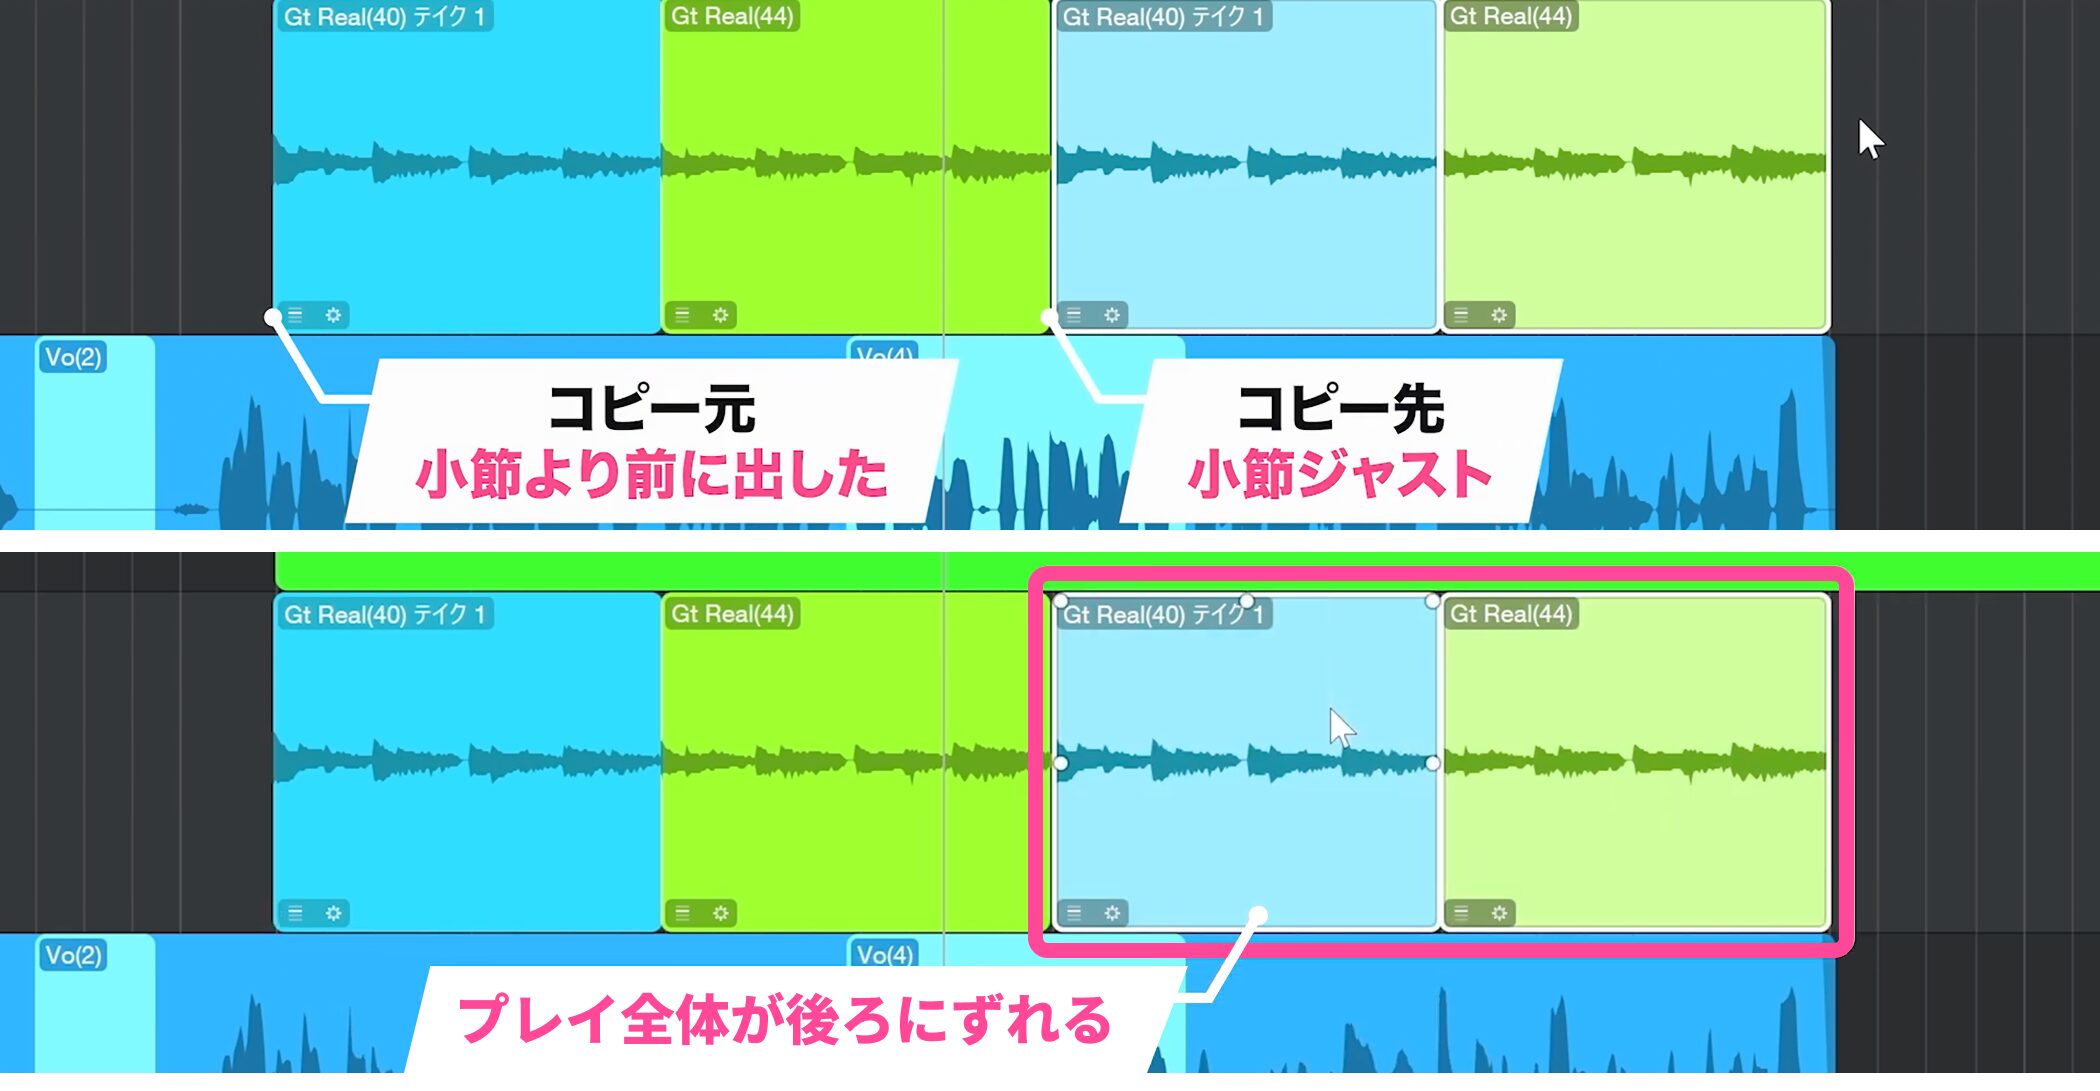
That would shift the whole performance later, so the copy needs to account for the original event’s early offset.
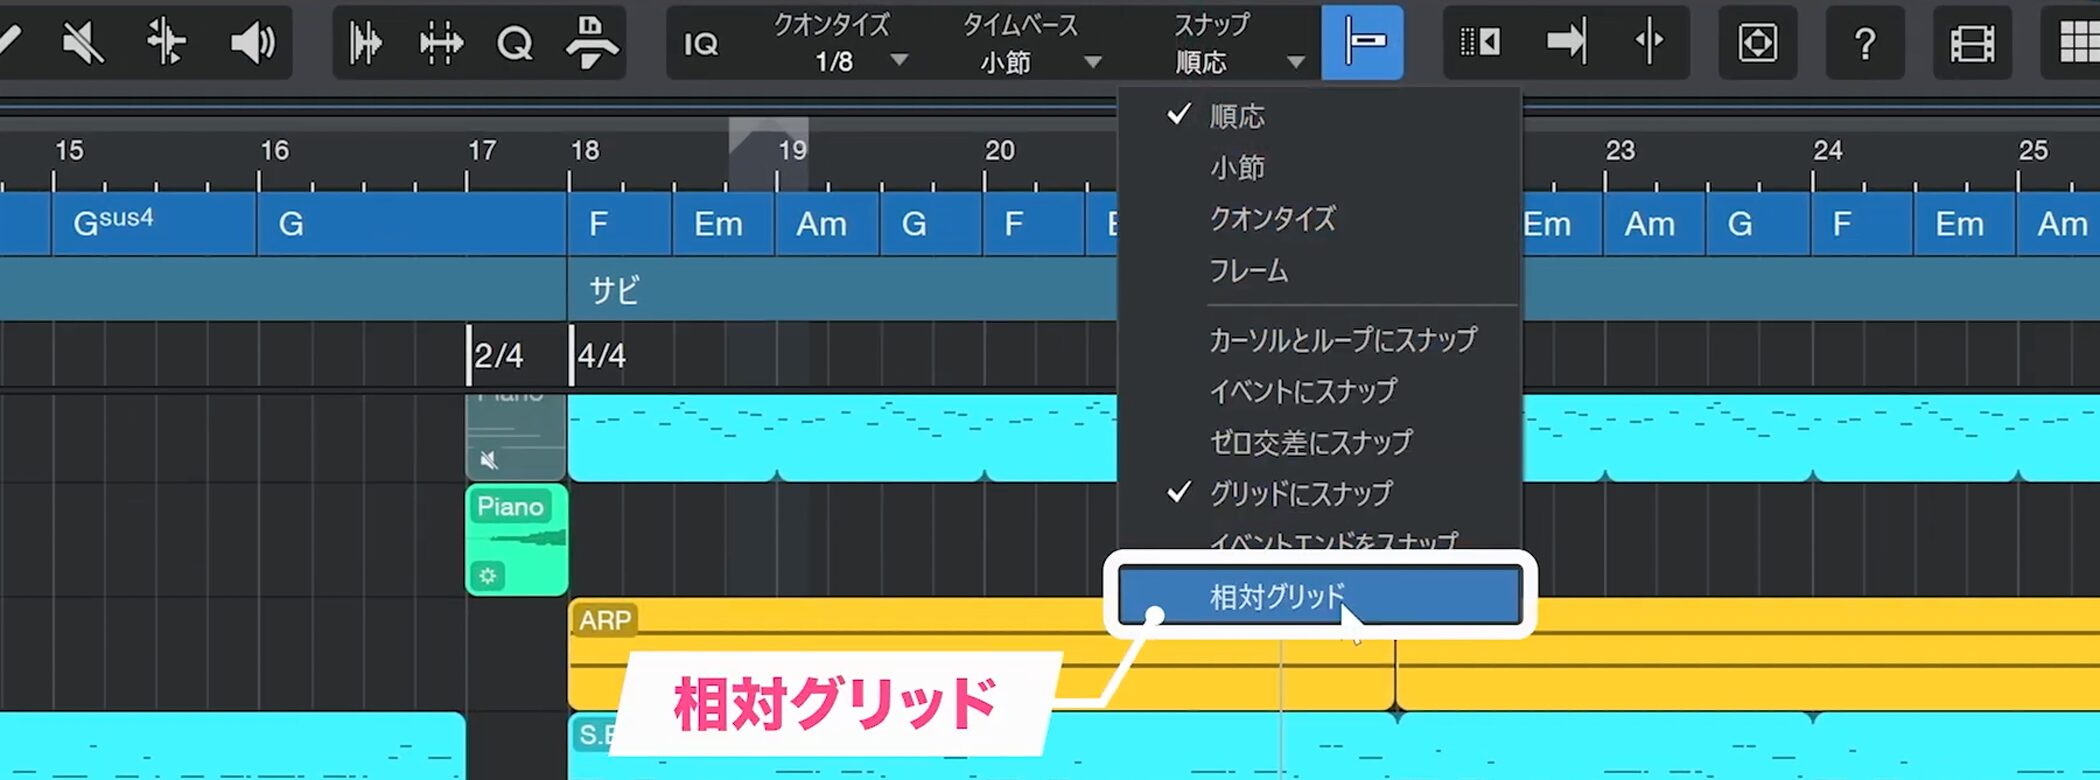
The Snap menu’s Relative Grid makes this easy.
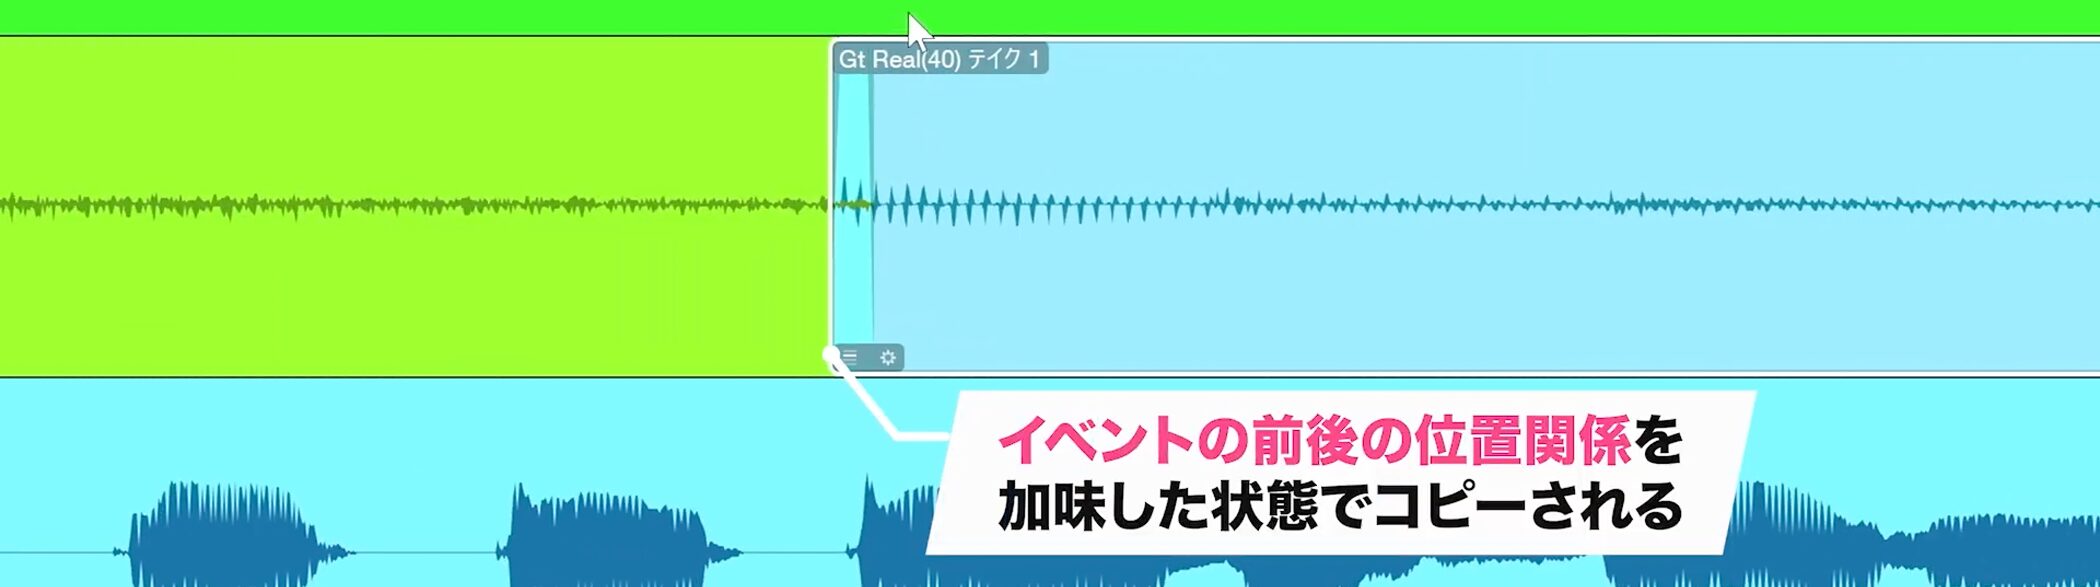
When enabled, it preserves the event’s offset when copying.
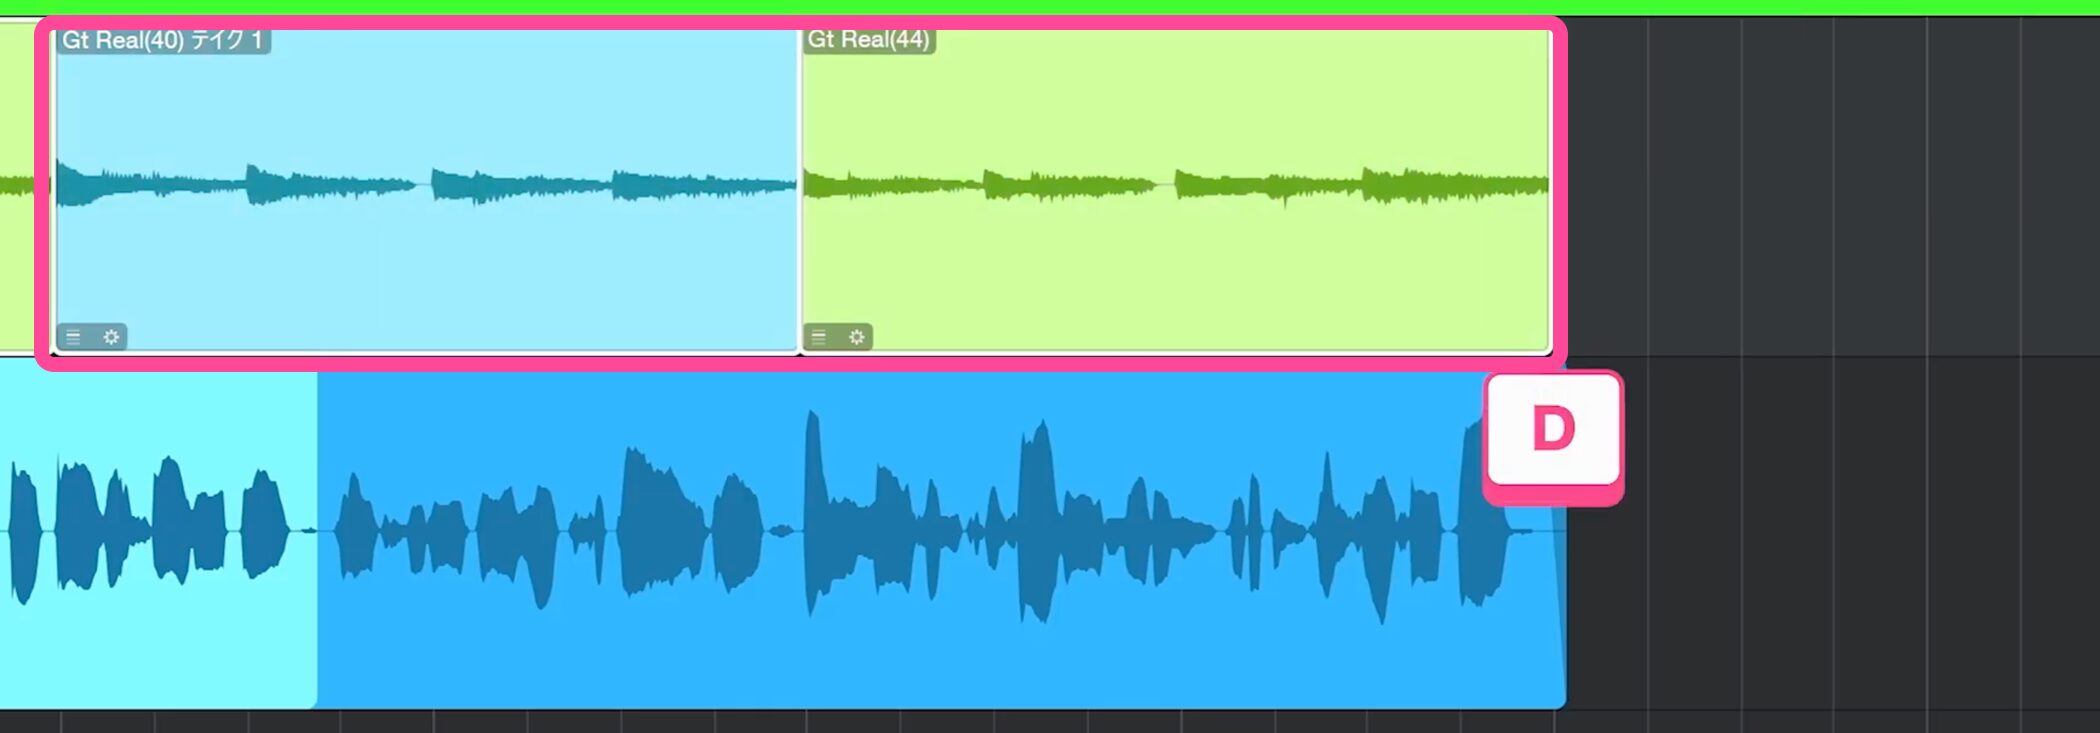
It also works with D-key duplication, so you can duplicate events while preserving their timing.
Apply audio quantization
If the guitar rhythm needs correction, you can quantize audio much like MIDI.
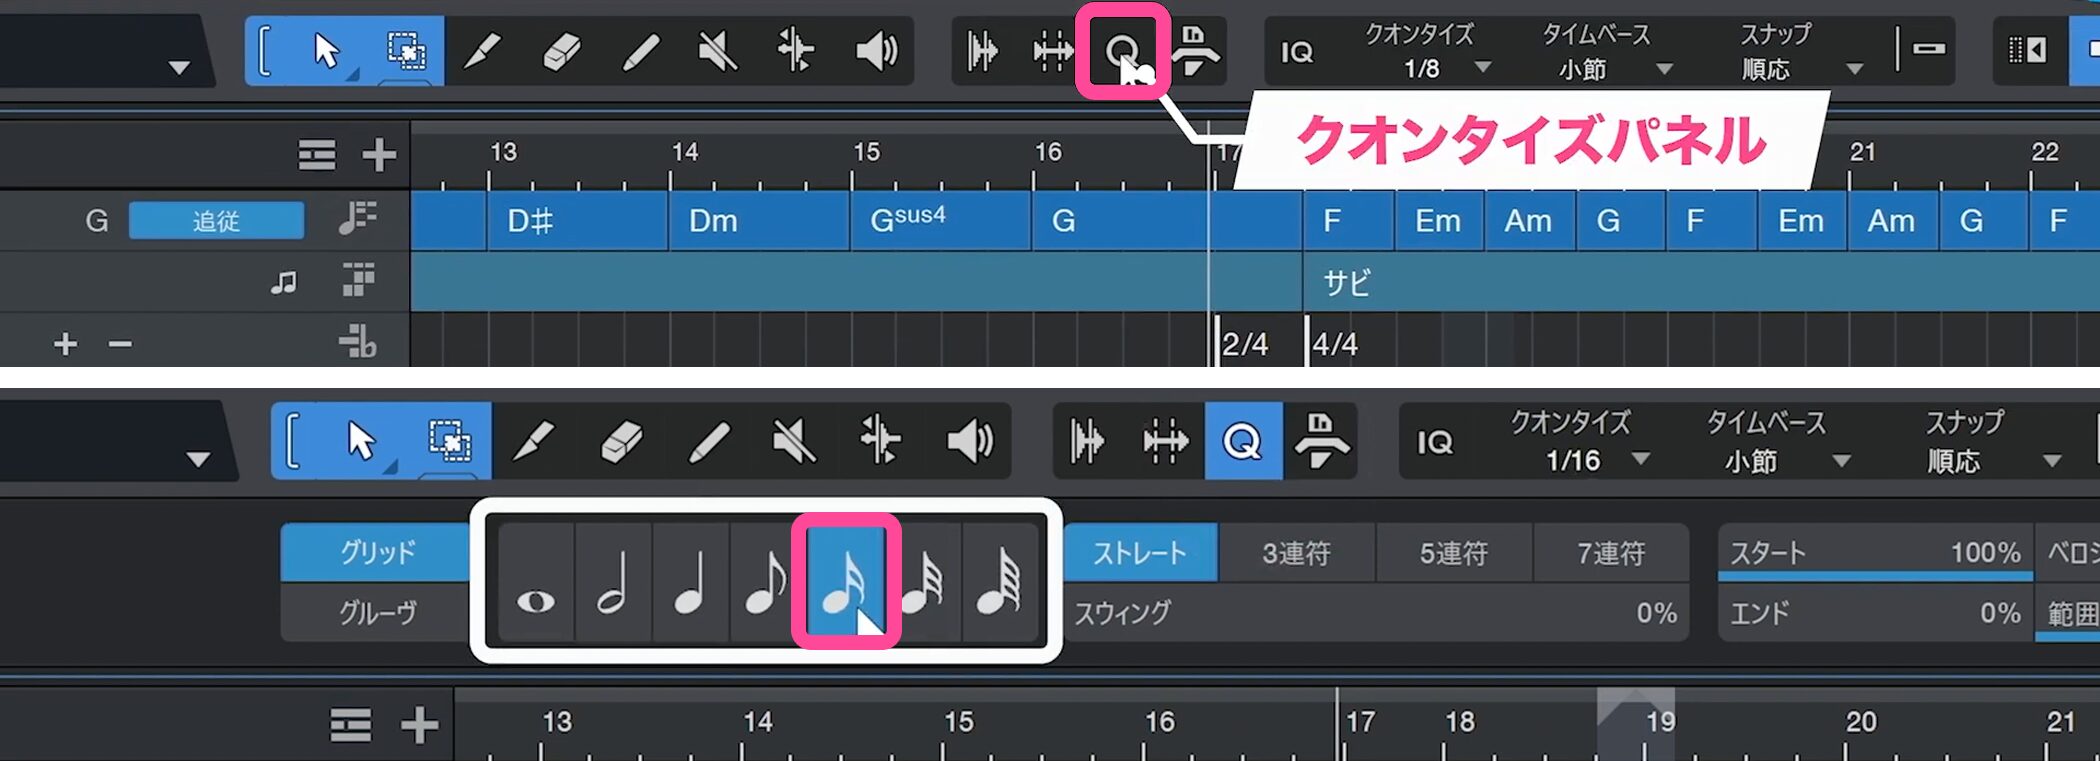
Open the Quantize panel at the top and choose the note division to quantize to.
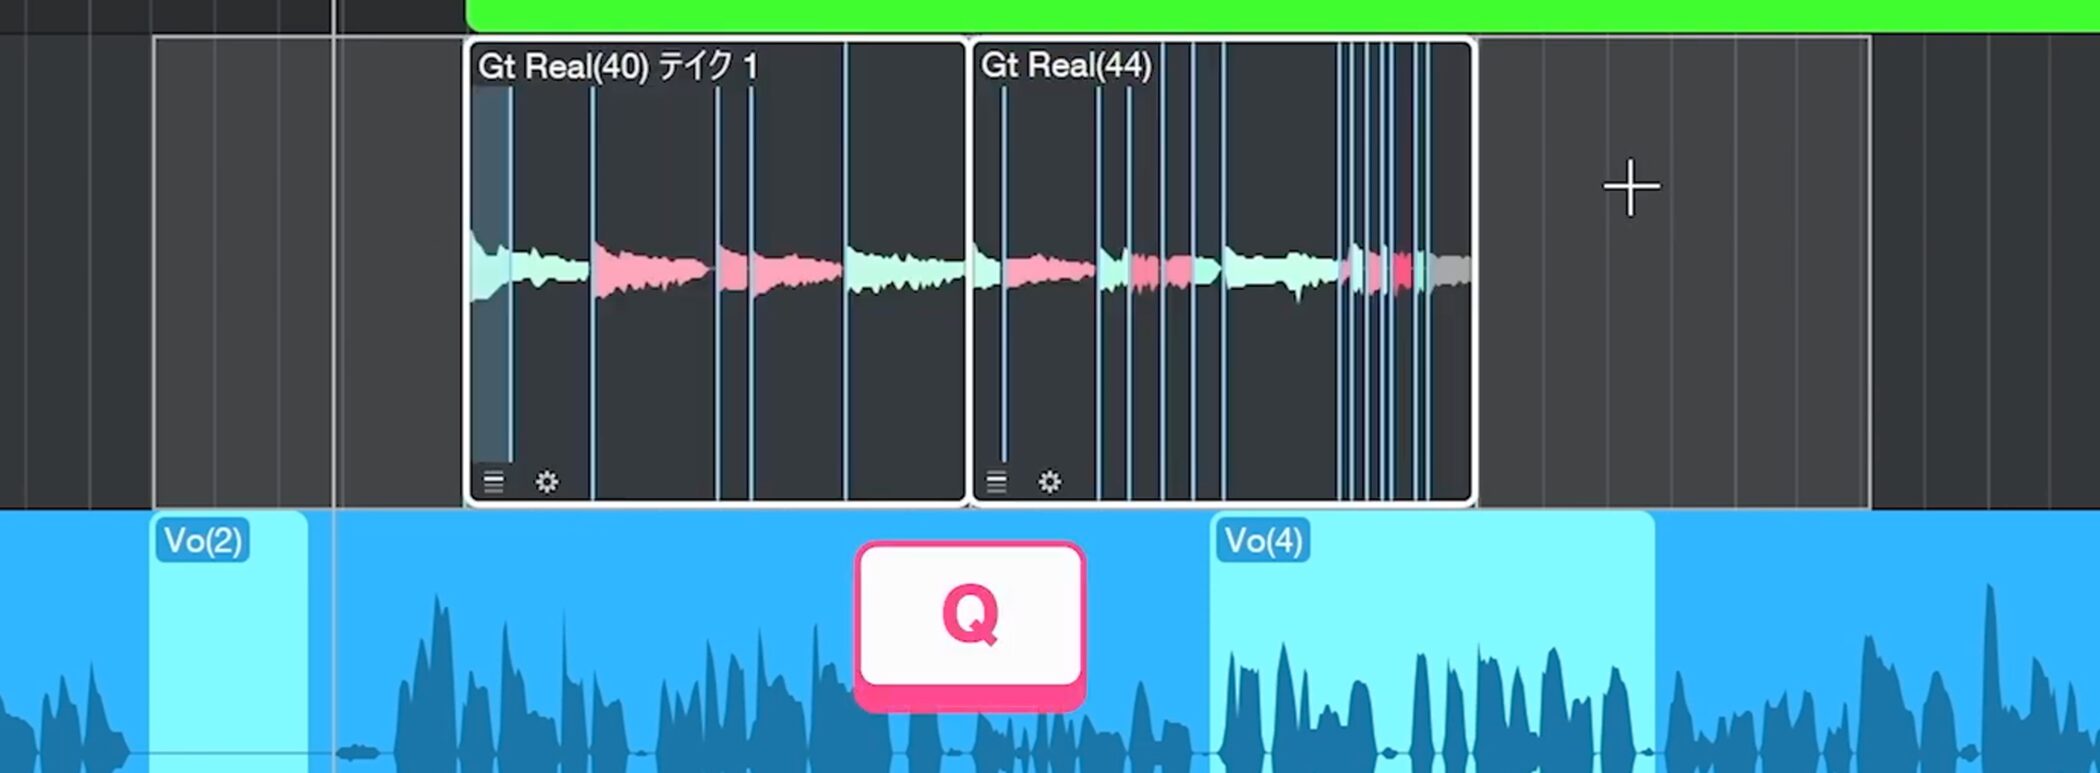
Select the event and press Q for Quantize.
The rhythm is corrected immediately.
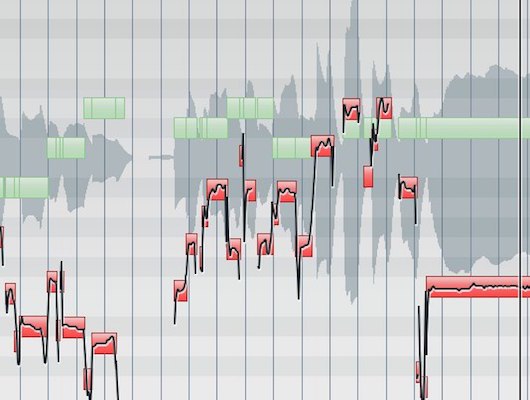
The closer the color is to red, the stronger the correction.
Check and refine the quantization
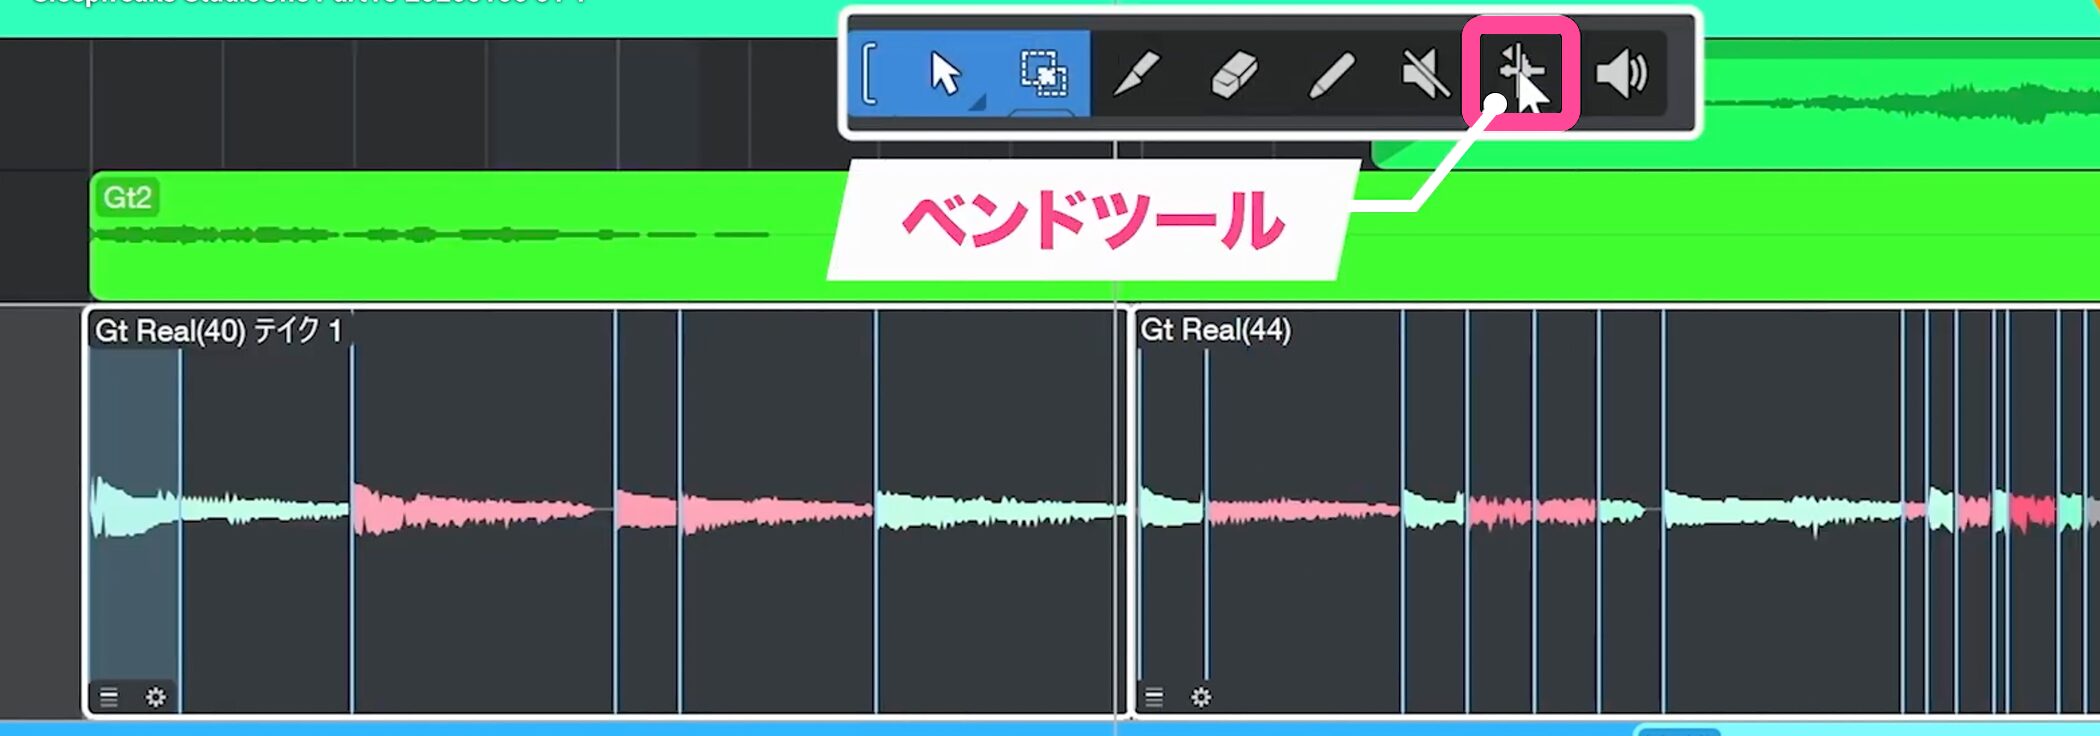
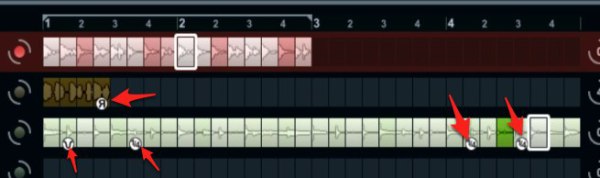
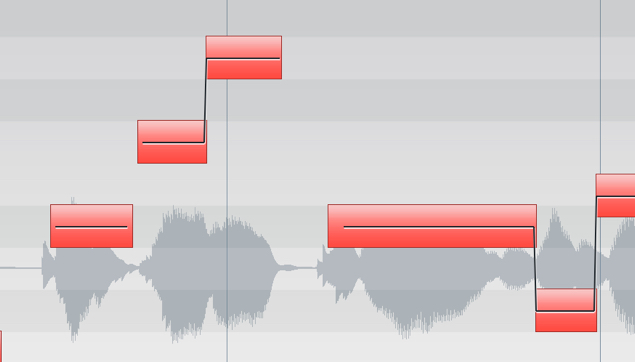
Listen to the sound. If more correction is needed, choose the Bend tool from the toolbar.
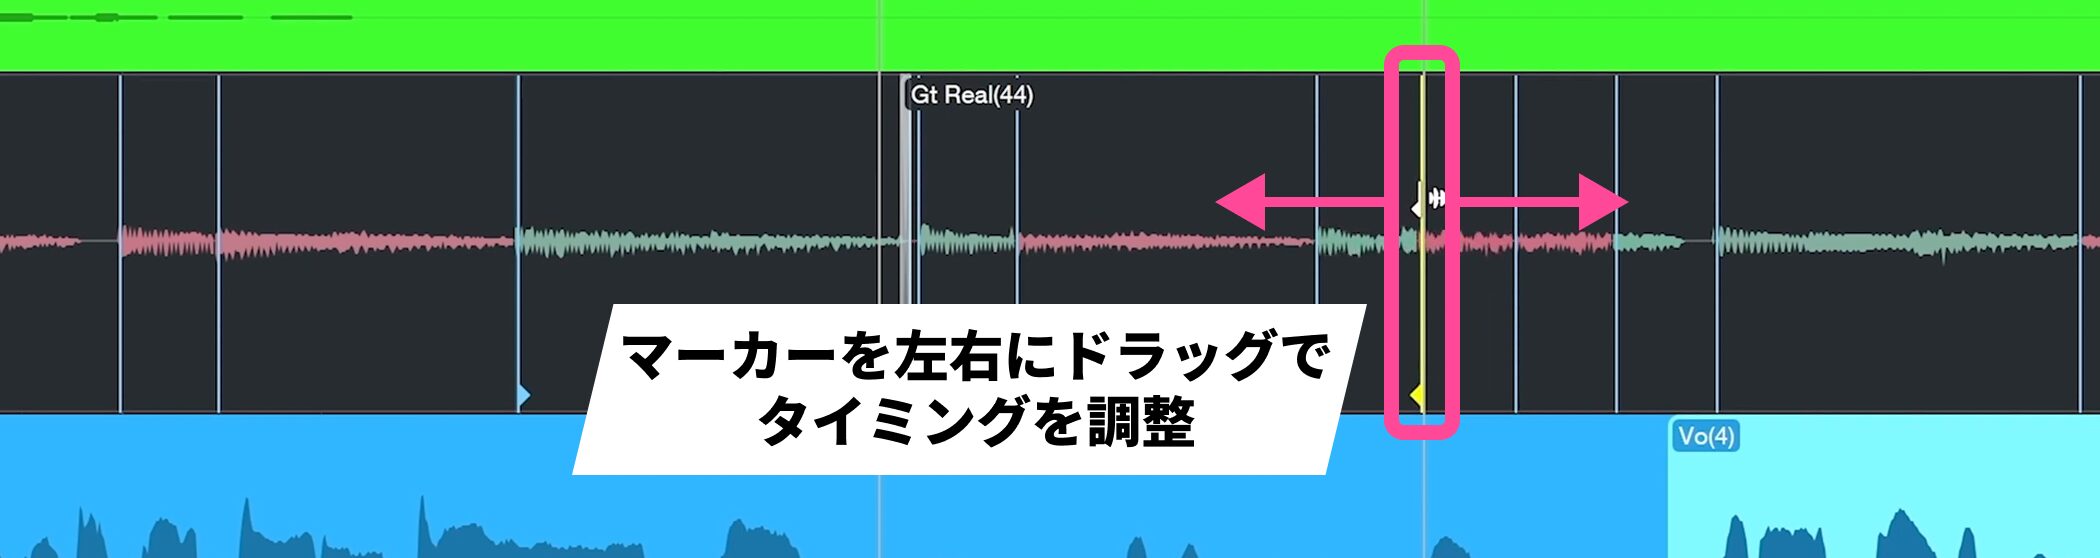
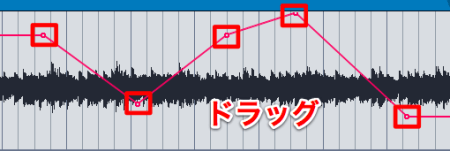
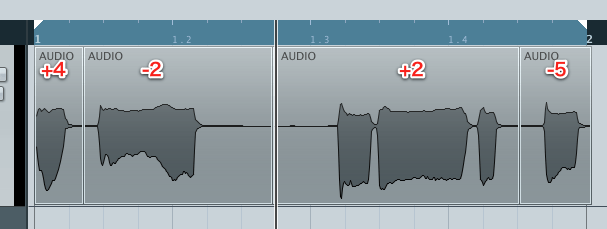
Zoom in on the area and drag a marker left or right with the Bend tool to adjust its timing.
It is particularly helpful to listen while making adjustments.
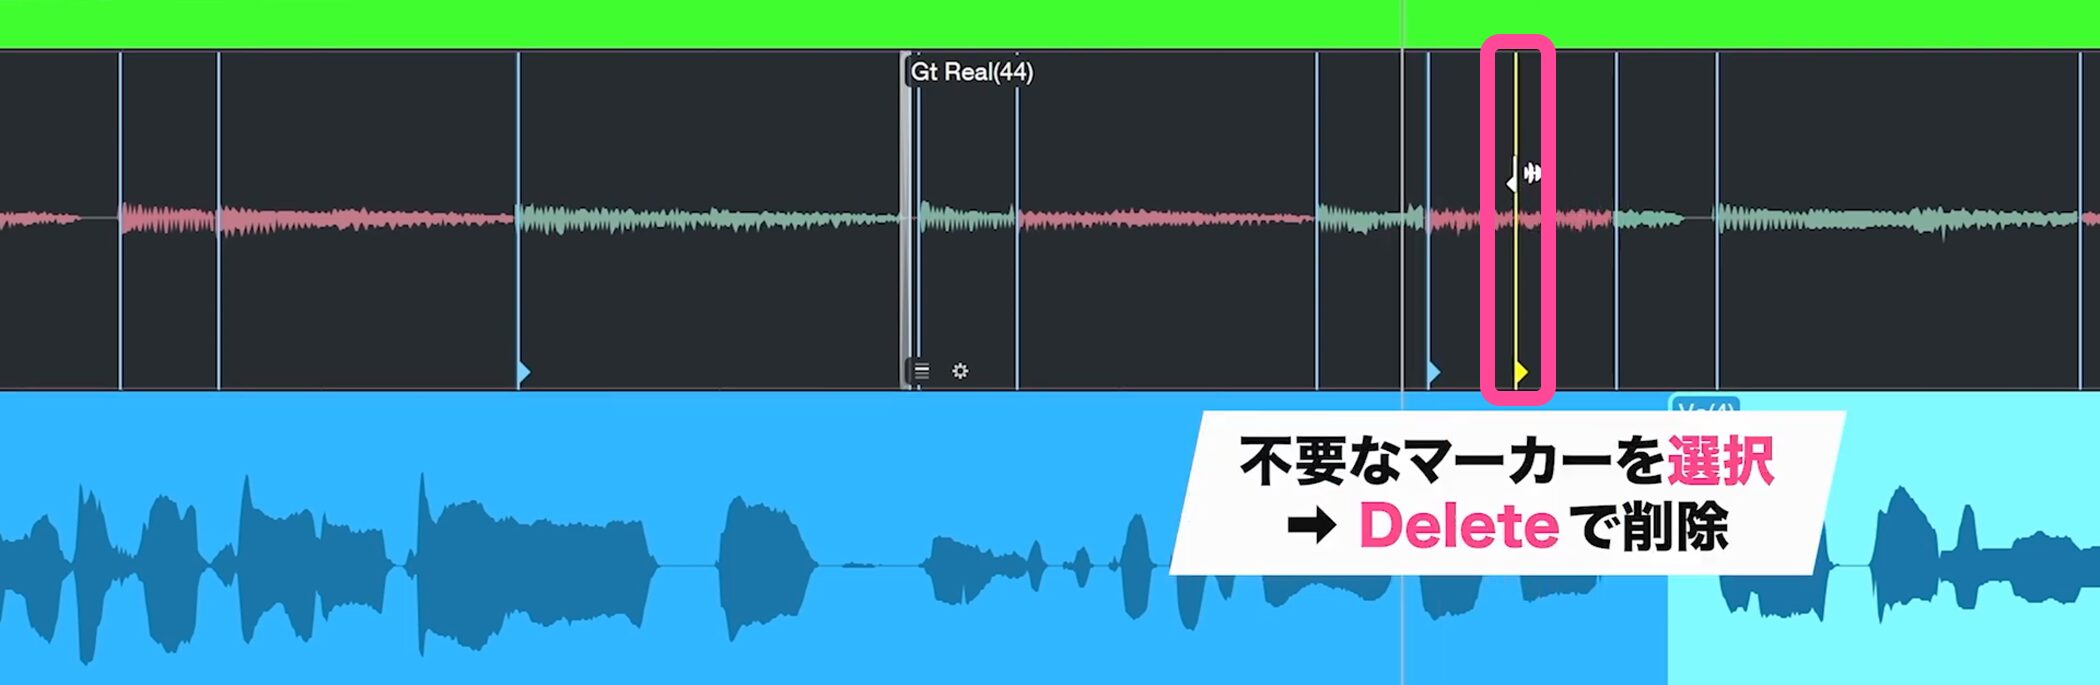
Markers may sometimes be detected in sustained portions of the sound.
Select any unnecessary marker and press Delete to remove it.
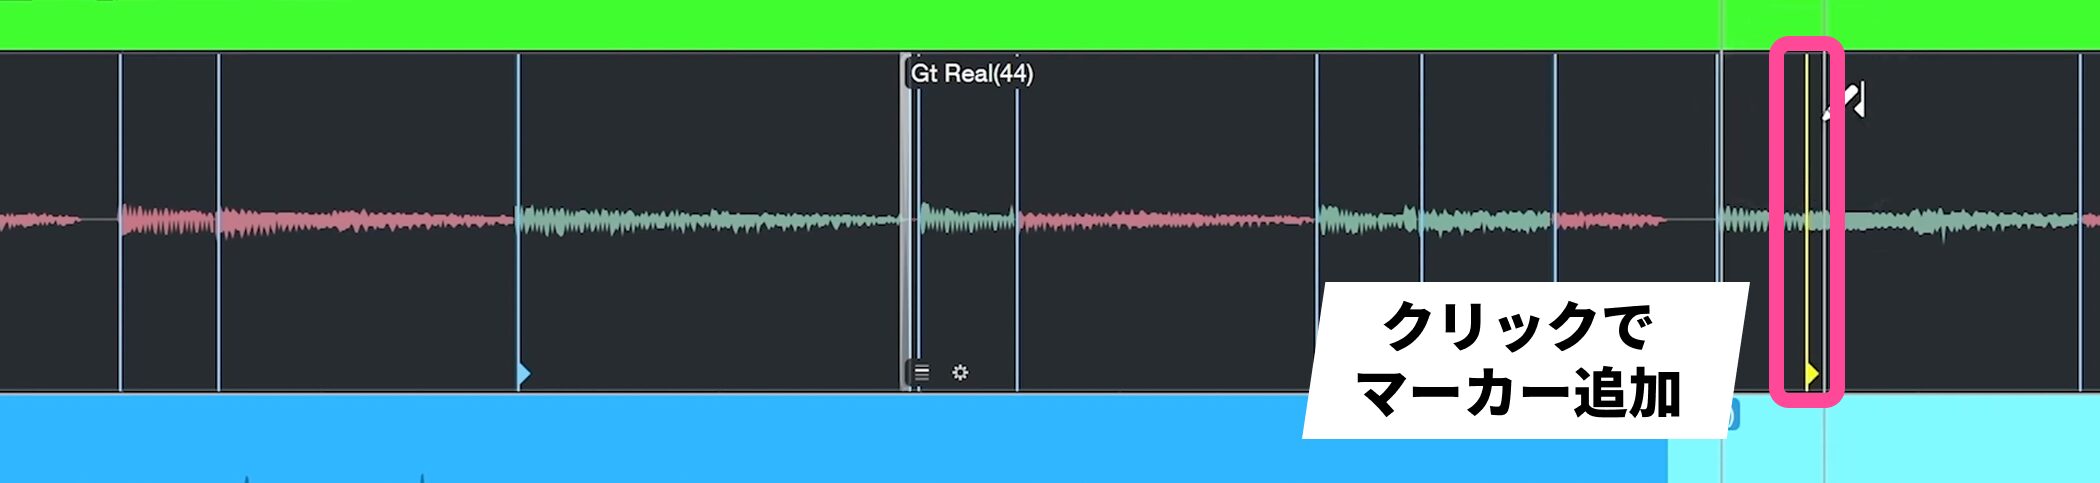
If a marker is missing where you need one, click at the desired position to add it.
This allows detailed rhythm correction.
Restore timing
If extensive edits become confusing, you may want to return to the original timing.
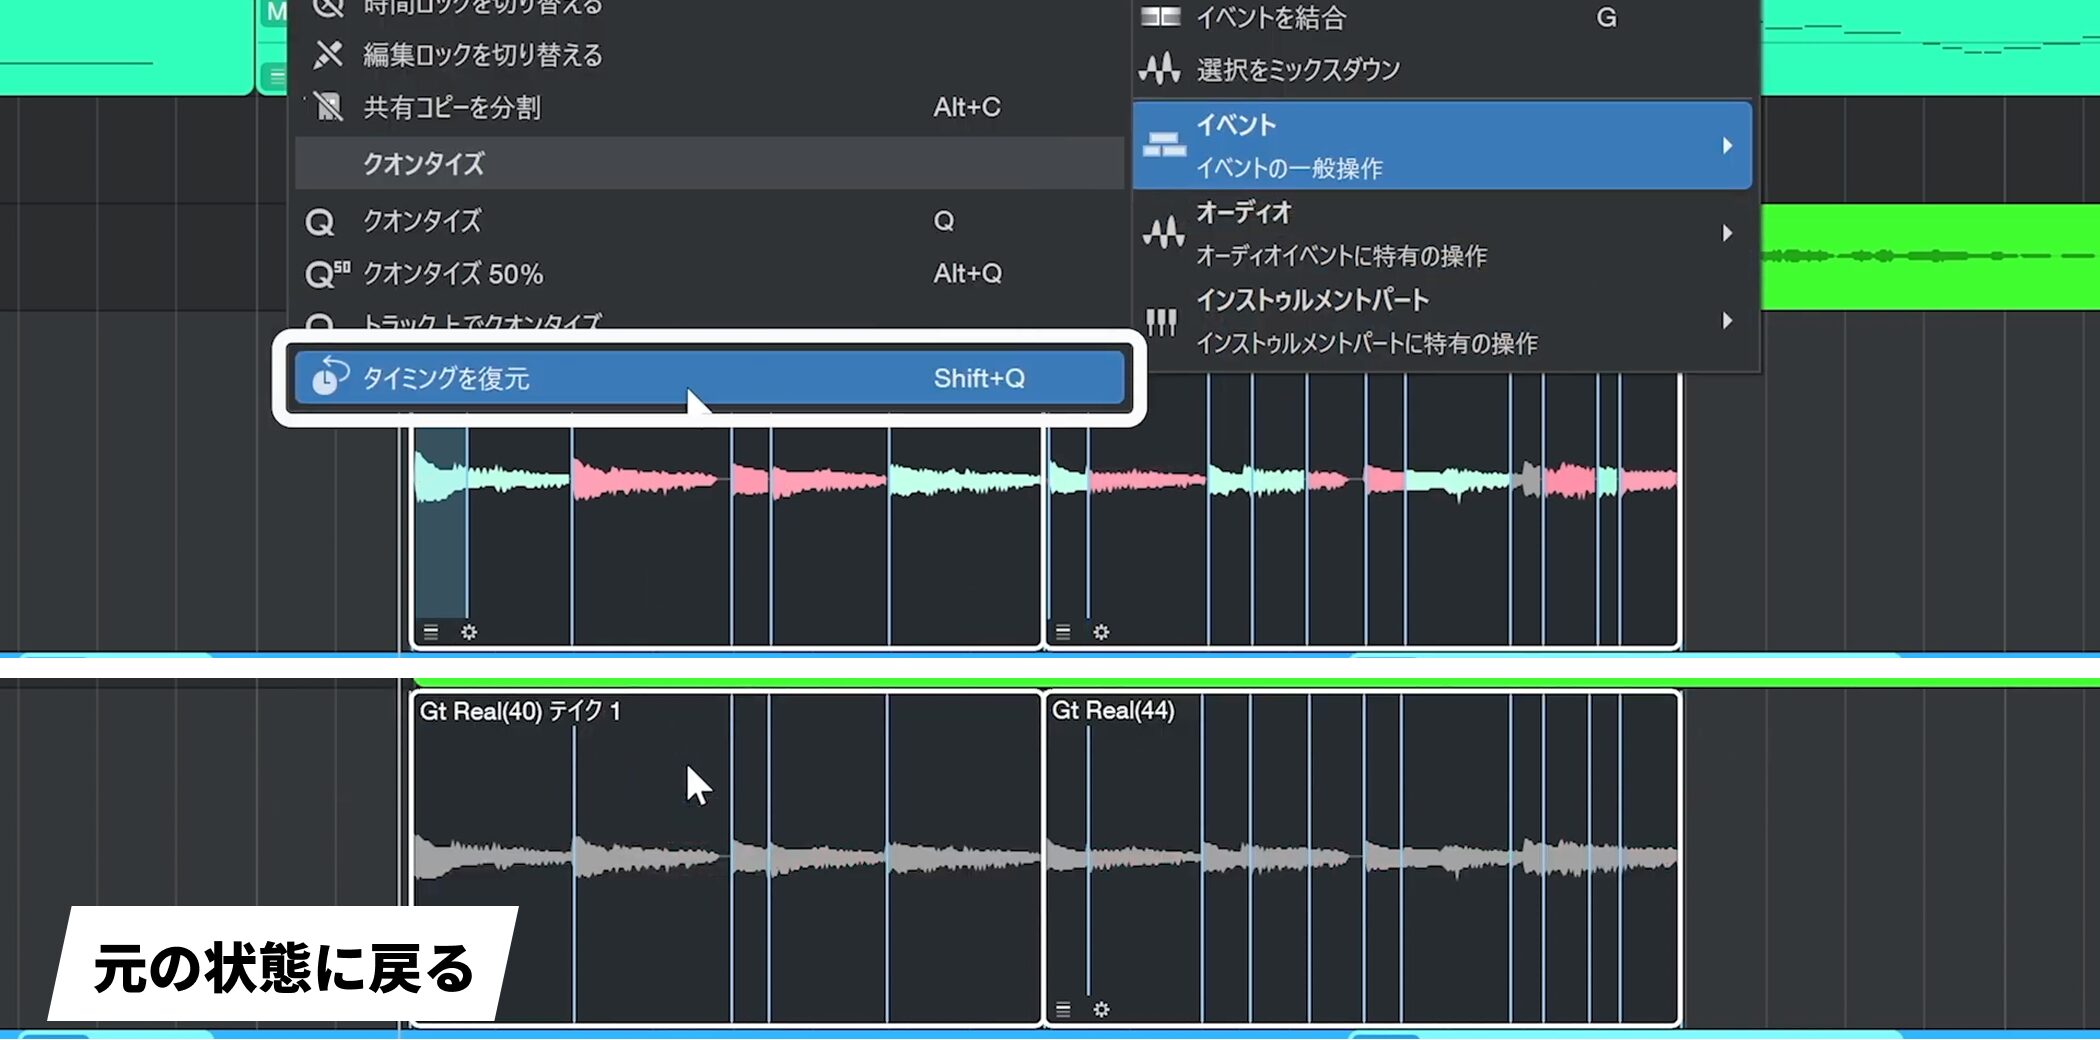
Select the event, right-click, and choose Event → Restore Timing.
This returns it to its original state.
Merge events
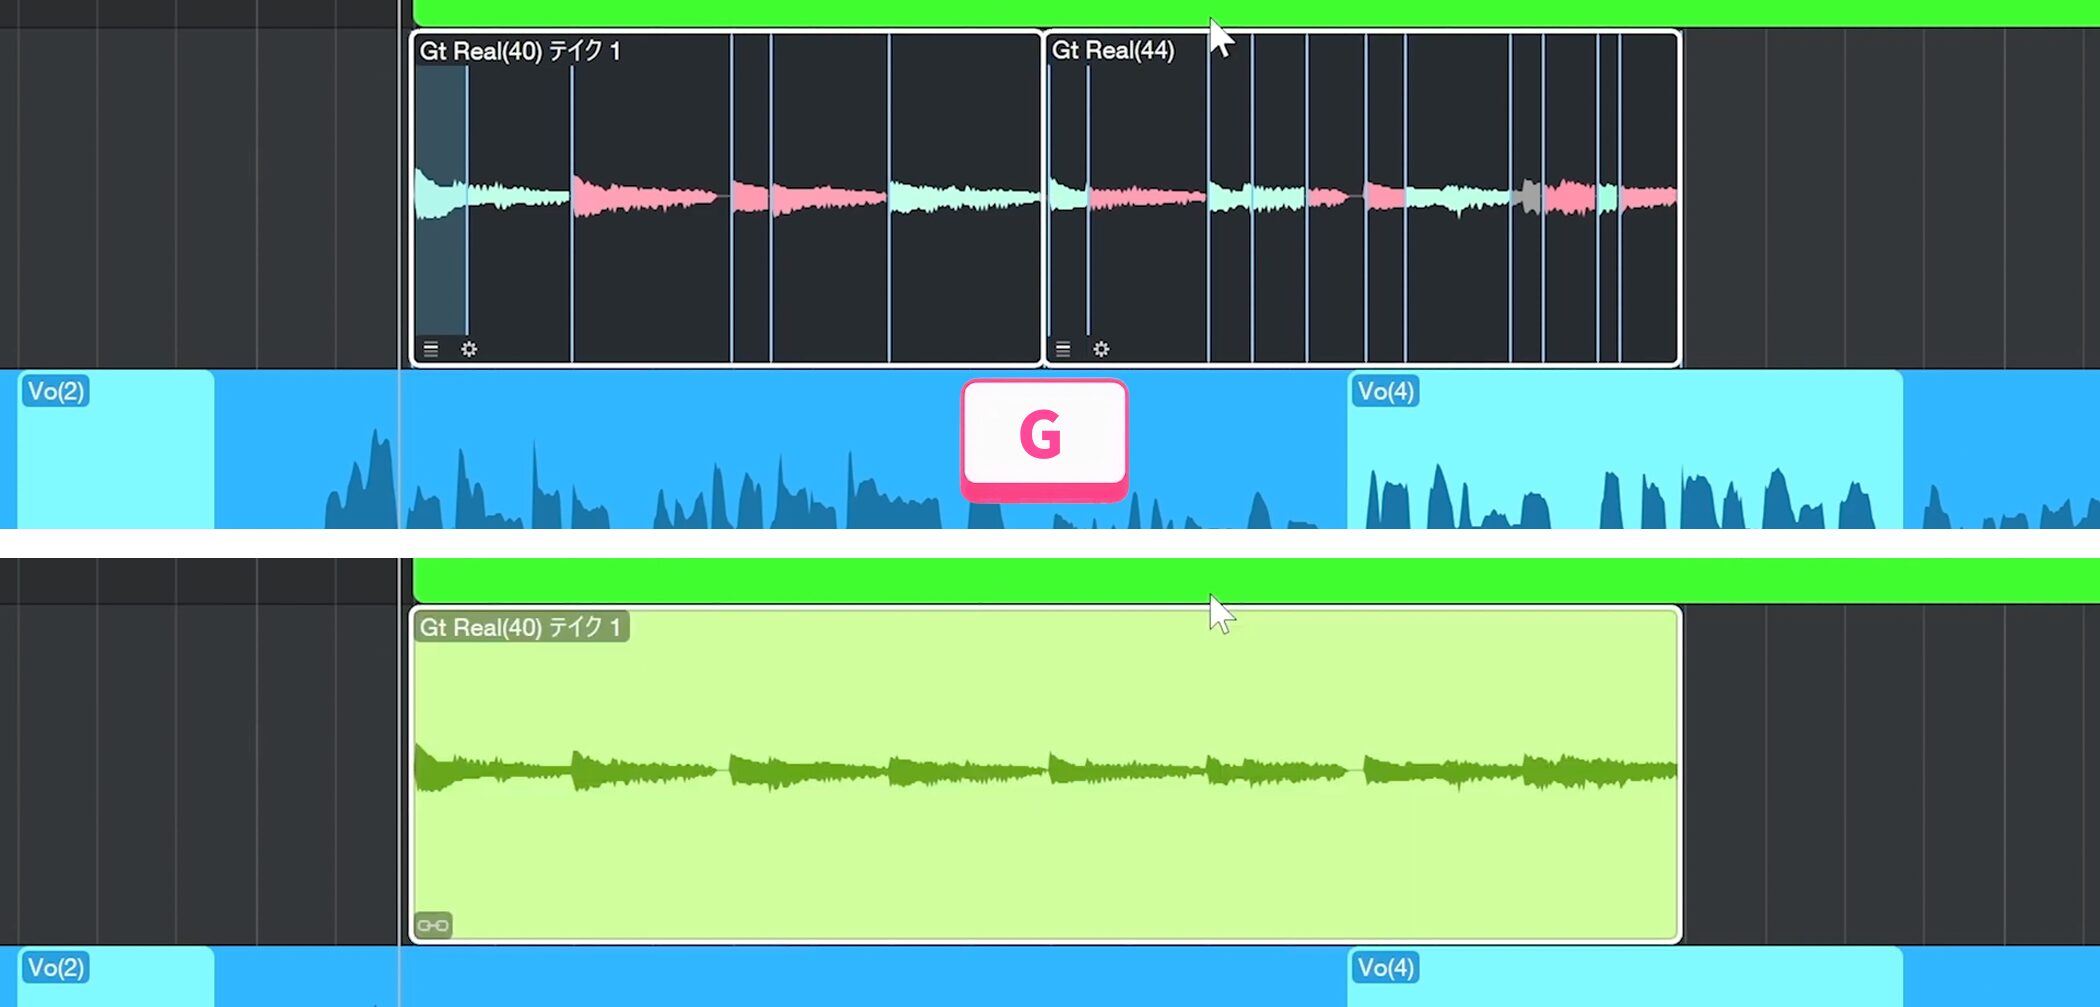
When editing is complete, select the events and press G.
This combines them into one event.
The crossfade method described here also works for joining vocal takes naturally.
Before correcting vocals, use the same steps to tidy the takes and combine the events.
Frequently asked questions
Q1. Can crossfades be used for instruments other than guitar?
Yes. Crossfades can be applied to audio material generally and are particularly useful when joining vocal takes to smooth level differences and reduce noise.
Q2. What if audio quantization is too strong?
Right-click the event and choose Event → Restore Timing to return it to the original state. You can then make gradual adjustments with the Bend tool.
Q3. What is Relative Grid, and how does it differ from a normal copy?
Relative Grid preserves the source event’s offset when copying. With a normal copy, the event start may align to the grid, shifting the attack.
Q4. How do I remove a marker added with the Bend tool?
Select the unwanted marker and press Delete. You can add and remove markers to refine the timing.
Q5. Why combine events?
Combining several events into one simplifies file management and subsequent editing and mixing. Select the events and press G after editing.
NEW ARTICLES
Latest English Articles