This article explains Cubase’s Bounce Selection function for audio editing. It can create a new event from a selected range aligned to bars or combine audio from multiple events into one file, making material easier to move, copy and manage. Event fades and volume settings can be applied to the new file, so check the result before continuing.
A useful function for working with audio in Cubase
Bounce Selection

With Bounce Selection,
you can consolidate audio material efficiently.
It is a useful function for Cubase users to learn.
Let’s look at what it can do.
Video tutorial
Selected questions and answers from the YouTube video

After creating an independent file, can I restore the original split audio? Would restoring from a backup be faster?

Immediately after the operation, you can use Undo. Otherwise, restoring the separate events may require selecting the audio in the Pool and putting each event back in its original position. https://app.box.com/s/3xomo1dtjspnon06xv8isccy20fe64nw If you have a backup, restoring from it may be quicker.
Adjusting event length

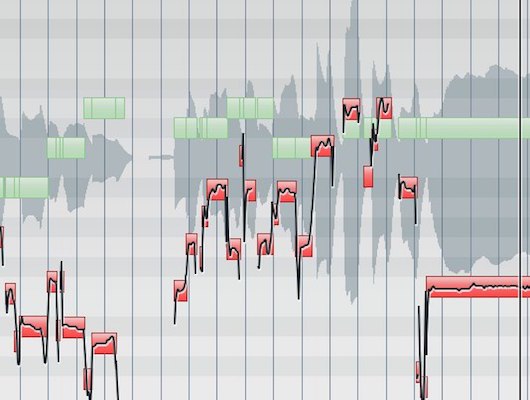
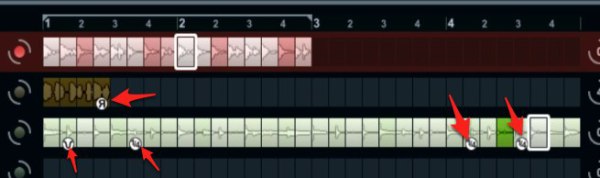
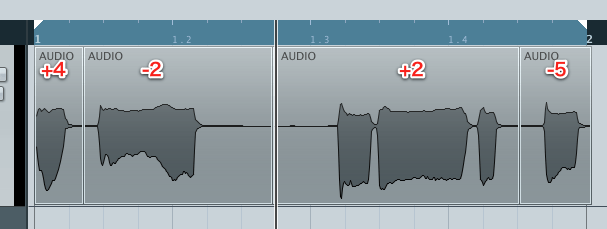
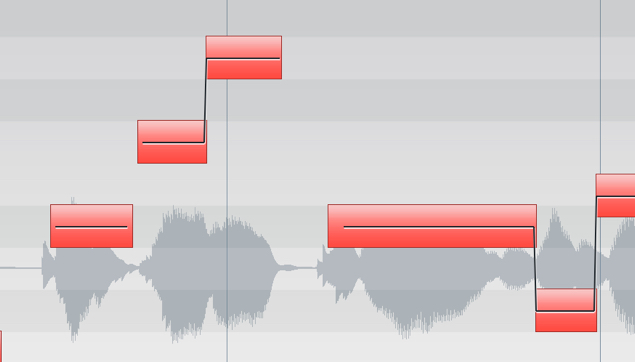
↑ This is a recorded vocal event.
Because recording started partway through a bar, the event does not start at the bar line.
Also, in this example, the recorded event cannot simply be extended beyond its existing audio boundary.
This makes it harder to move or copy it precisely by bars.
This is where Bounce Selection comes in.

↑ Select the Range Selection tool, circled in red, and select the desired length.
Here we align the start with the beginning of the bar.

↑ From the top menu, choose Audio > Bounce Selection.

↑ In the dialog that appears, choose Replace.

↑ An event matching the selected range has been created and aligned to the bar.
It is now much easier to move or copy.
The audio is rendered into a new file. Event fades and volume settings can be applied to it, so check the result; the original source is not overwritten by the new file.
Combining two or more events

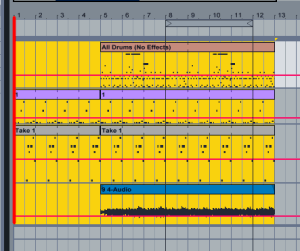
↑ You can join two or more separate events.
The Glue tool can also join them, but it may create an audio part containing separate events.

↑ As shown, the events can appear as one part, while double-clicking reveals the individual events inside.
As above, select the range you want to combine,
then choose Audio > Bounce Selection from the top menu.

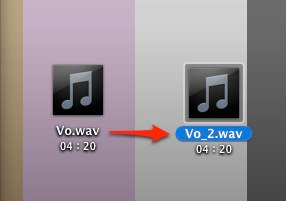
↑ The audio can now be consolidated into a single file.
Frequently Asked Questions
Q1. What if recorded audio does not start on a bar line?
Use the Range Selection tool to select the desired length aligned to the bar, then choose Audio > Bounce Selection. This creates an event for the selected range.
Q2. How does gluing events differ from Bounce Selection?
The Glue tool can create an audio part containing separate events, while Bounce Selection can render the audio into a single new file. Gluing already split portions of the same event can behave differently.
Q3. Does Bounce Selection change the audio content?
It creates a new audio file from the selection. Event fades and volume settings are applied to the new file, and the selected range determines what is included. Check the result and keep a backup if you may need the original arrangement.
NEW ARTICLES
Latest English Articles