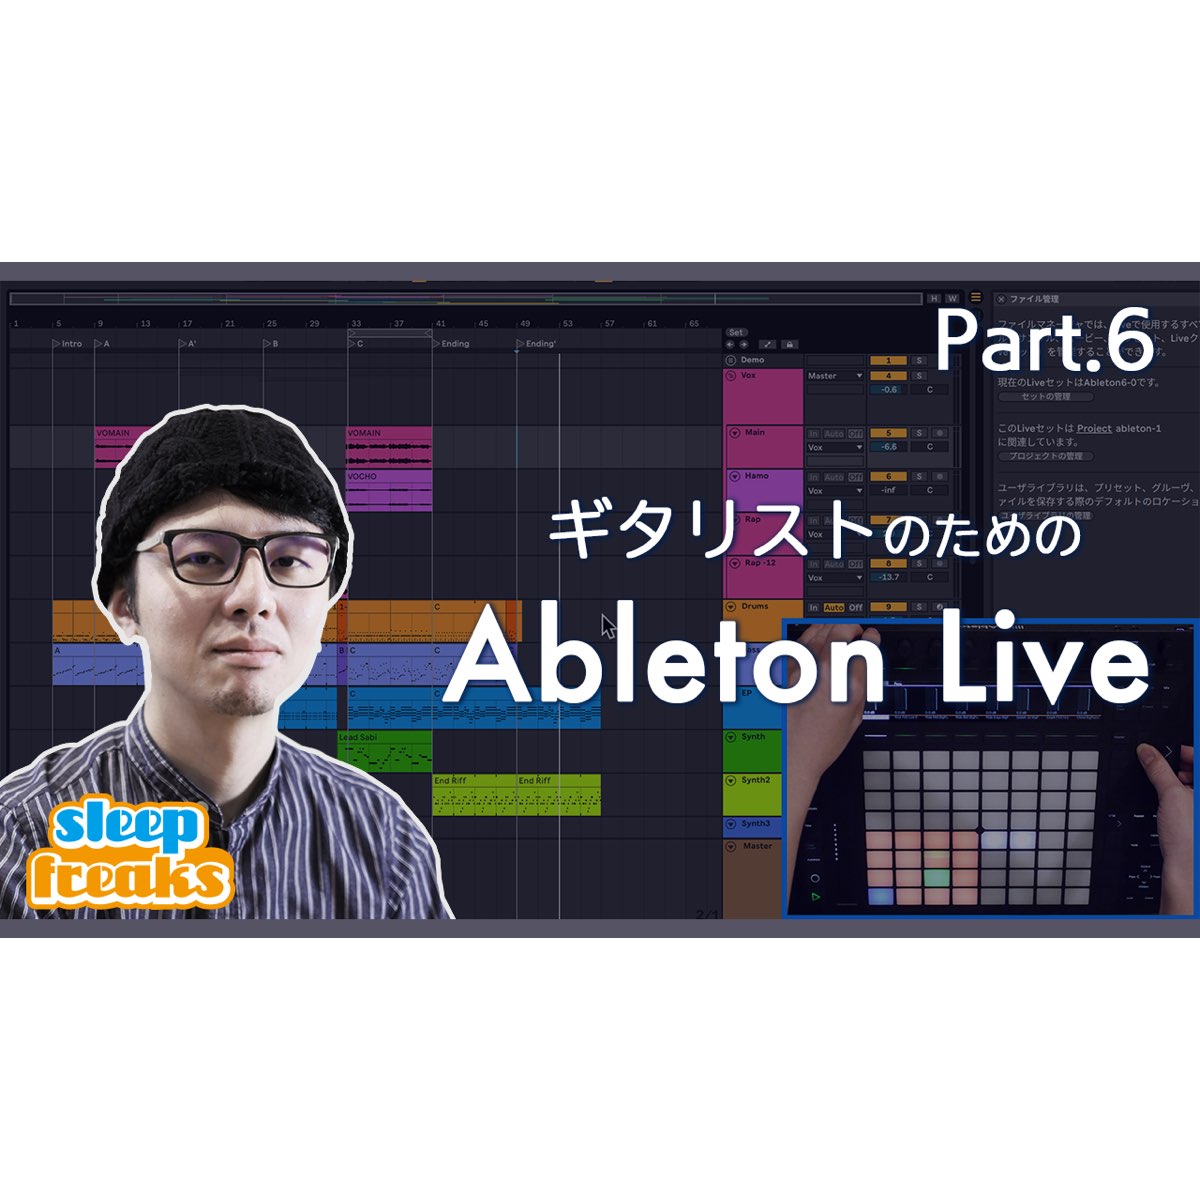
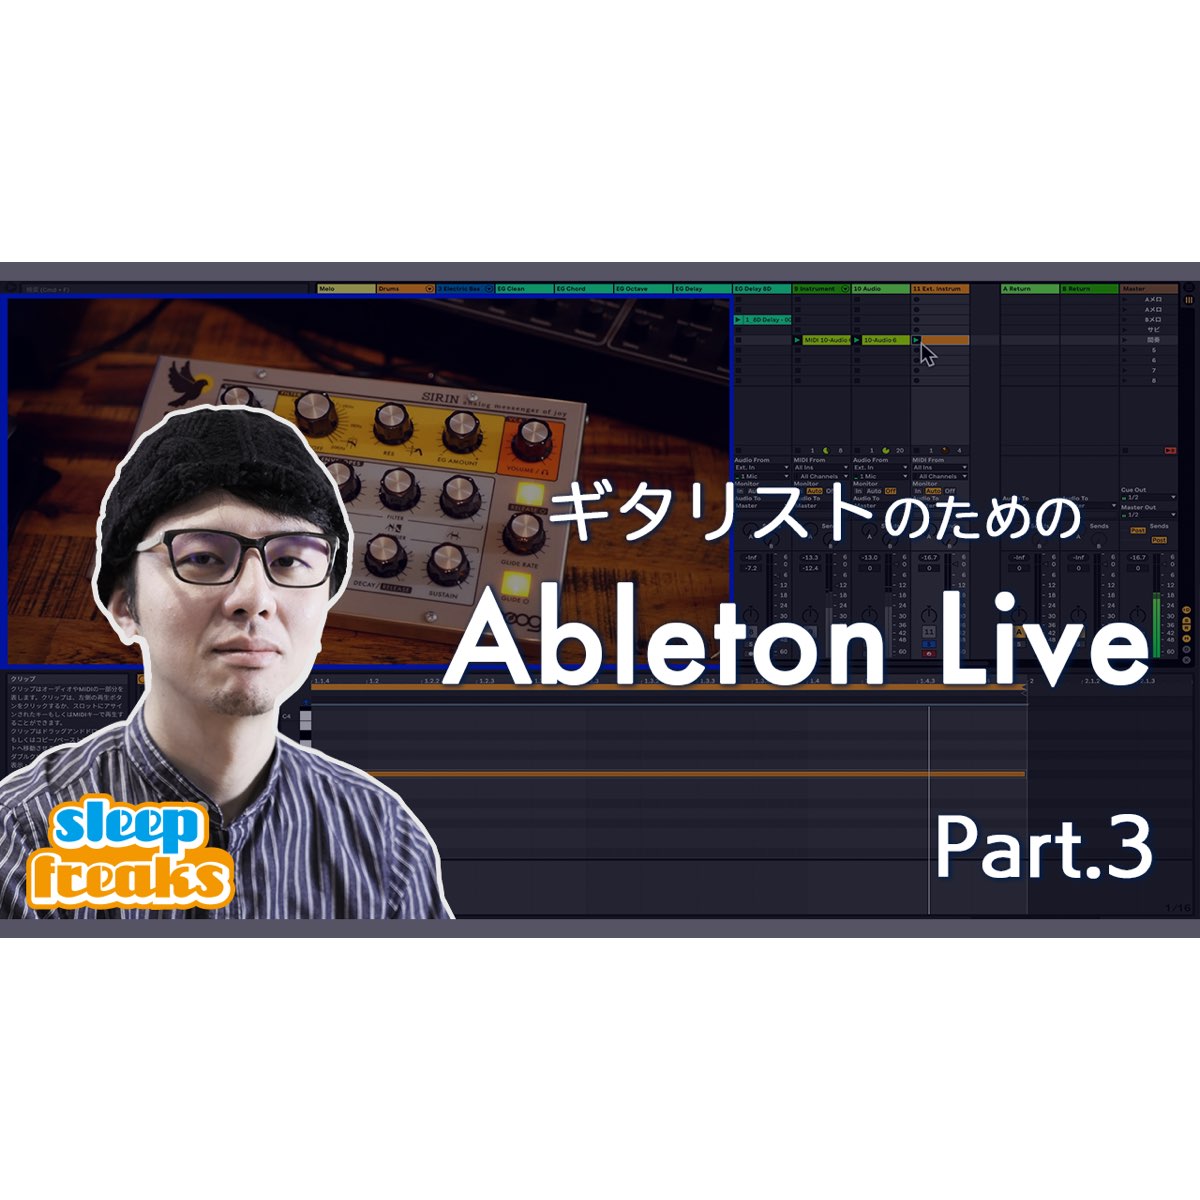
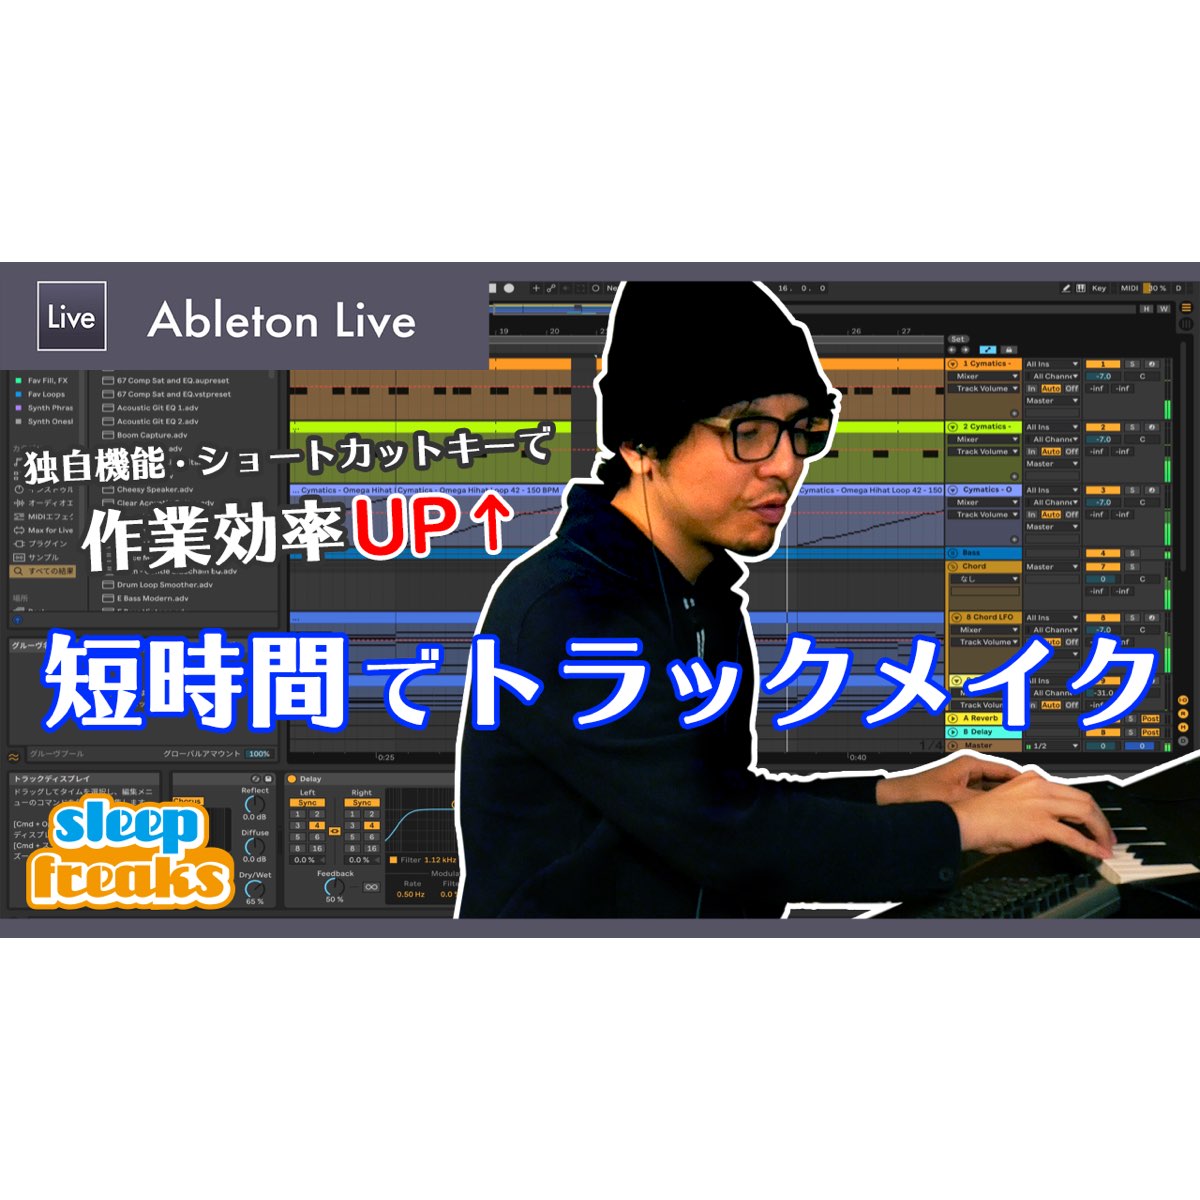
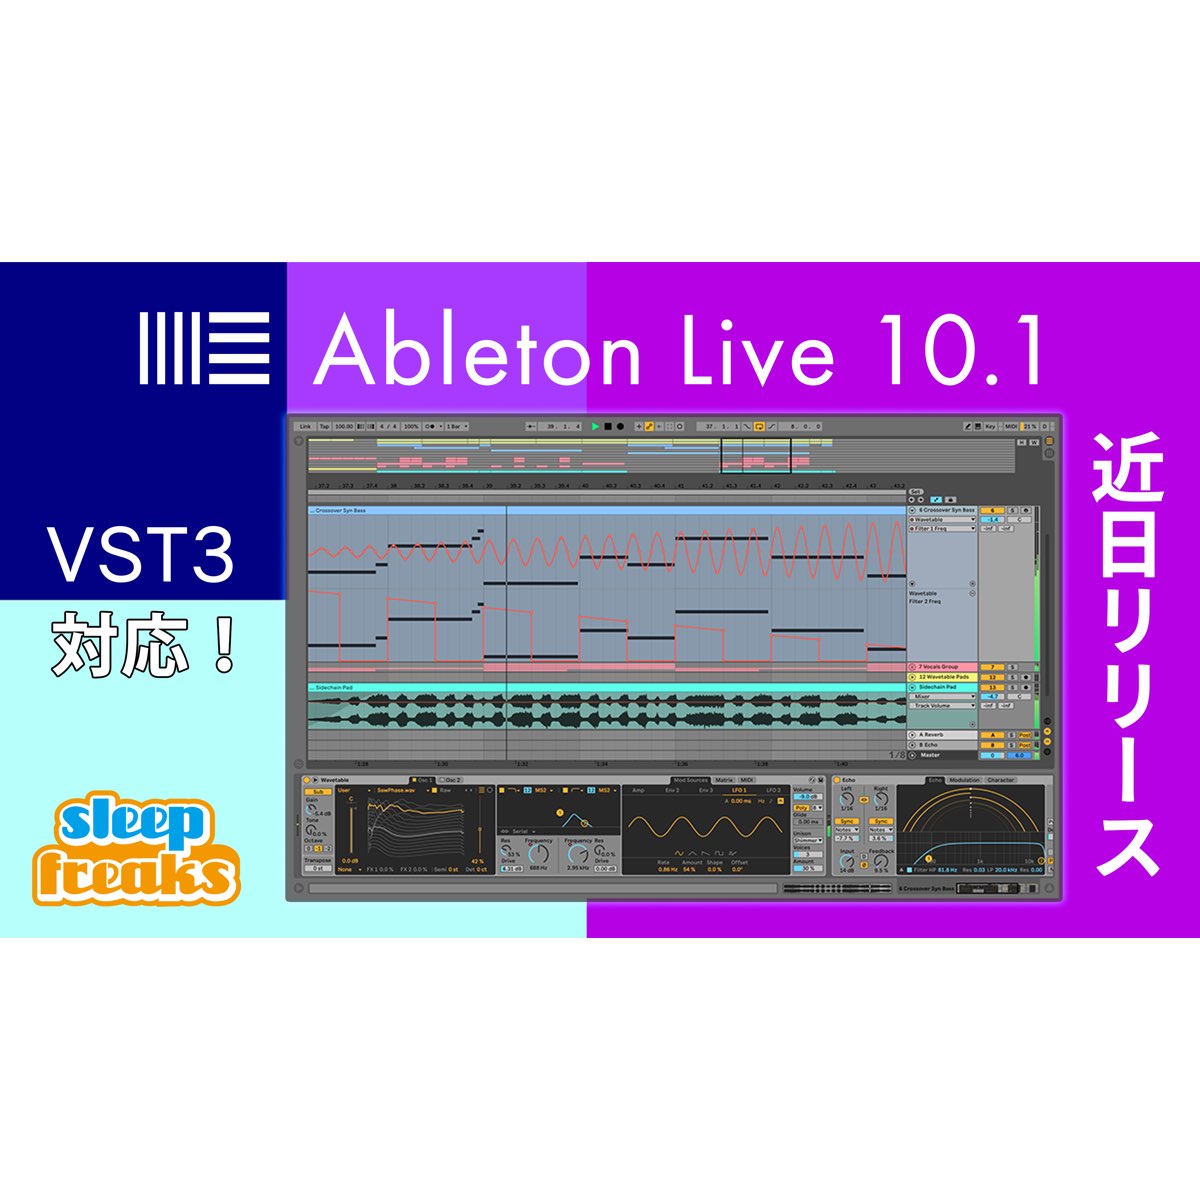
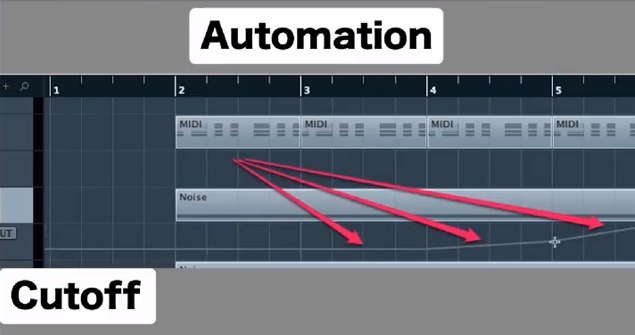
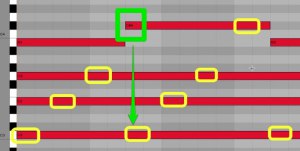
Ableton Live 9 introduced Session automation, allowing automation to be added directly to clips and expanding the possibilities for musical expression. This article walks through MIDI/Sync preferences, hardware controller mapping, and automation recording. With the device configured and Remote enabled, you can capture external knob movements in real time, creating the dynamic sound changes often used in styles such as EDM.
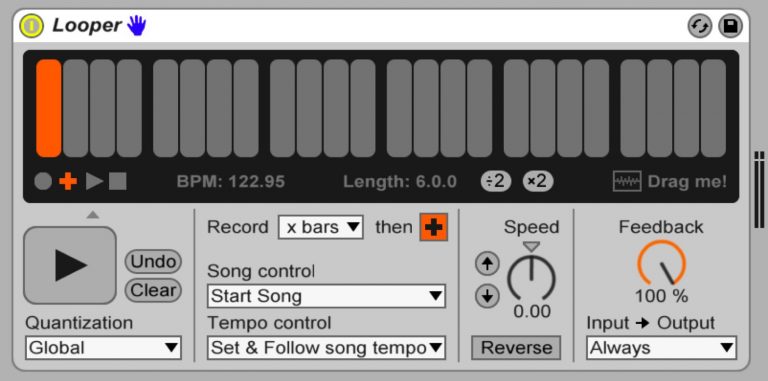
Add Automation to Session View Clips
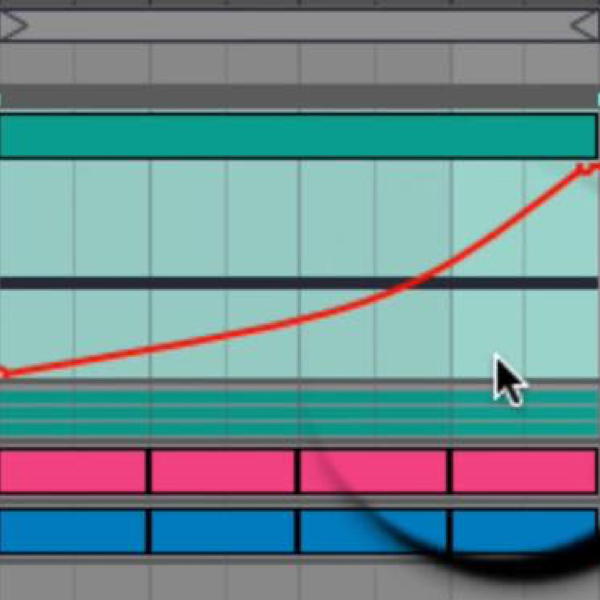
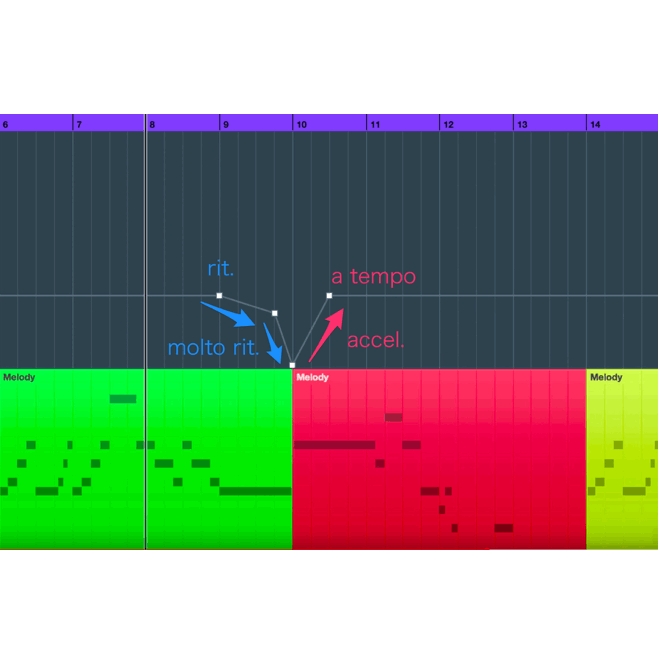
One of the notable new features in Live 9 is Session automation.
You can now add automation directly to clips.
This greatly expands the expressive possibilities in your music.
Session View Automation Video
View product details

Video Point: Set Up Automation Preferences
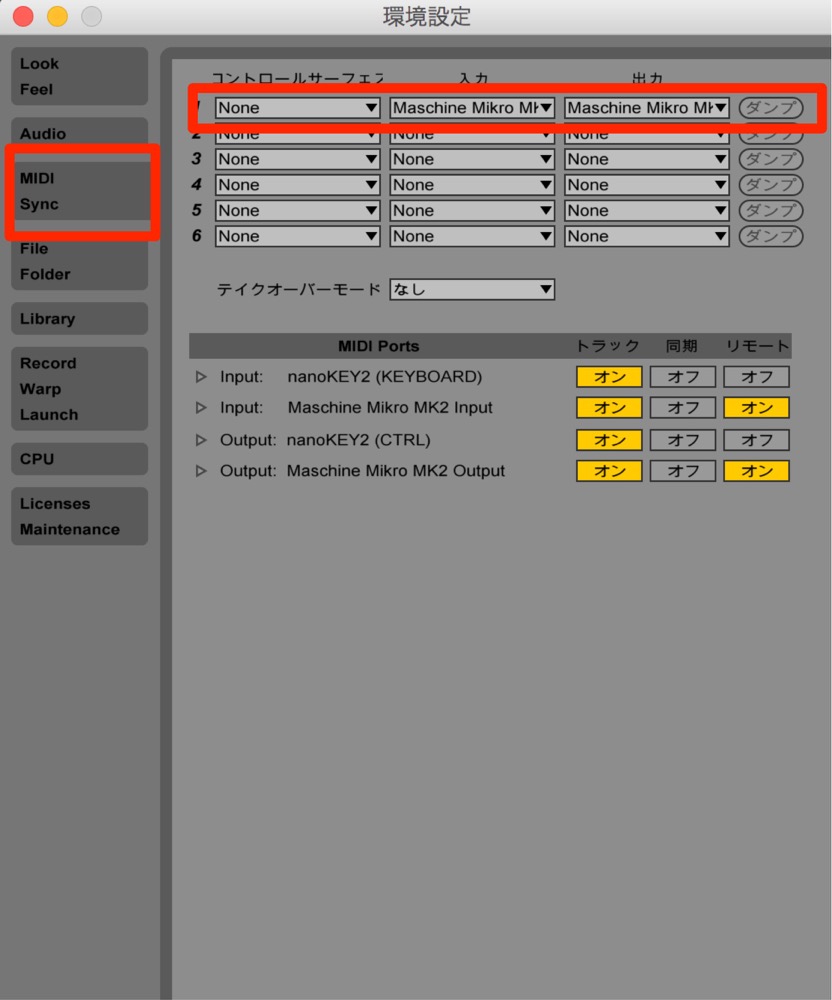
In Preferences, select “MIDI/Sync”
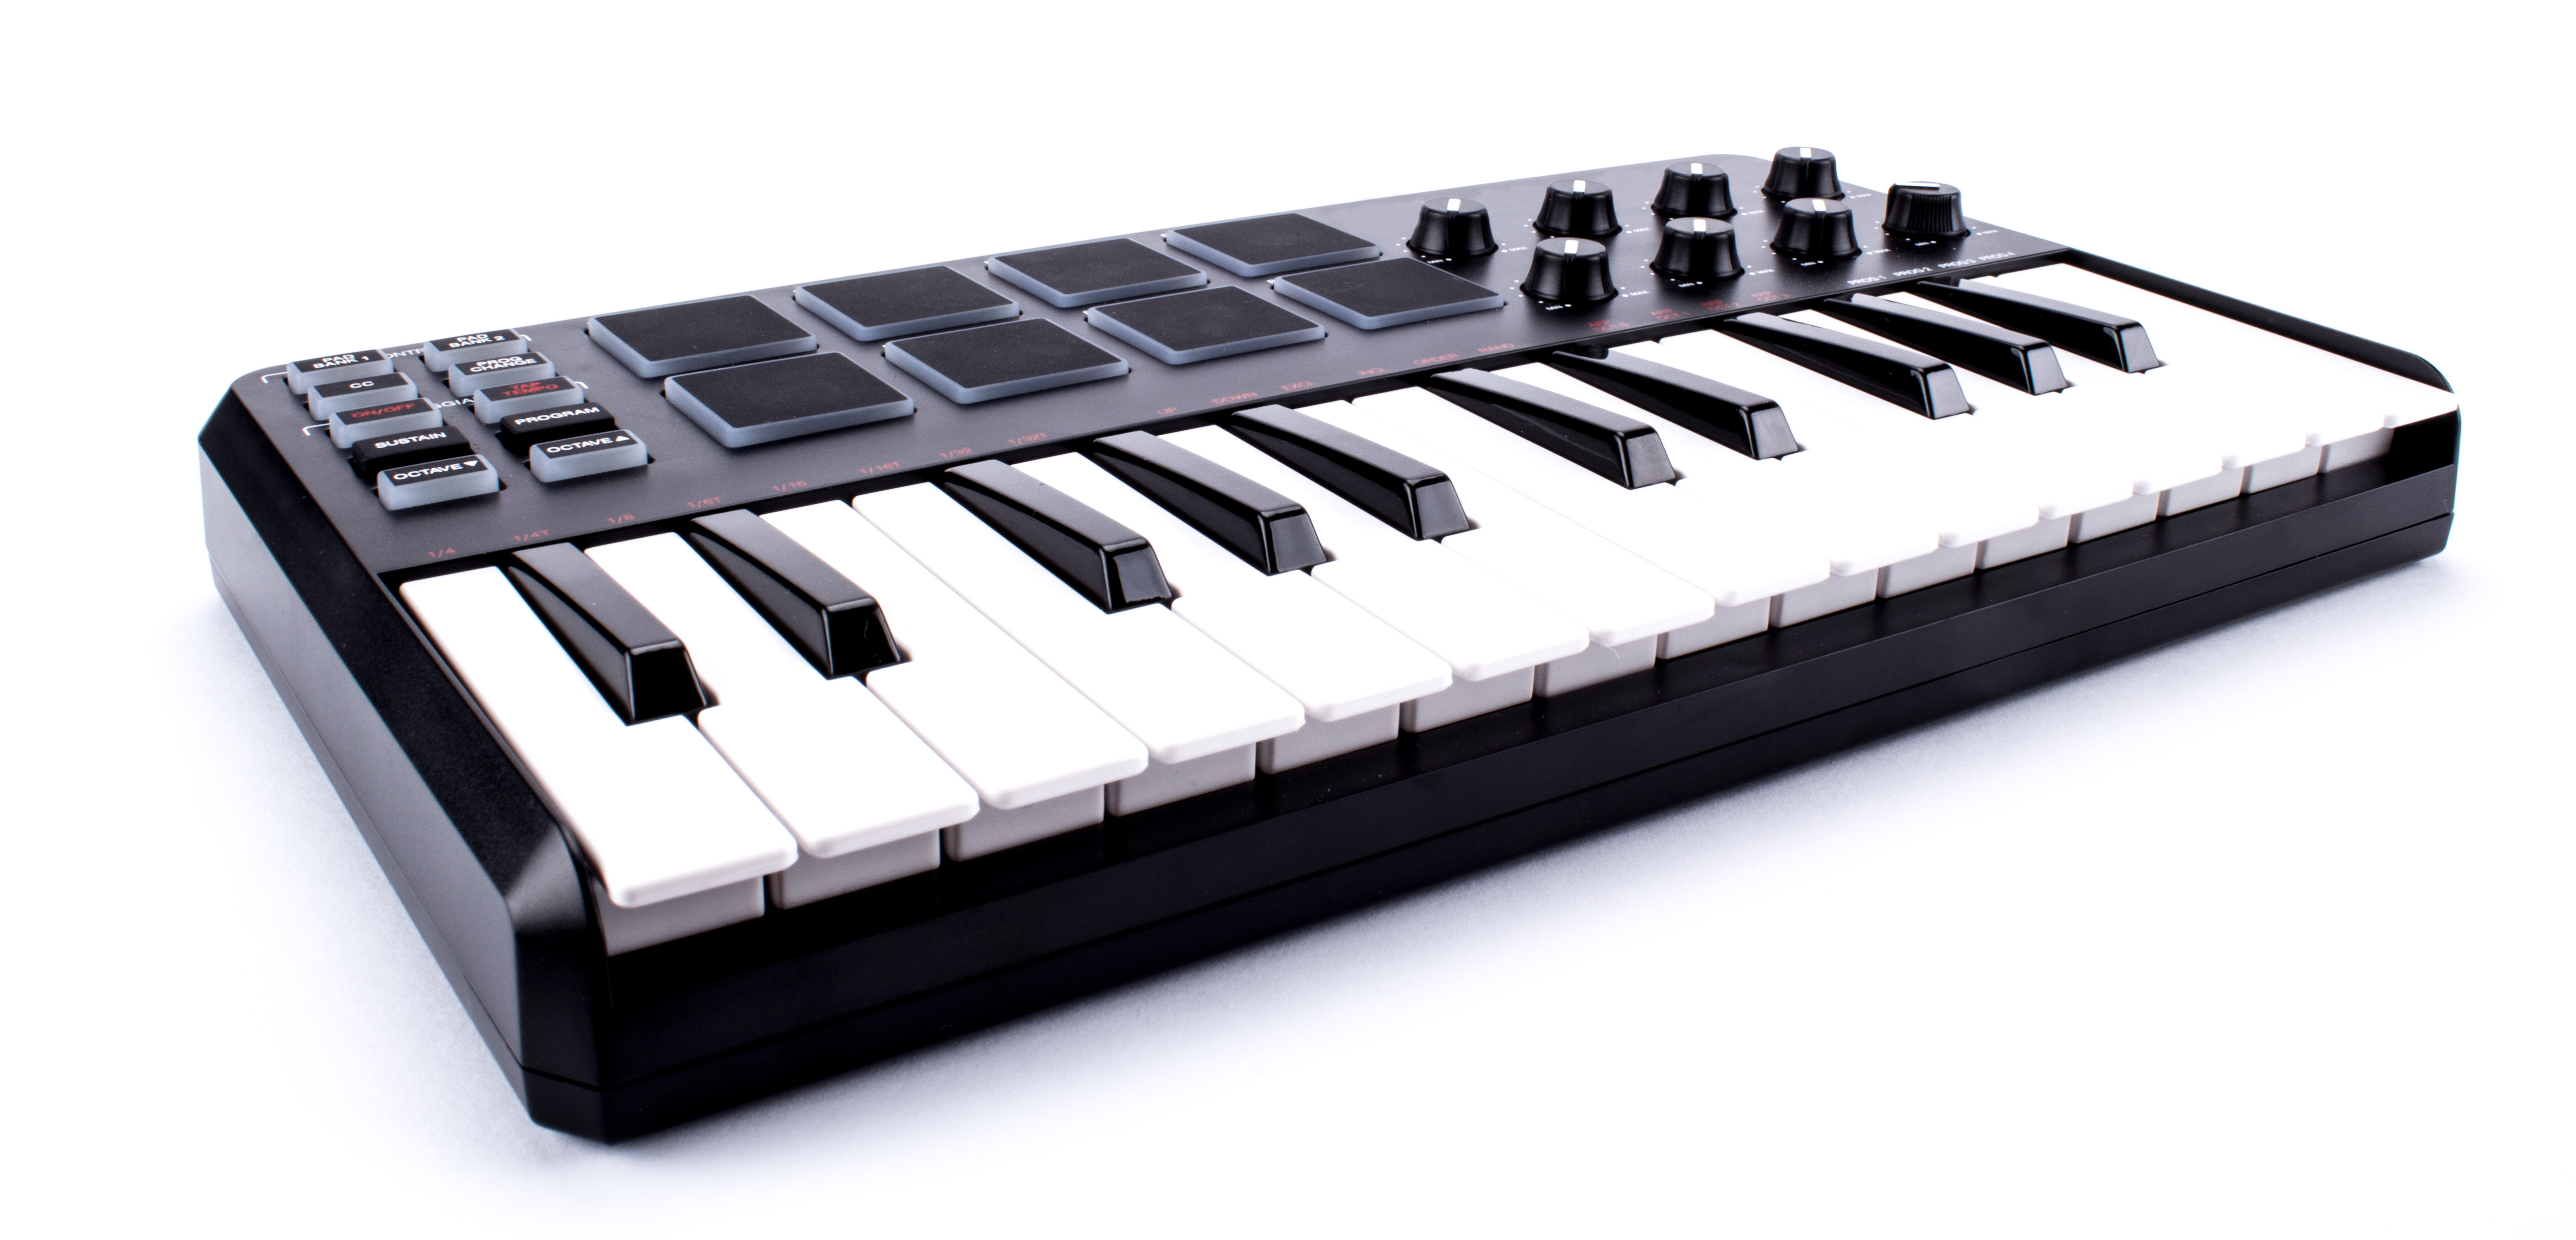
and configure your device.
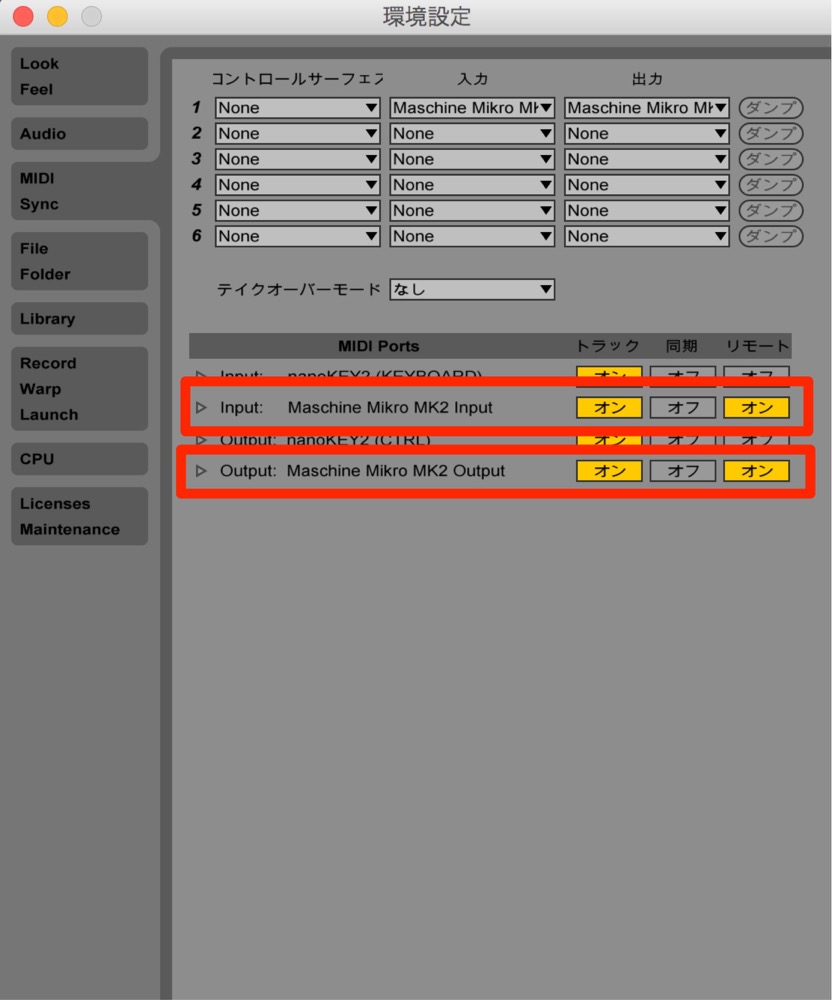
Set “Remote” to “On” for the device you configured above.
Video Point: Set Up Automation Control
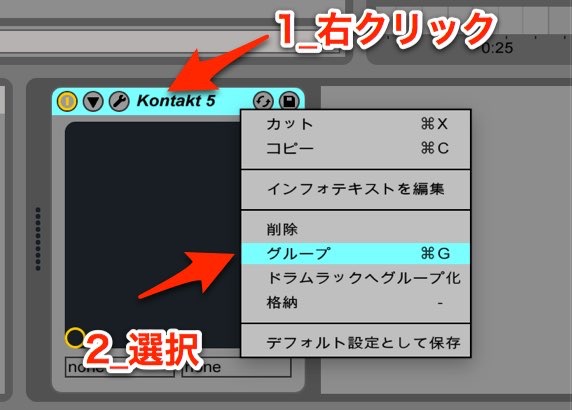
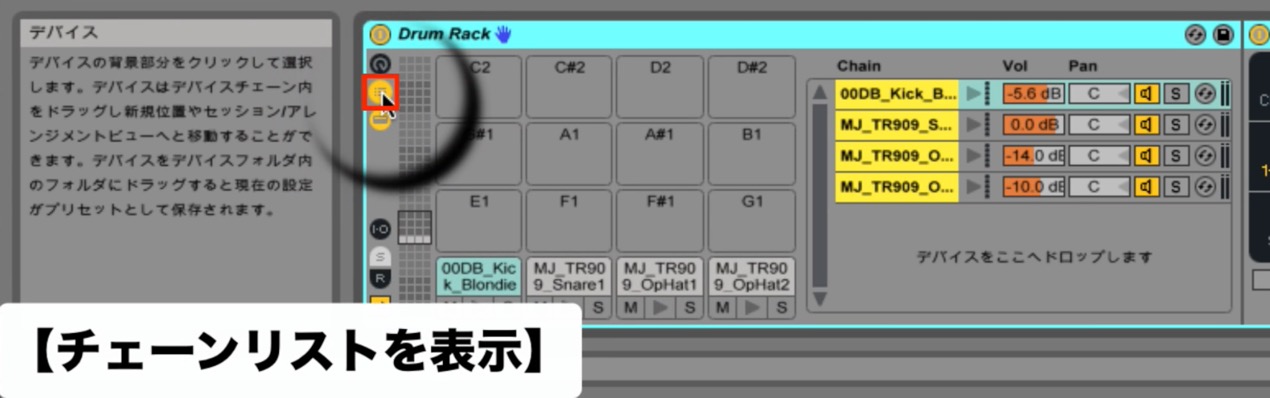
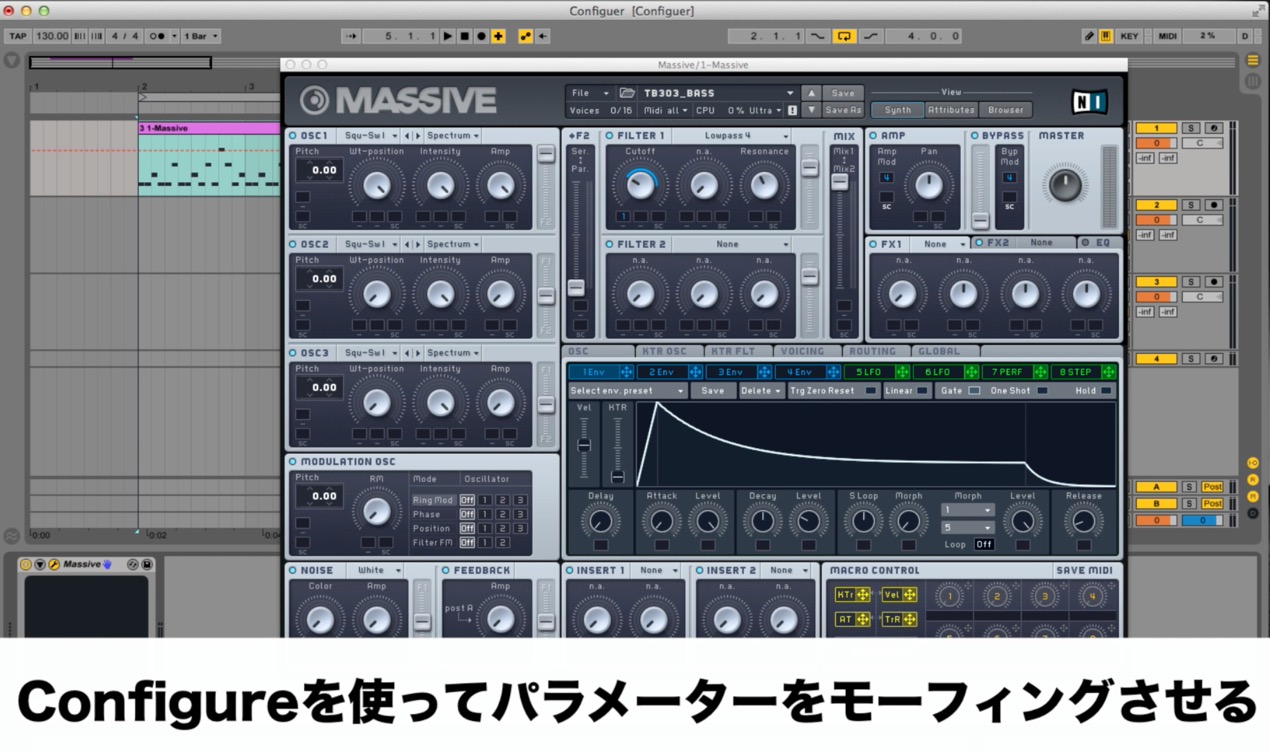
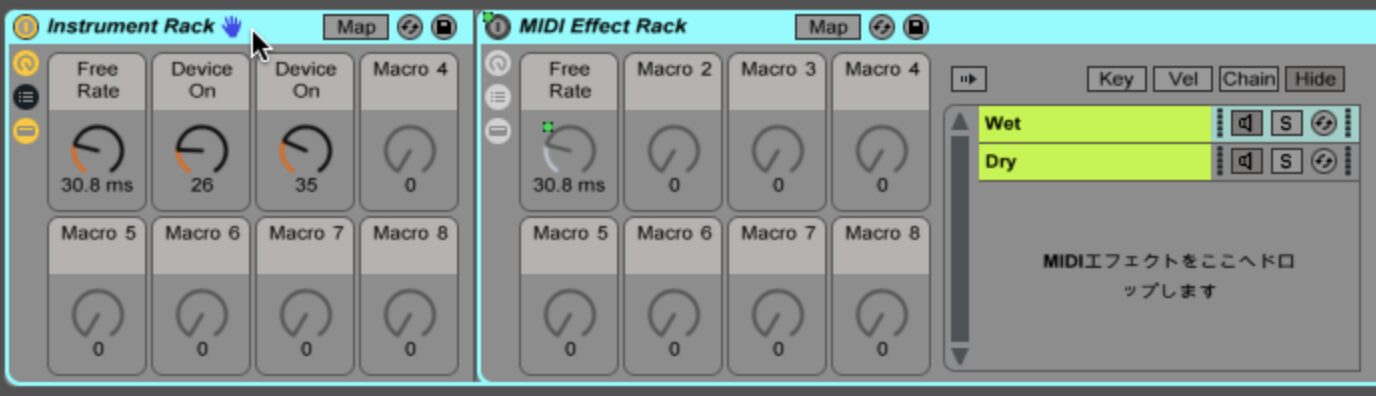
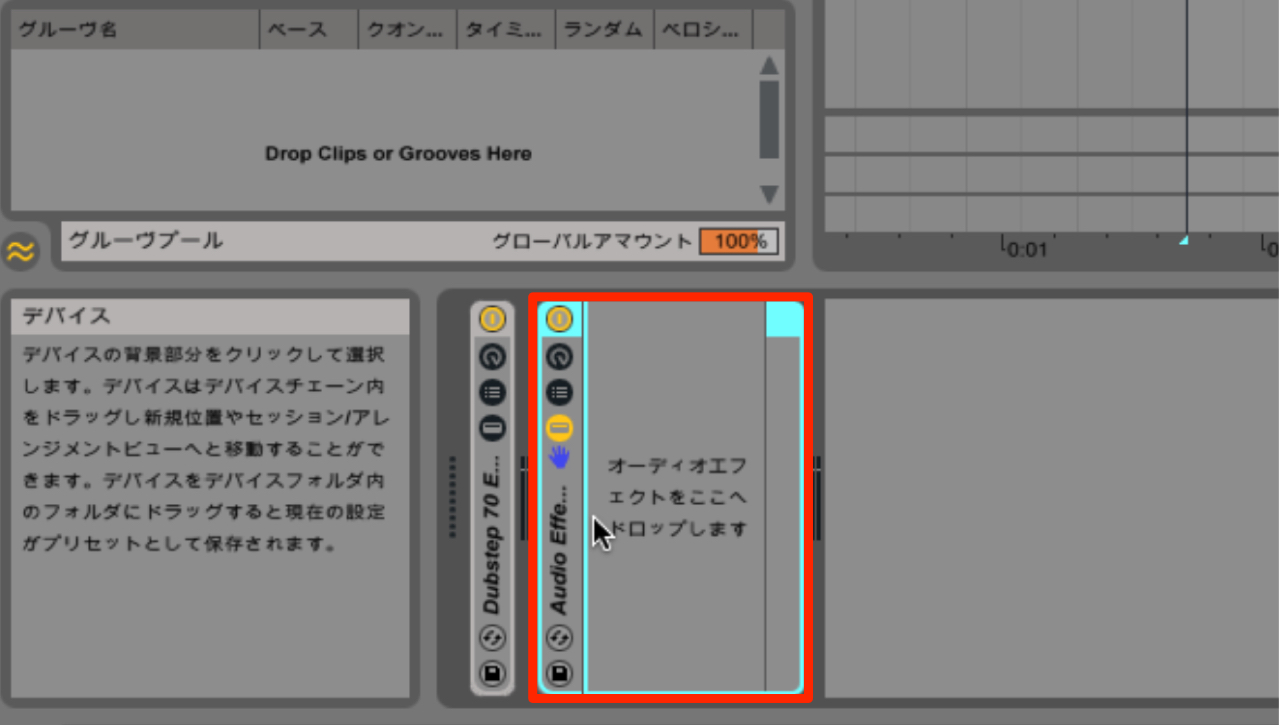
Right-click the effect or software instrument you want to control.
Choose “Group” from the menu.
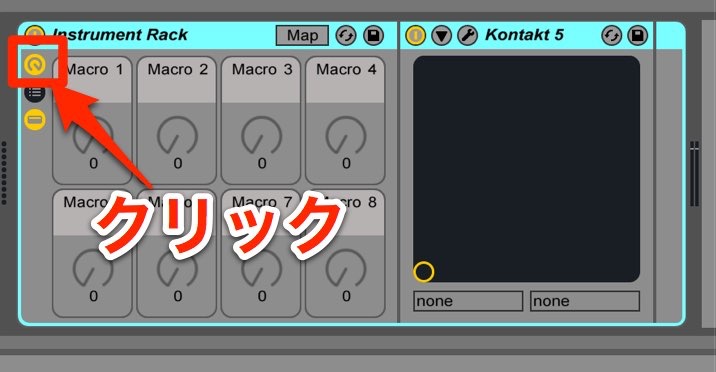
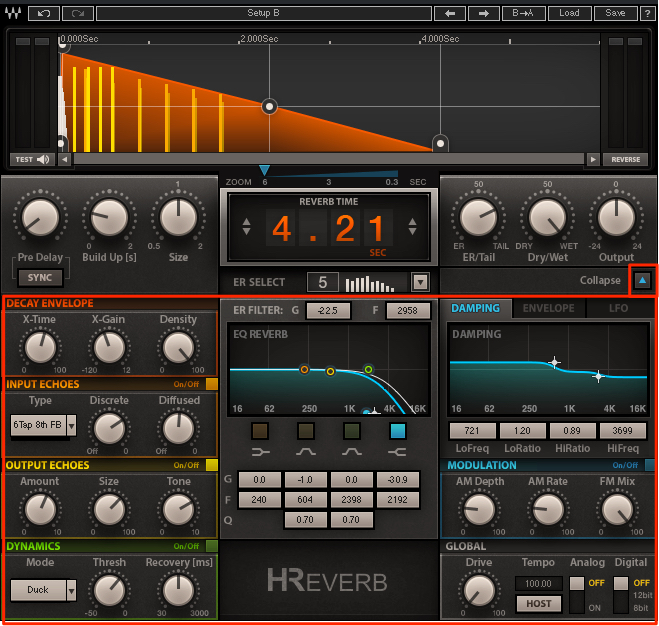
Select the area outlined in red.
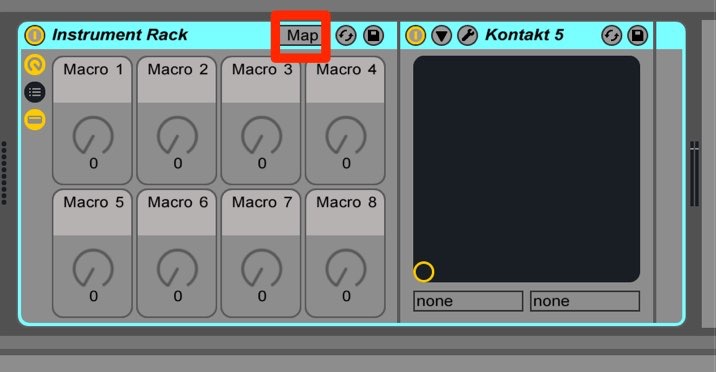
Next, select “Map.”
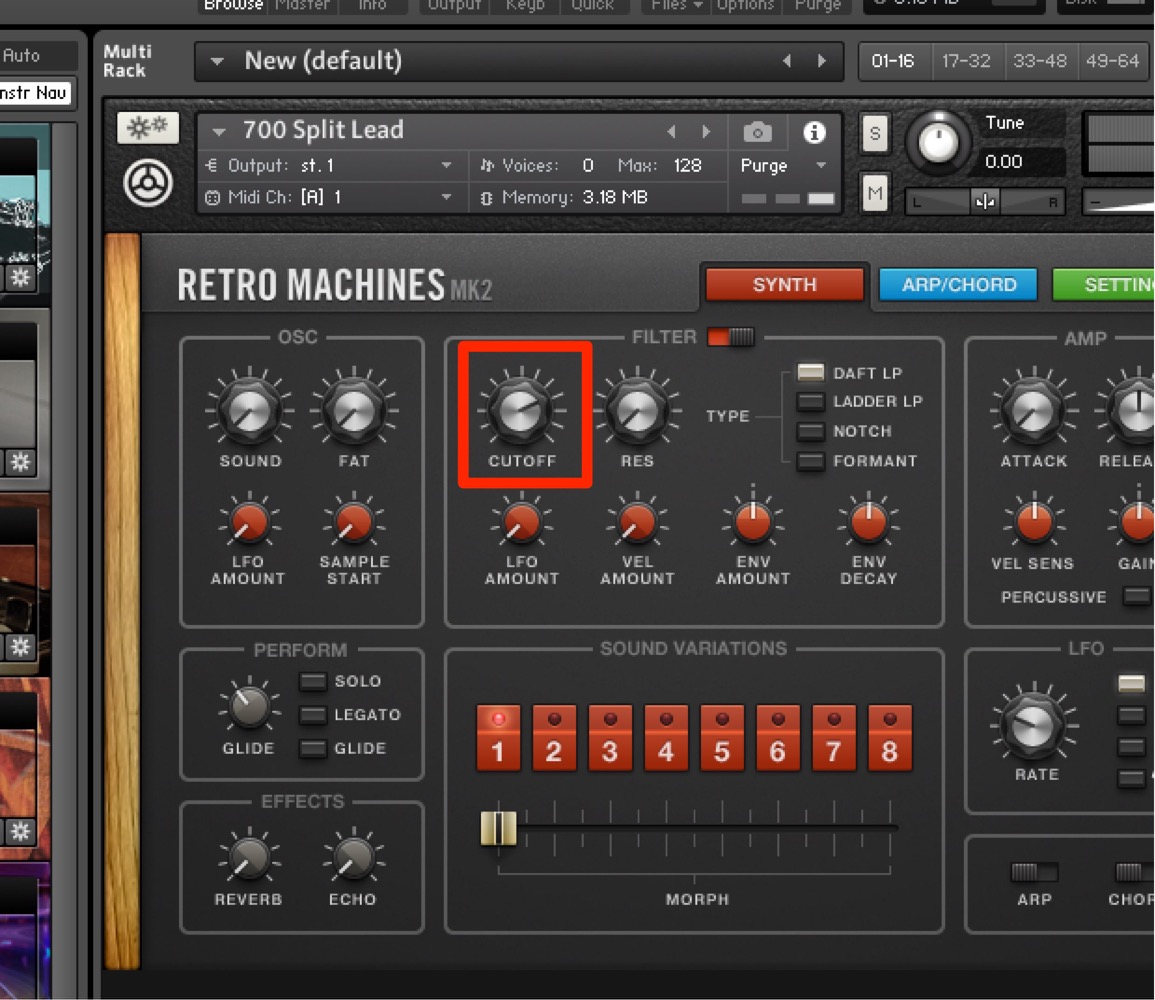
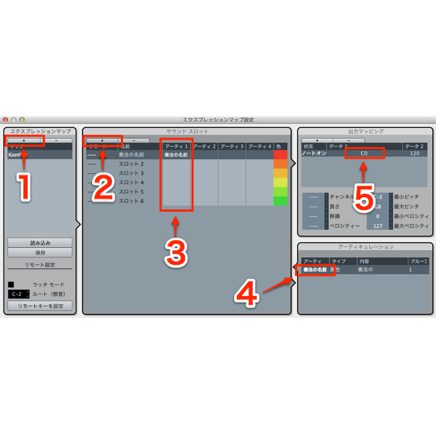
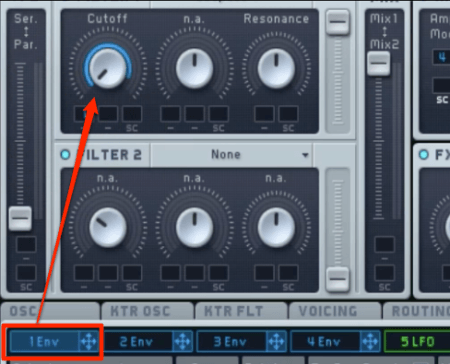
Click the knob you want to control,
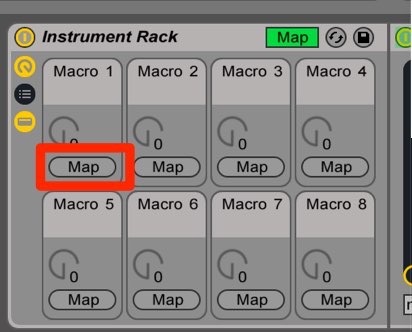
then click “Map” on the Macro Control.
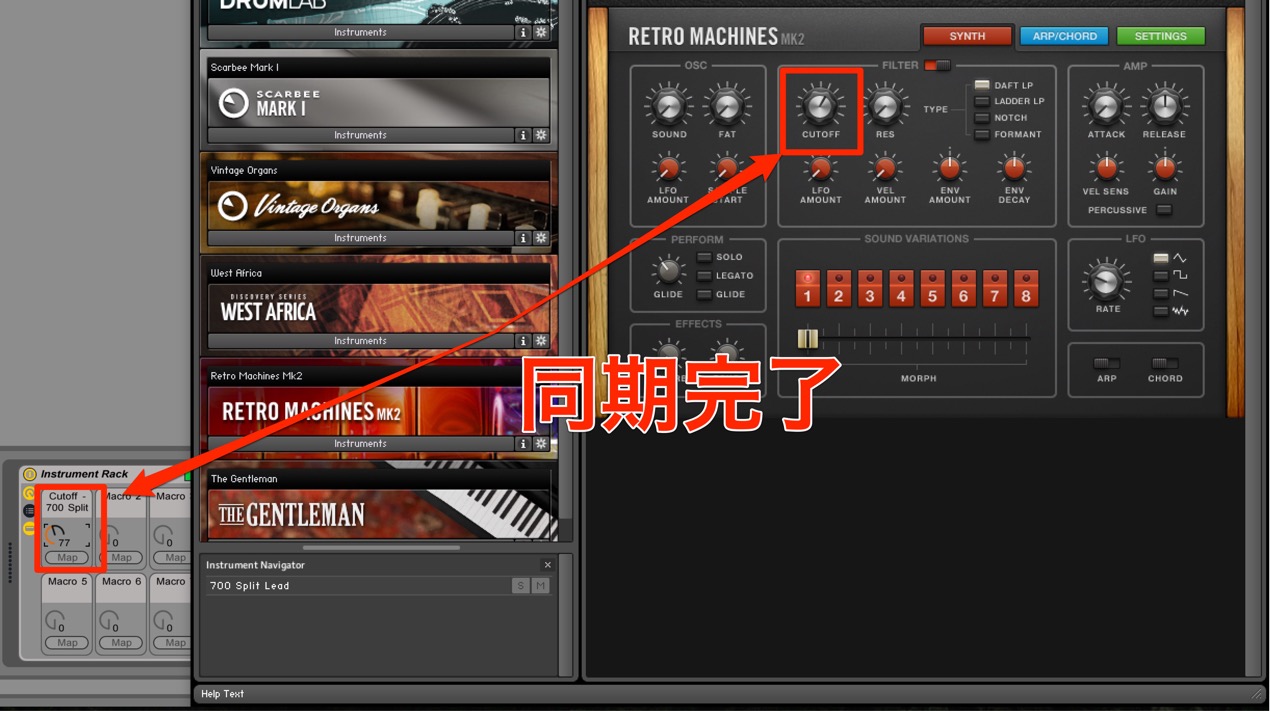
The parameter and macro are now mapped.
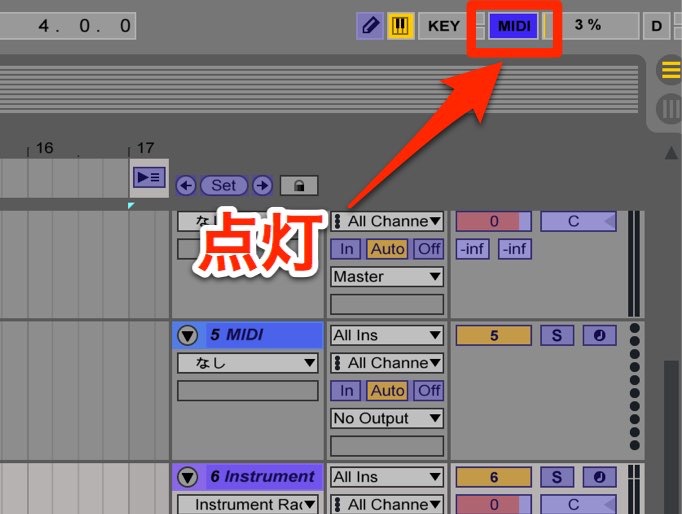
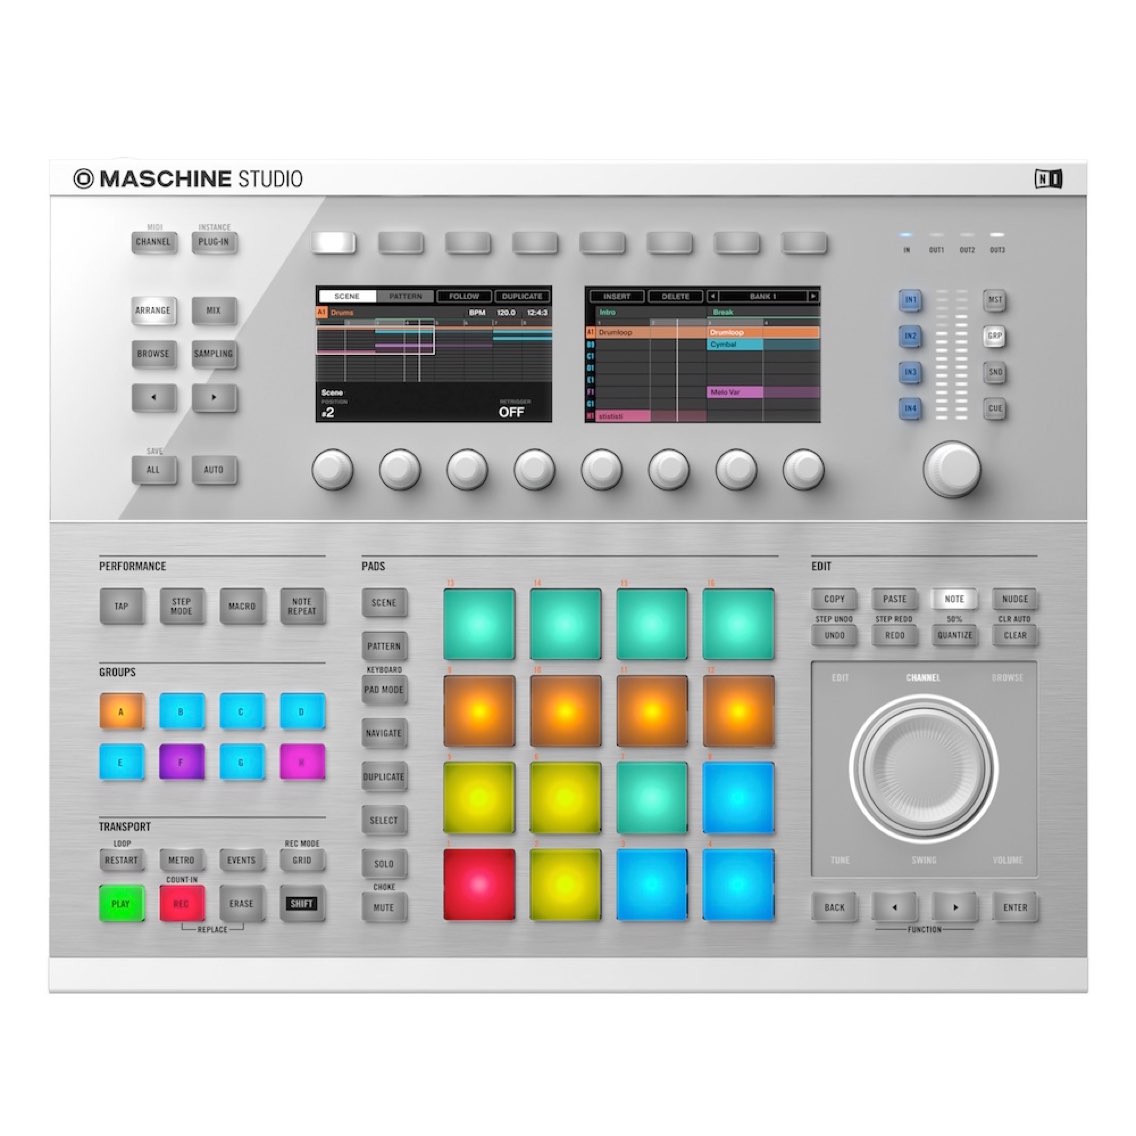
Turn on “MIDI.”
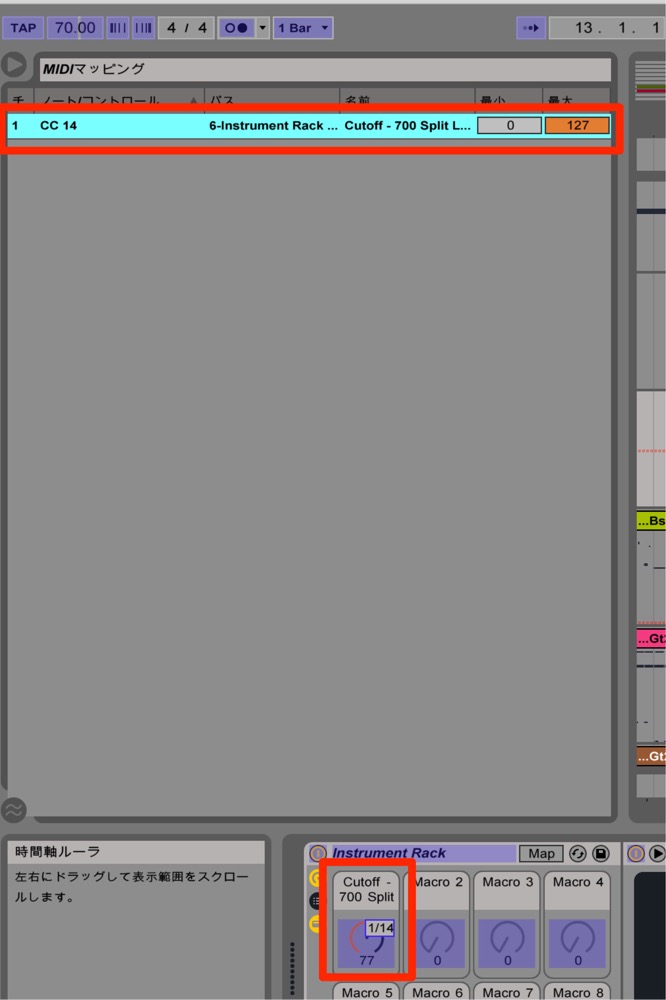
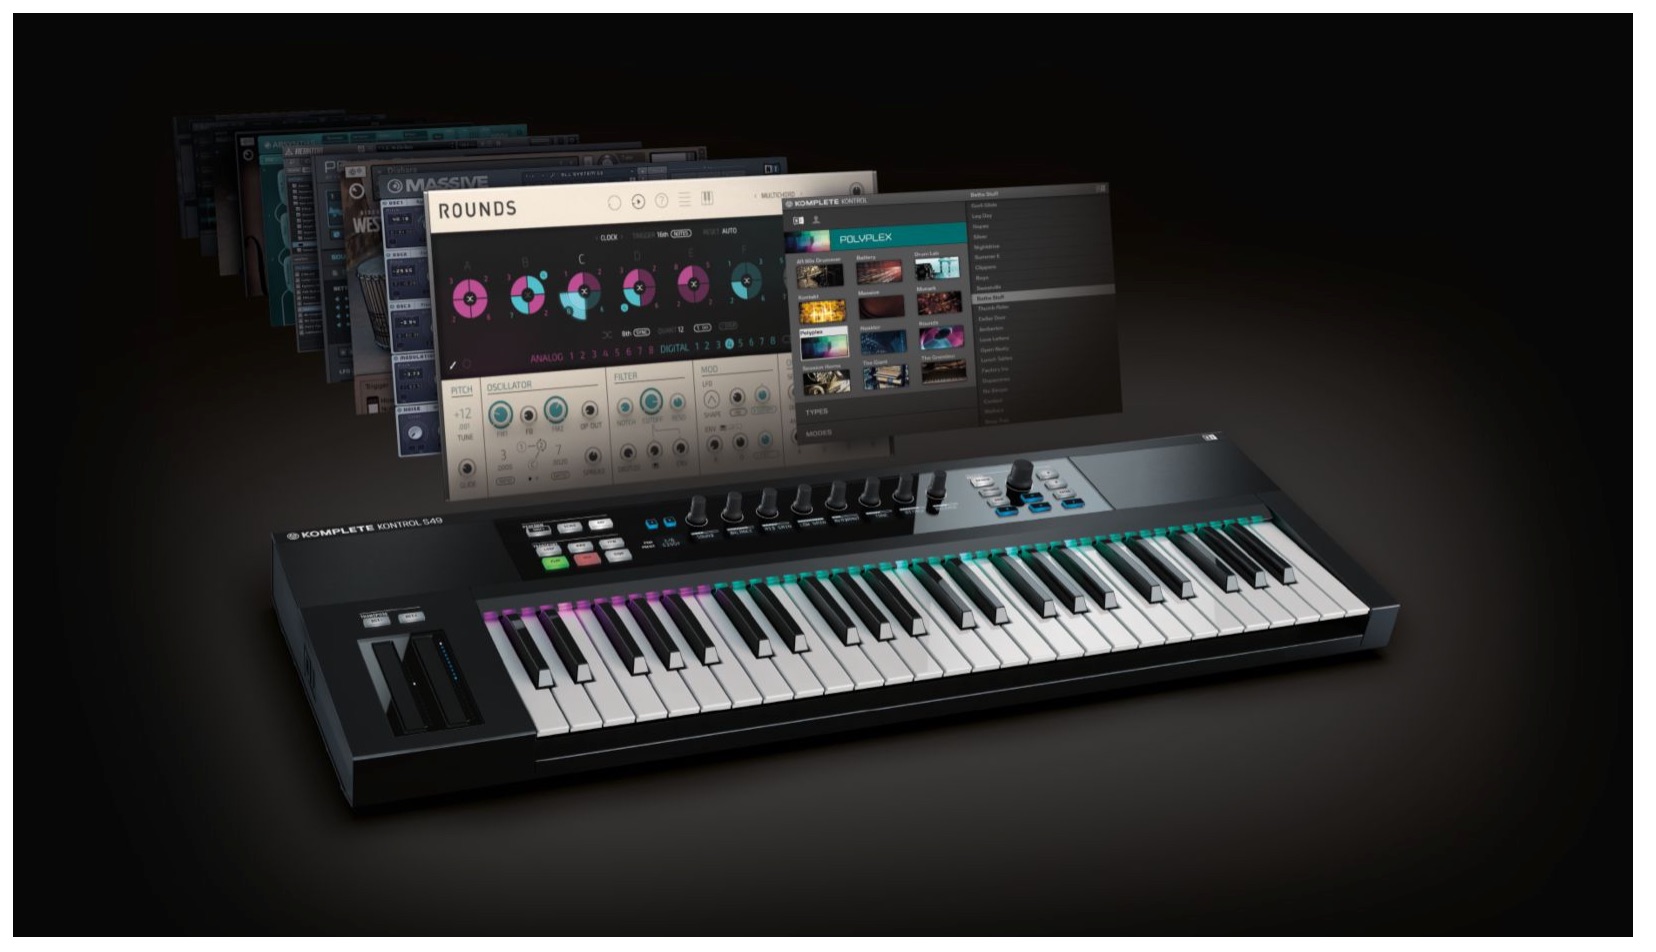
Move the hardware knob you want to assign to complete the mapping.
Video Point: Record Automation
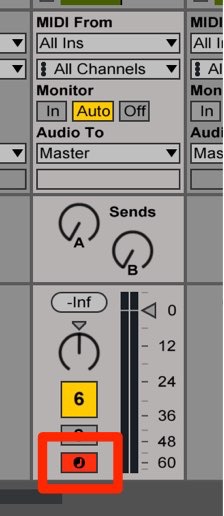
Click the arm button on the track you want to record so it lights up.
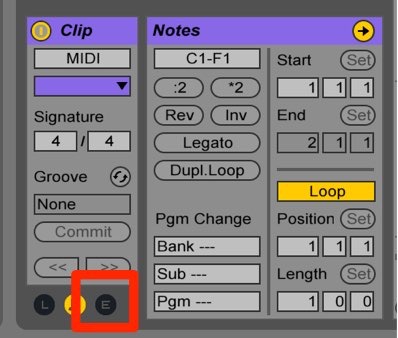
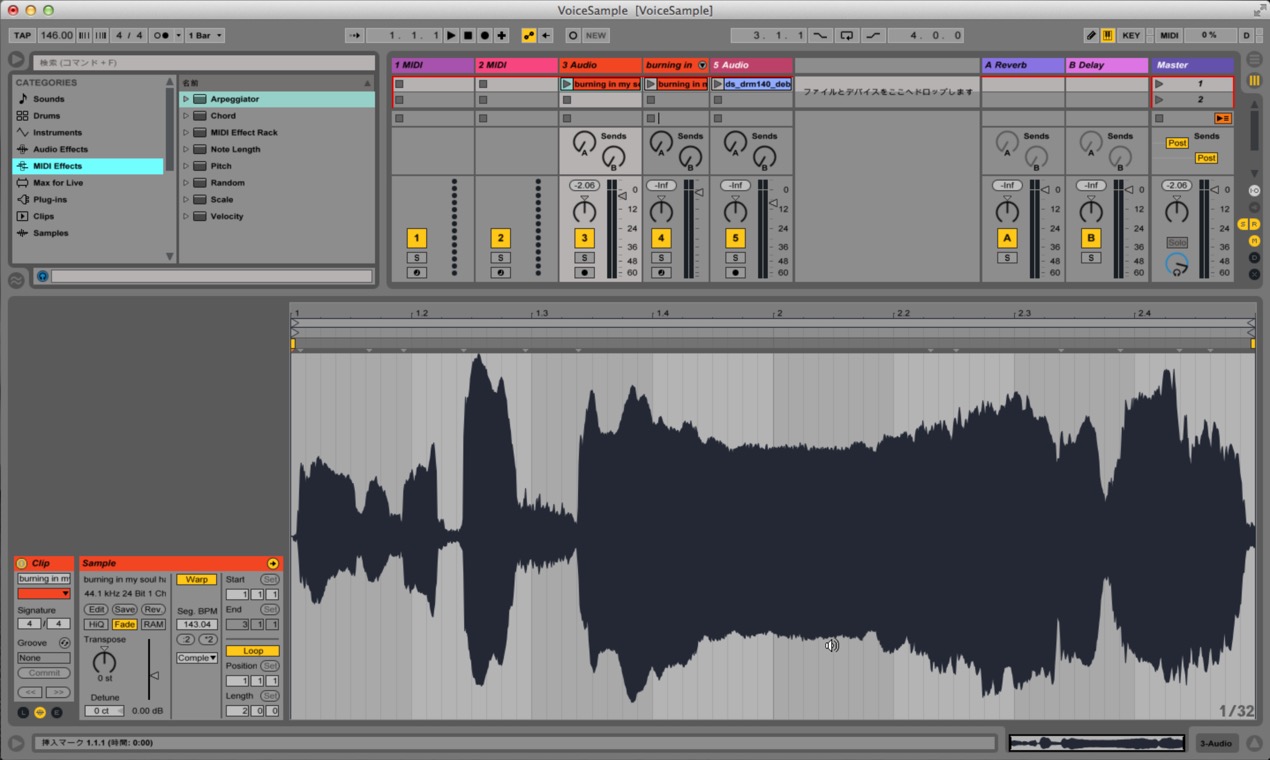
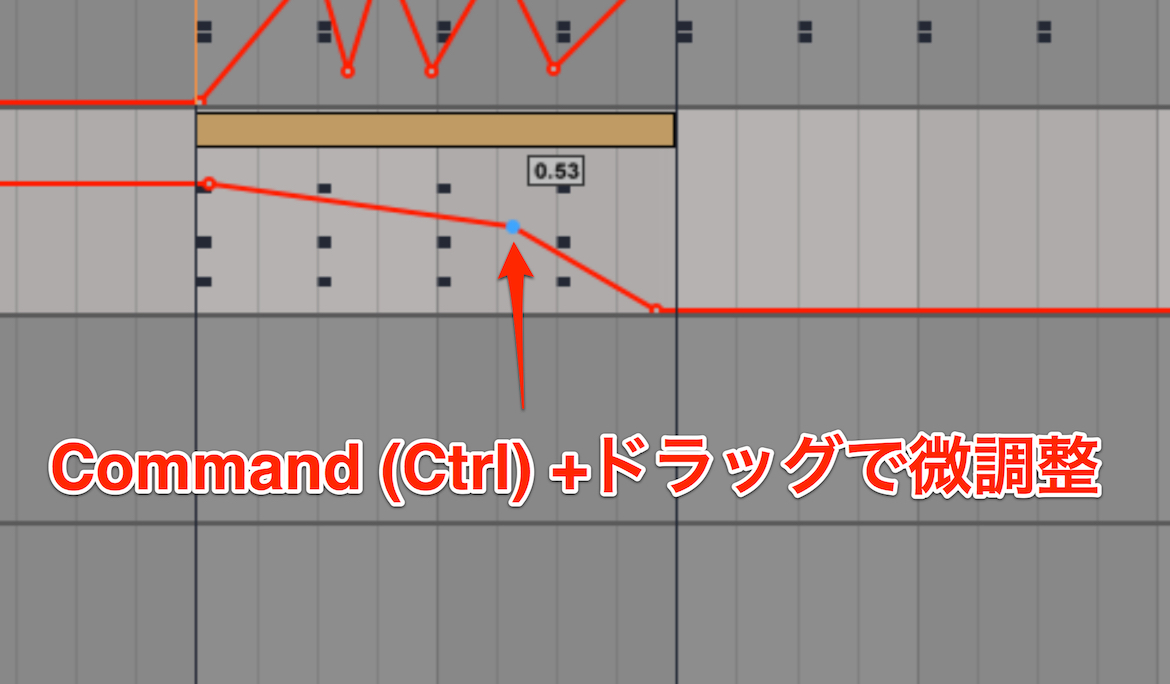
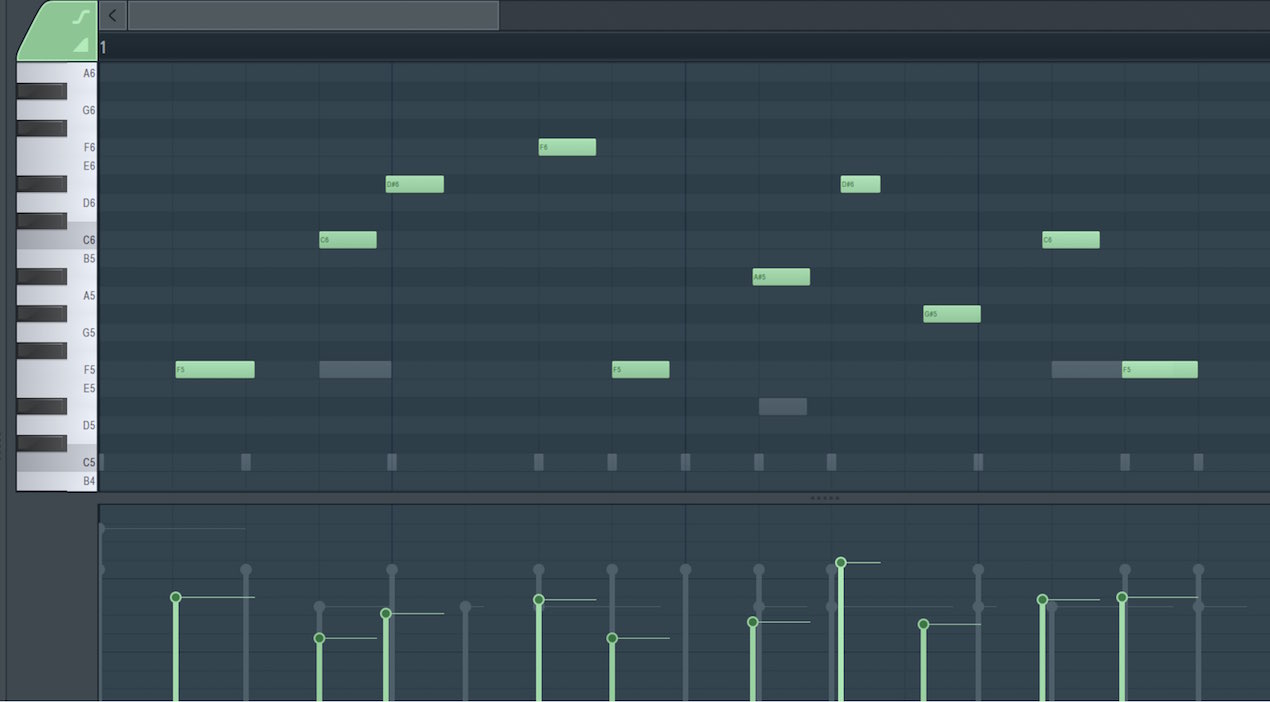
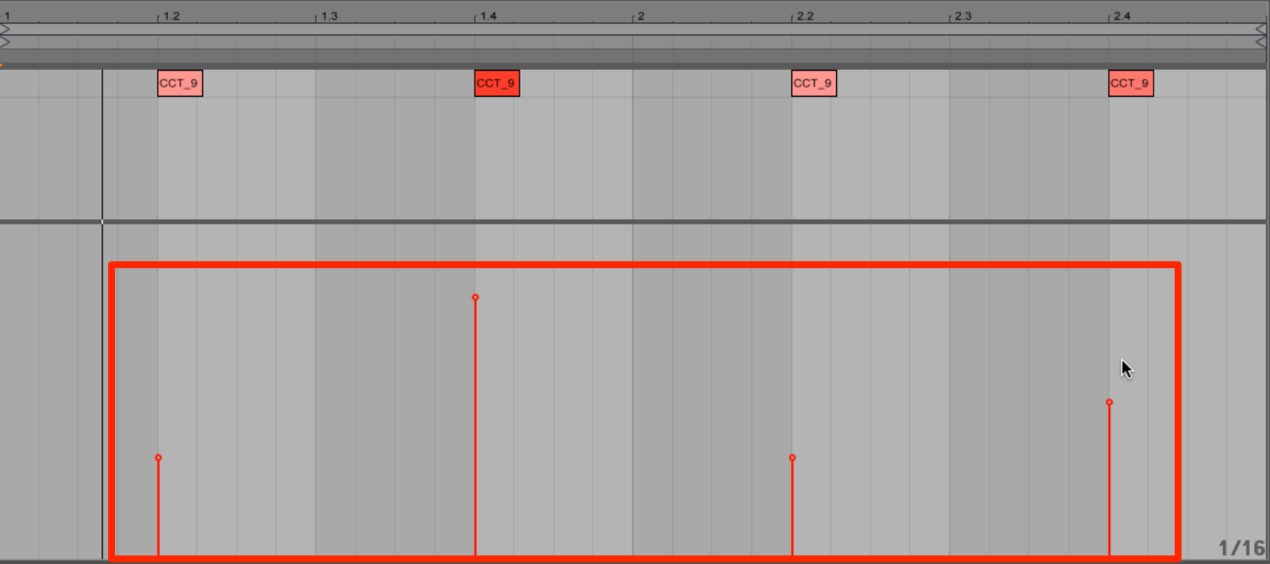
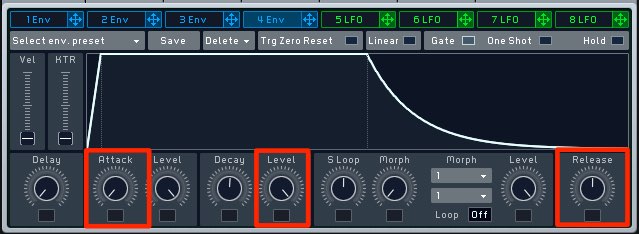
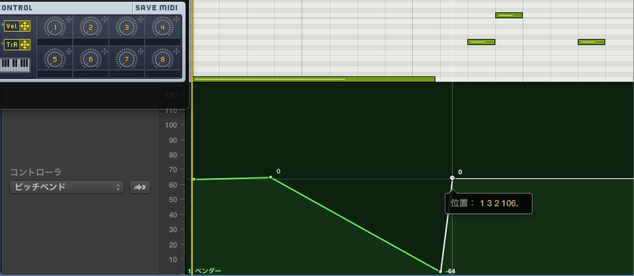
Click the clip’s “E” button to open its envelope view.
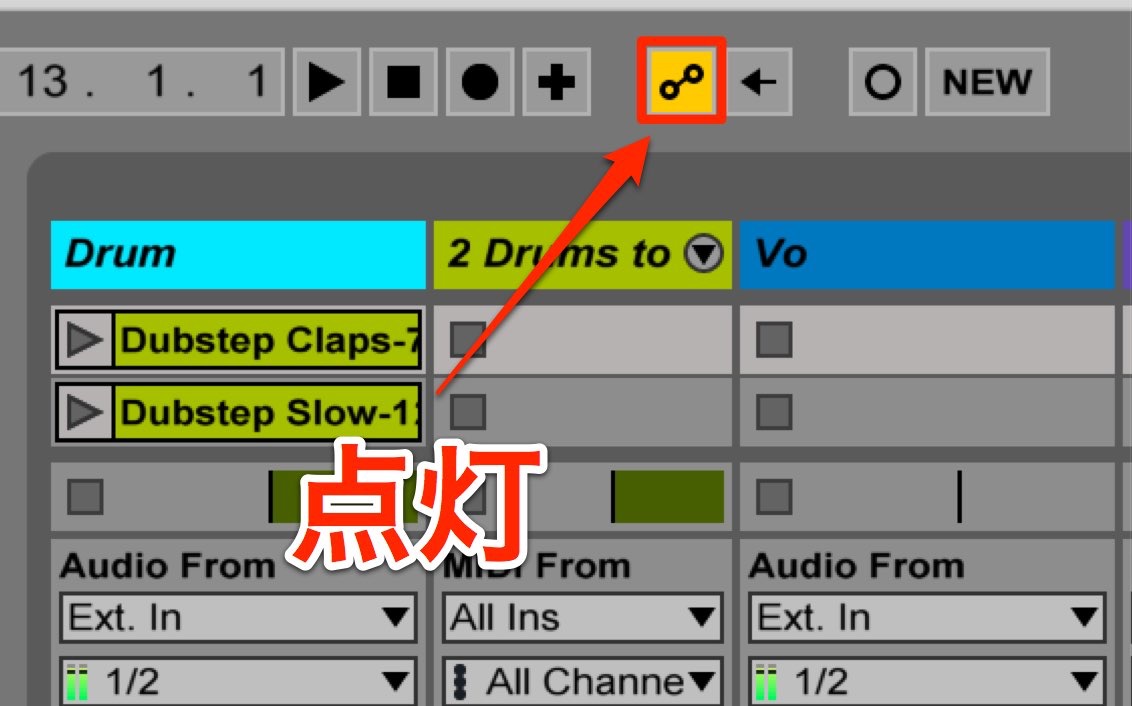
Then enable “Session Automation Arm,” outlined in red at the top.
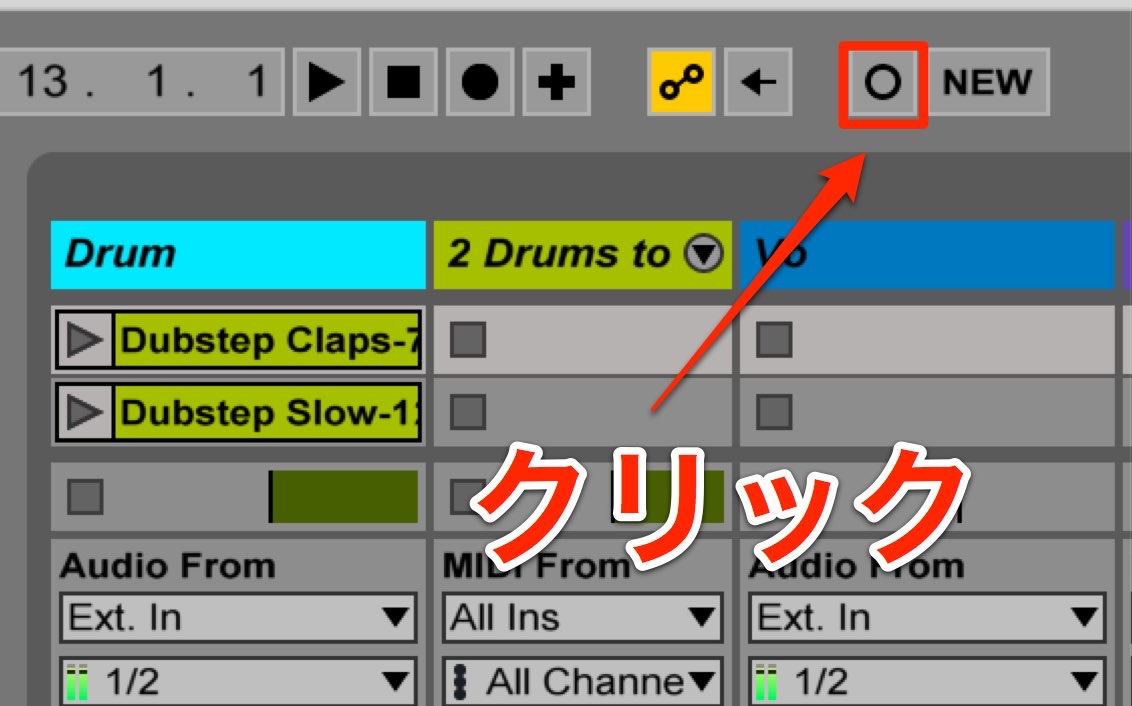
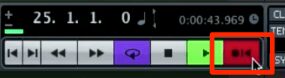
Next, press the button outlined in red.
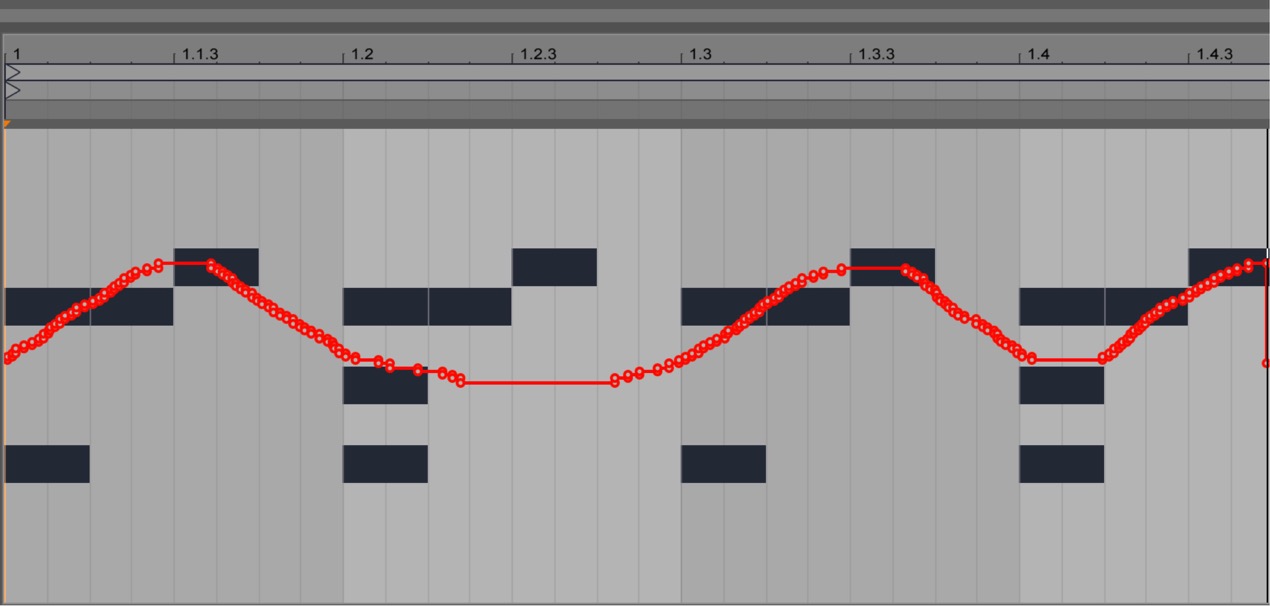
Move the knob assigned above, and its movements will be recorded.
Frequently Asked Questions
Q1. What is Session automation in Ableton Live 9?
It lets you record parameter changes directly into clips. Unlike track automation, this allows effect and instrument controls to be automated at the individual clip level for detailed sound changes.
Q2. What equipment is needed for Session automation?
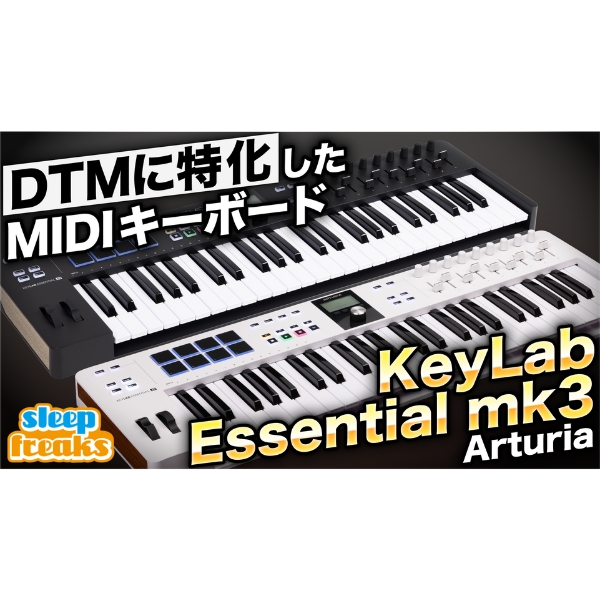
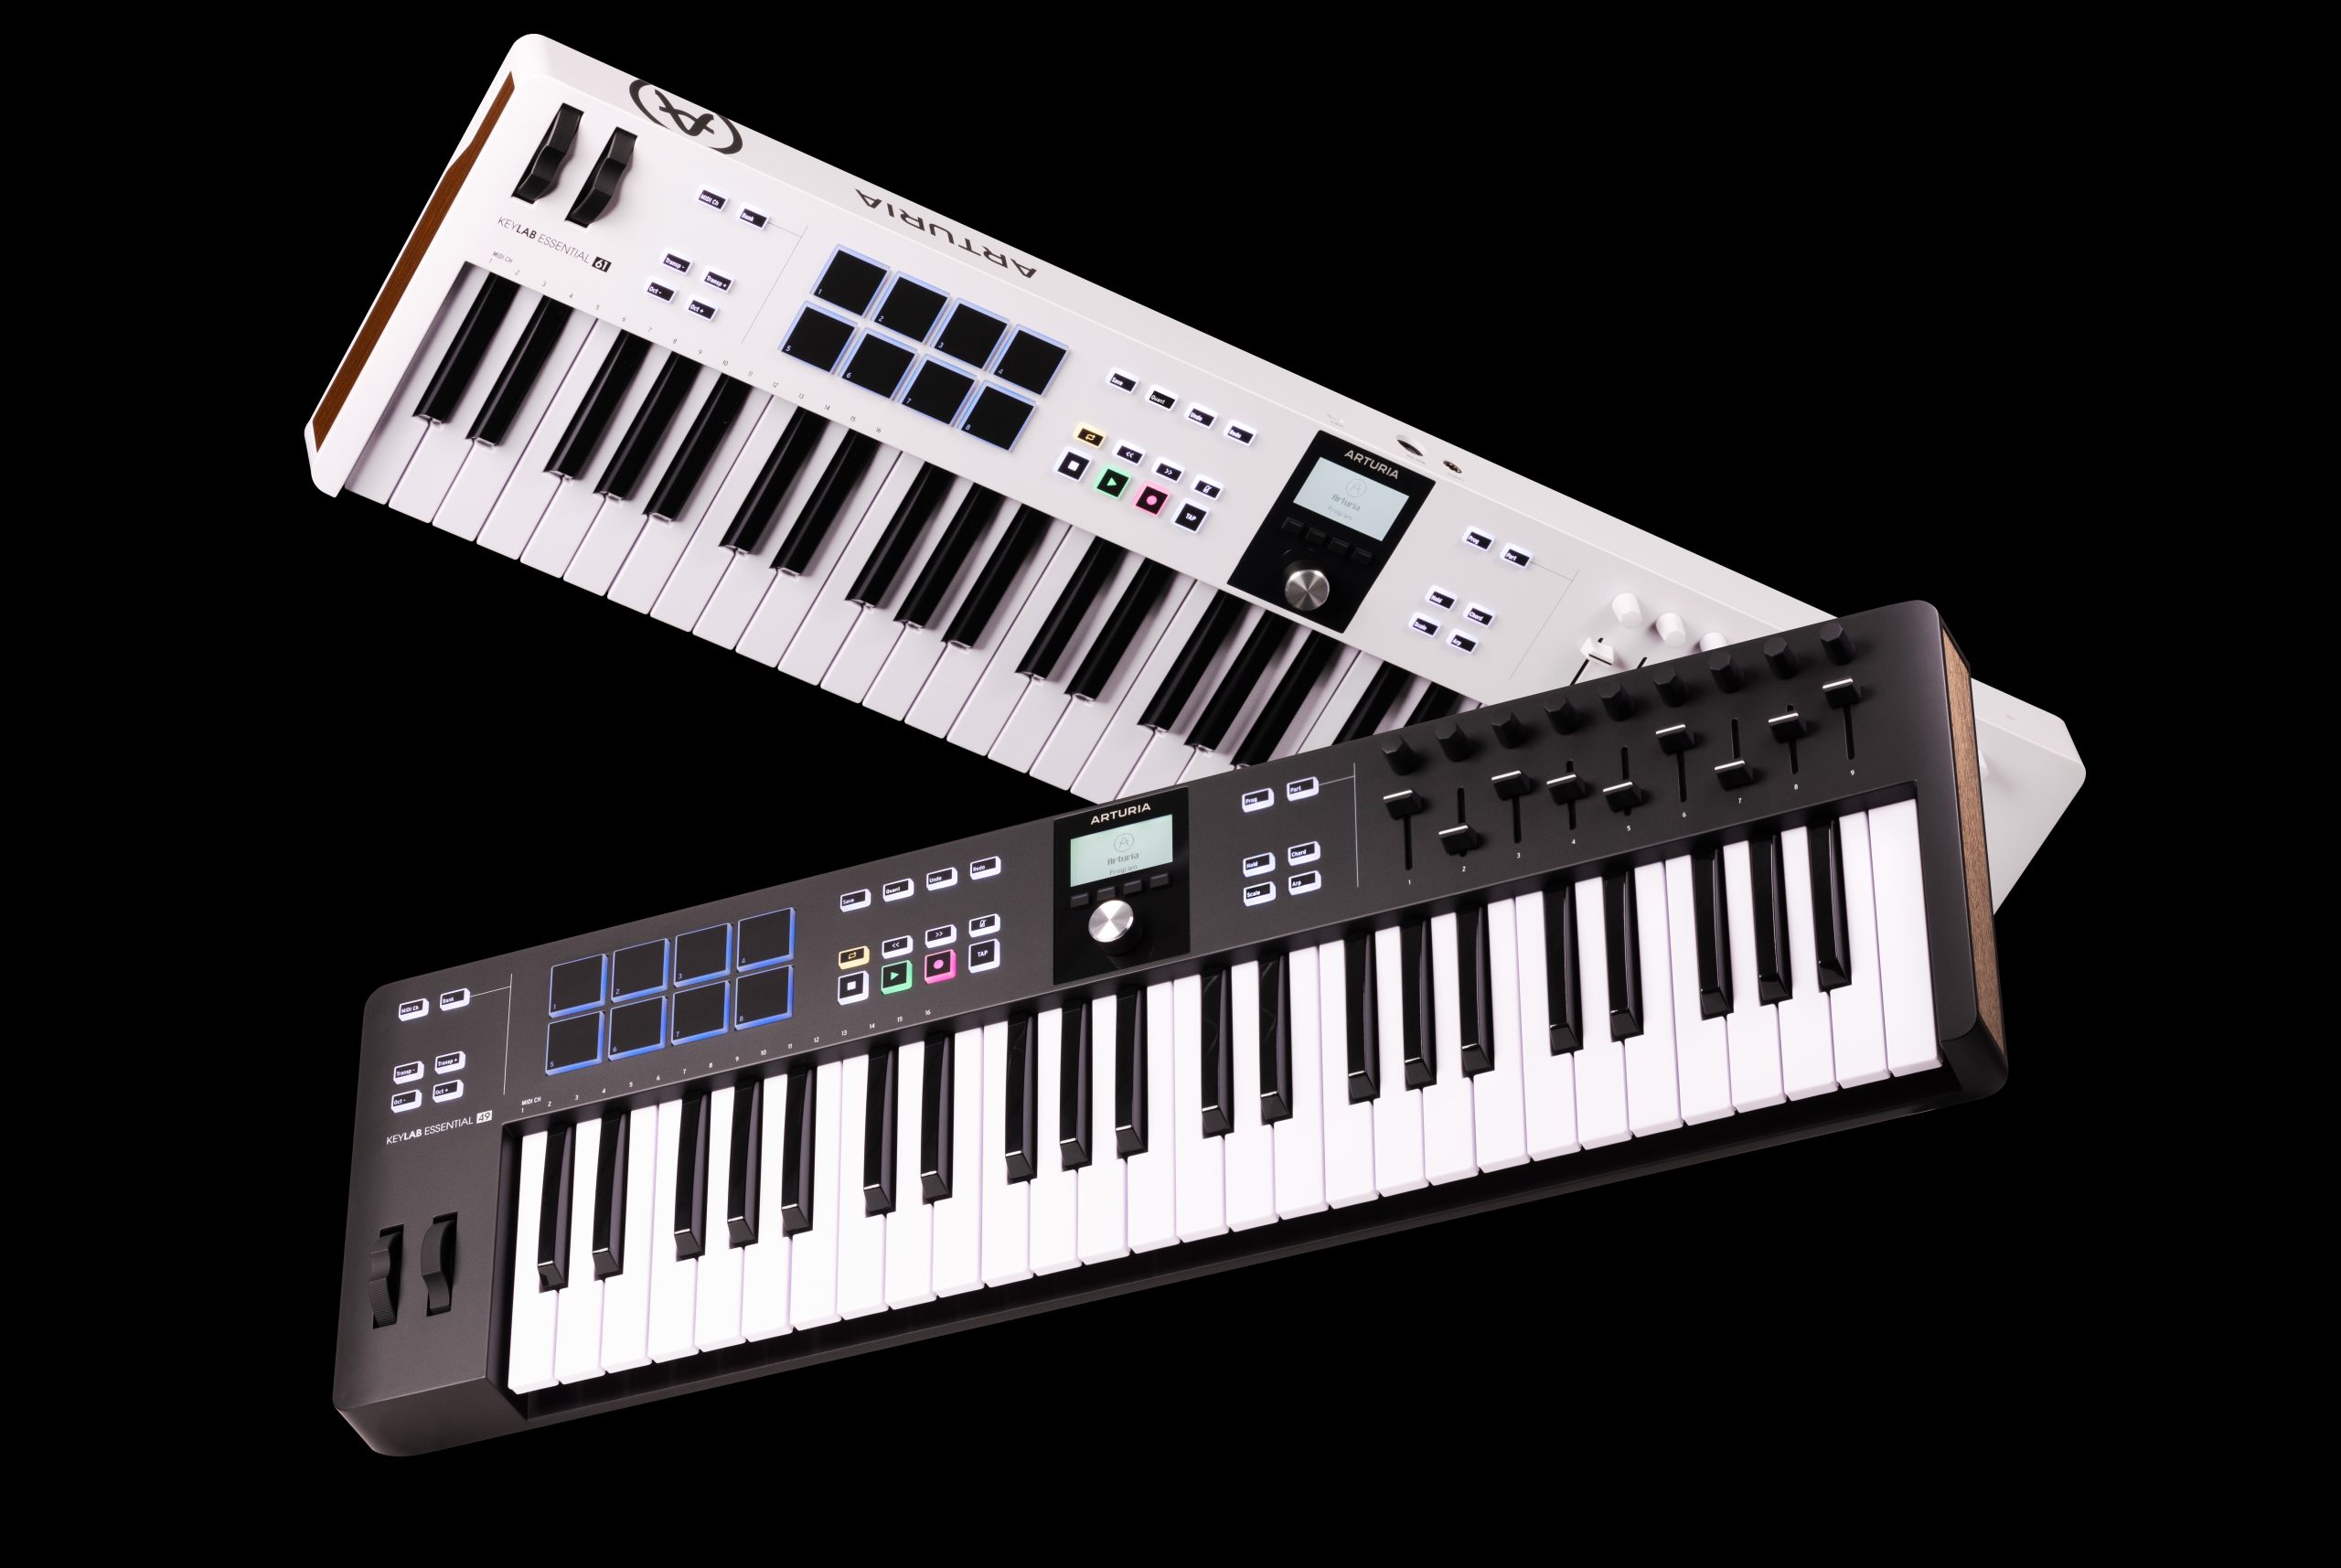
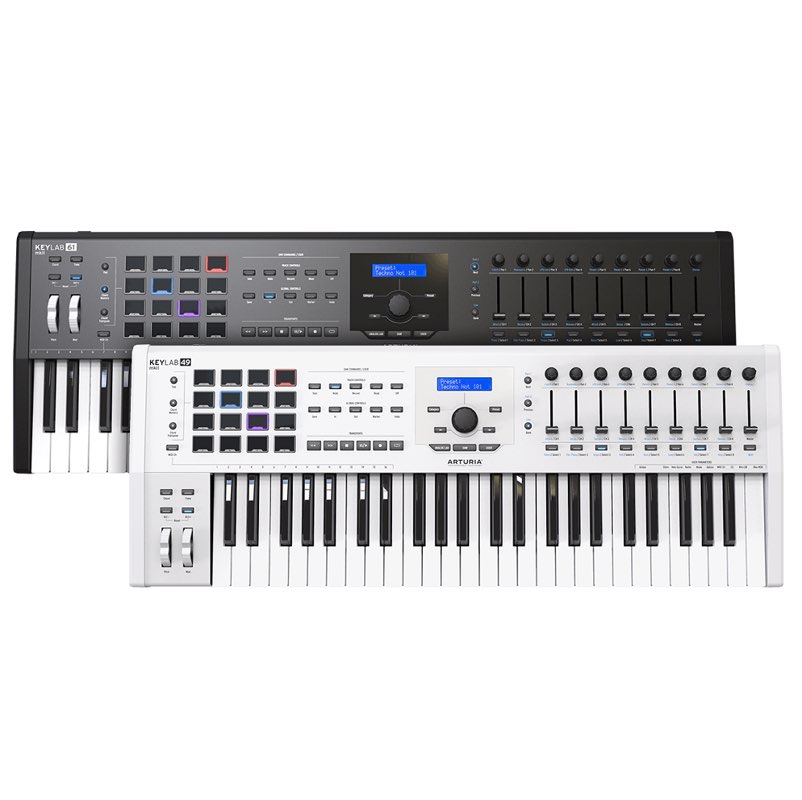
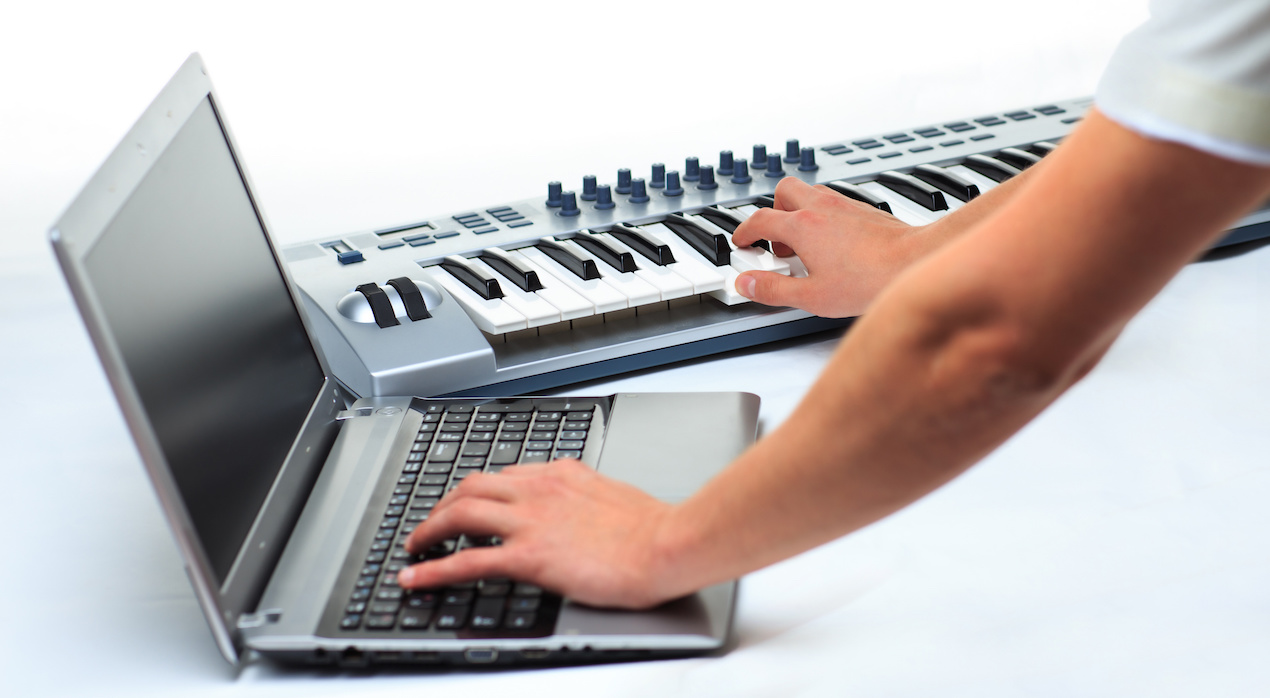
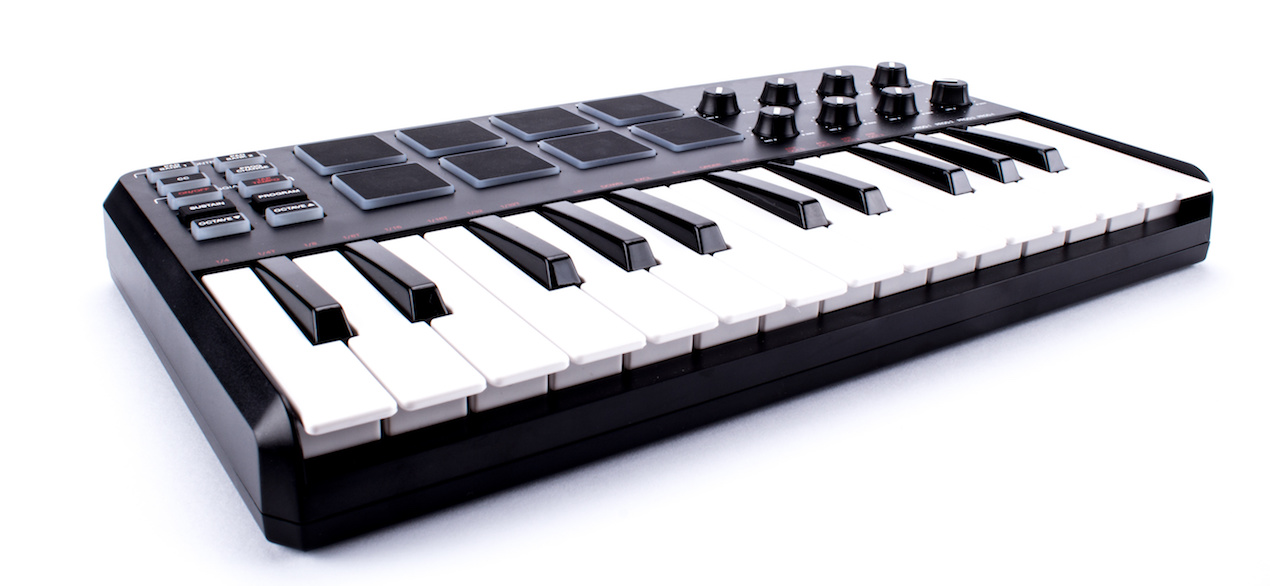
The controller-based method shown here uses MIDI hardware such as a controller or keyboard. Configure the device in Live 9’s Preferences and enable Remote to record knob or fader movements. A hardware controller is not required for Session automation itself: you can also adjust controls or draw clip envelopes with the mouse.
Q3. What should I check when recording automation?
In the workflow shown, arm the target track, open the clip envelope view with “E,” and enable Session Automation Arm before recording. The E button opens the envelope display; it is not itself a recording switch. Live also offers other recording configurations.
NEW ARTICLES
Latest English Articles