Cubase loop recording lets you select the best performances from multiple takes and efficiently create a polished composite take. If one take starts well but another has a stronger ending, you can combine only the best parts of each for a professional result. The exact procedure depends on your Cubase version, but the Keep History and Stacked settings, the Comp tool, and lane display let you assemble vocal, guitar, and other recordings visually and intuitively.
Easily select from multiple takes
Loop recording saves all your recorded takes,
so you can select and combine the best parts after recording.

This is useful when, for example, a take starts well but the ending needs work.
This article will help you understand the process:

- Cubase 7 and later
- Cubase 6 and earlier
Creating a best take in Cubase 8
First, set the recording modes.
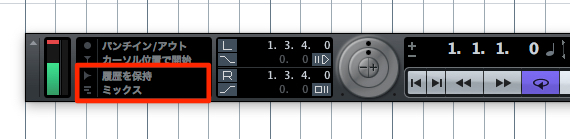
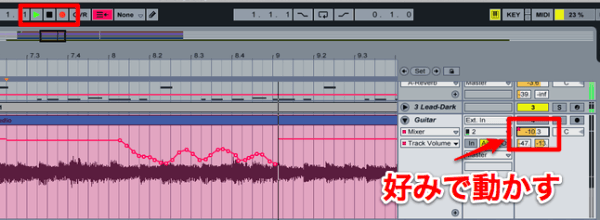
Check the area outlined in red on the Transport panel.
The upper setting is for audio recording and the lower one is for MIDI recording.
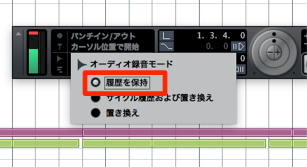
For audio, select Keep History.
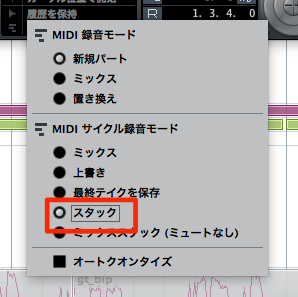
For MIDI, select Stacked.
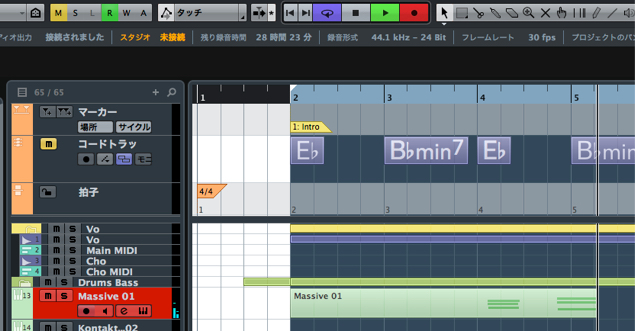
Perform loop recording as usual.
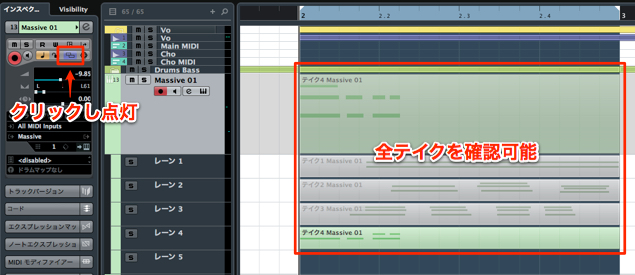
Click the area outlined in red on the recorded track.
You can then see all the takes.
- Takes lower down are more recent.
- Gray events are muted.
At this point, only the most recent performance plays. - The selected take is shown at the top.
Selecting takes
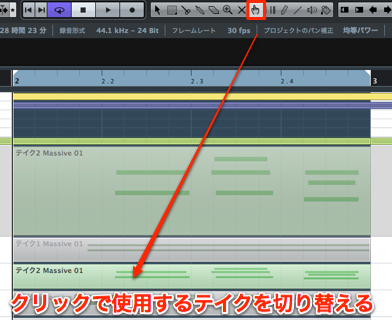
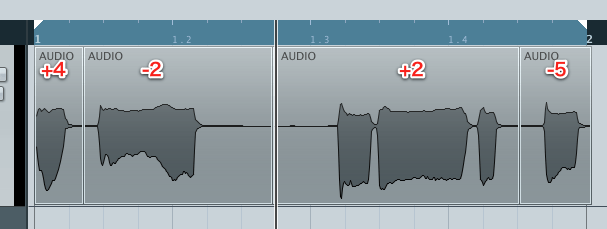
Select the Comp tool and click the event you want;
that take will play in the project.
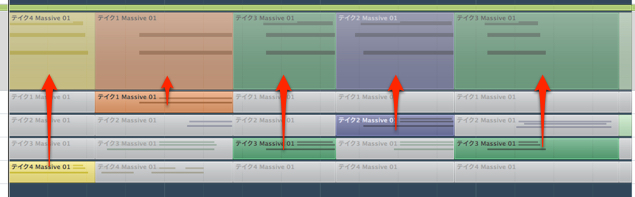
Mac: Option / Windows: Alt
Hold this key and click an event to split it.
Use the Comp tool to click the sections you want from each take
and easily create a composite take.
(The takes are colored here to make them easier to distinguish.)
Creating a best take in Cubase
Perform loop recording as usual.

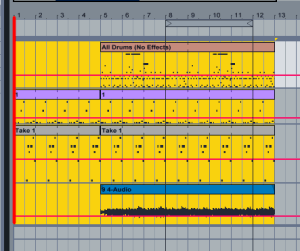
↑ After recording, click the Show Lanes button outlined in red
to display all the takes created by loop recording.
In this older-version workflow, takes are displayed with the newest take at the top.

↑ Use the Scissors tool to split the sections you want to use on each track.
The colors have been changed for clarity.
Drag the split sections down to the bottom take.

↑ Then turn off lane display to create a best take like the one shown.
- Cubase 7 and later
- Cubase 6 and earlier
Frequently asked questions
Q1. Which settings should I select to keep multiple takes when loop recording?
In the Cubase 8 workflow shown here, select Keep History for audio recording and Stacked for MIDI recording. These settings are available in the Transport panel.
Q2. How are older and newer takes displayed when creating a best take in Cubase?
The order depends on the version and workflow: in the Cubase 8 example above, newer takes appear farther down, while the older-version example shows the newest take at the top. Lane display lets you compare and select the takes visually.
Q3. How can I combine only the parts I want from multiple recorded takes?
Use the Comp tool to select the best sections of each take, or use the Scissors tool to split them and mute or remove unwanted sections, creating a seamless composite take.
NEW ARTICLES
Latest English Articles