Composer Yusuke Shirato shares his practical arranging workflow, from building the drums to shaping bass, piano, guitar, and strings. Learn how he adjusts snare pitch, MIDI velocity, voicings, and the interaction between instruments. Beginning and intermediate producers can apply these concrete techniques to make their own arrangements more engaging.
Yusuke Shirato Shares His Arranging Workflow
Here, I will arrange the song created in the first video.
There are many ways to arrange a song. I would like to show you a workflow based mainly on my own approach.
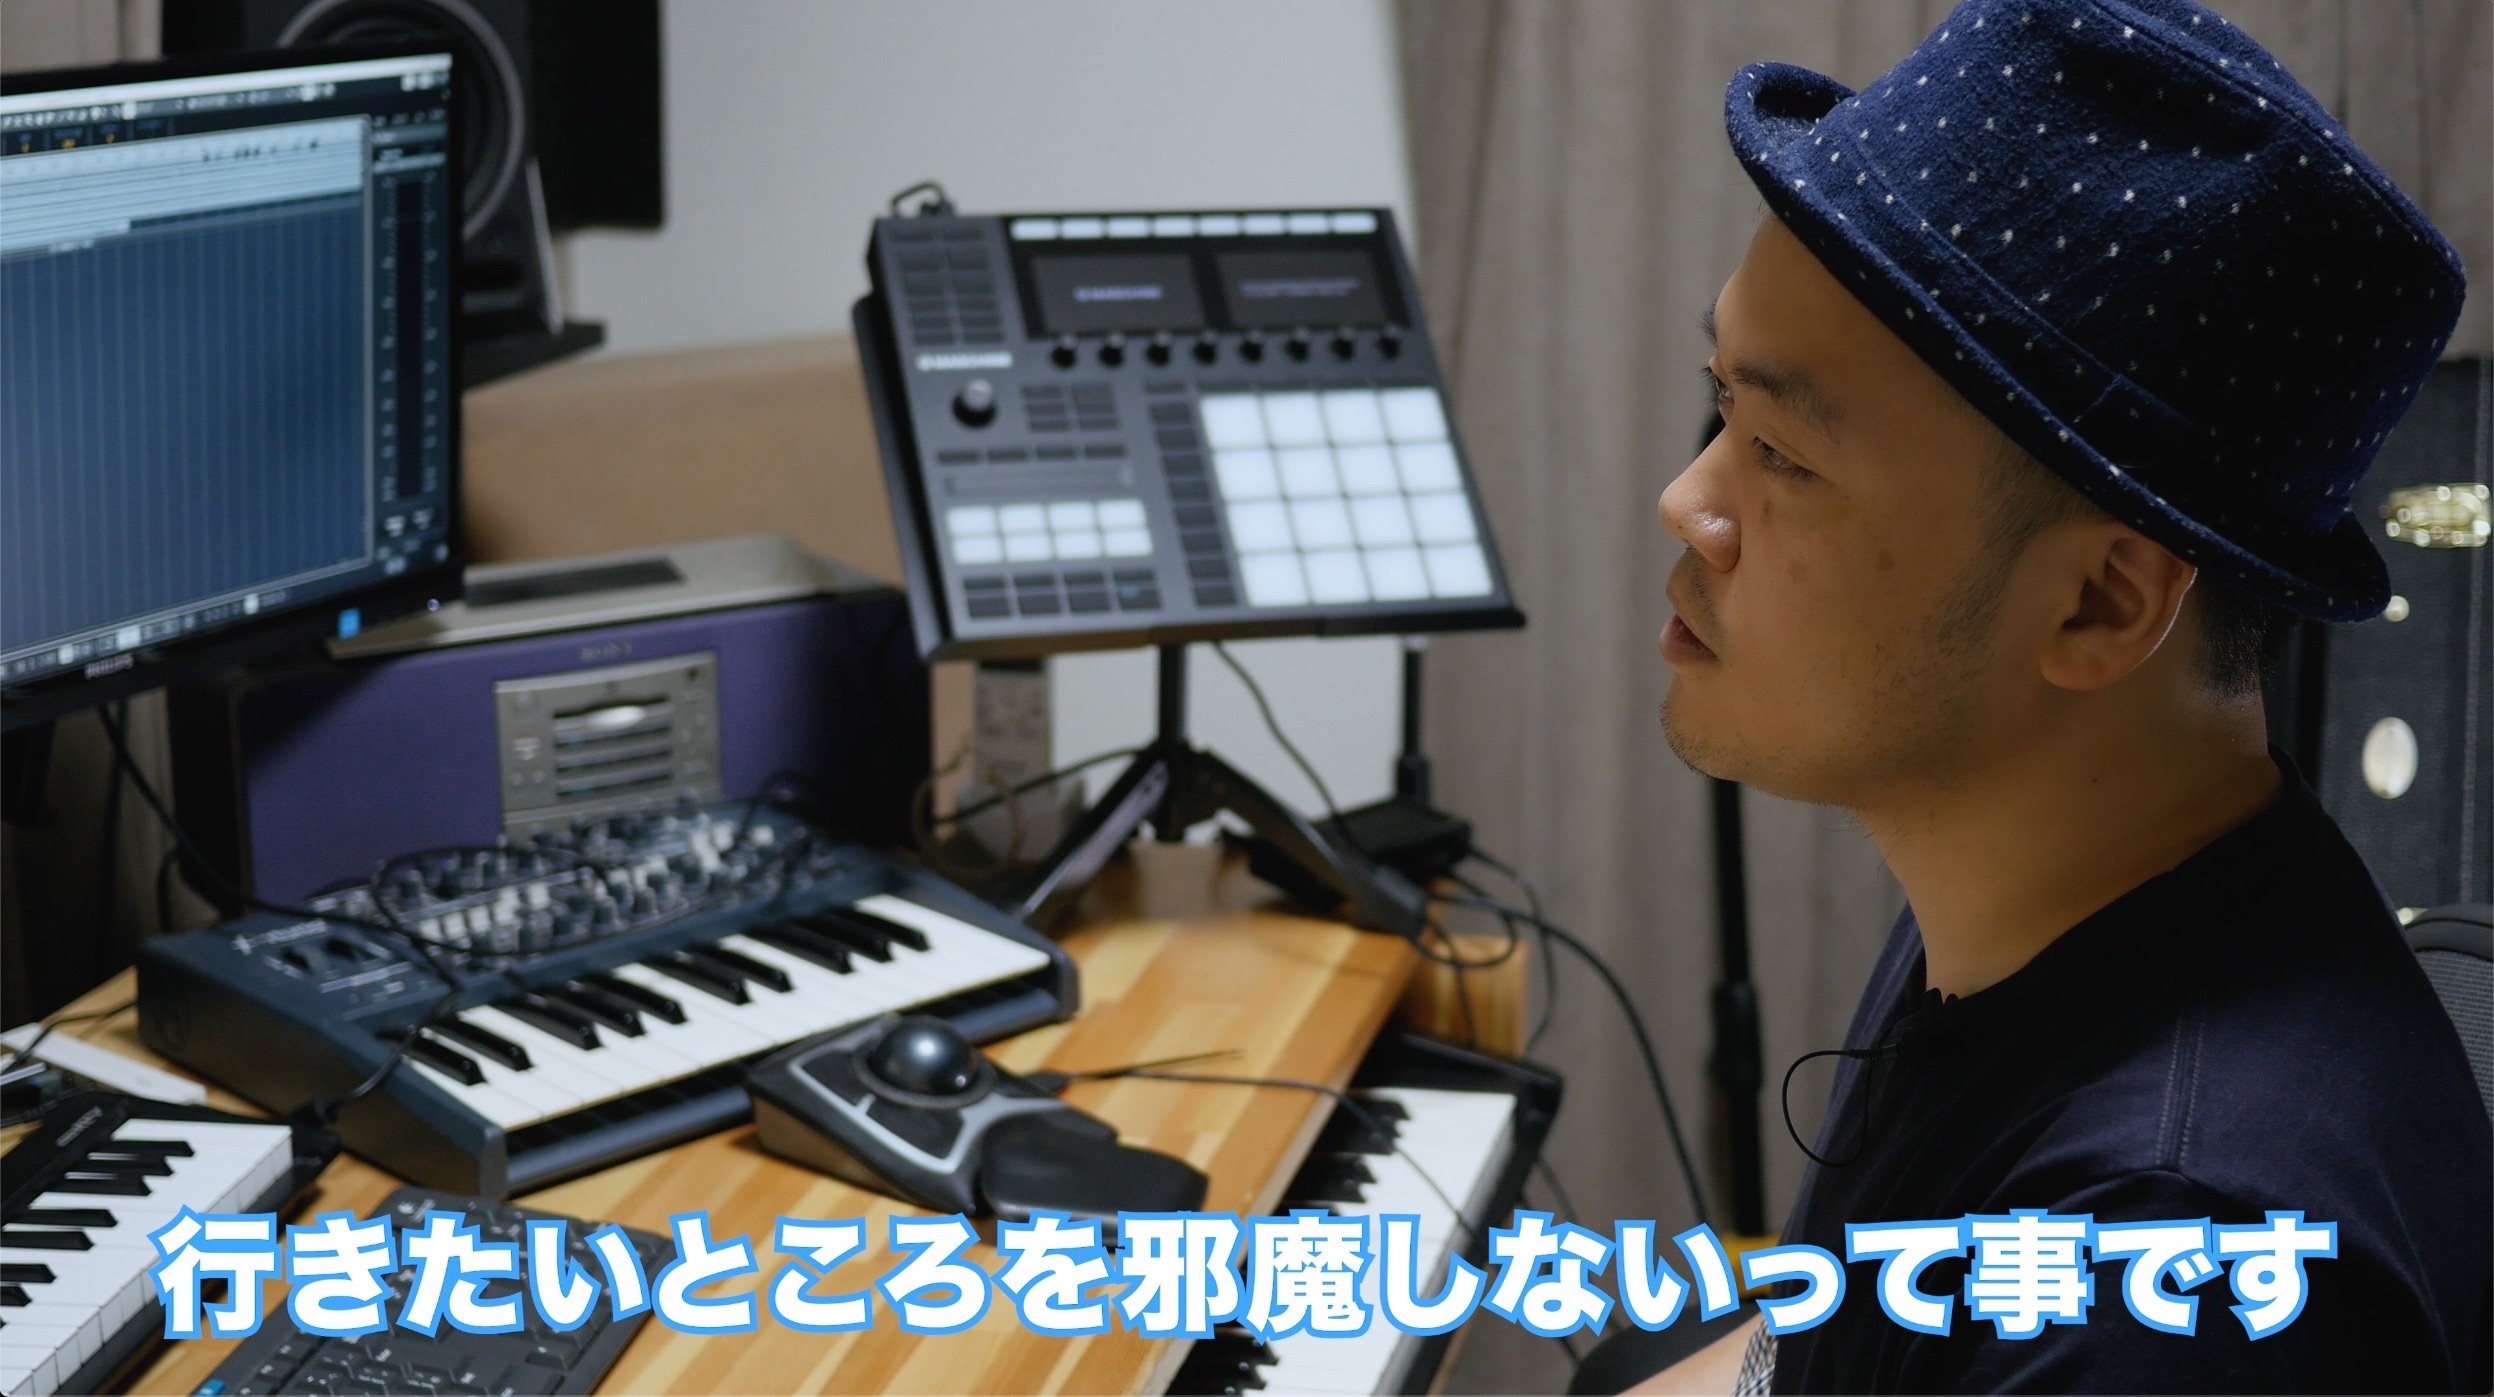
Since this is my own song, its concept and what I want to express are already clear. When arranging someone else's music, I focus on what the melody is trying to convey in relation to the chords.
It is especially important to support the direction the composer wants to take, without getting in the way.
Song Production: Arranging Video
Selected Questions and Answers from the YouTube Video
What fonts are used in this video?

The opening uses Kozuka Mincho Pro. The tutorial explanations use Hiragino Kaku Gothic StdN.
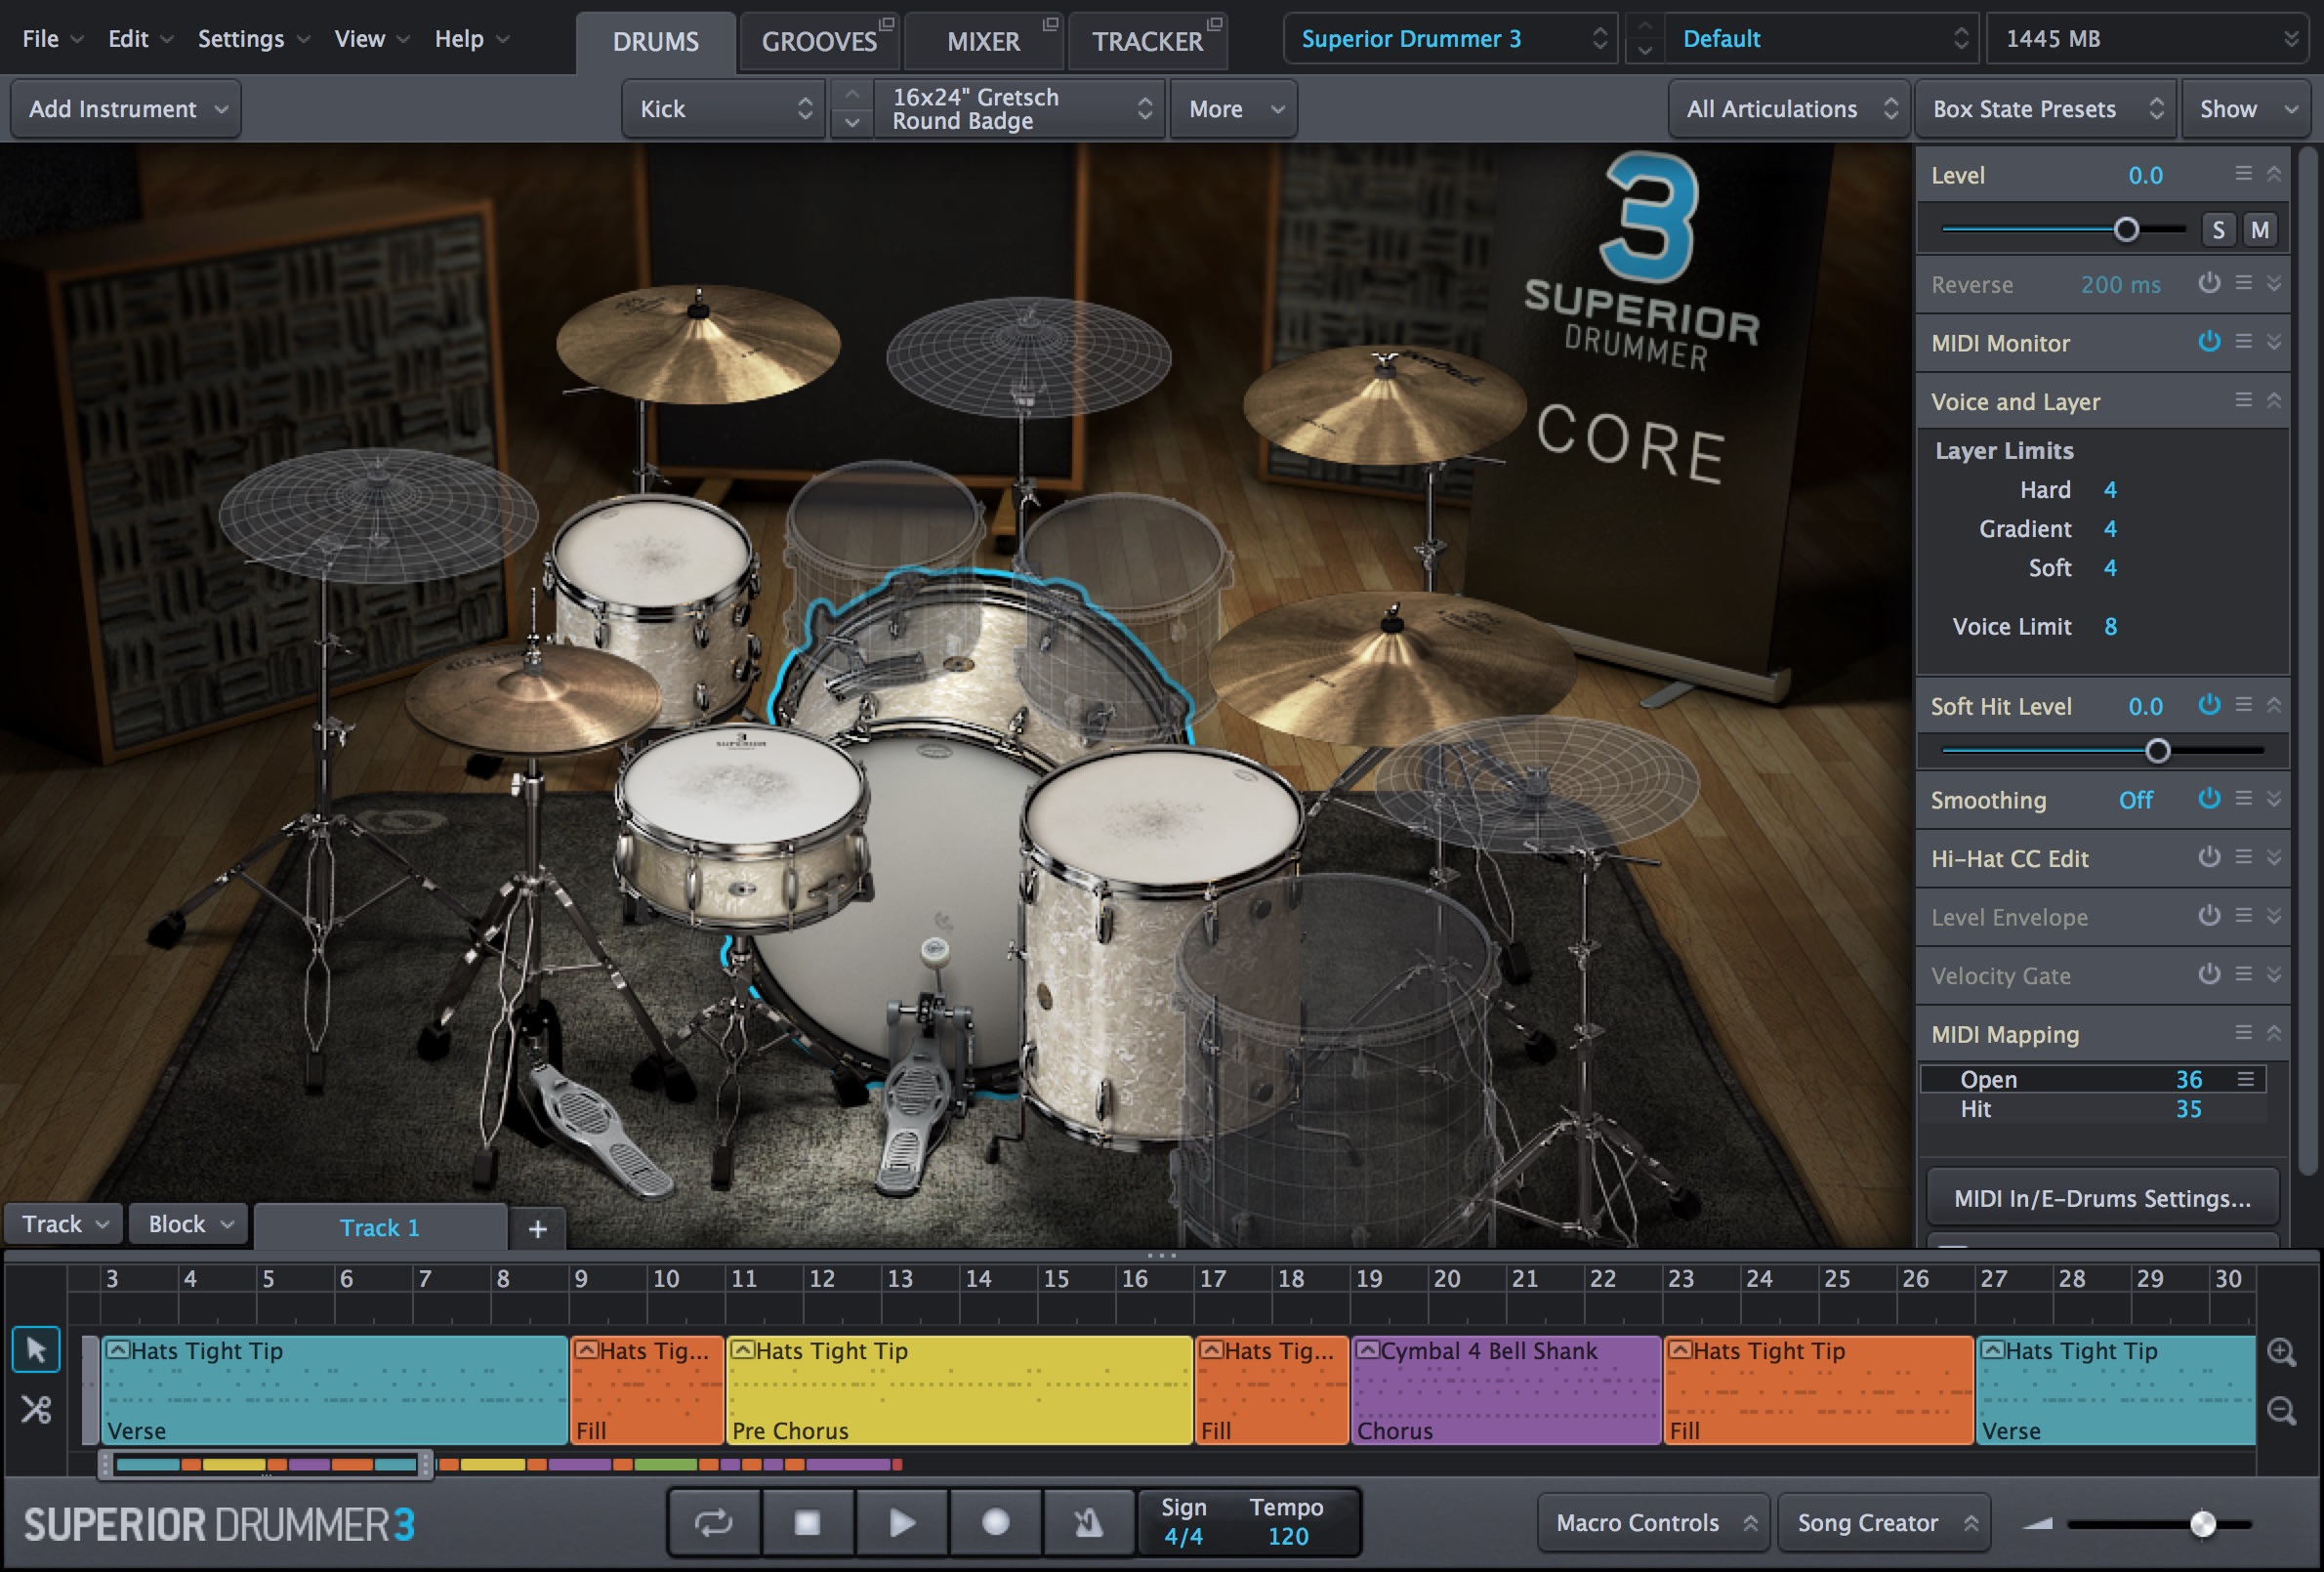
Which drum instrument are you using?
It is SUPERIOR DRUMMER 3. https://sleepfreaks-dtm.com/softsynth/superior-groove/
Sound Data for the Featured Song “TOMORROW”
The original announcement offered MIDI data, audio files, and project files for “TOMORROW” through the shop. The original shop link is retained; current availability has not been confirmed.

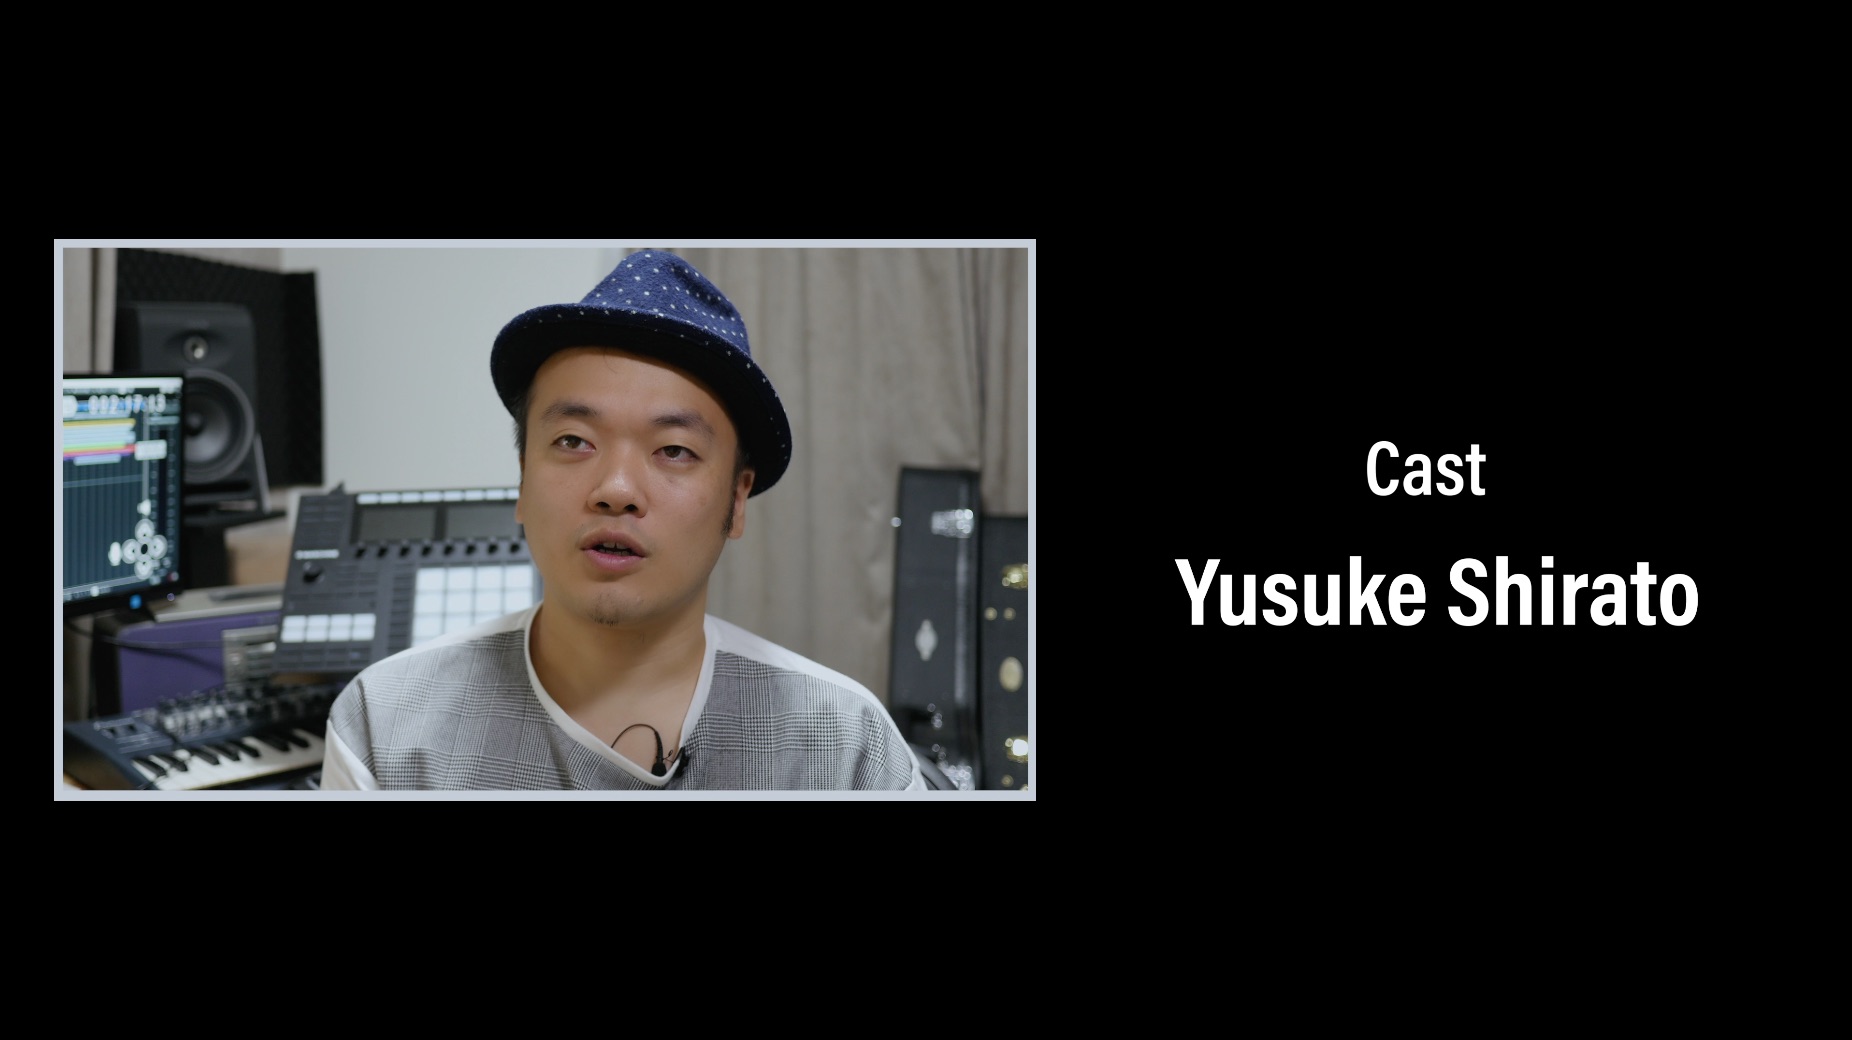
Yusuke Shirato
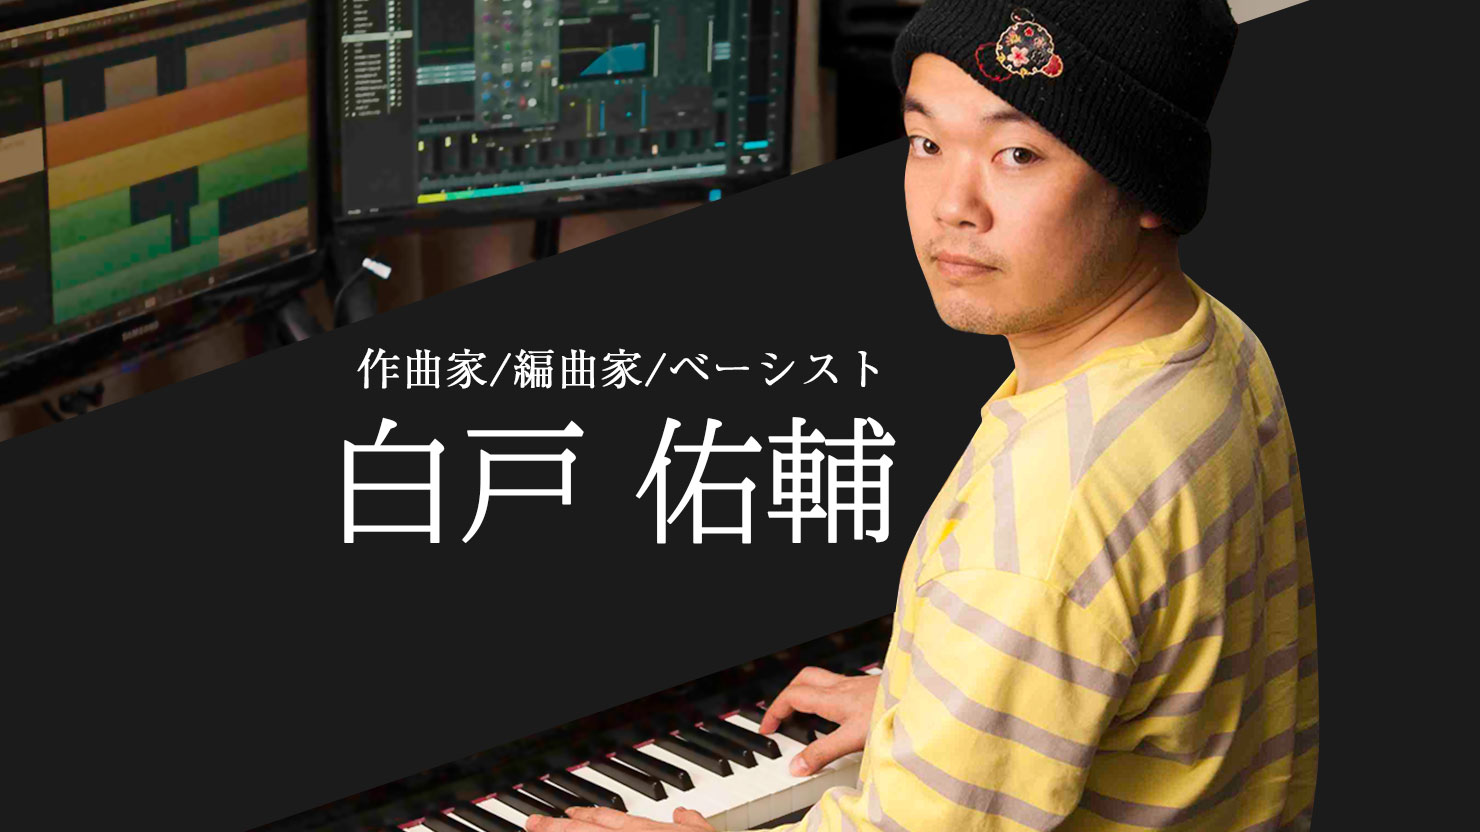
Born in Ibaraki Prefecture in 1981, Shirato grew up listening to classical music and studying piano.
He discovered drums and composition in high school, then entered the composition department at Tokyo College of Music. While composing chamber and orchestral music, he took up bass in his third year and worked as a bassist after graduating.
He began his professional songwriting career in 2007, going on to write for various artists and perform as a supporting musician.
At the time of this feature, he was a composer affiliated with DreamMonster.
He is known for anime and idol songs that make effective use of piano and strings, as well as contrasting, heartfelt ballads.
His work includes anime opening and ending themes, television themes and insert songs, and background music and theme songs for pachinko, films, and games.
Twitter: @sirato10
Arranging the Drums and Rhythm
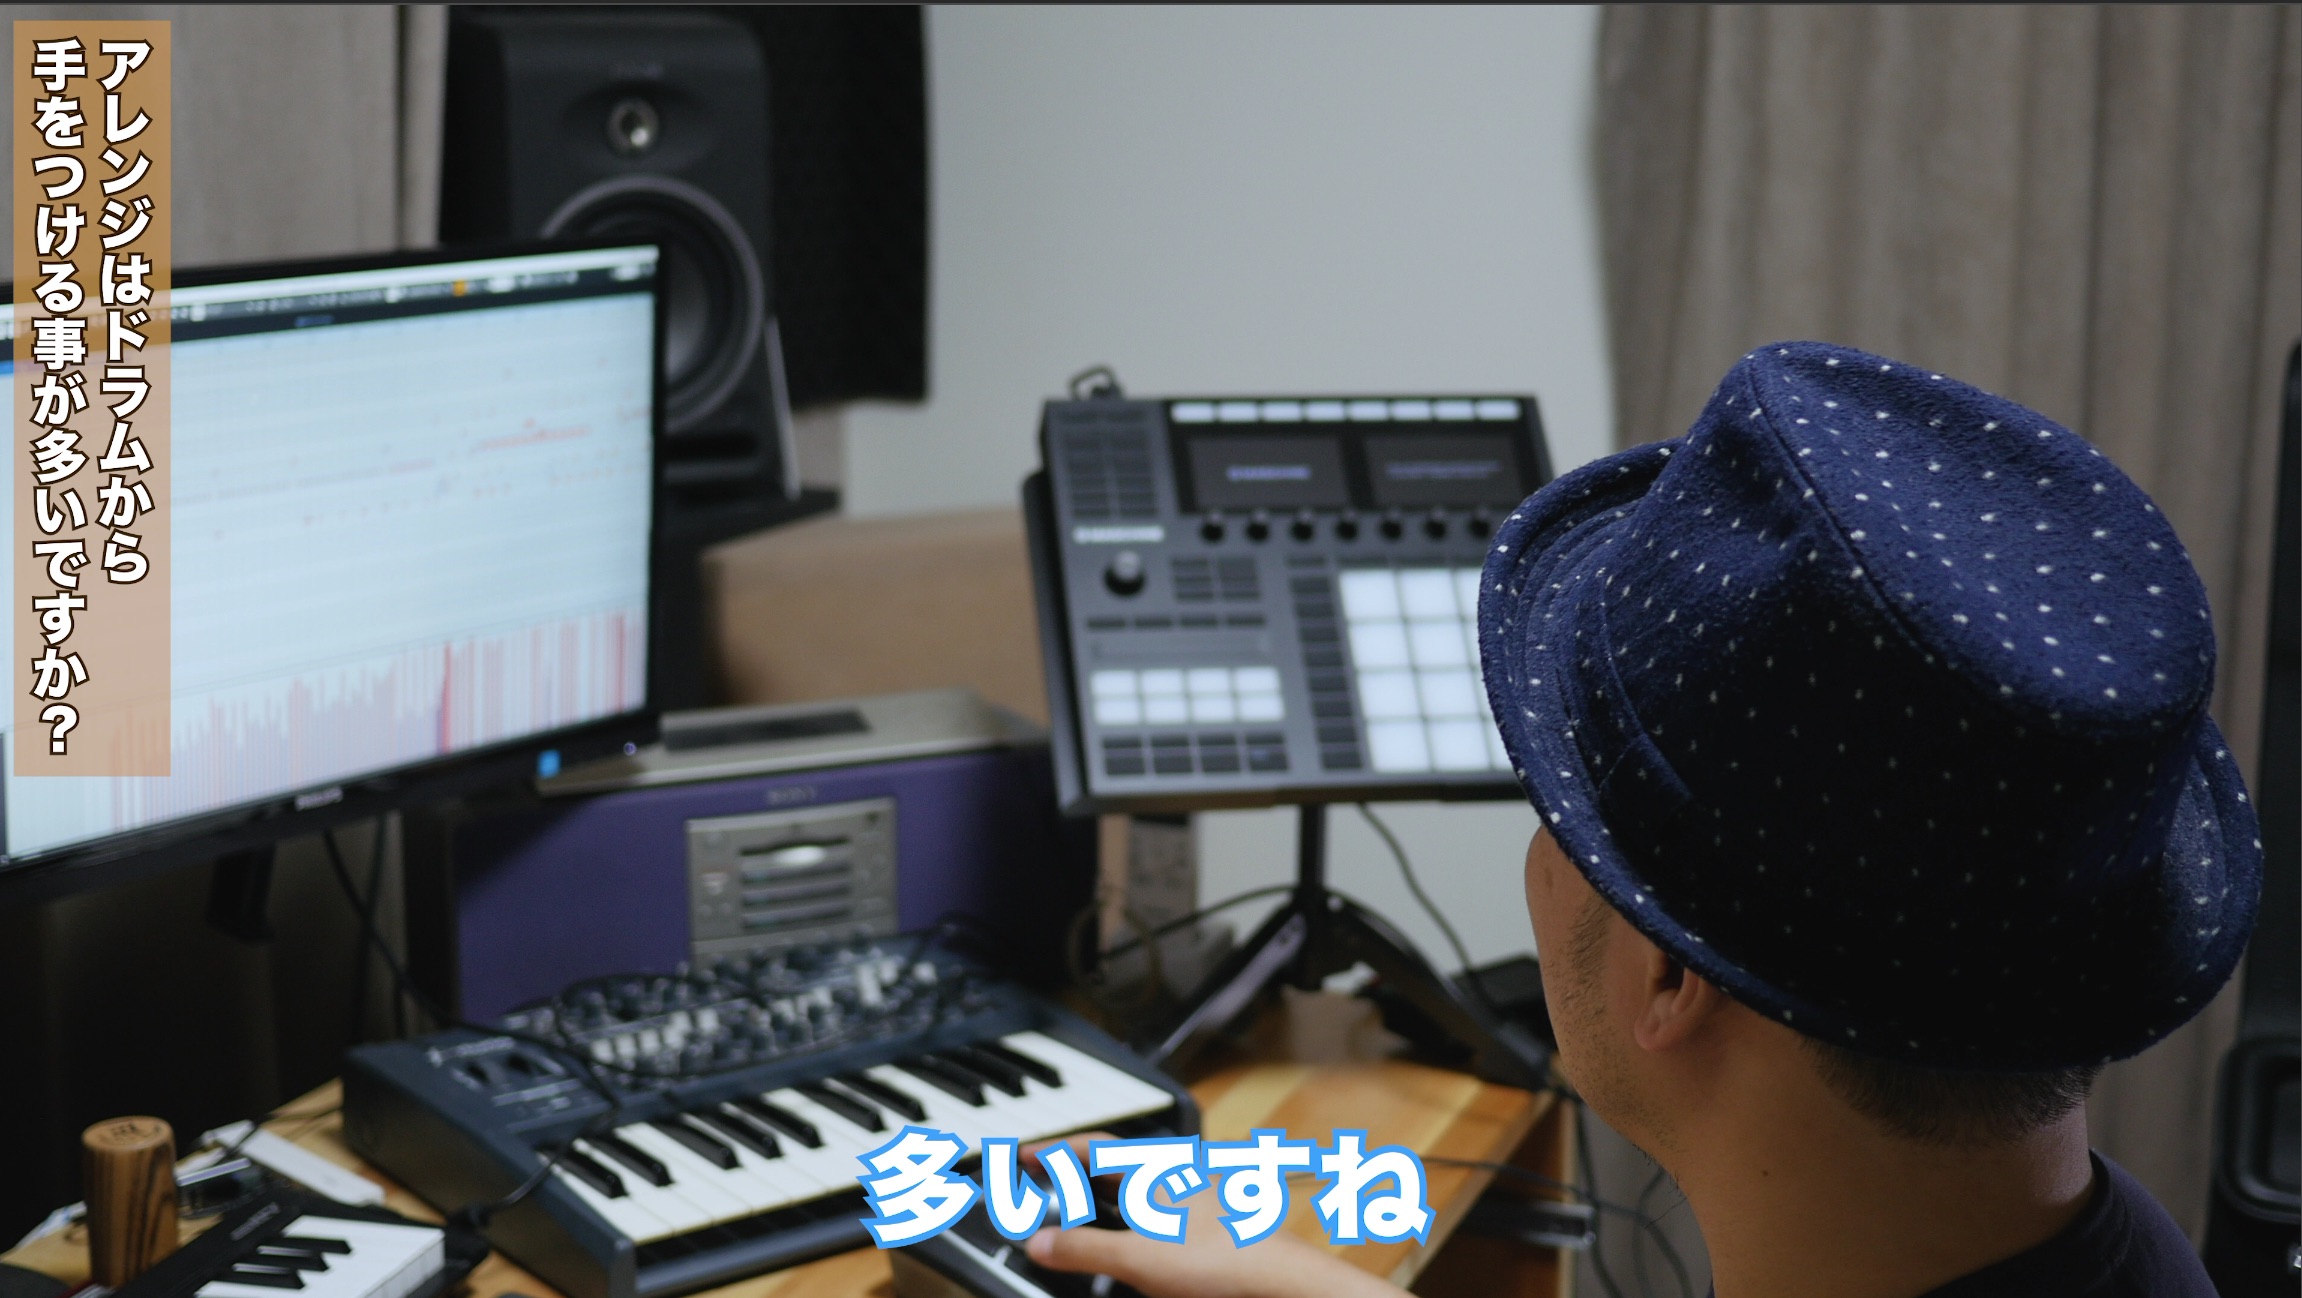
I often start an arrangement with the rhythm tracks.
After sketching a rough foundation on piano, I build up the drums.
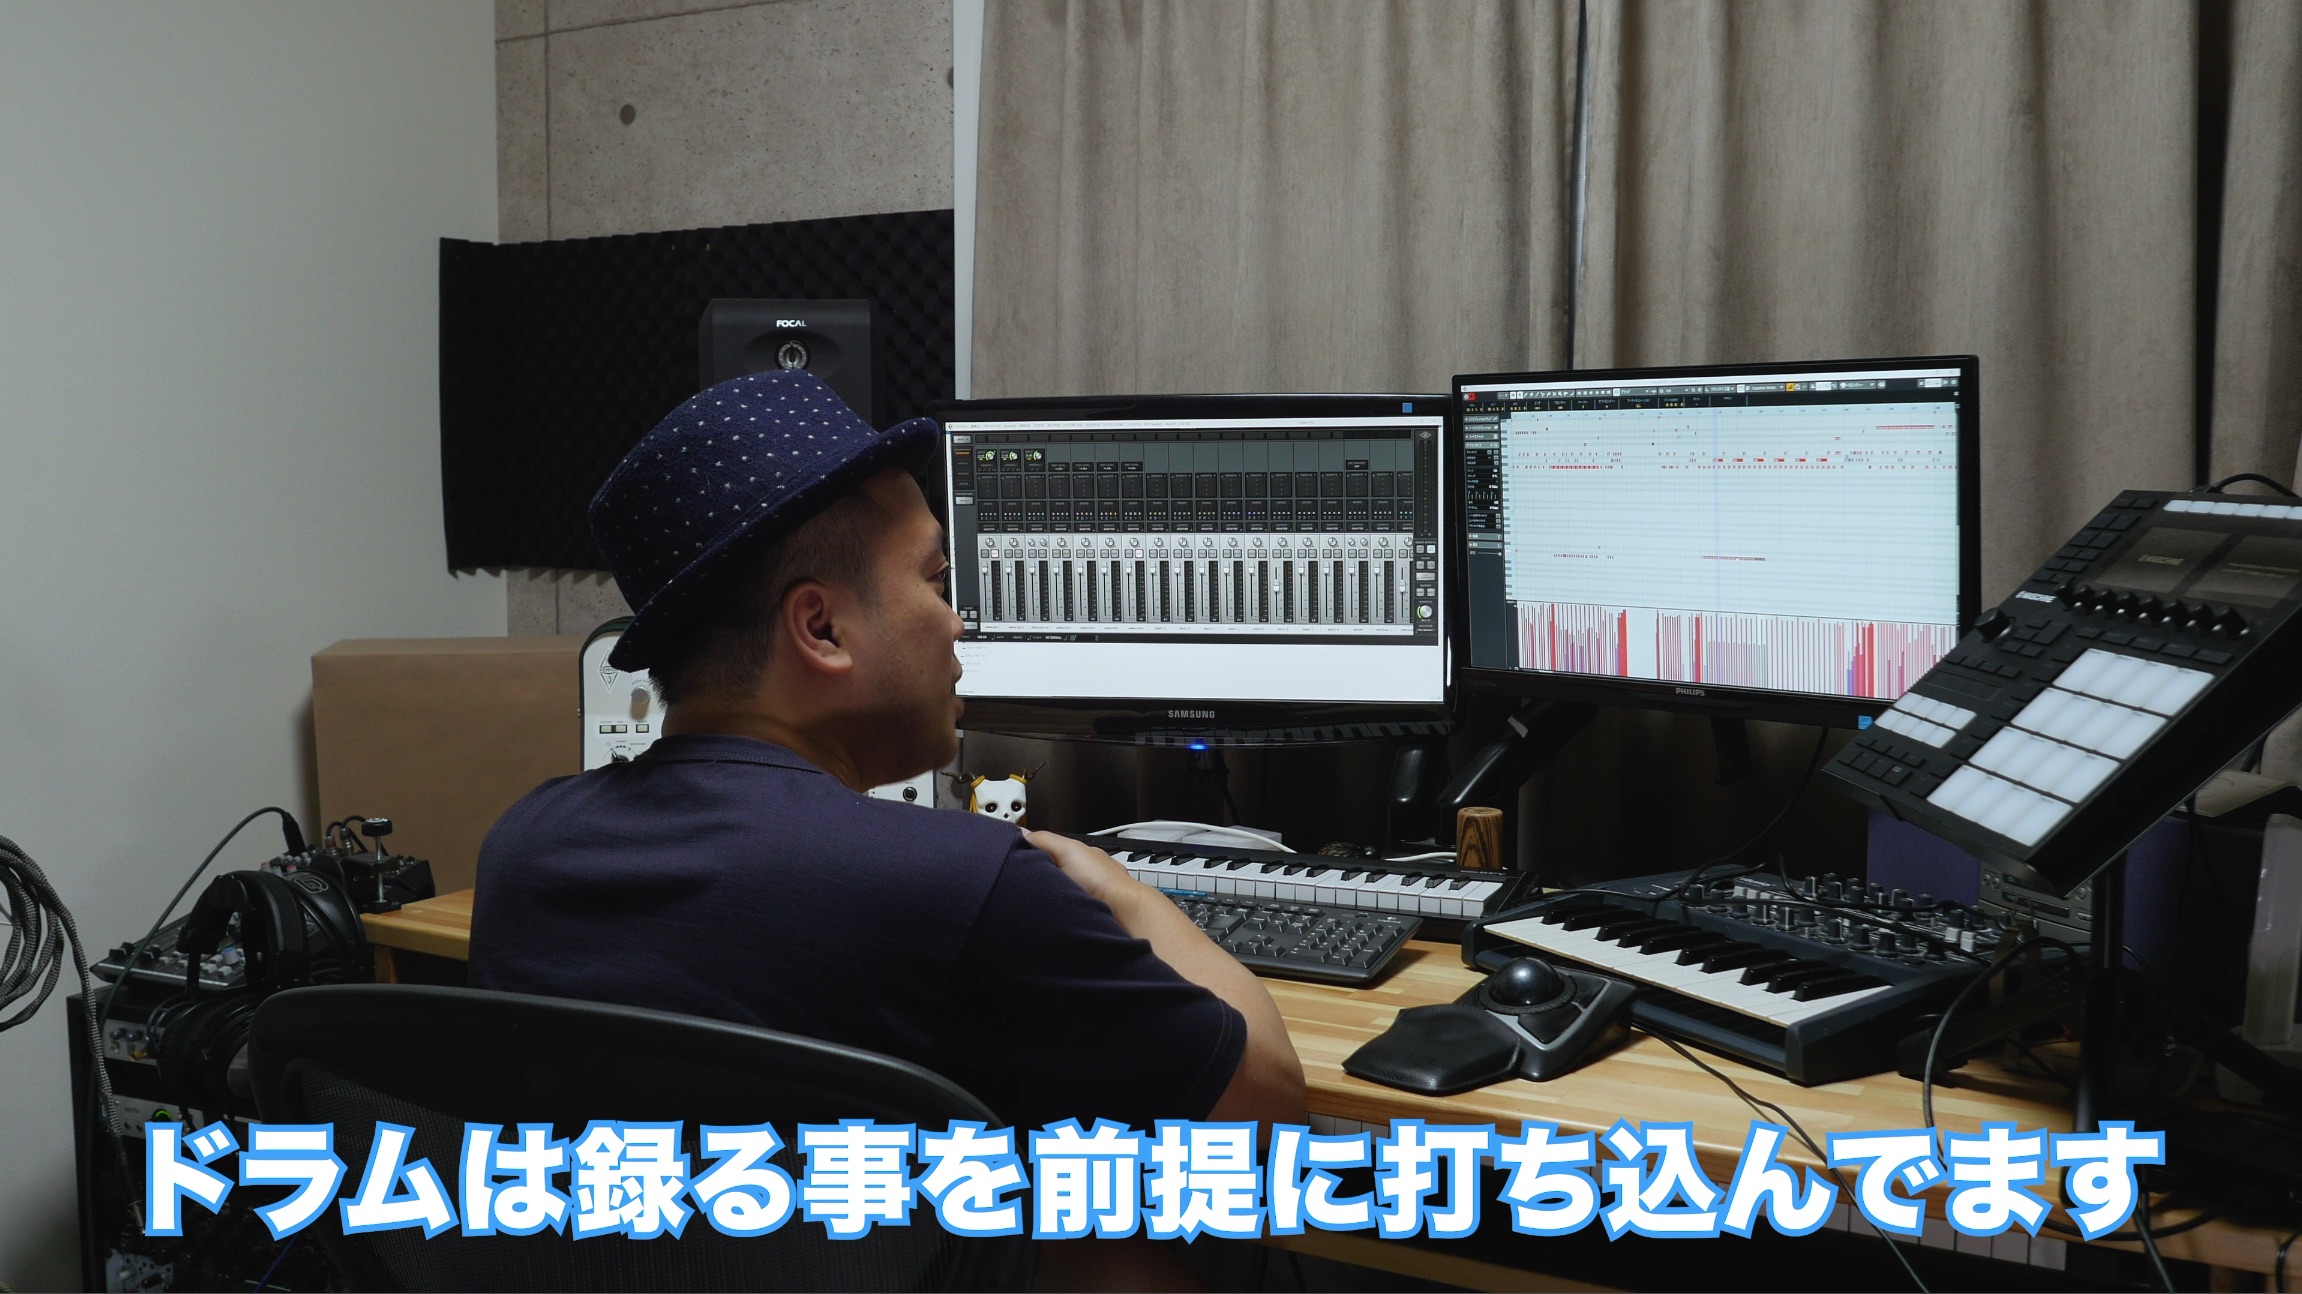
I program the drums with the intention of replacing them with a live recording, but aim for a programmed part detailed enough to communicate the desired feel to the drummer.
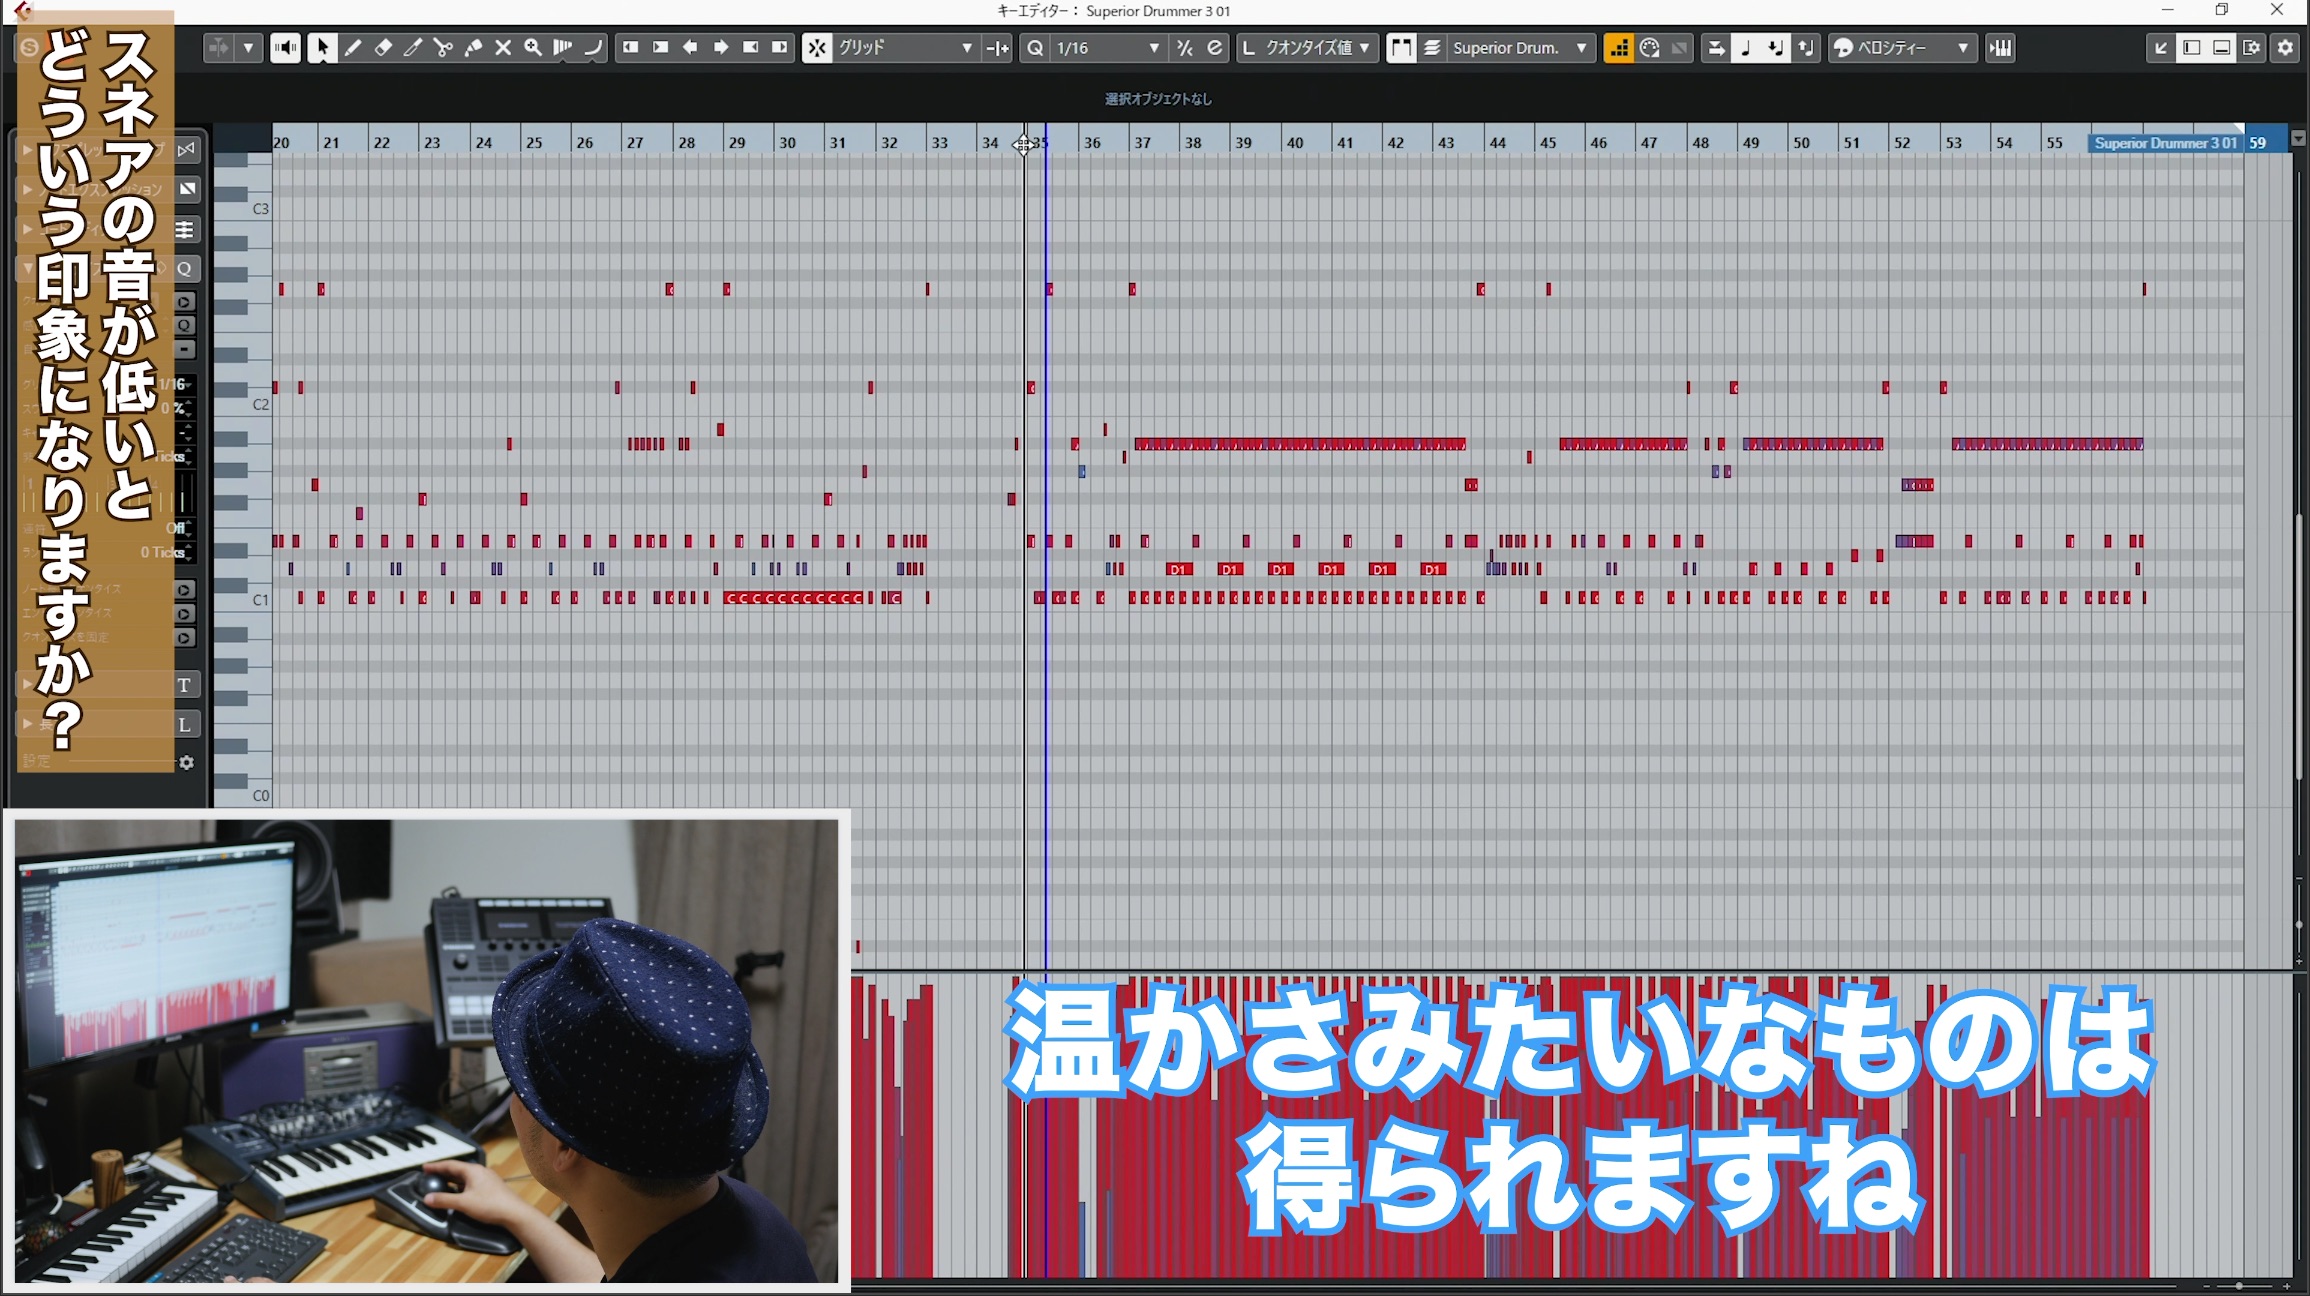
When programming the drums, I also pay attention to the snare's pitch.
Here, I chose to lower it.
The other, higher parts have a floating quality, and I felt that the lower snare added stability and warmth.
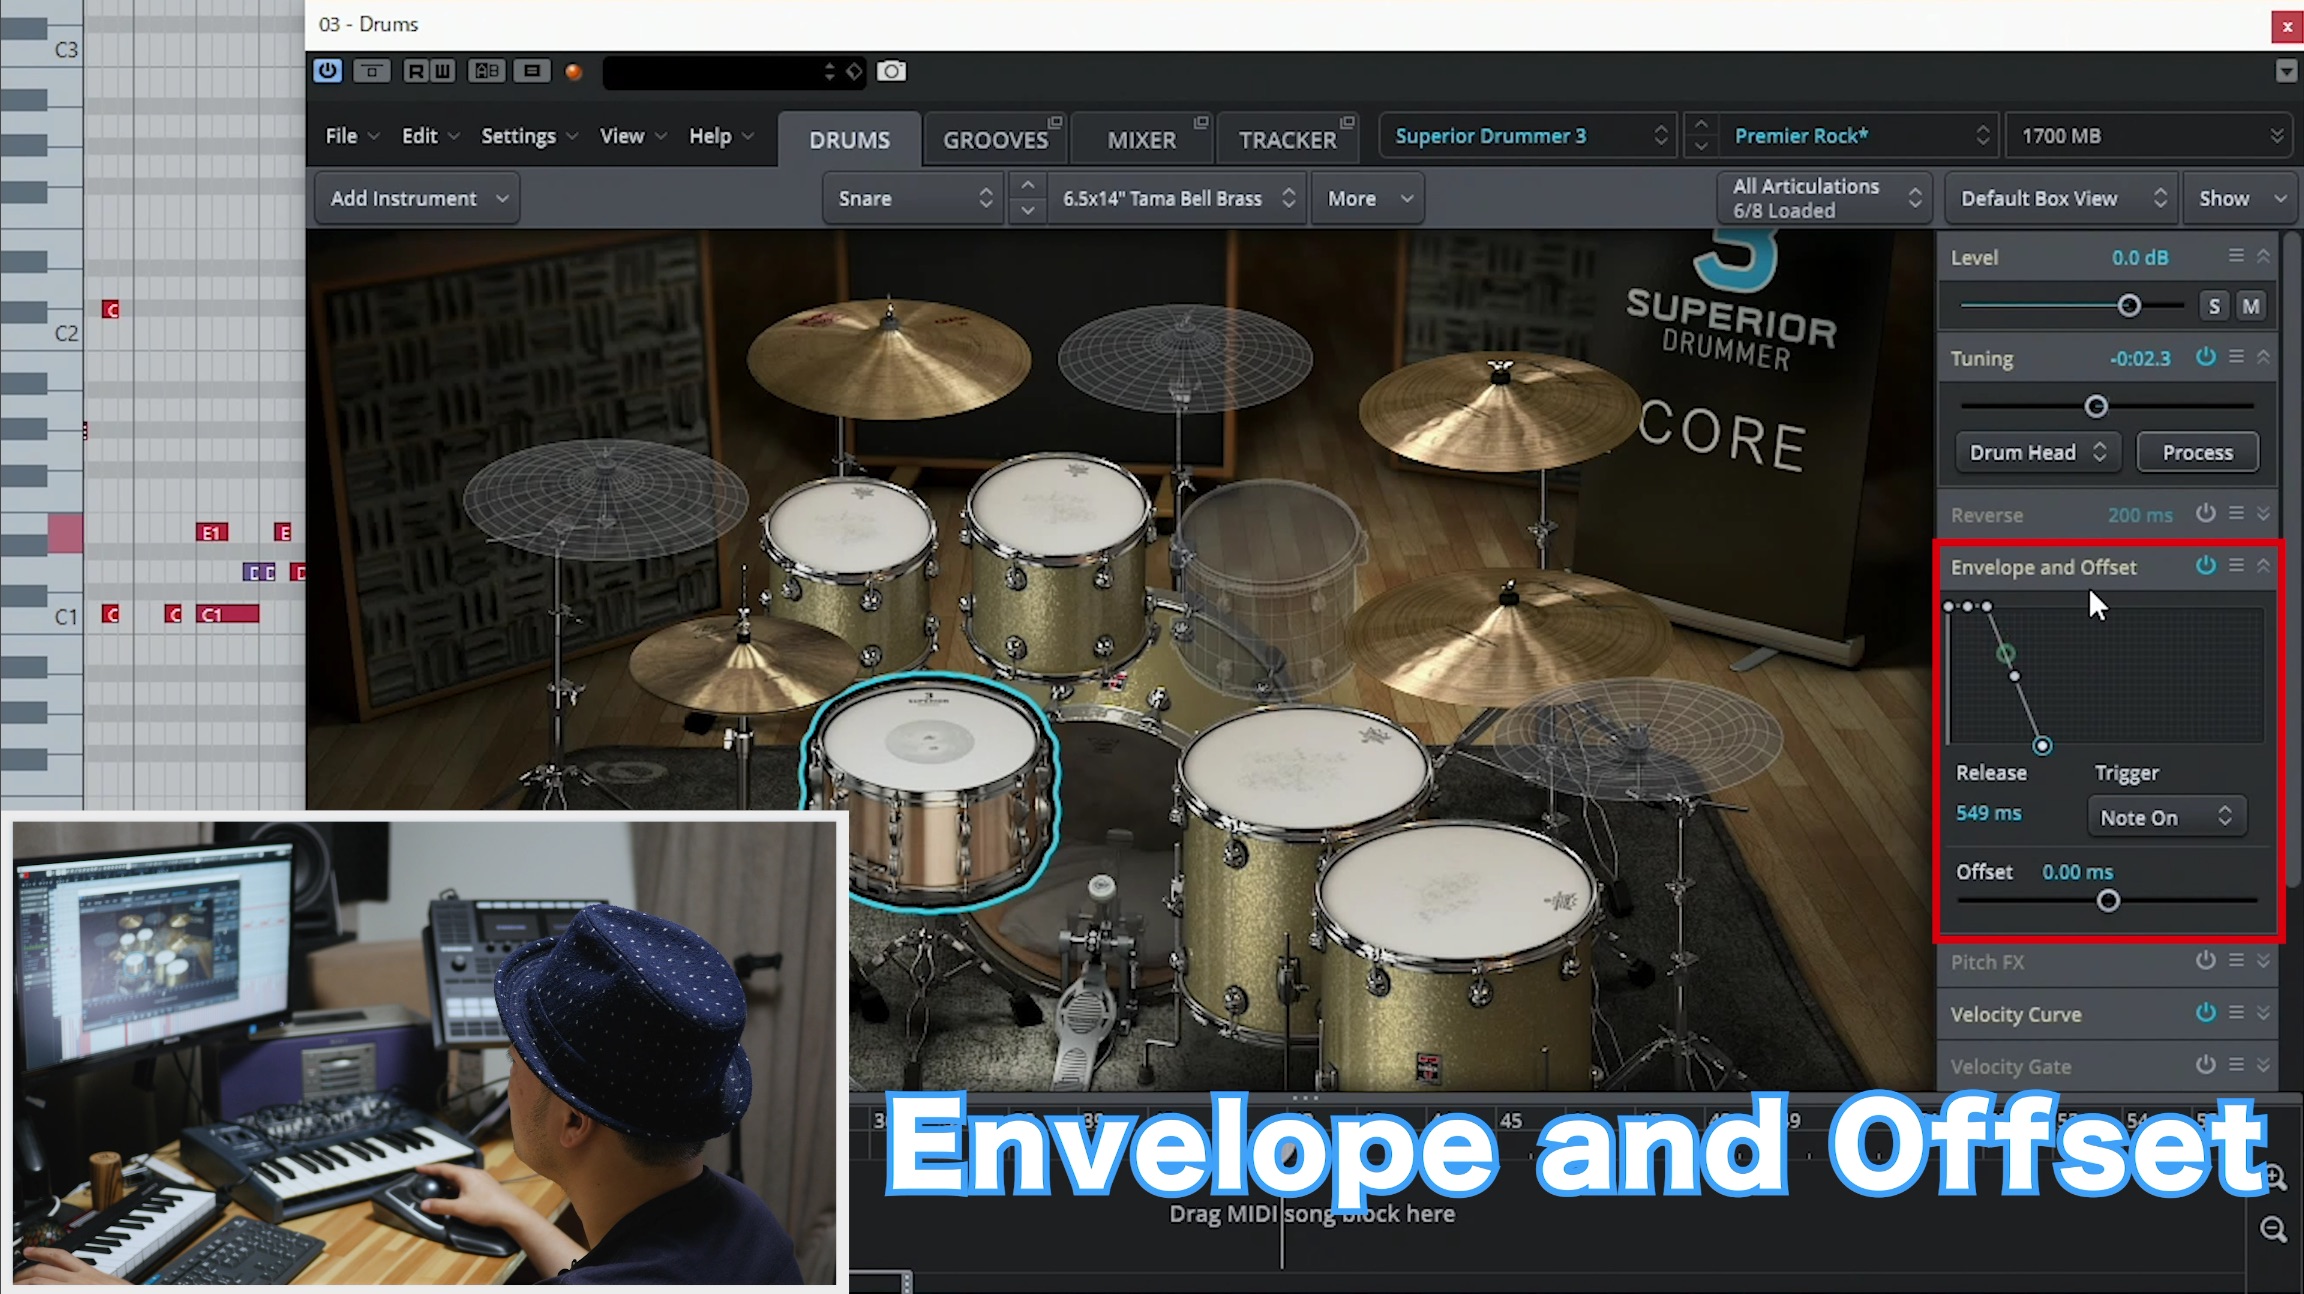
I also consider the length of the snare sound, which can change the song's character considerably.
I adjusted its decay with the drum instrument's volume envelope while listening to the result.
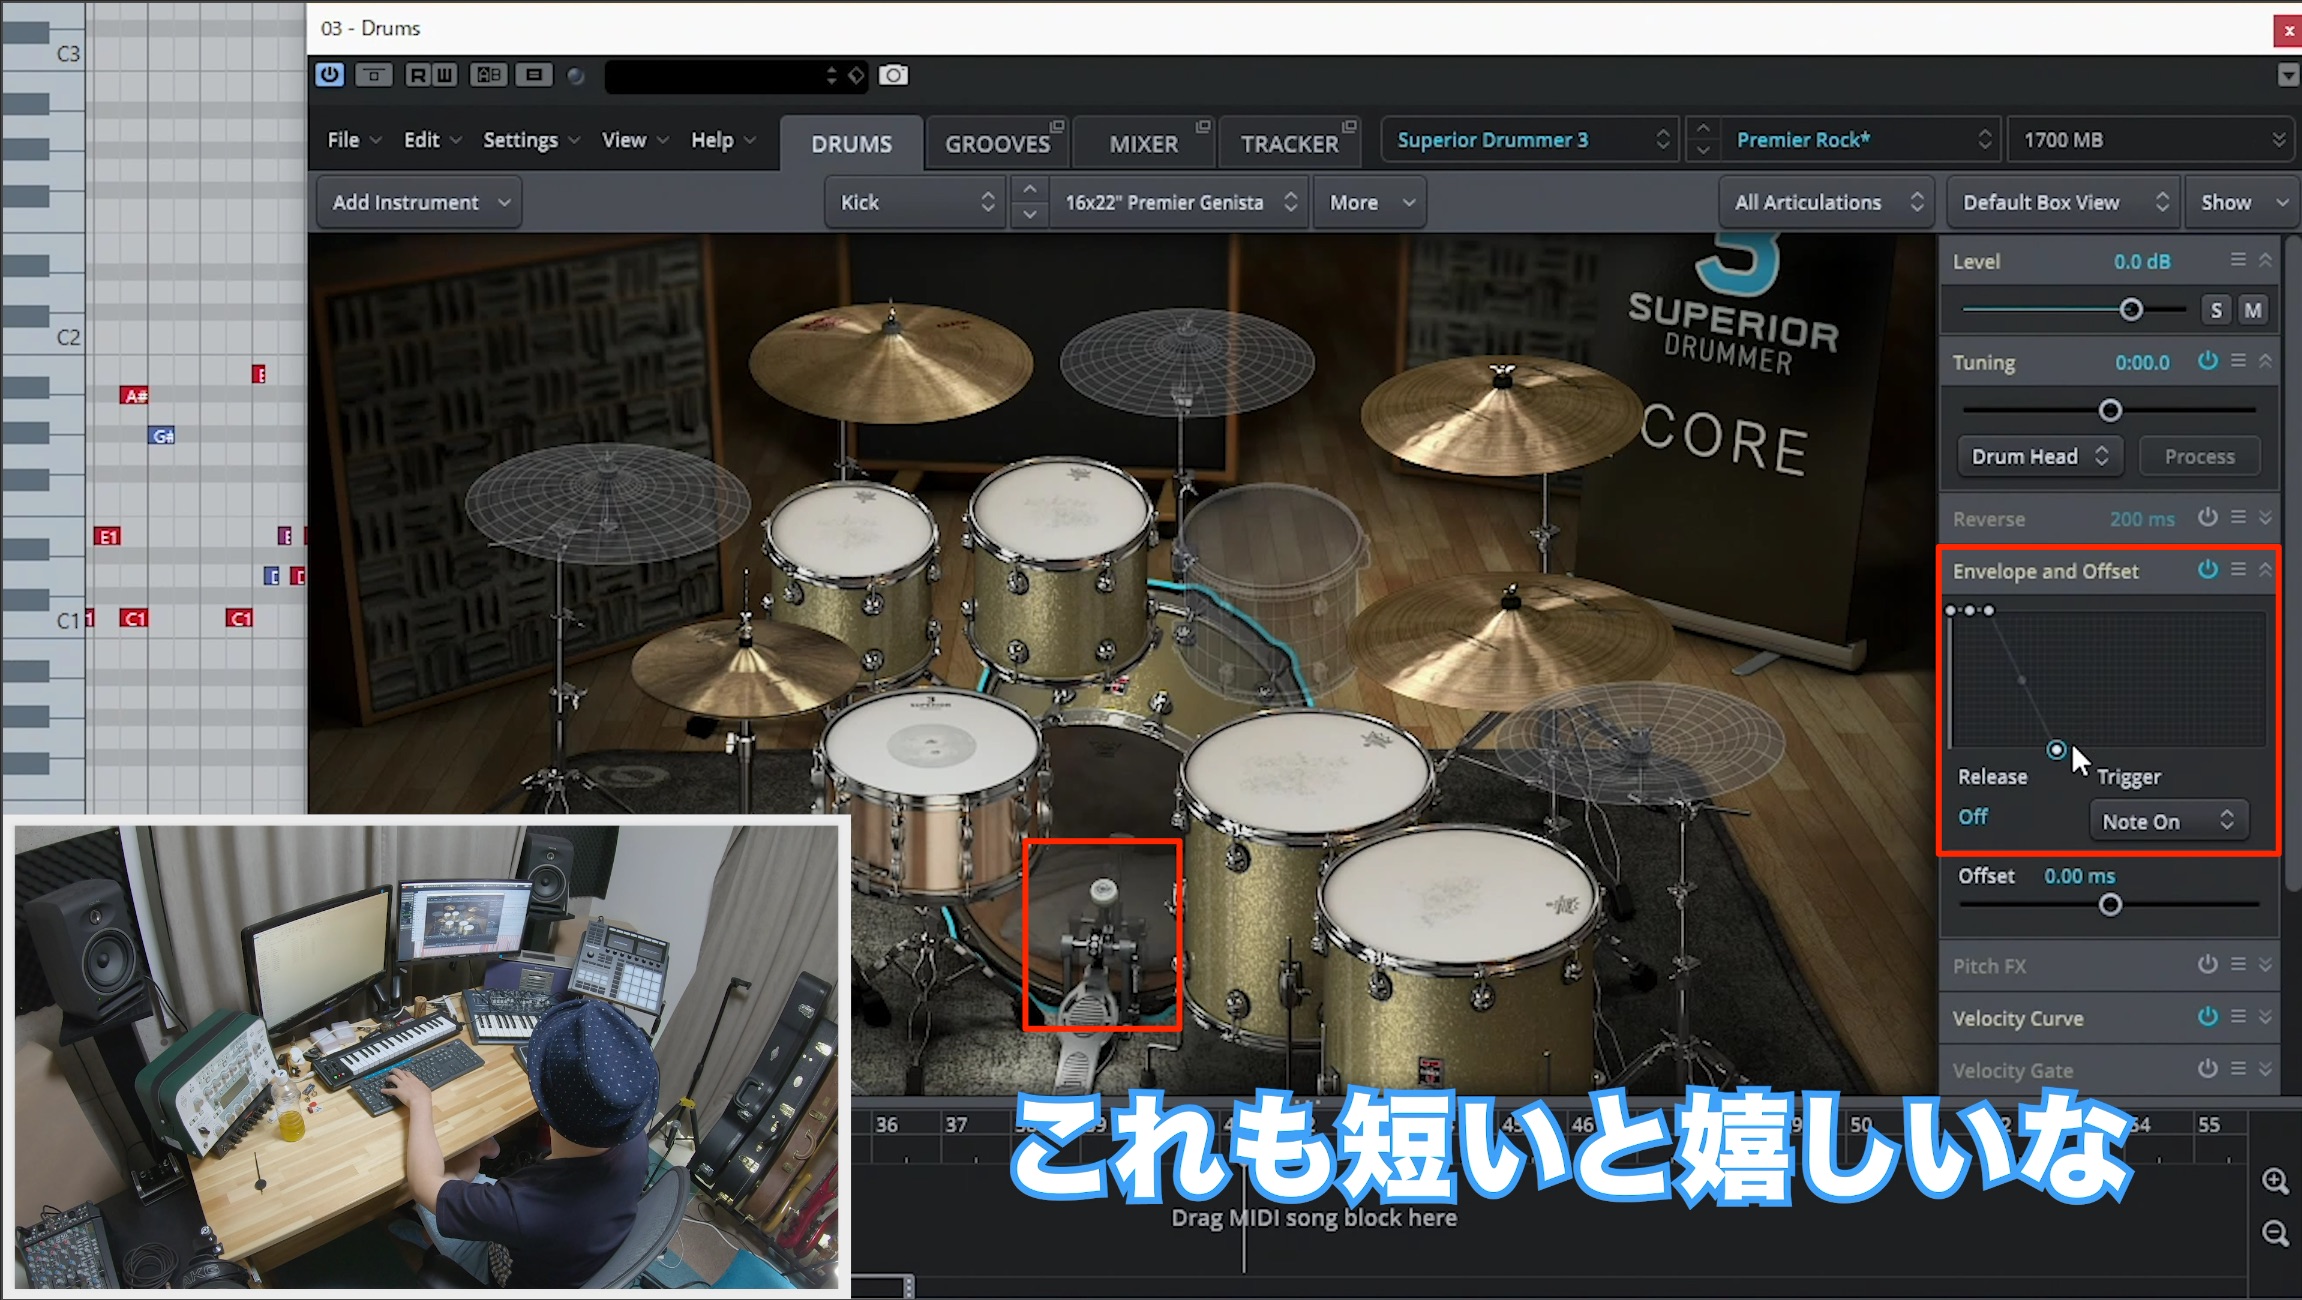
I adjusted the kick's length in the same way, taking its balance with the snare into account.
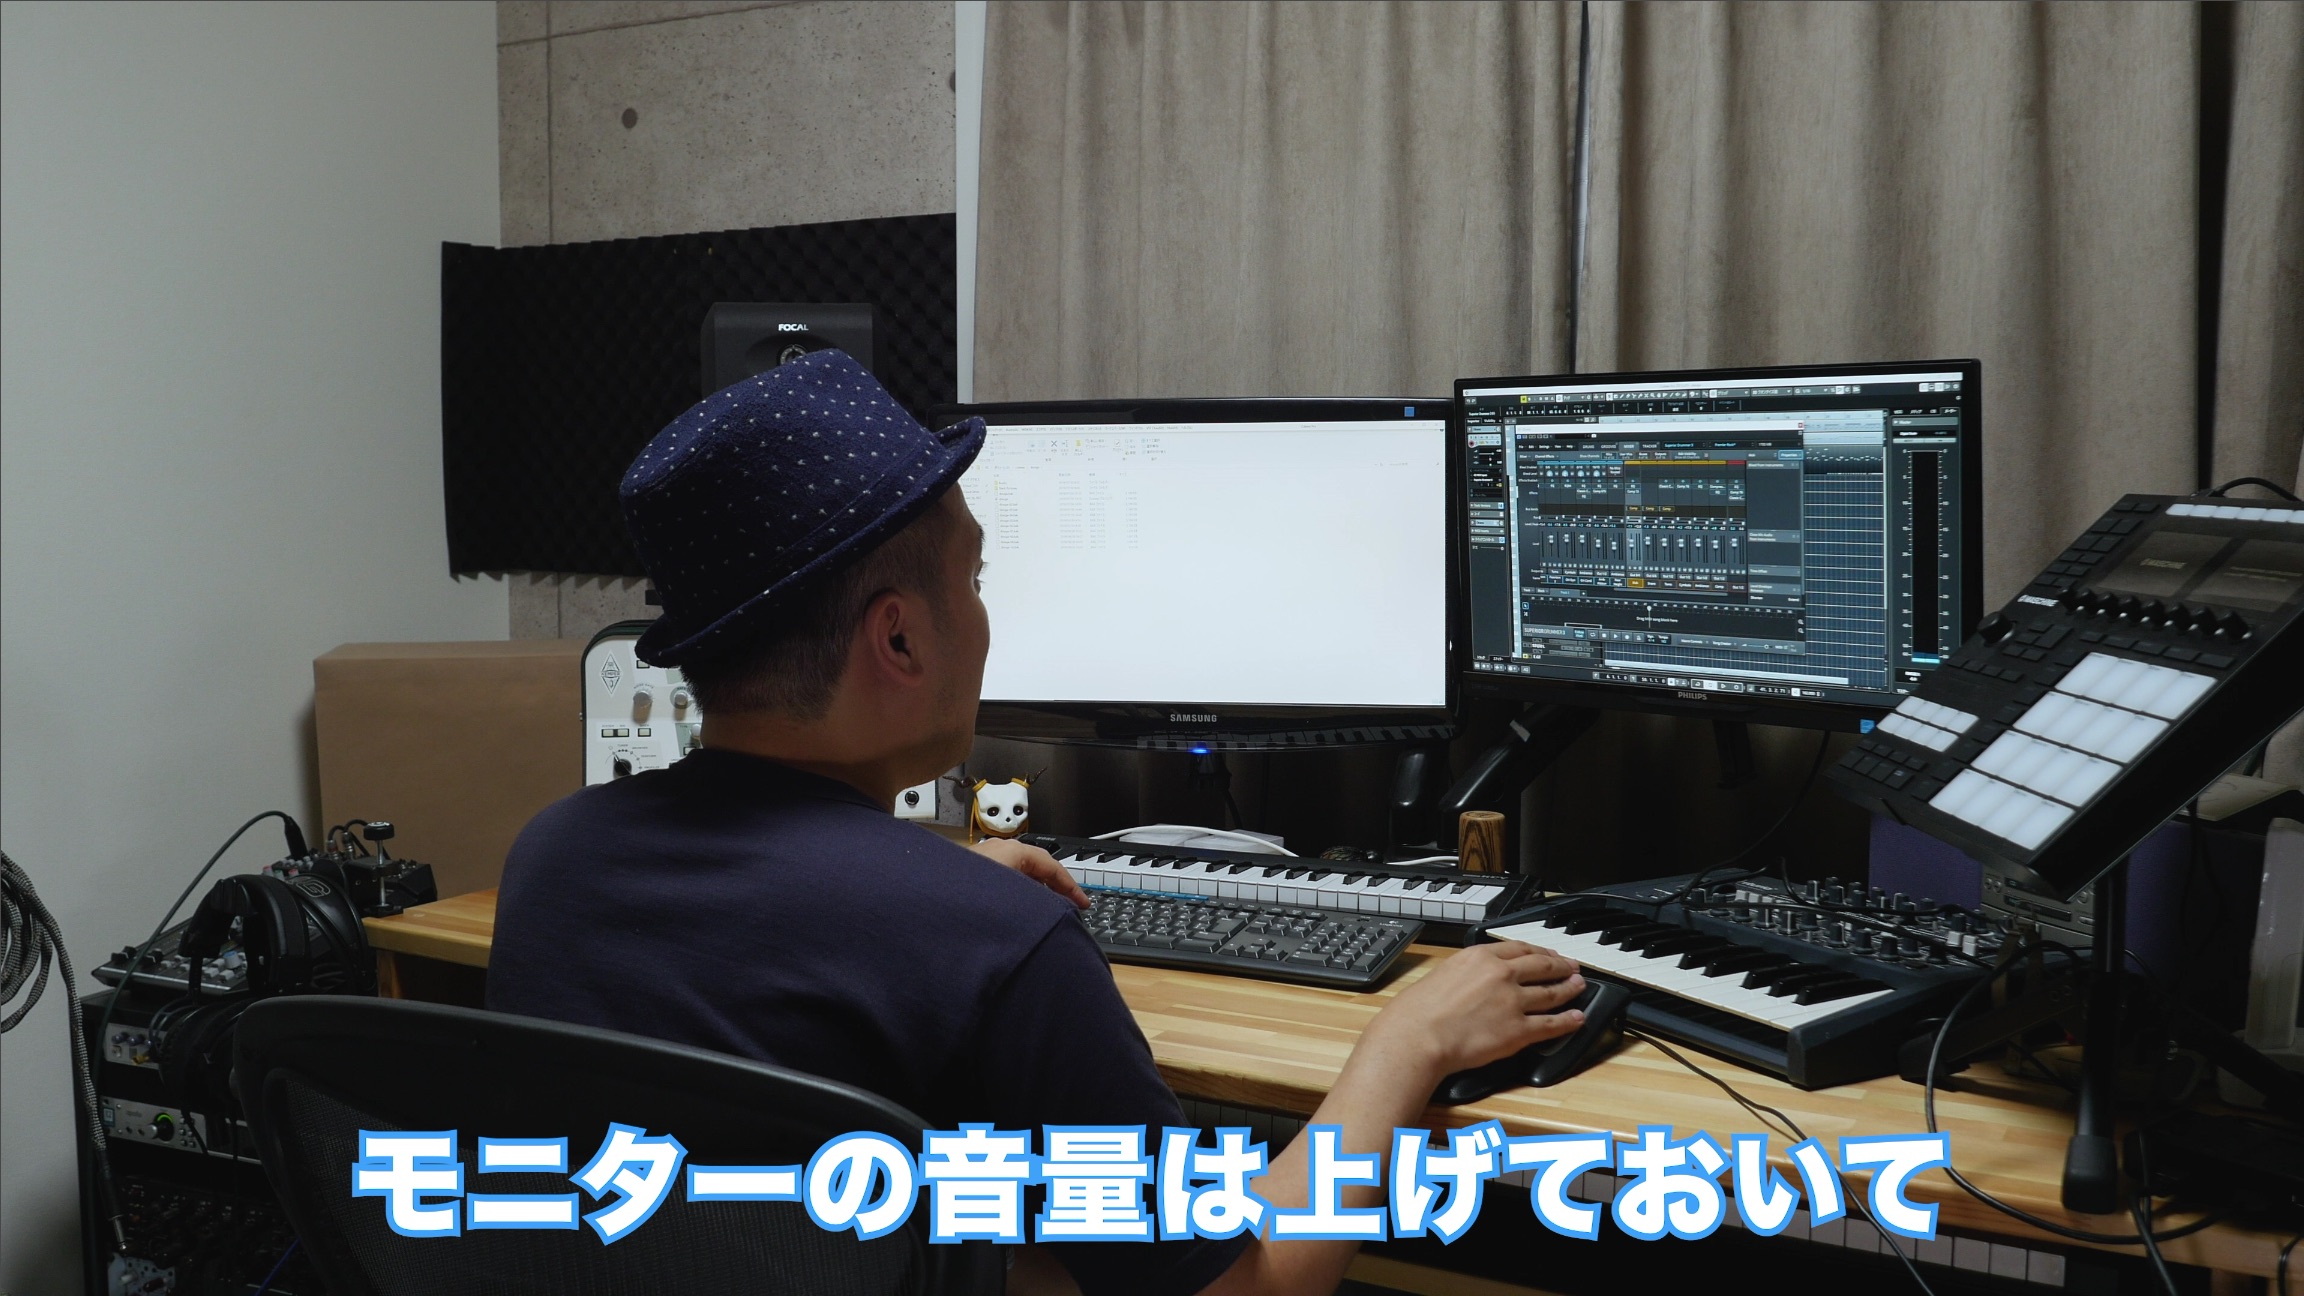
As the arrangement develops, I often find myself wanting to turn up the drums.
My approach is to keep the DAW track faders lower and use the monitor-speaker level to obtain an appropriate listening level.
This helps me preserve digital headroom and avoid clipping while judging the sound.
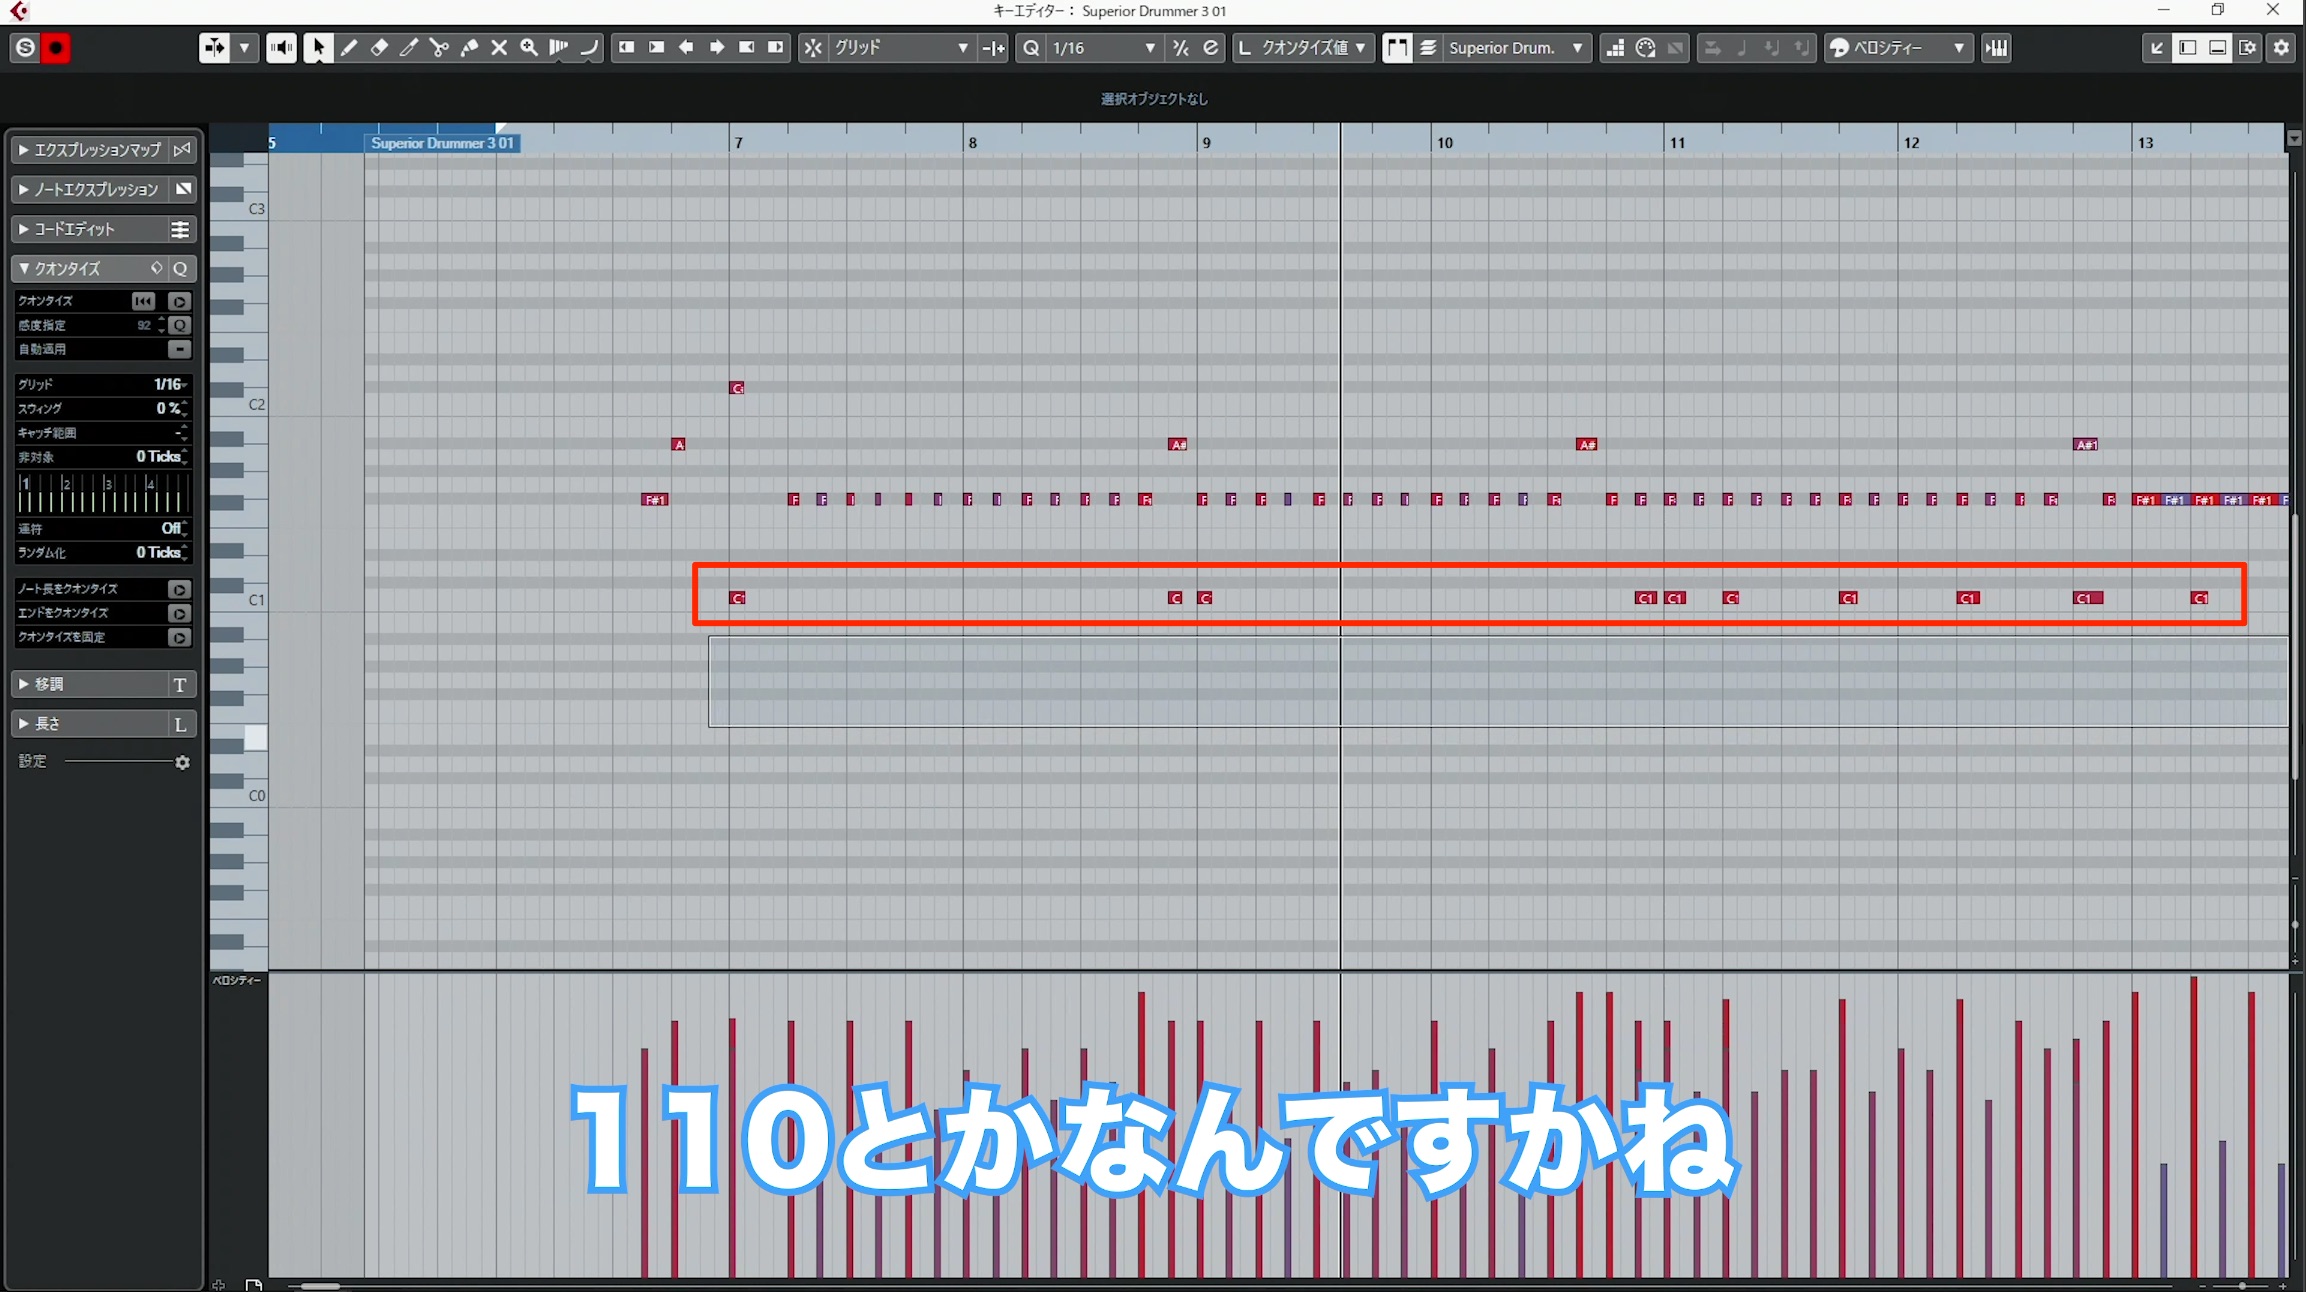
I give the snare on beats 2 and 4 a strong velocity.
Setting velocity to the maximum of 127 may trigger a different recorded sample and move away from the sound I want. I listen to the selected preset and find a suitable value.
Here, I settled on around 110 for the snare and around 120 for the kick at the start of the bar, where the crash cymbal plays.
These values vary with the instrument and preset, so I check them carefully for each song.
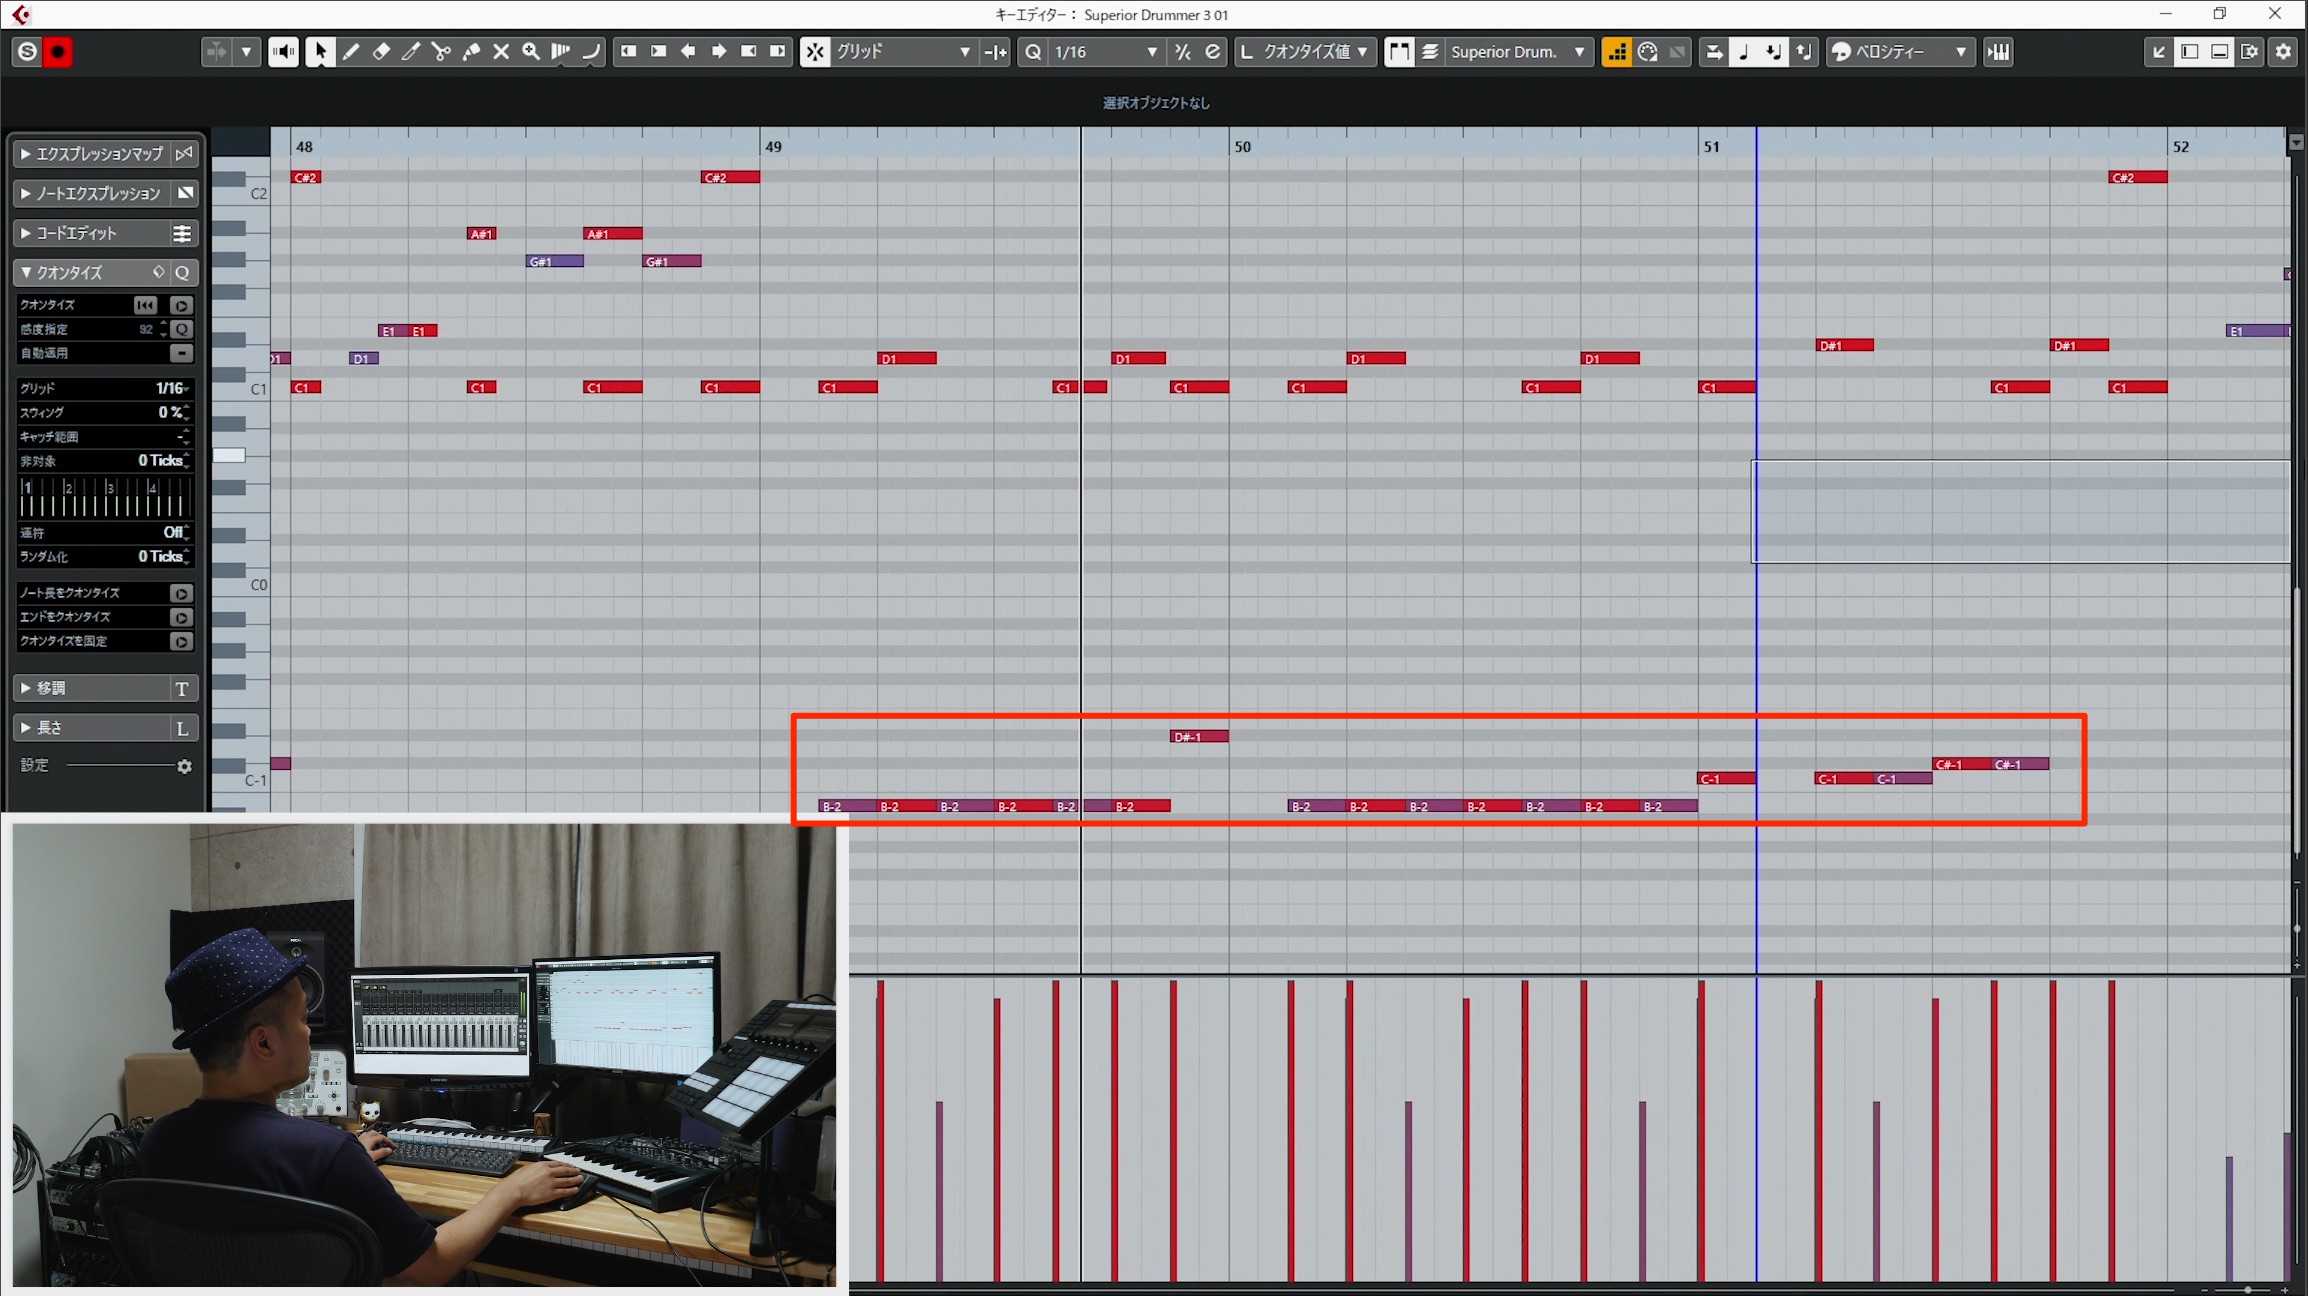
Many drum instruments offer numerous hi-hat samples with different nuances. I choose the ones closest to the sound I want for each section.
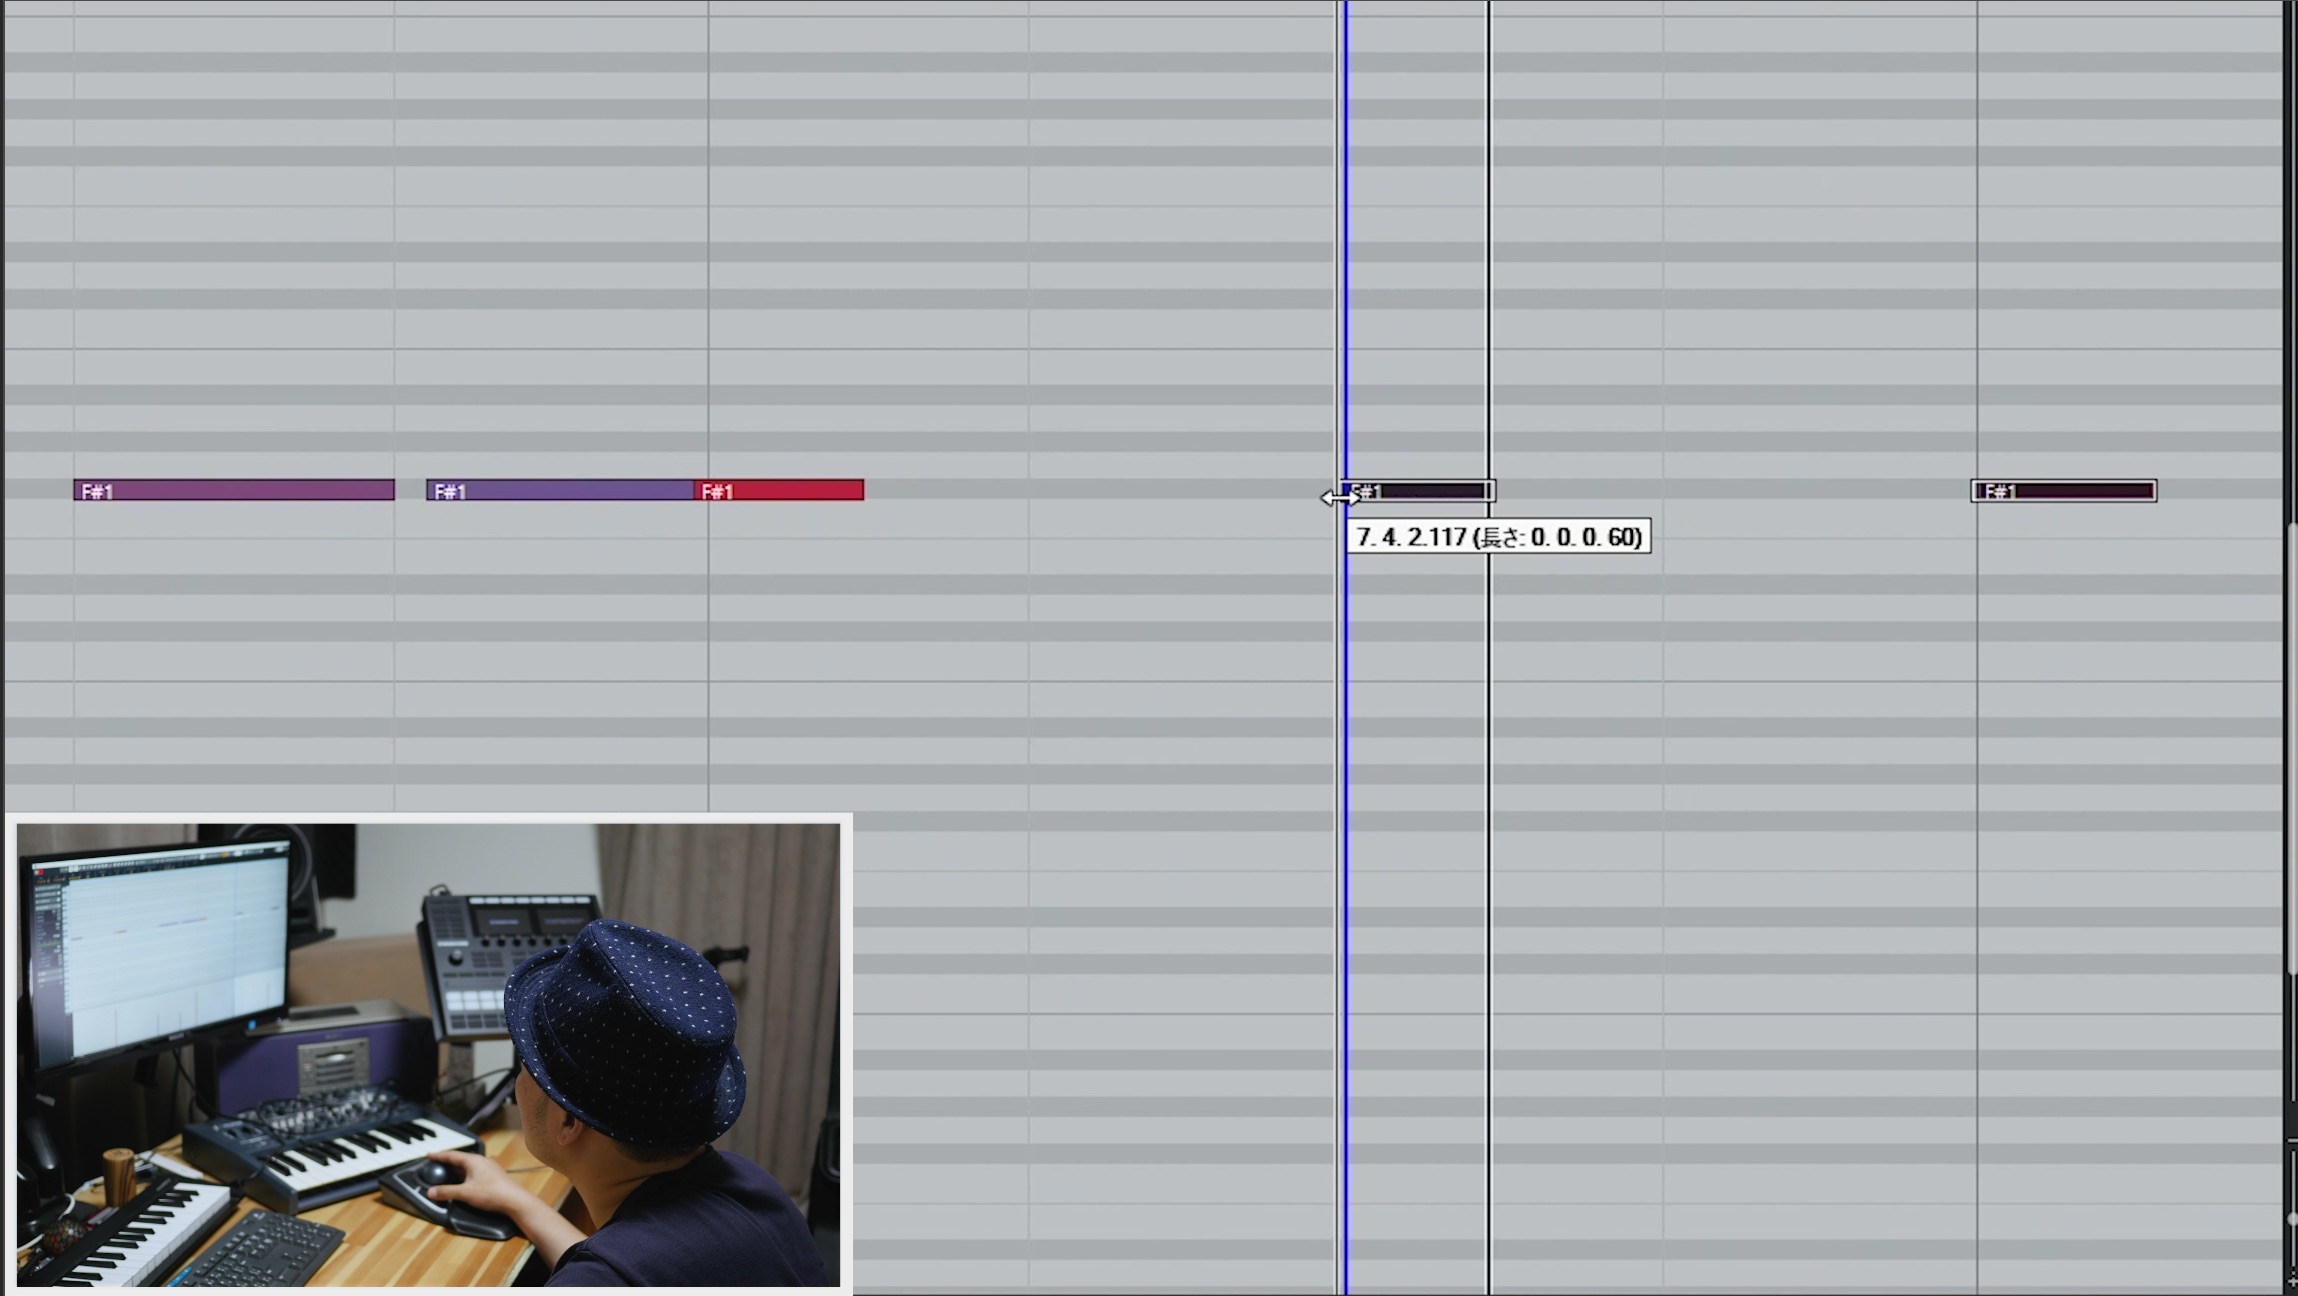
I sometimes move the hi-hat slightly ahead of the beat—about four ticks here—to fine-tune the groove.

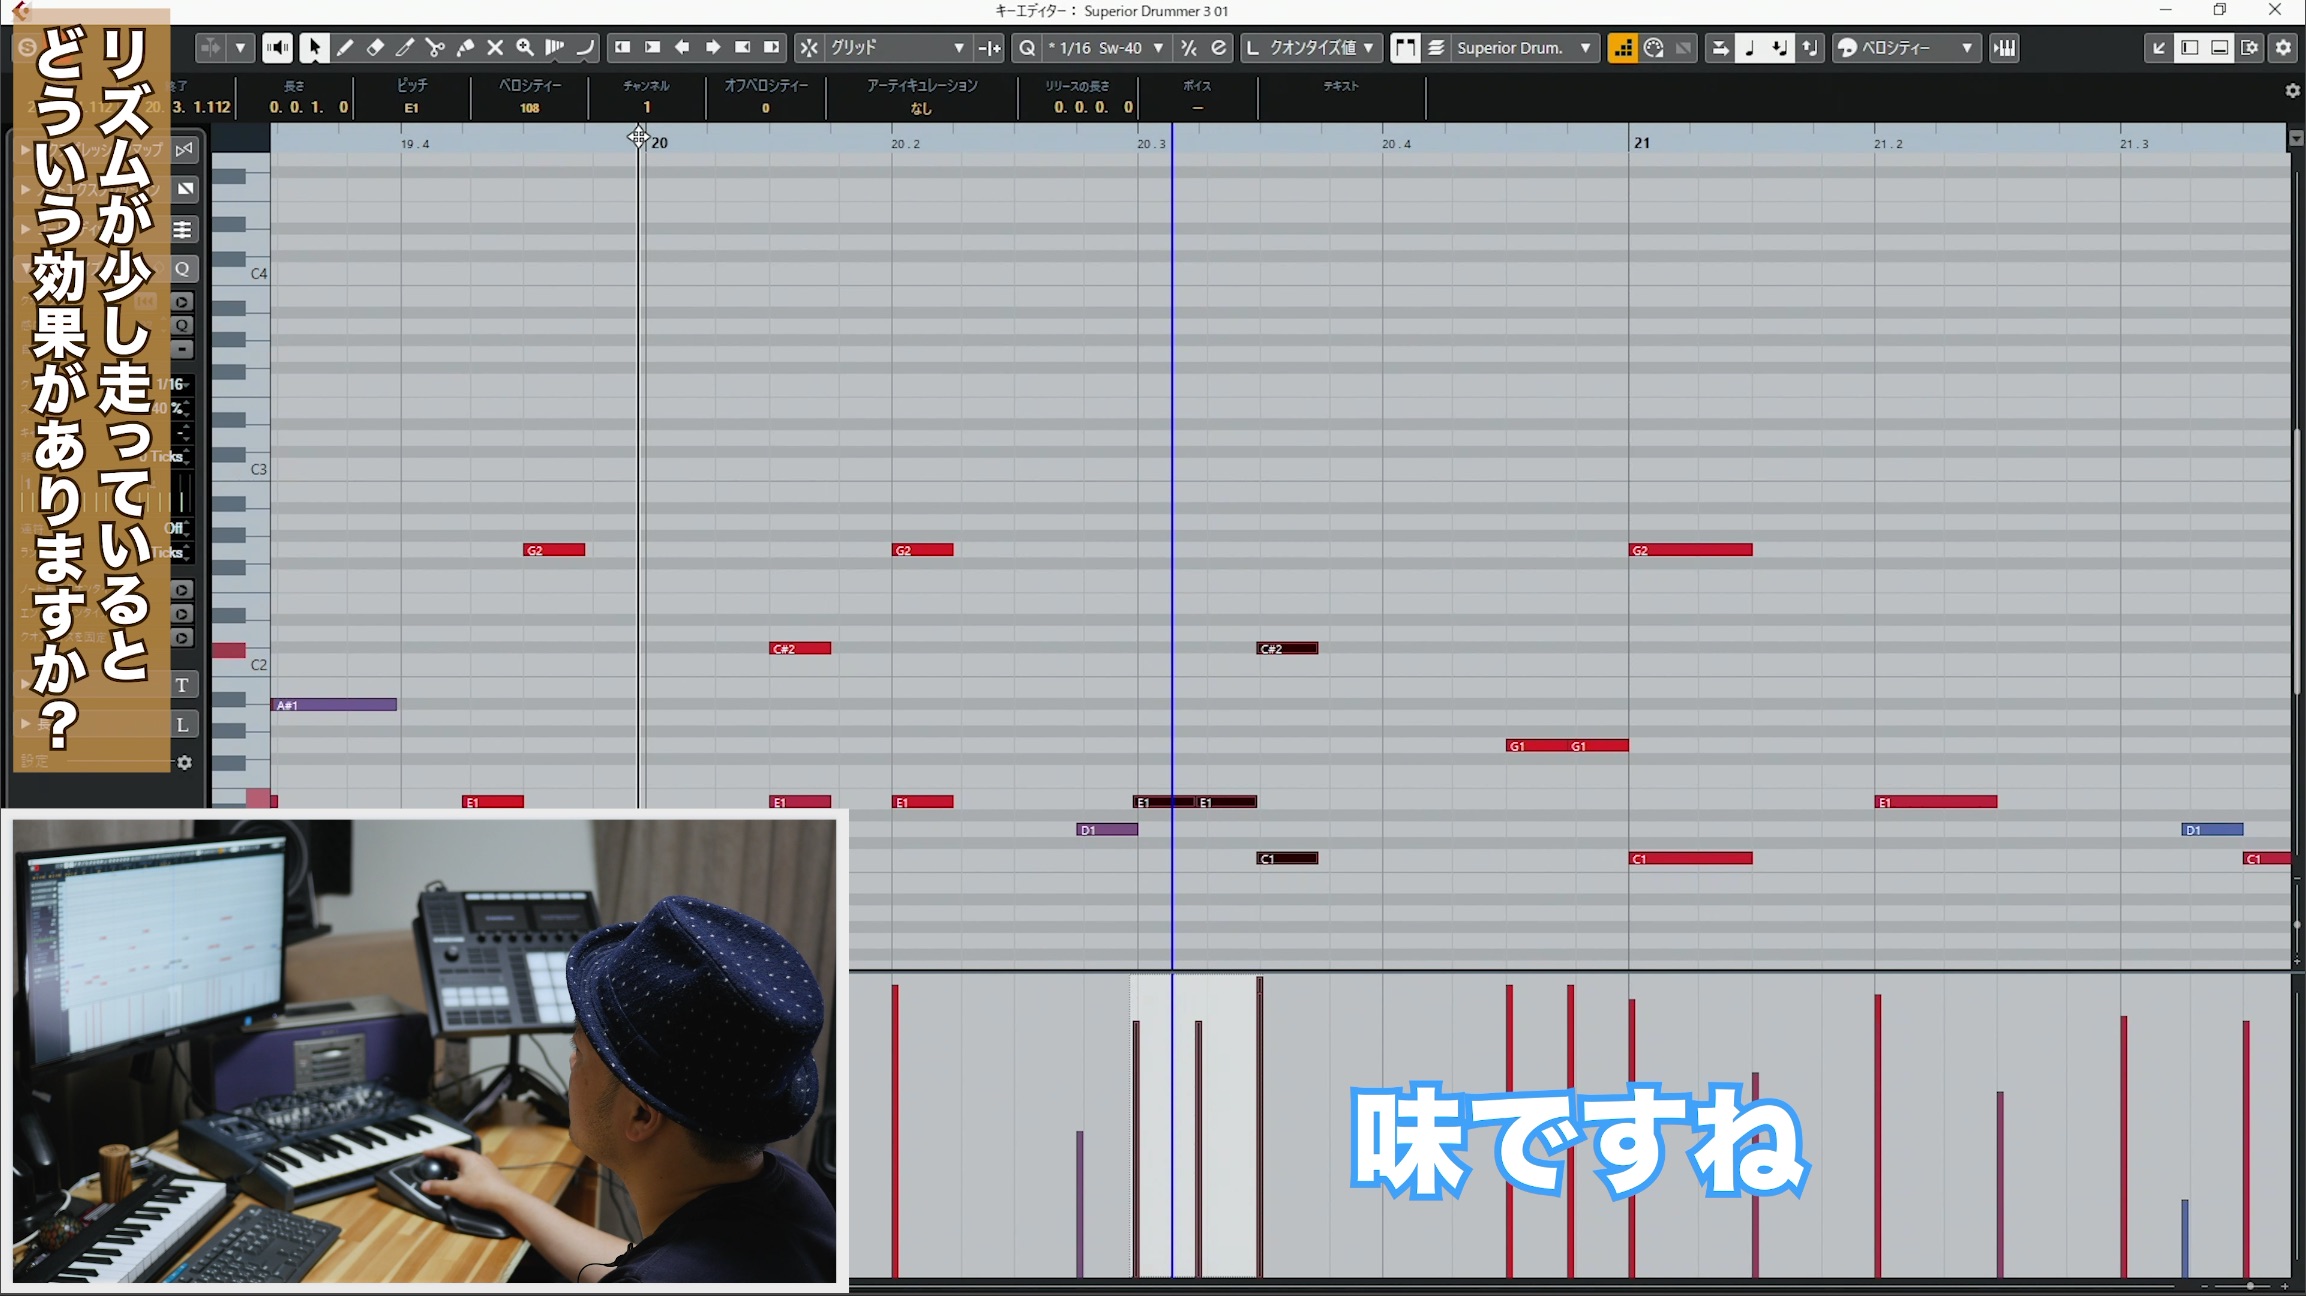
As in the fill below, pushing the rhythm slightly ahead can add momentum and character.
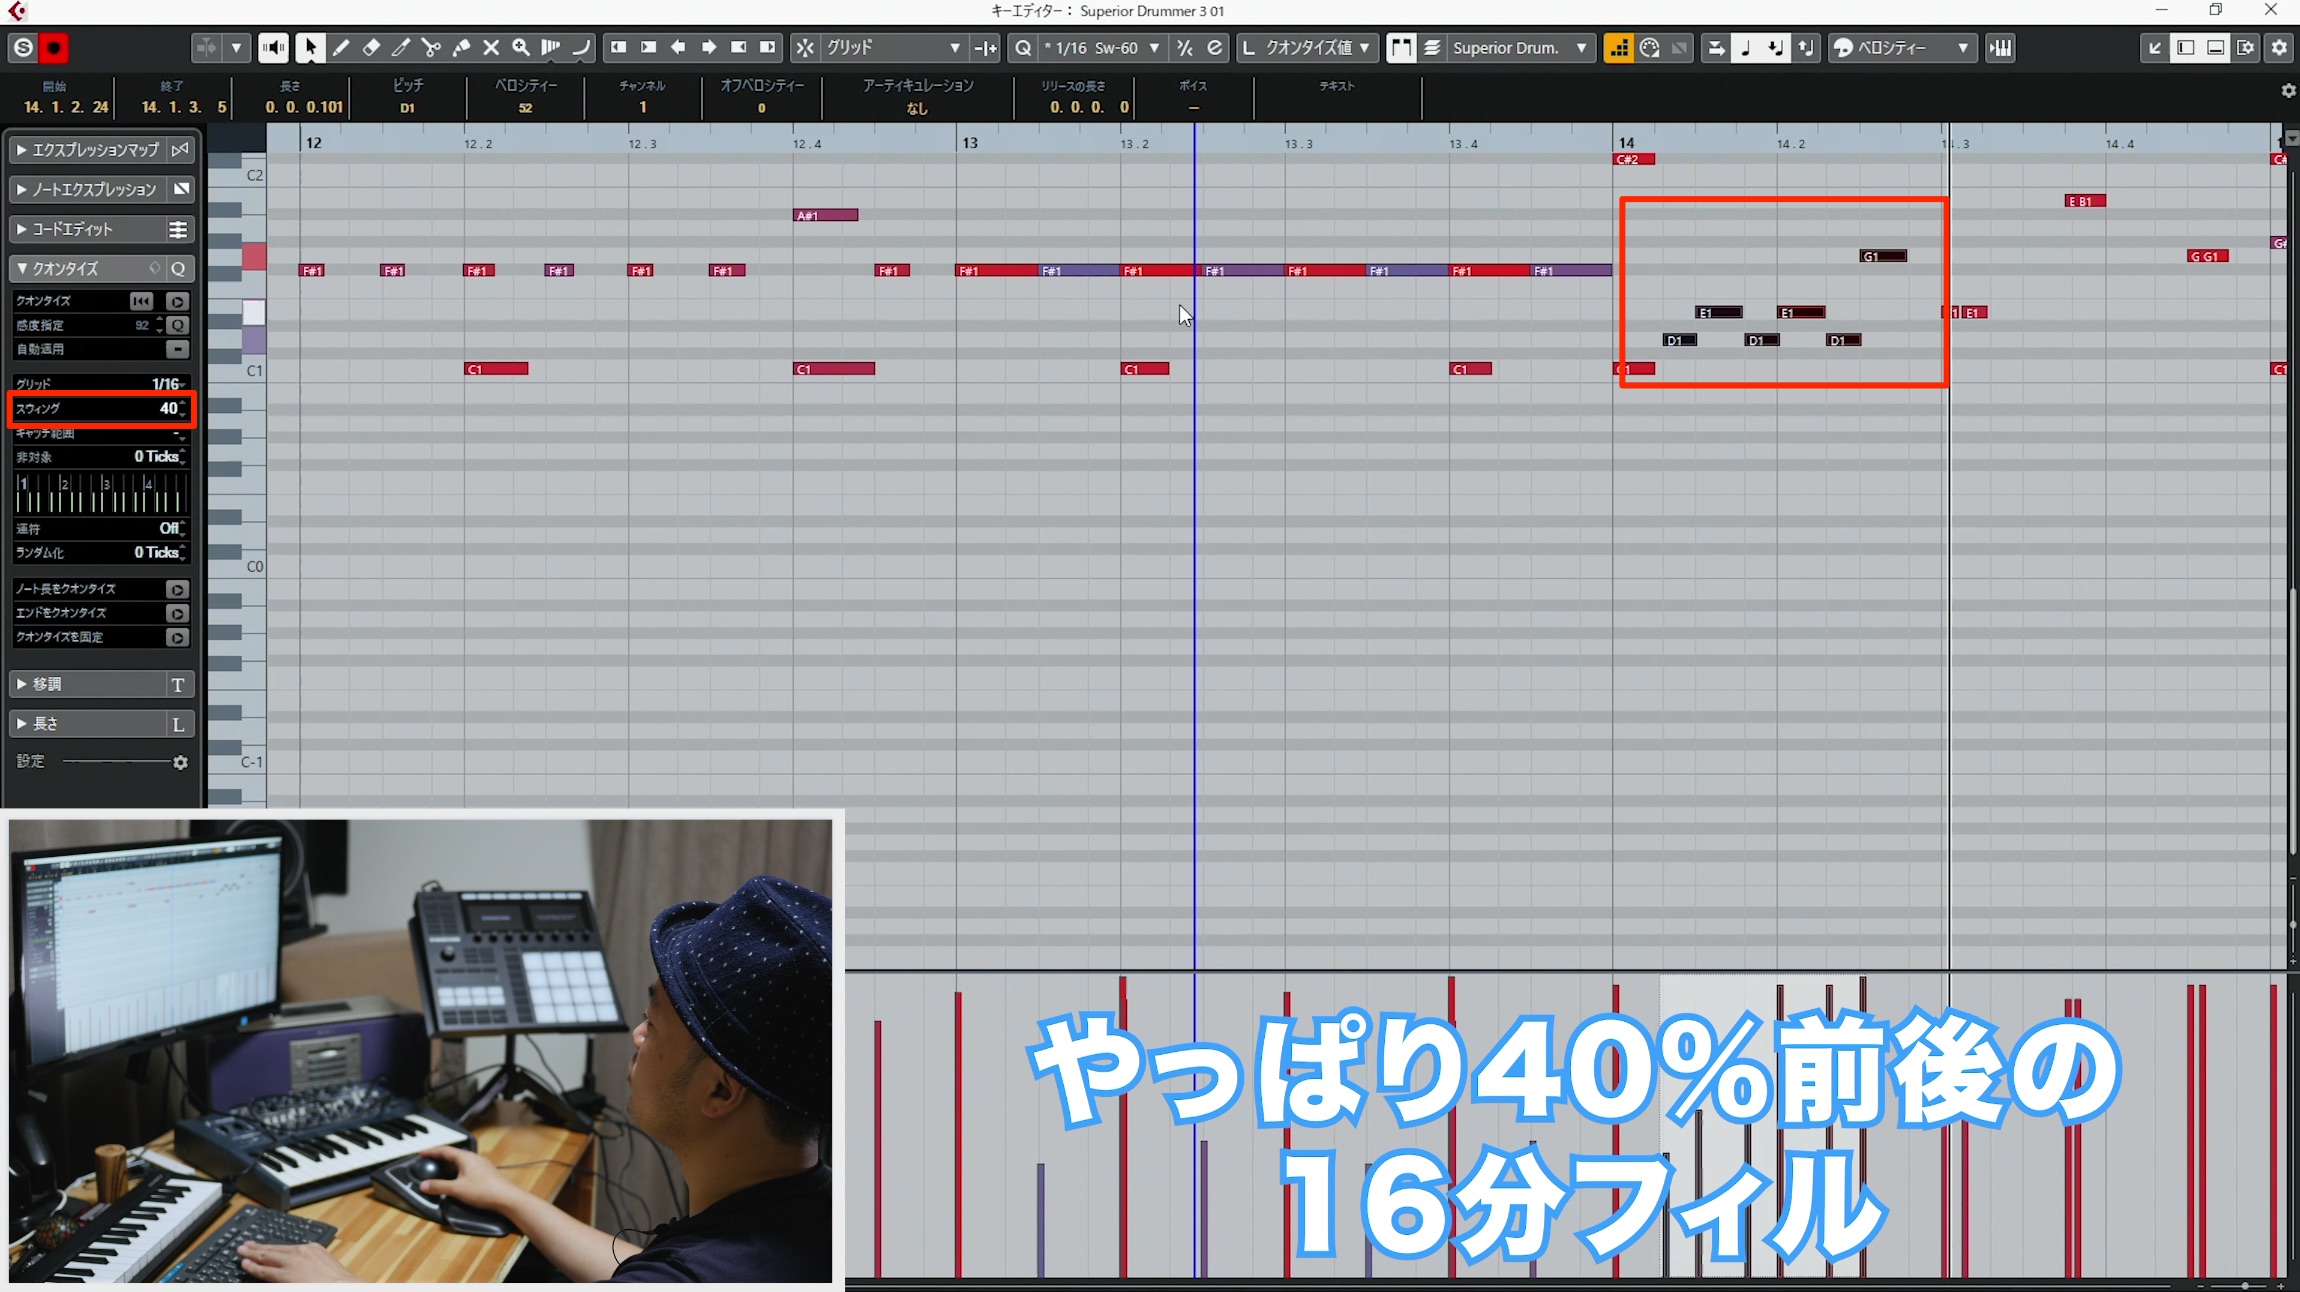
For drum fills, I sometimes increase the swing to create a bouncier feel.
Here, I set the swing value to 40.

Arranging the Bass
After the drums, I work on the bass arrangement.
Although I am a bass player, I often program the bass part.
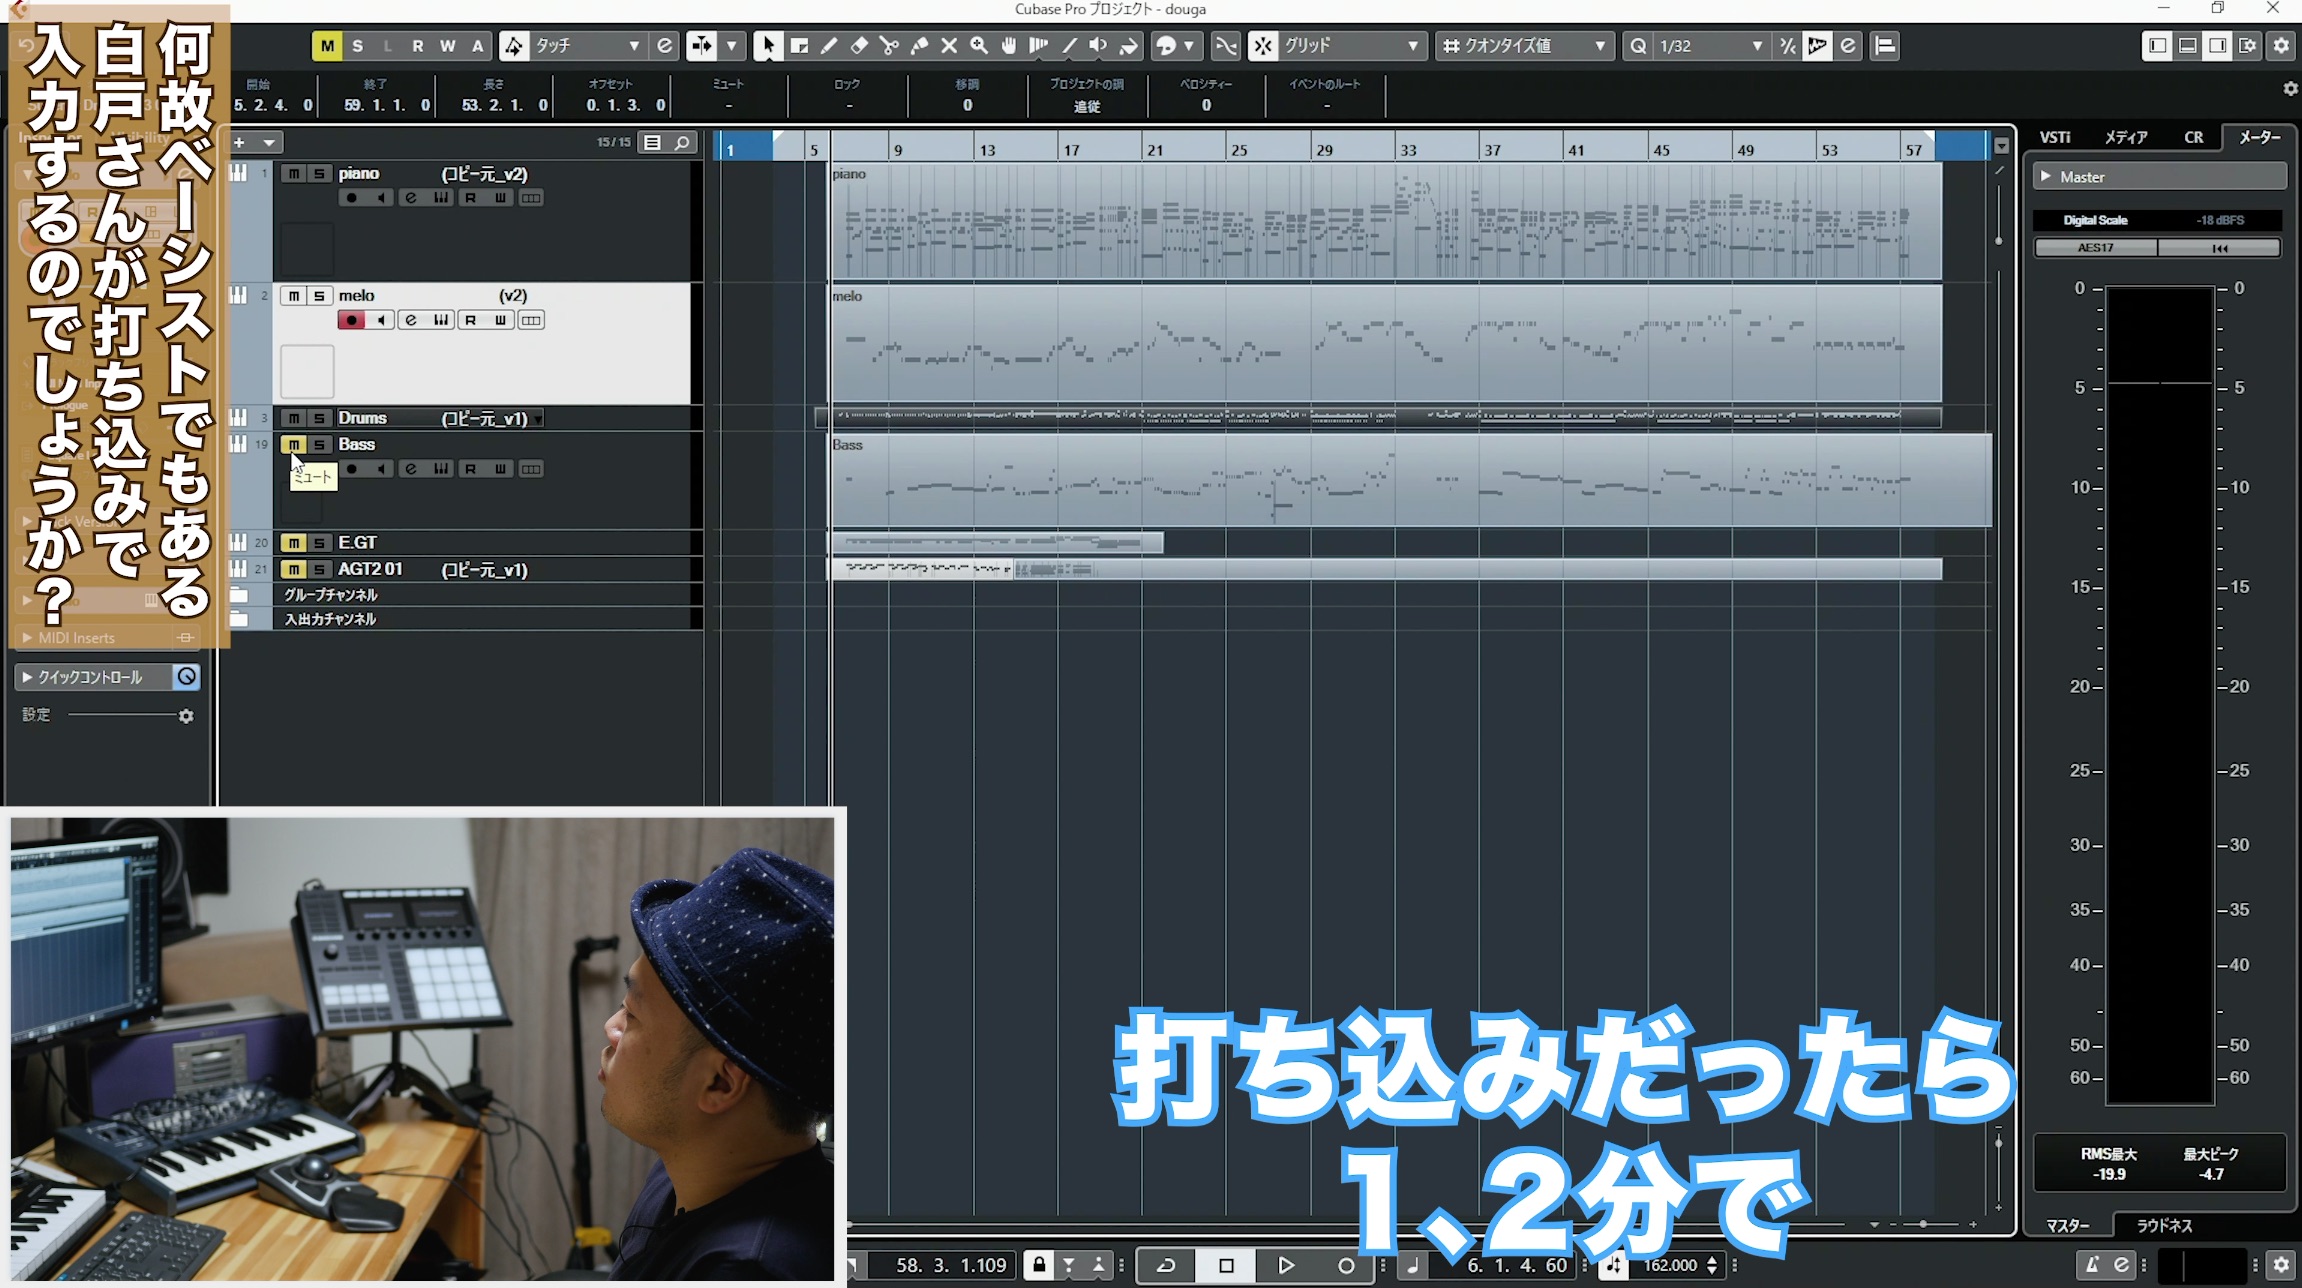
Setting up to play, making mistakes, and correcting them can take time.
Something that takes one or two minutes to program might take five or ten minutes to record, so I make the choice with time efficiency in mind.
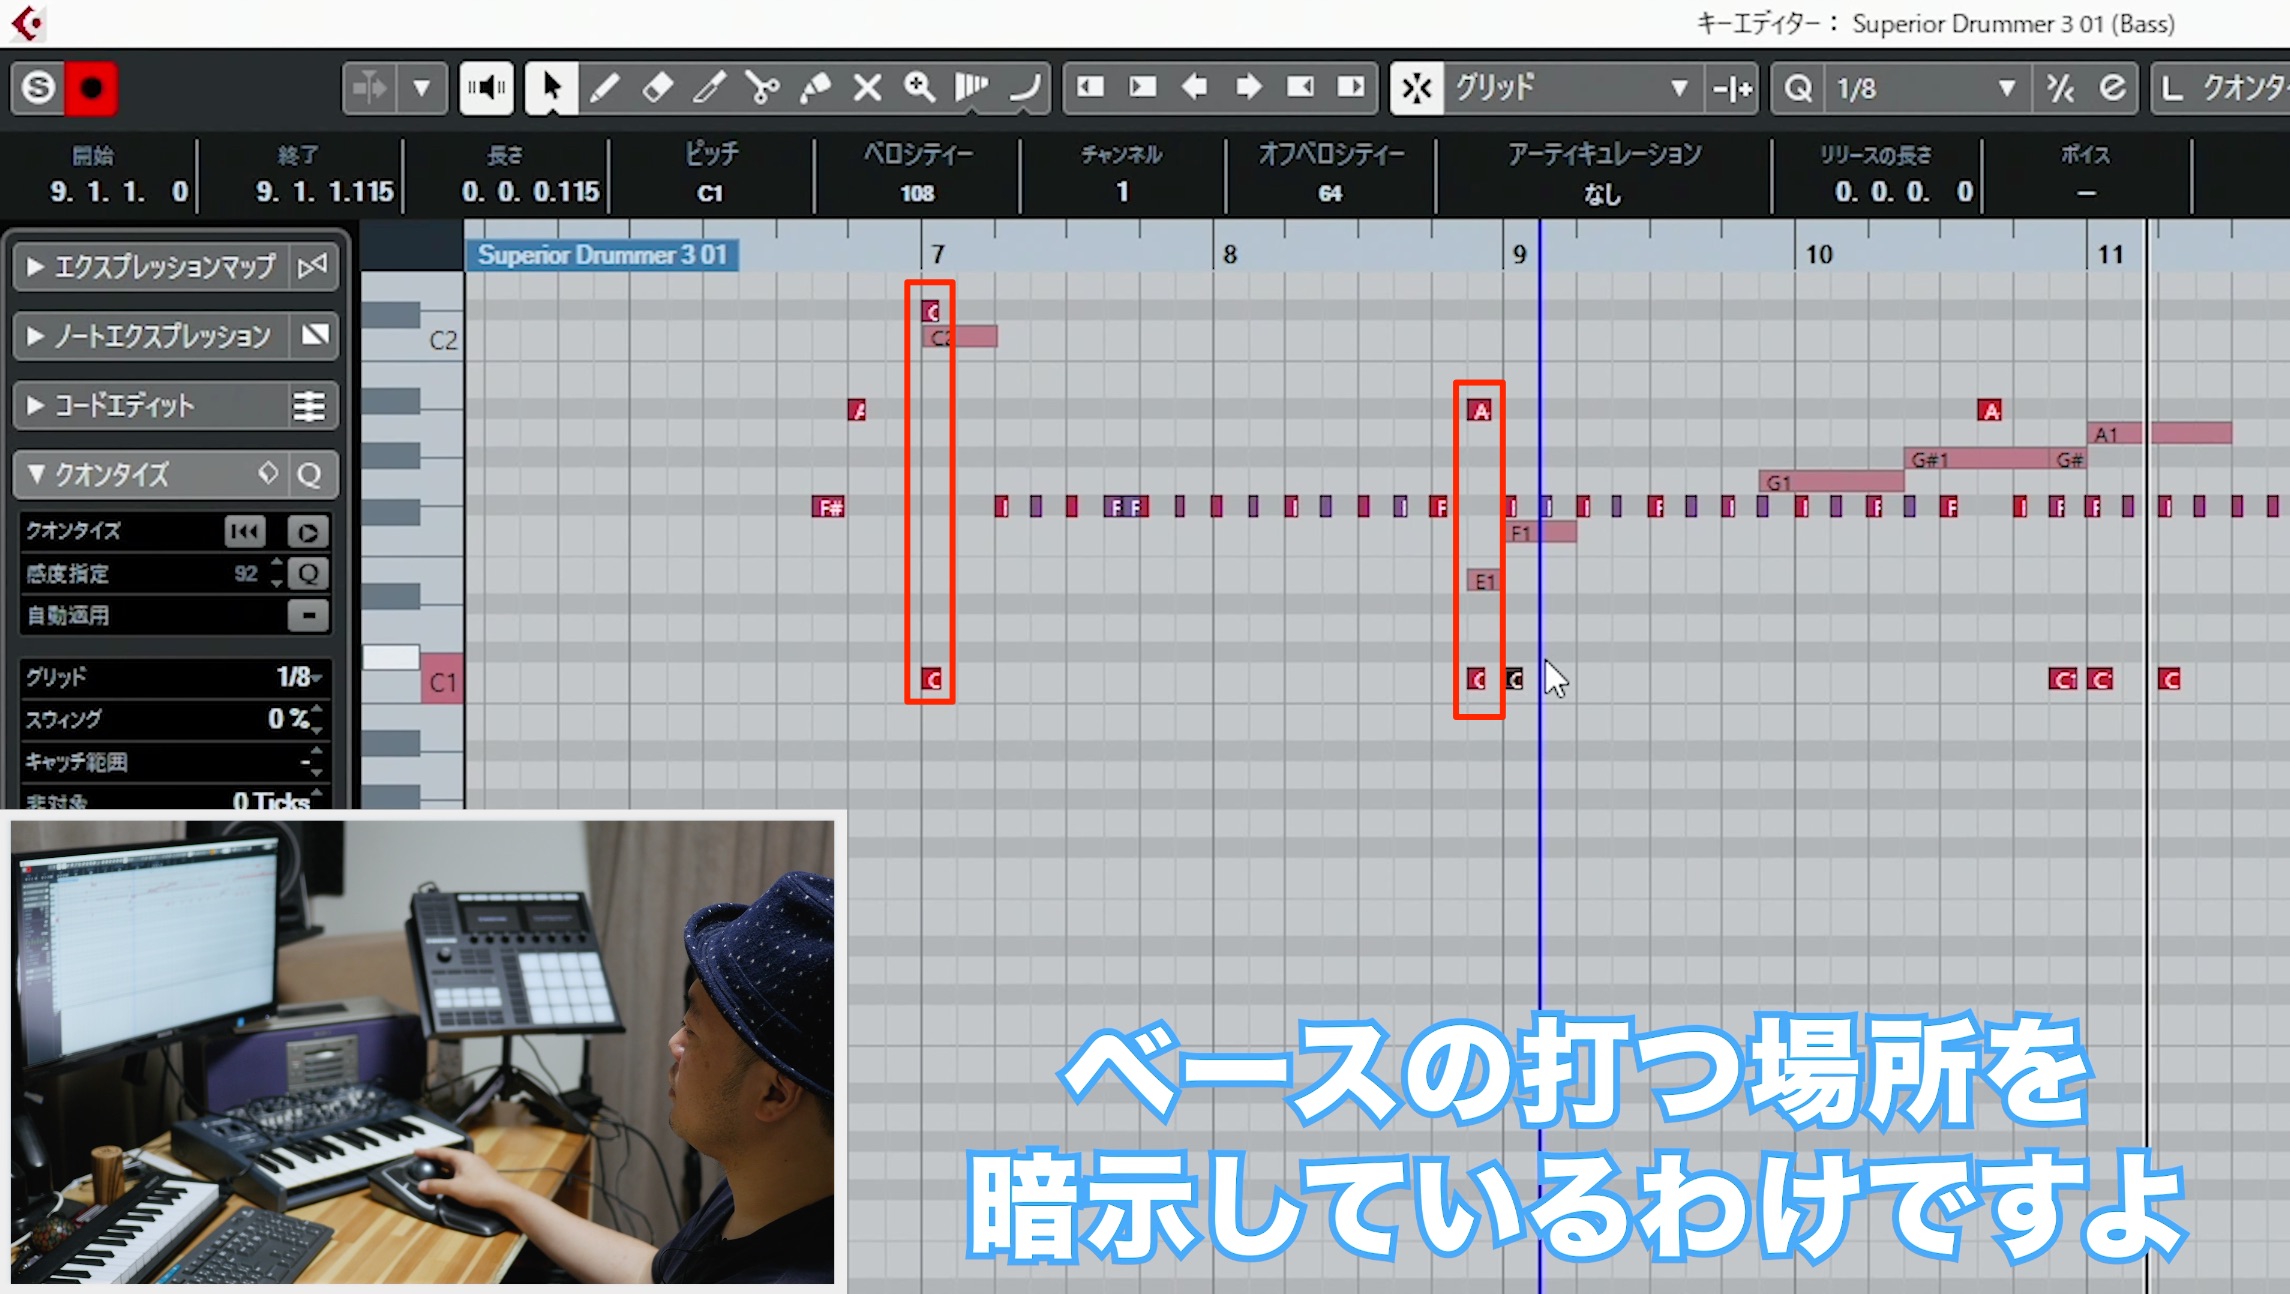
I often develop bass phrases around the placement of the kick.
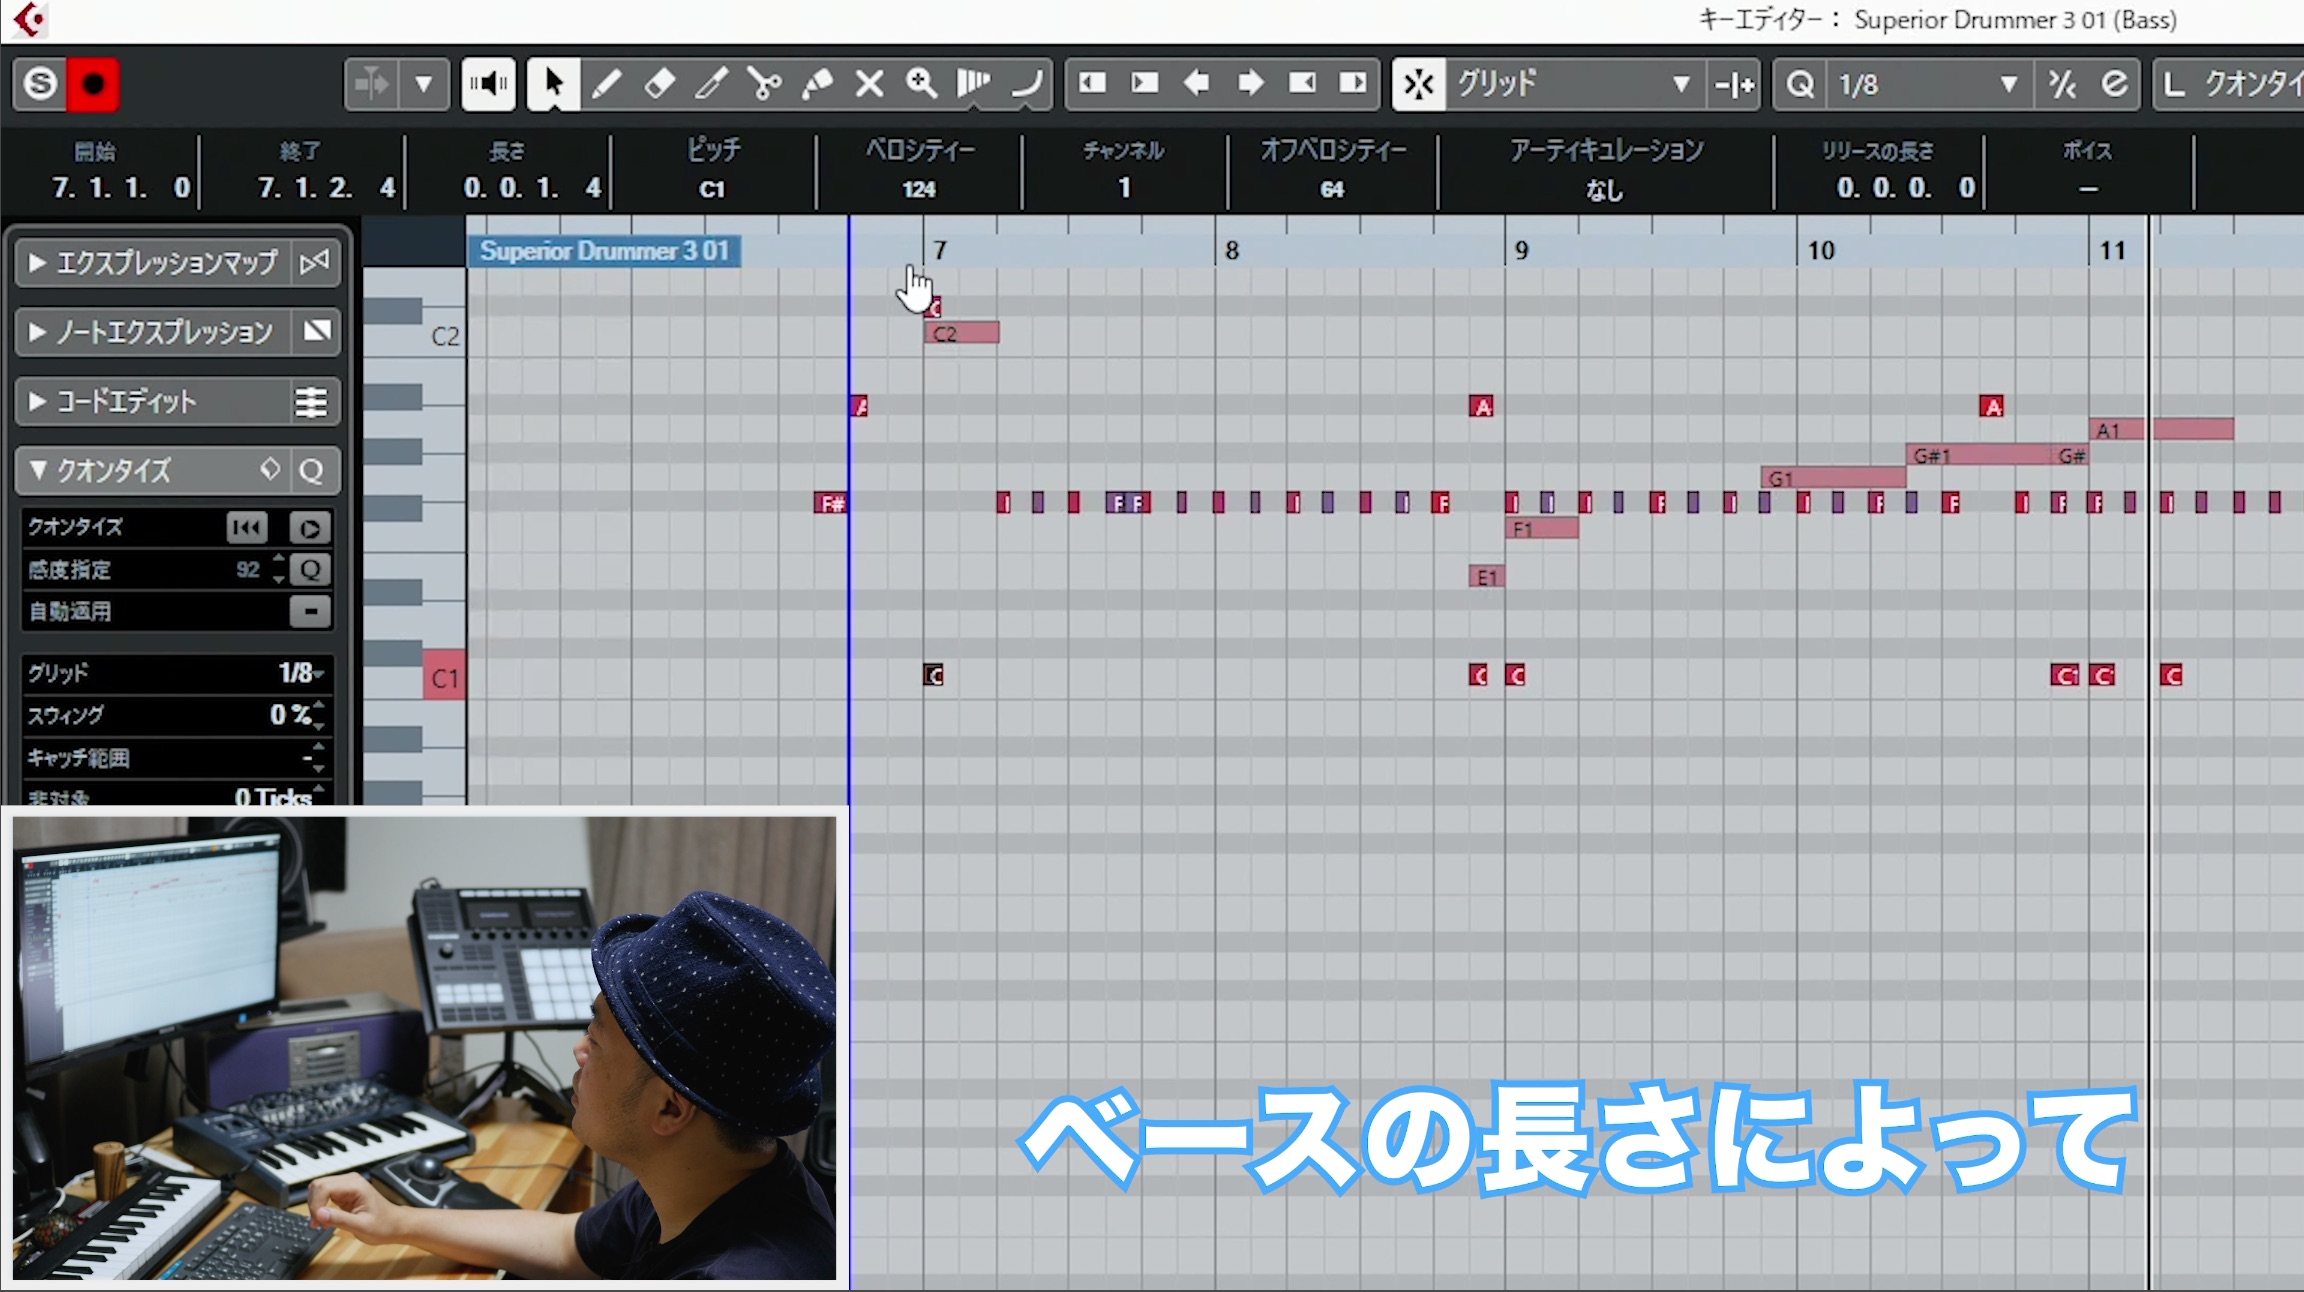
For bass, note duration is extremely important.
Even at the same pitch and position, quarter, eighth, and sixteenth notes make a big difference. I choose the duration that suits the song.
This helps create contrast and depth appropriate to each section.
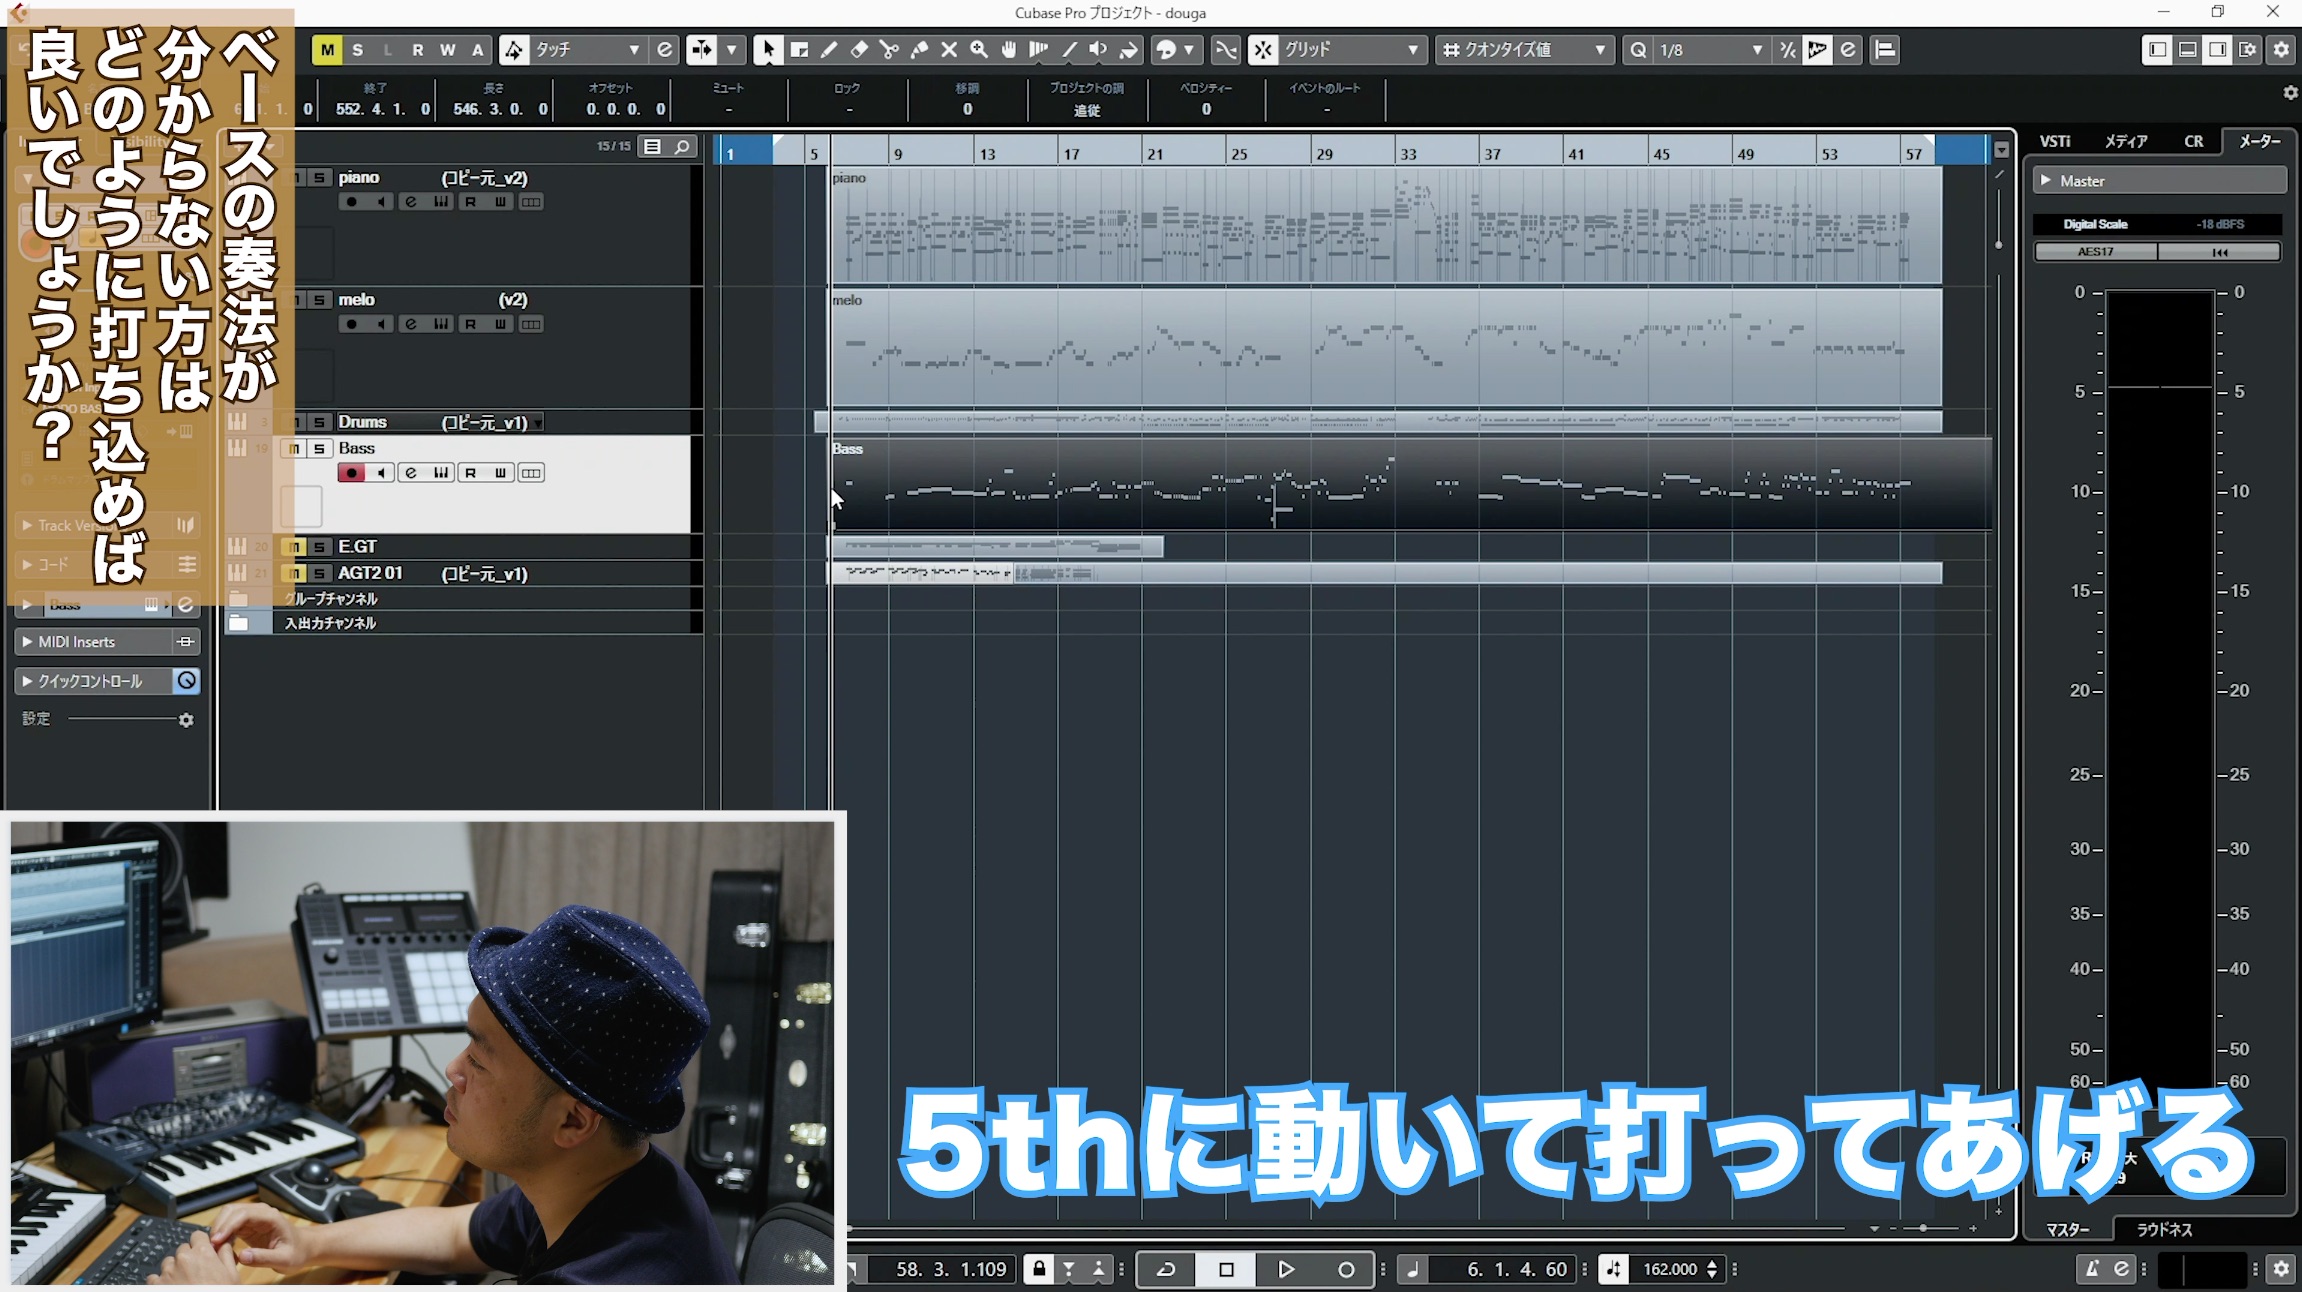
Playing chord roots is fundamental to bass, but if your phrases feel repetitive, try adding fifths and octaves.
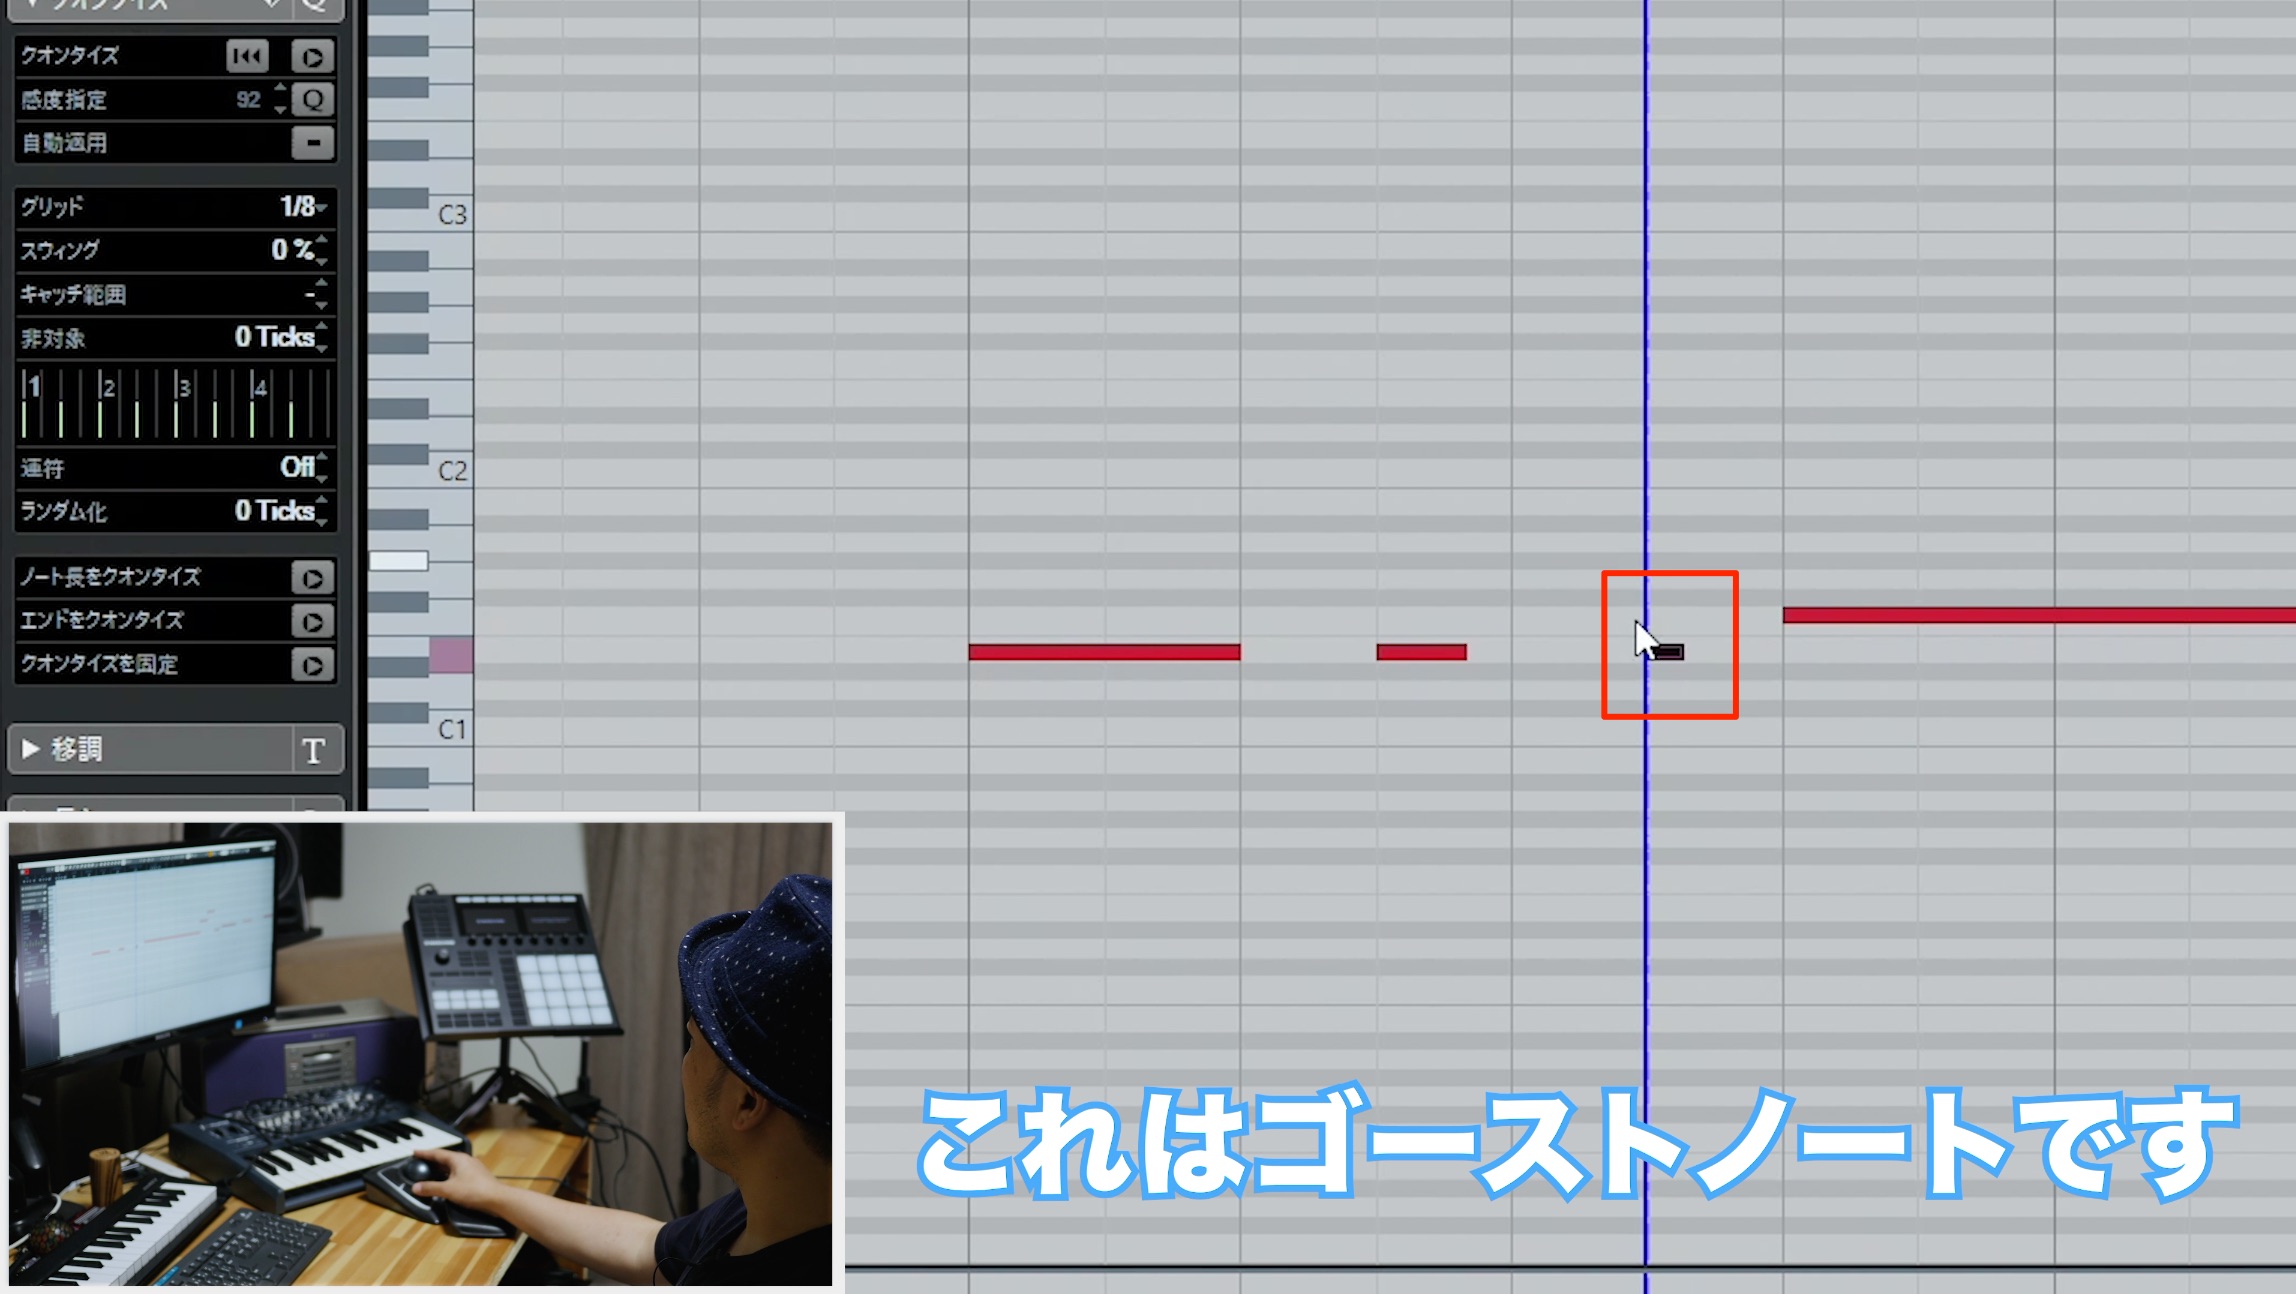
I also deliberately shorten notes to create a groove, and add ghost notes.
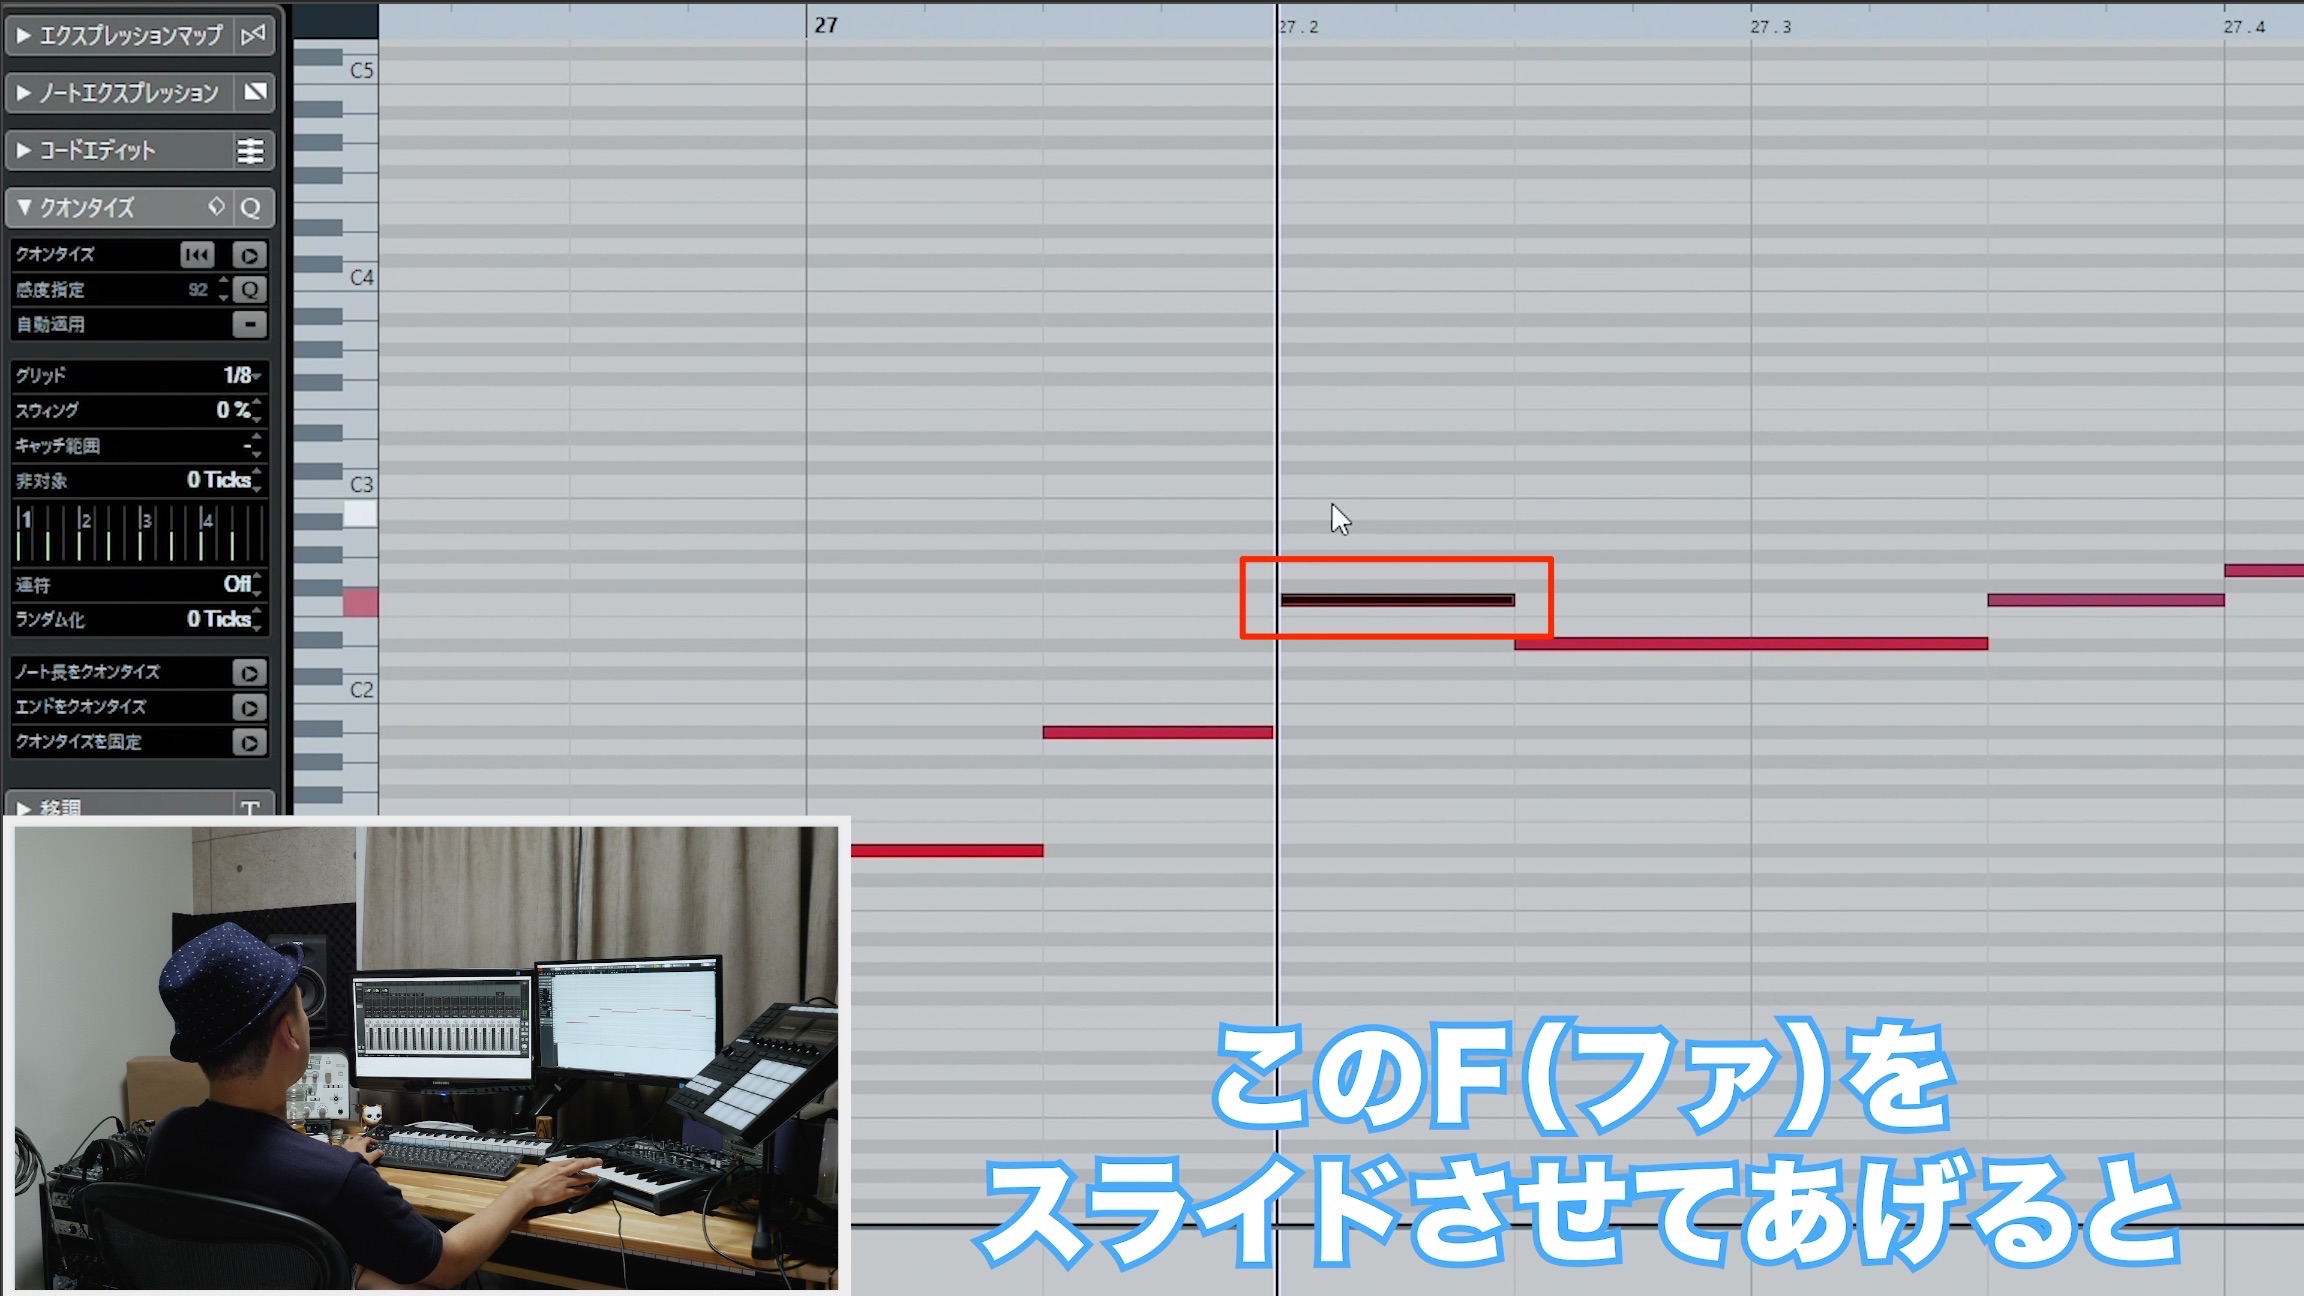
Another very effective approach is mixing slides into the phrase, an essential bass articulation.
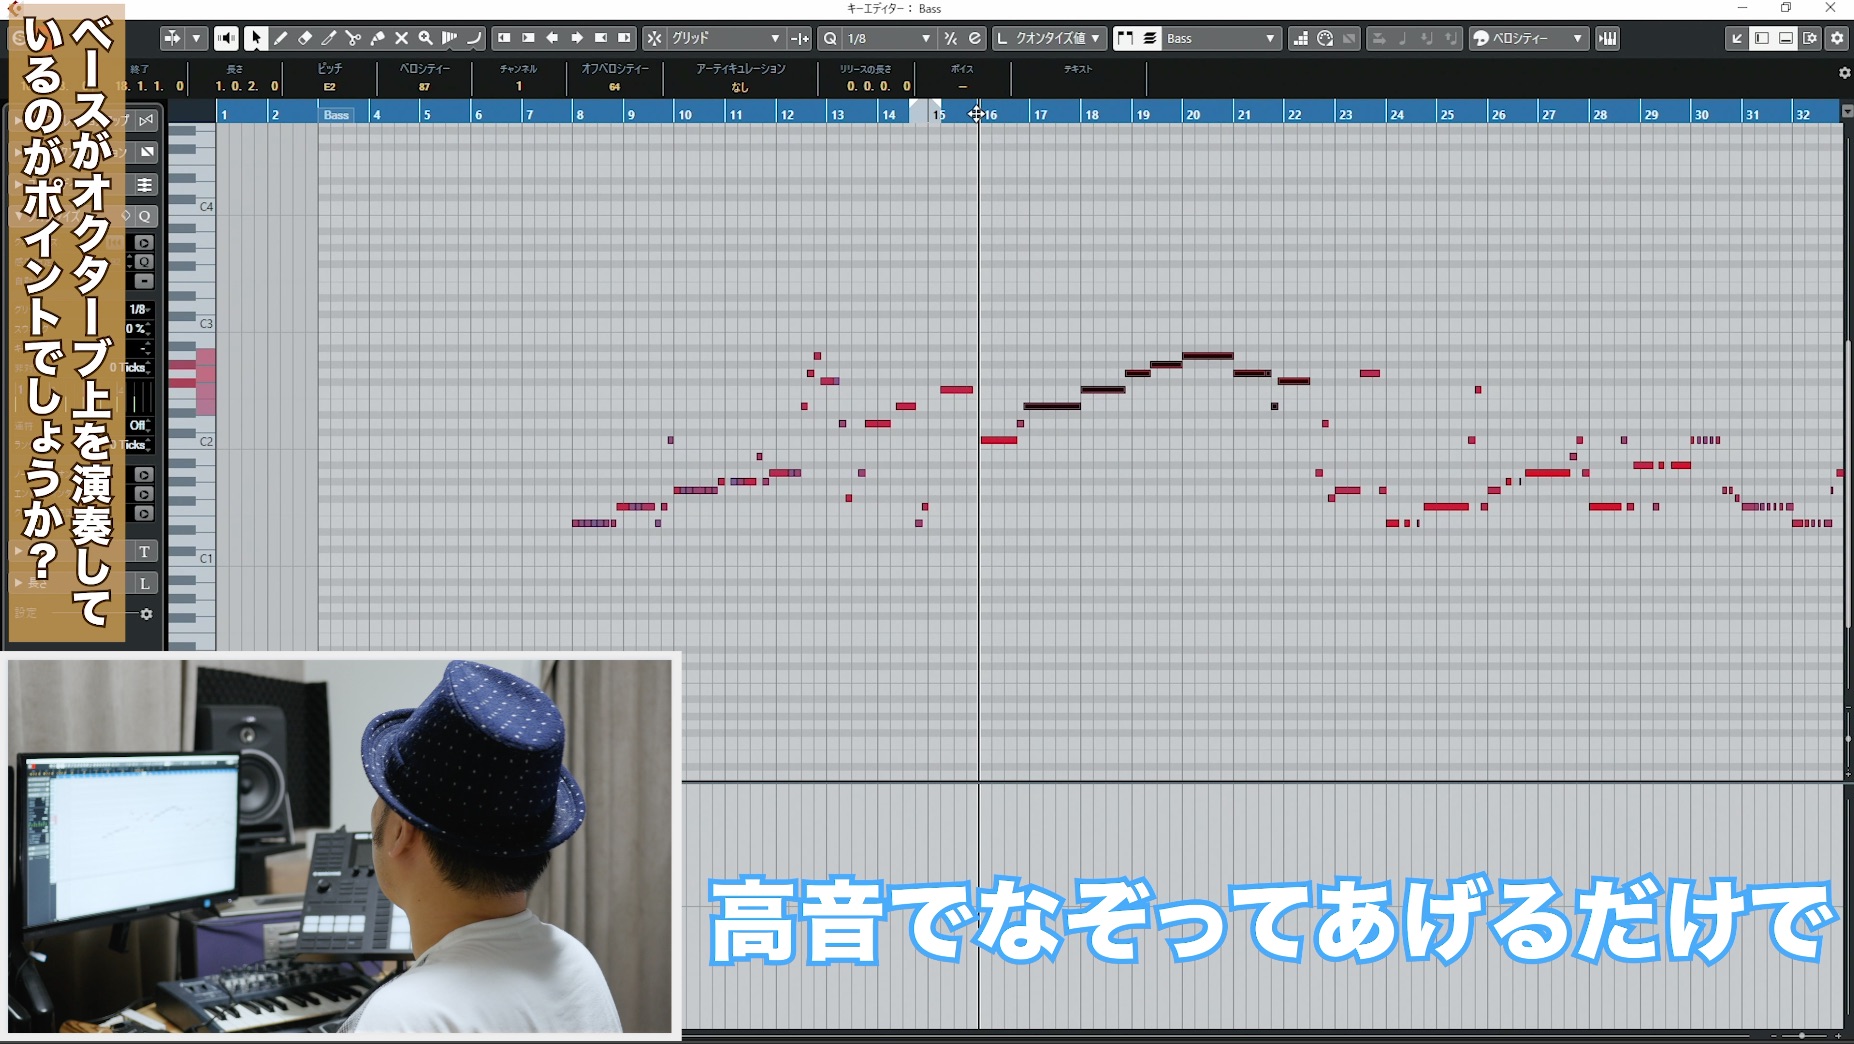
Long, sustained bass notes can create too much weight and impact, making it harder to distinguish the later, more energetic section.
Before the song builds, such as in the verse, I therefore play an octave higher to keep the feel light.
Arranging the Piano
In the previous composition video, I used piano chords to develop and refine the melody.
At this stage, I have not decided whether the piano will remain in the final arrangement.
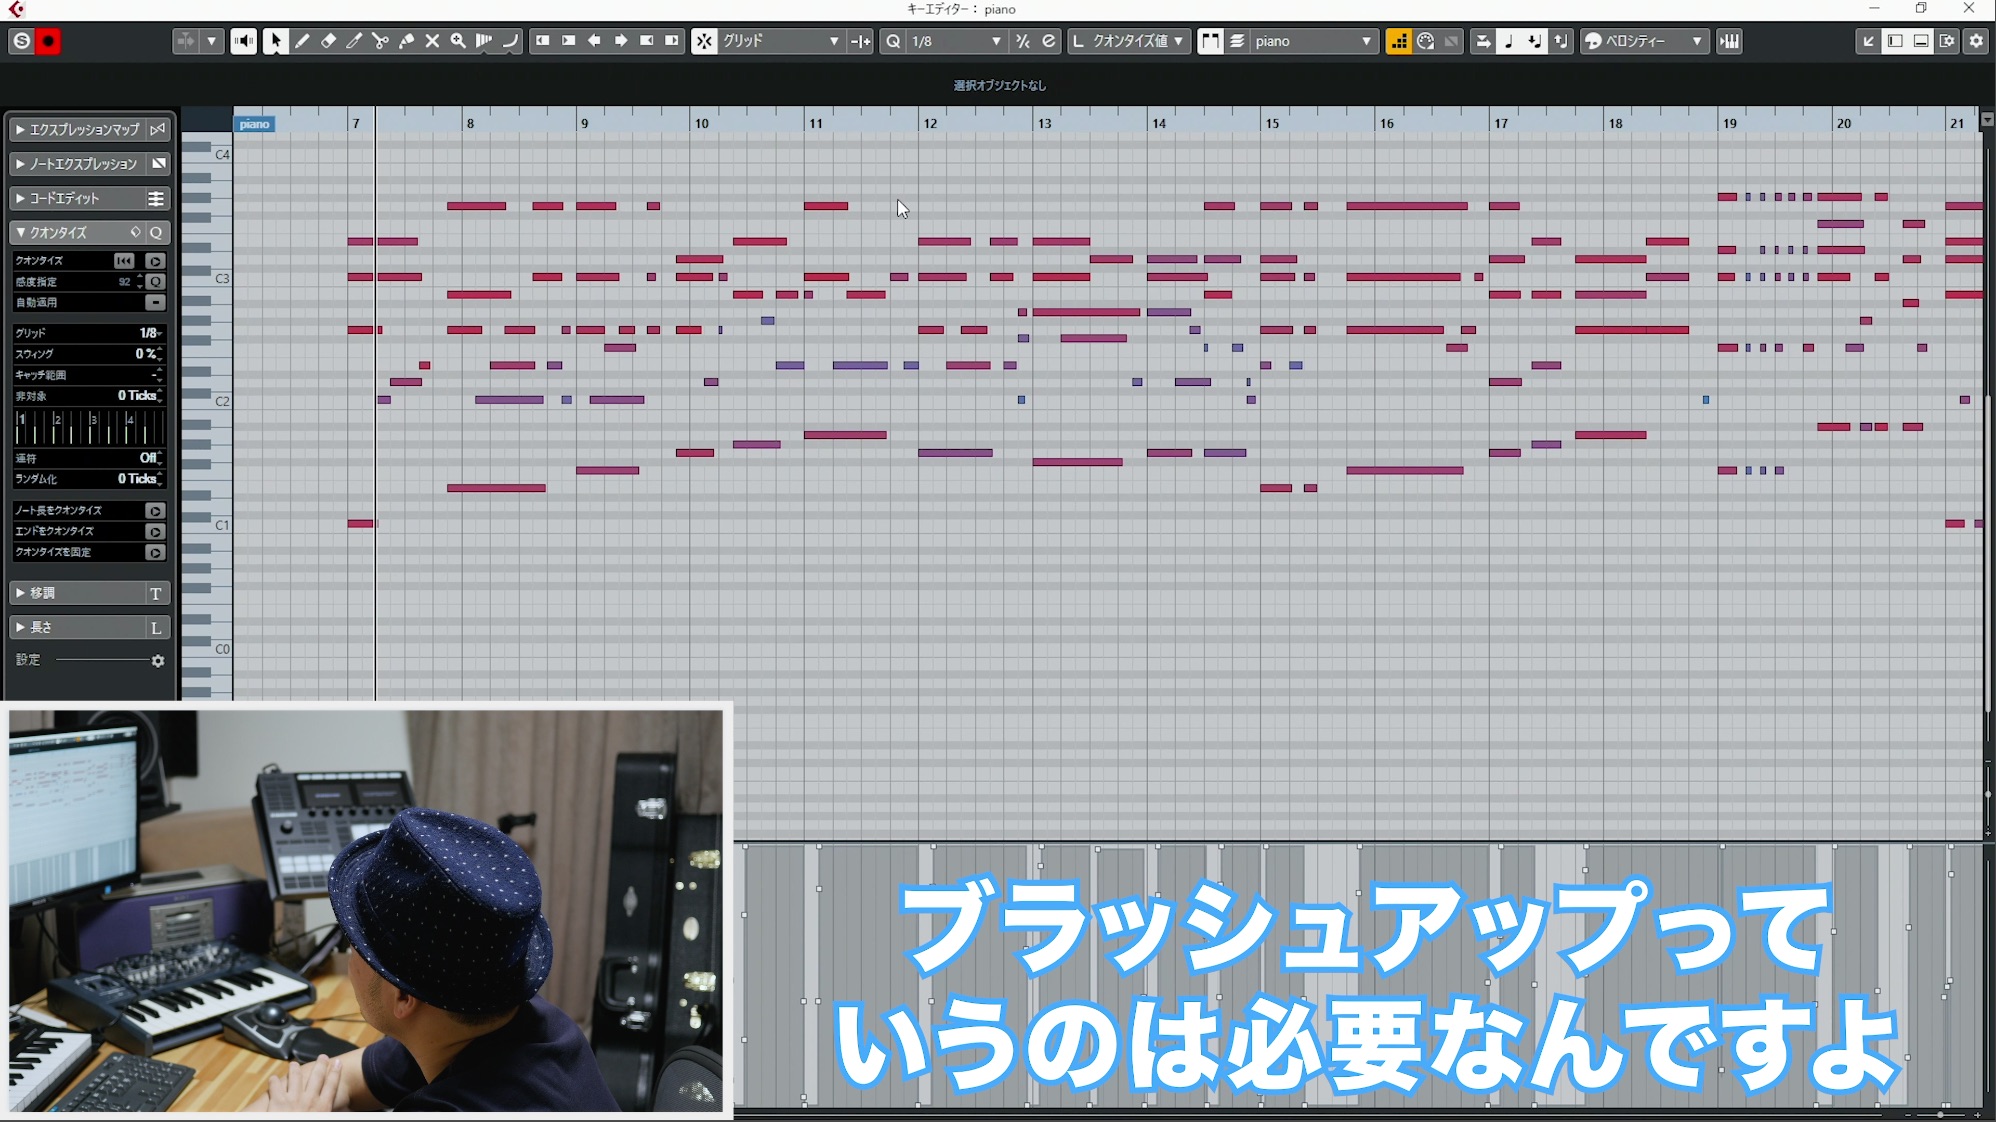
Here, I need to examine the part more closely, including its chord voicings.
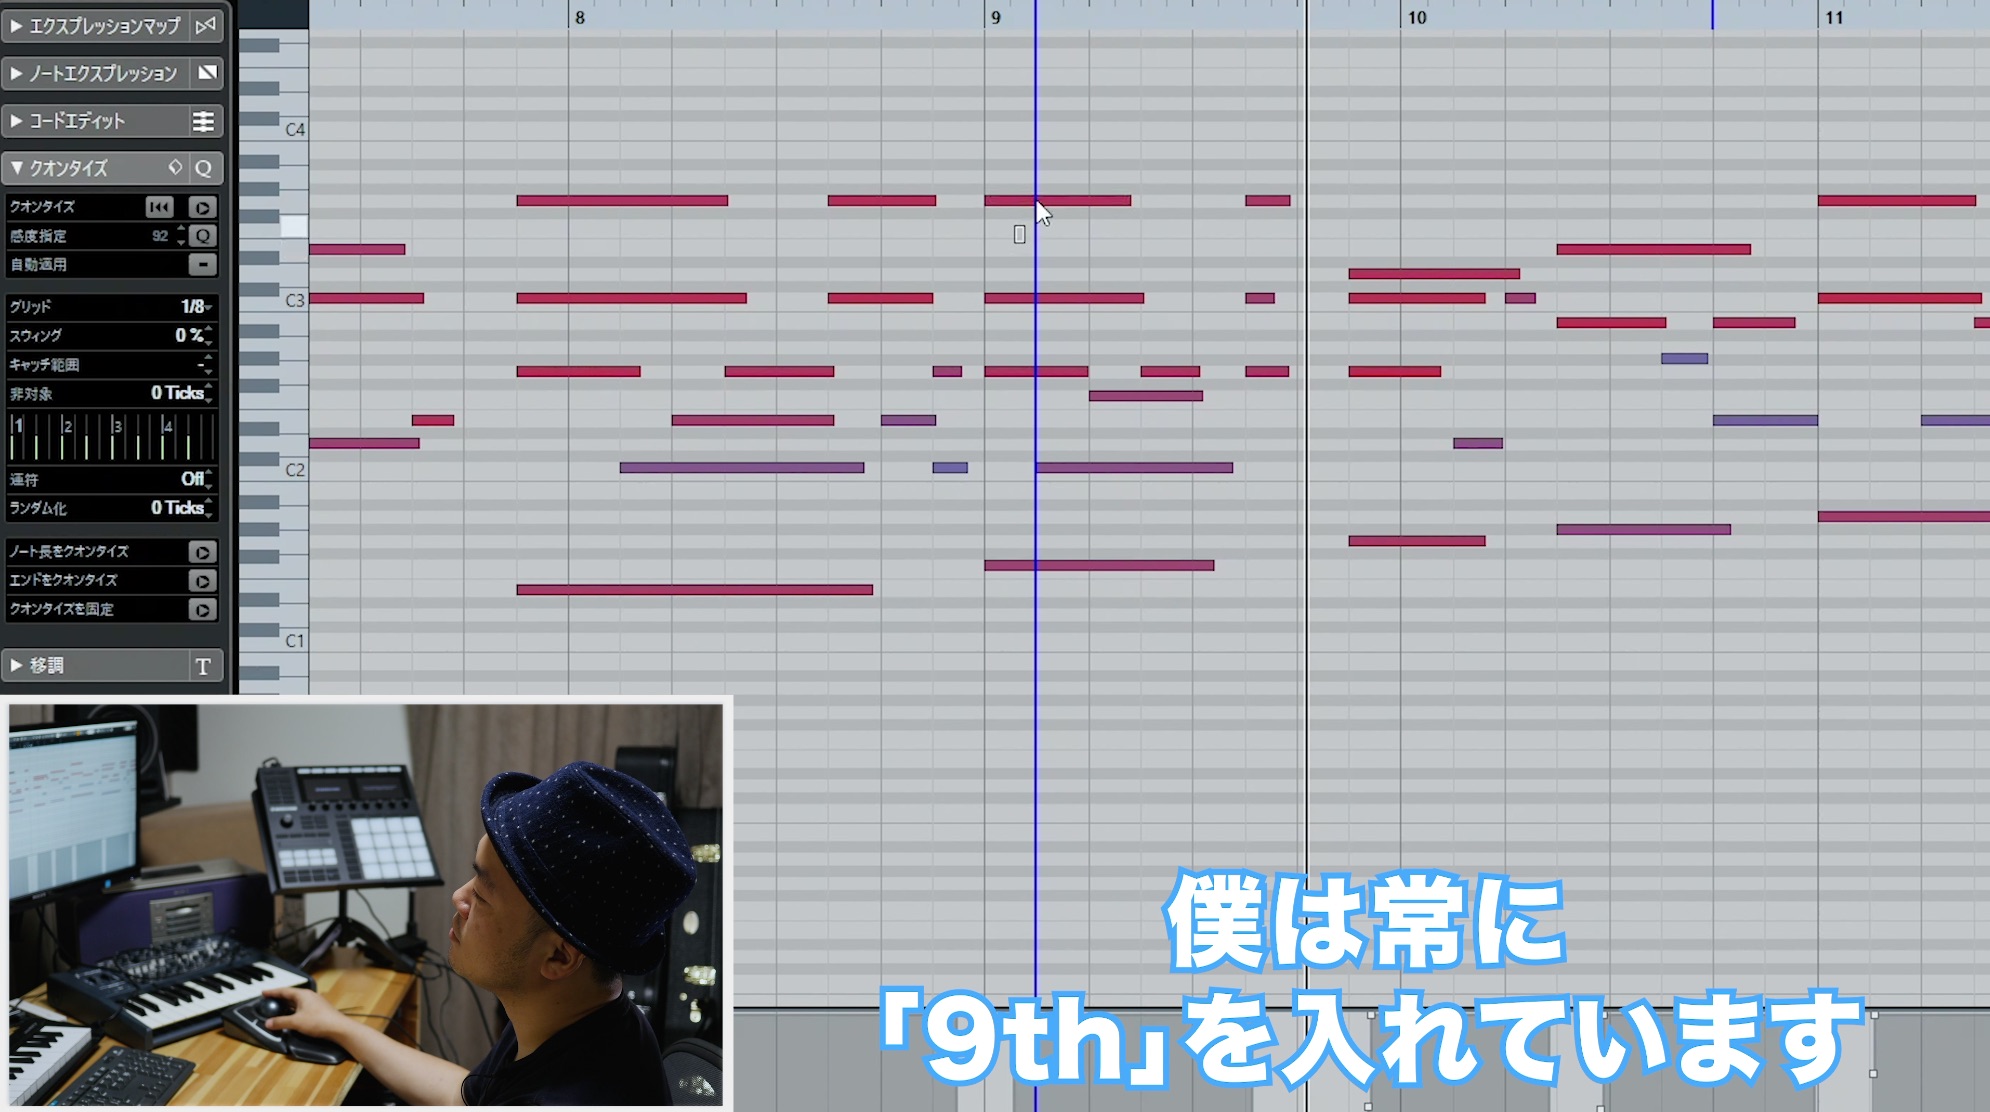
I check the chords I played spontaneously and look for voicings closer to the sound I have in mind.
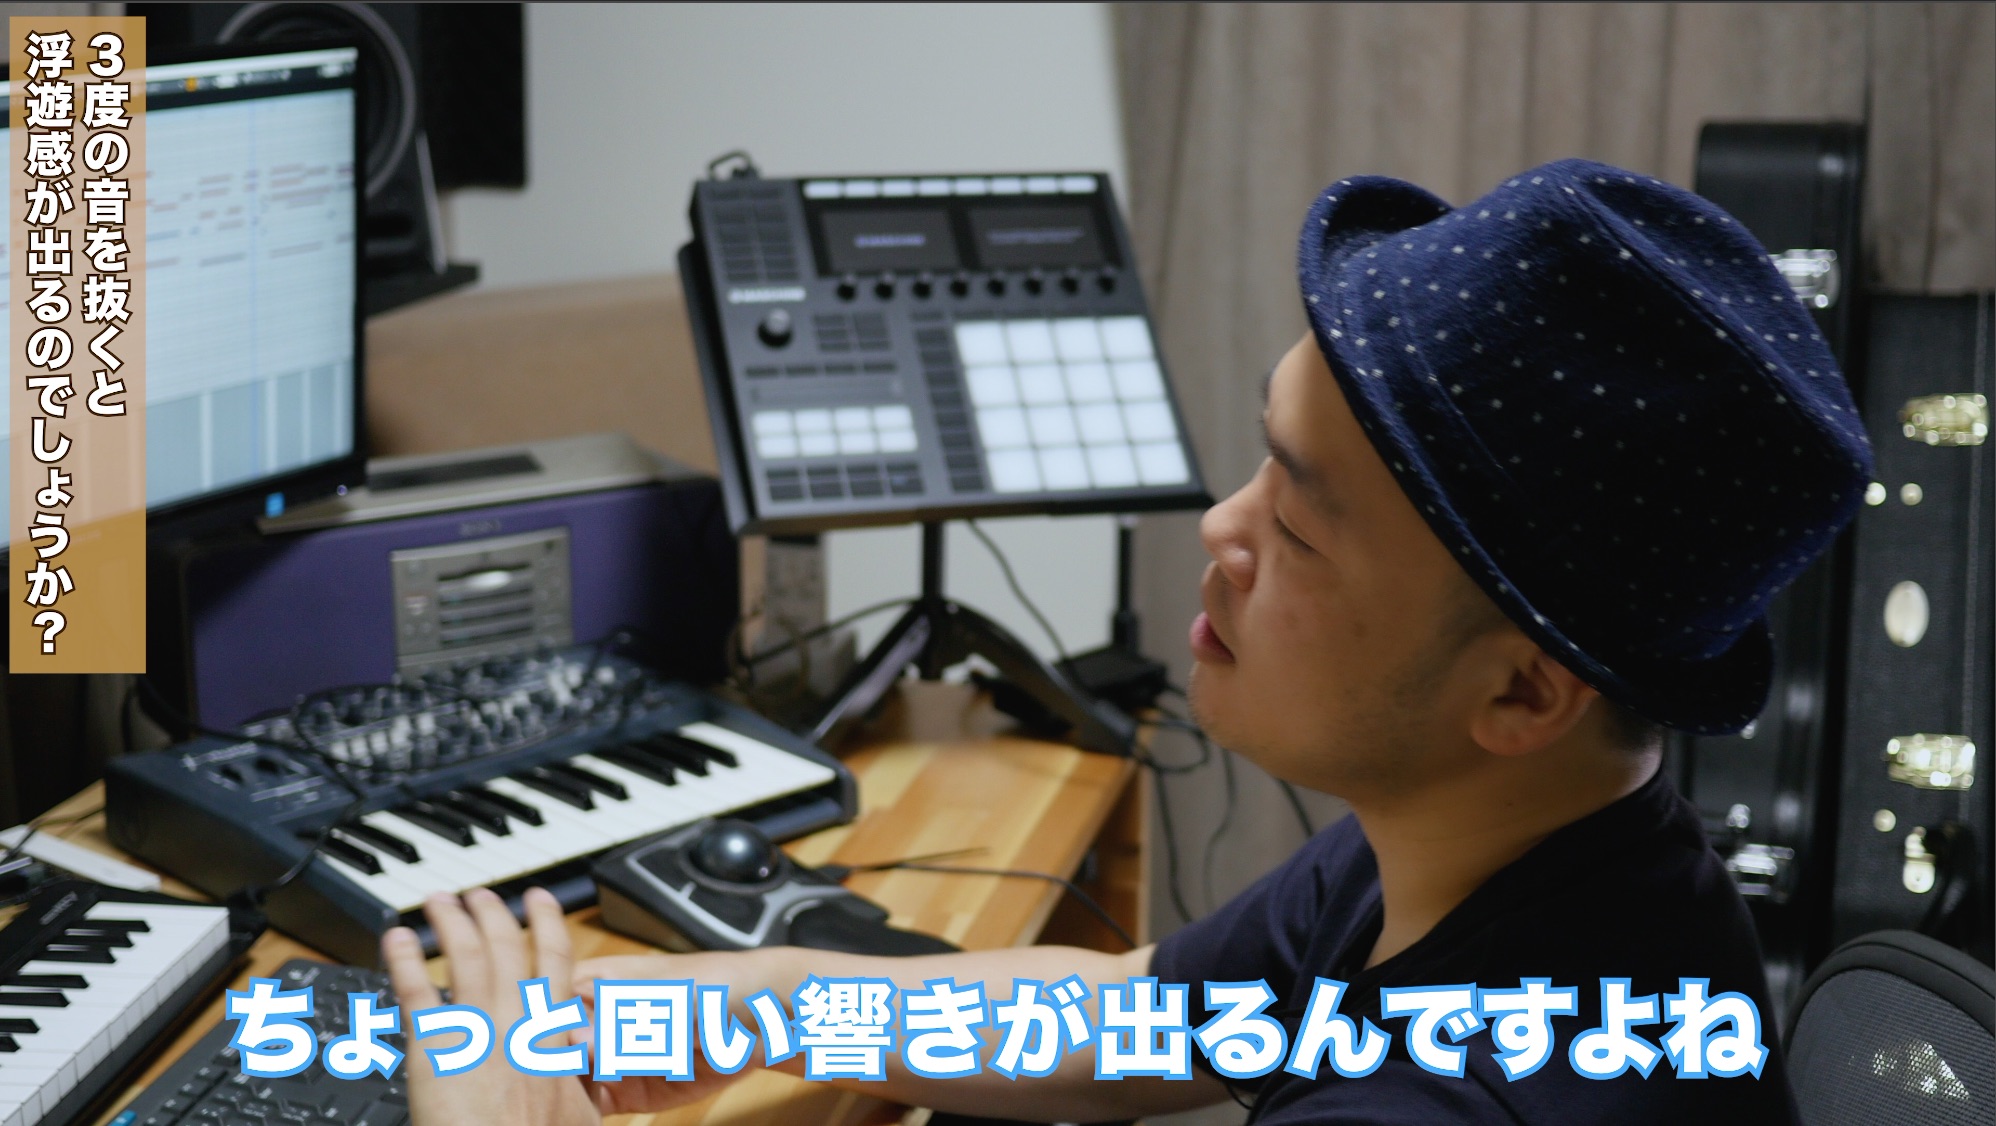
One approach I often use is omitting the third from the chord voicing. Here, it brought the sound closer to my intention.
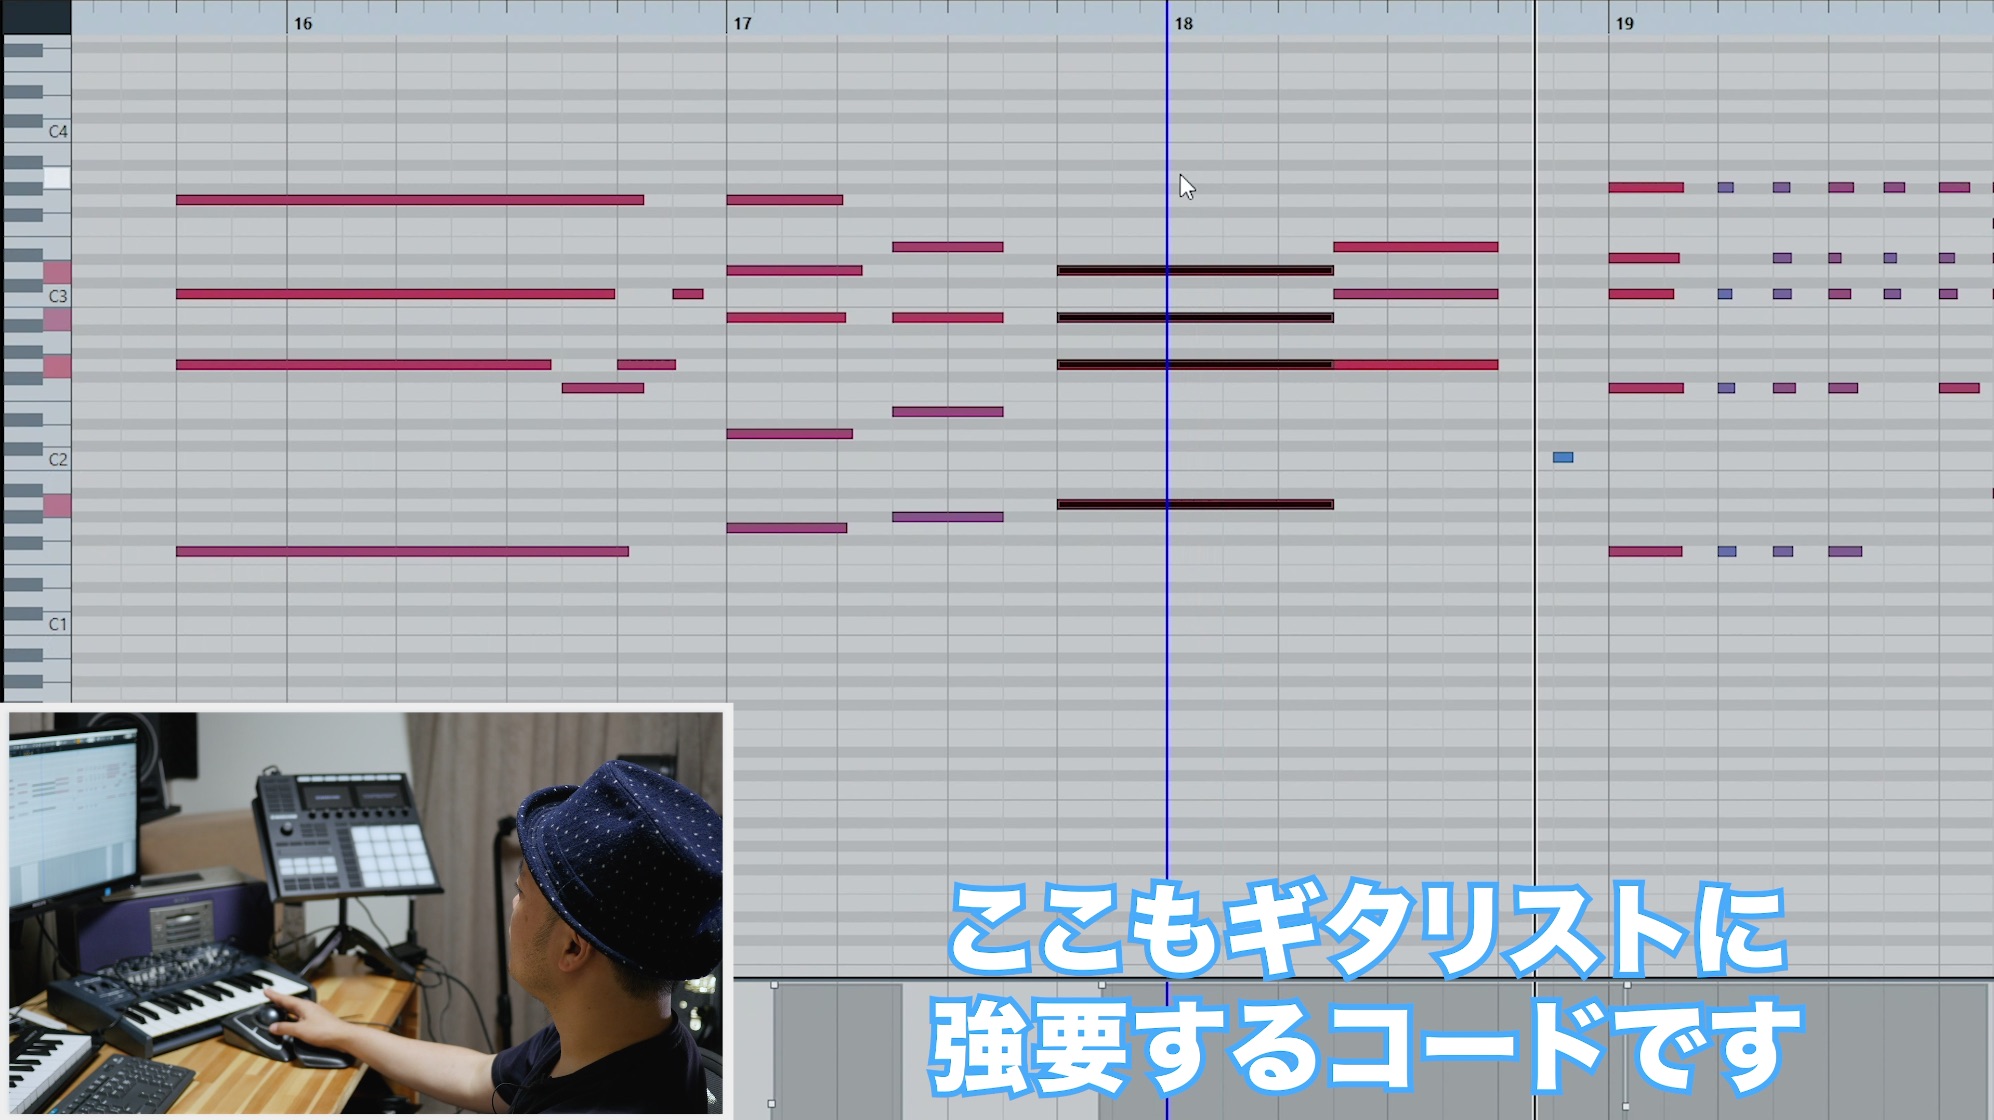
I always consider how the piano interacts with other instruments in the same frequency range.
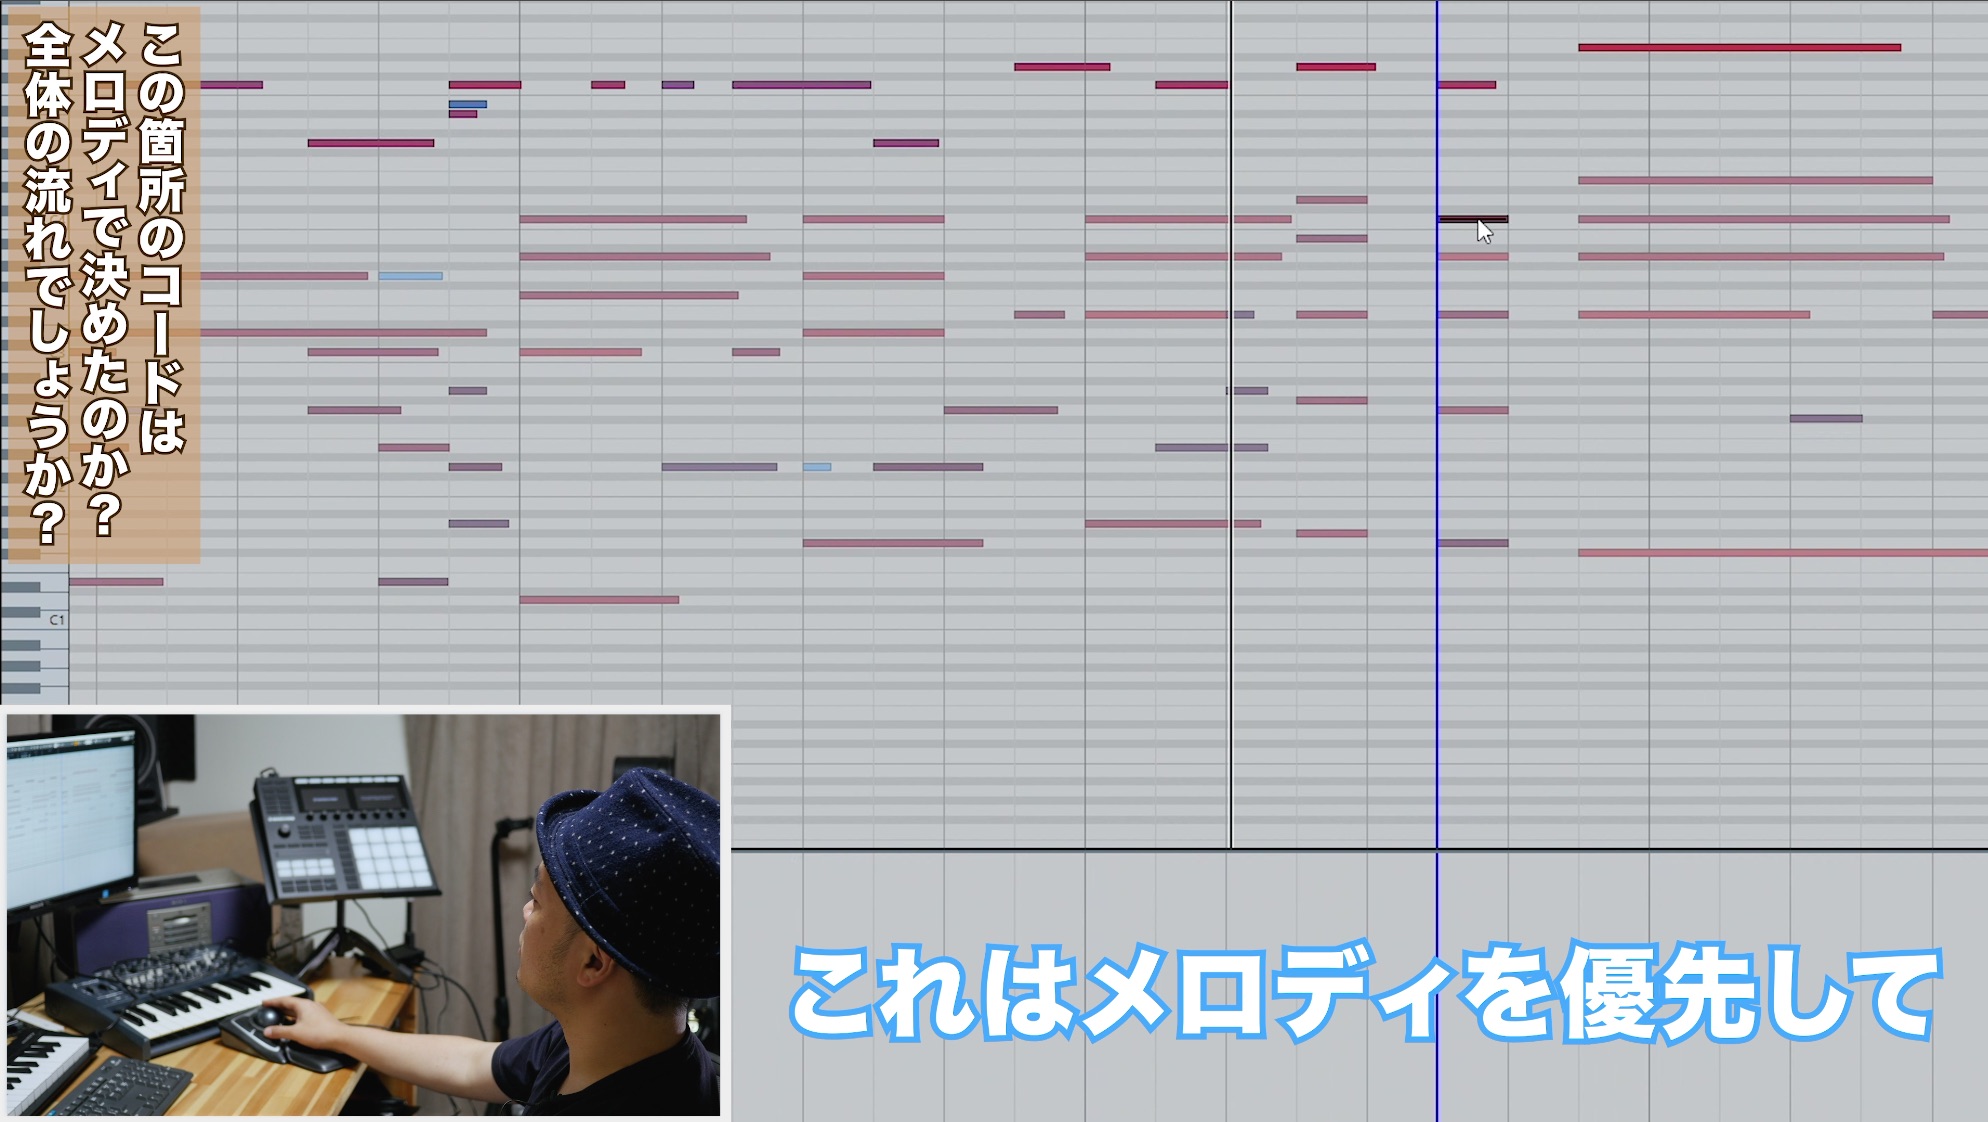
Naturally, I fine-tune the voicing so the melody sounds good against it.
Sometimes, I change the chord itself during the arranging stage.
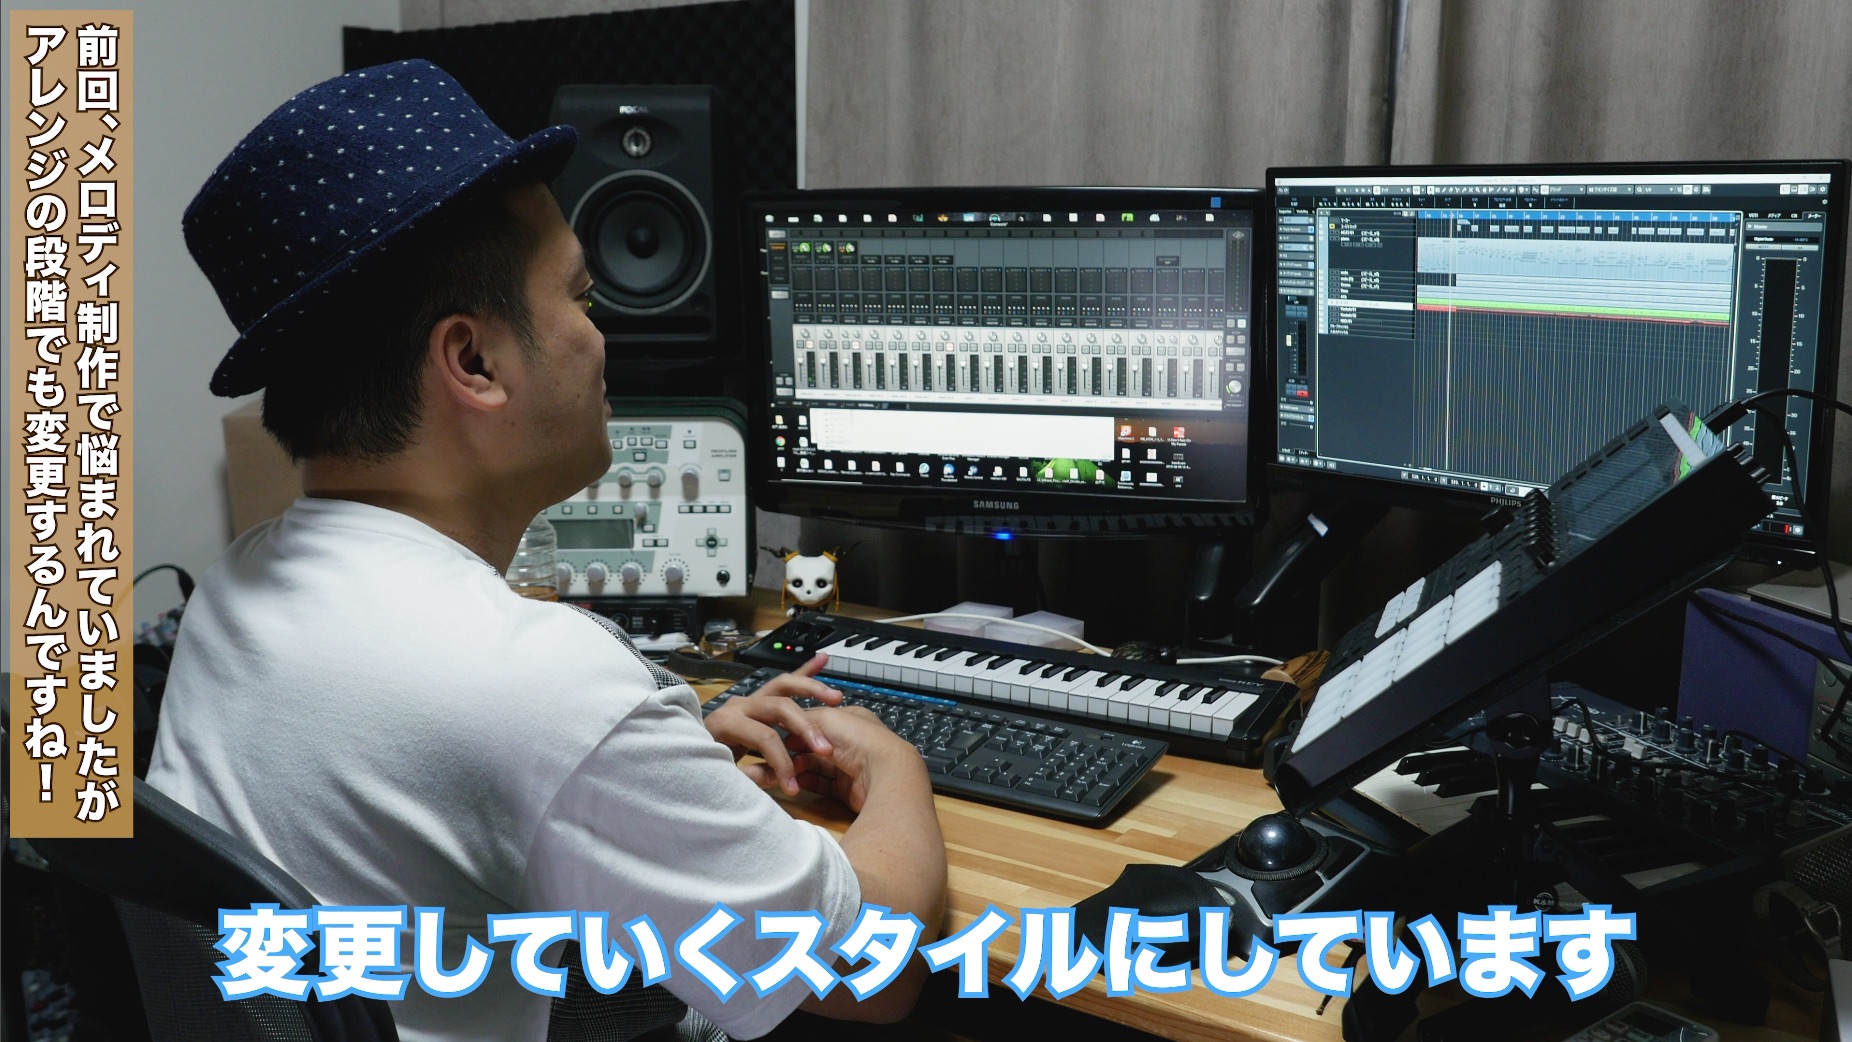
Conversely, as I arrange, I sometimes feel a strong urge to change the melody.
When I have composed the song myself, I value that inspiration and freely revise the melody.
Arranging the Guitar
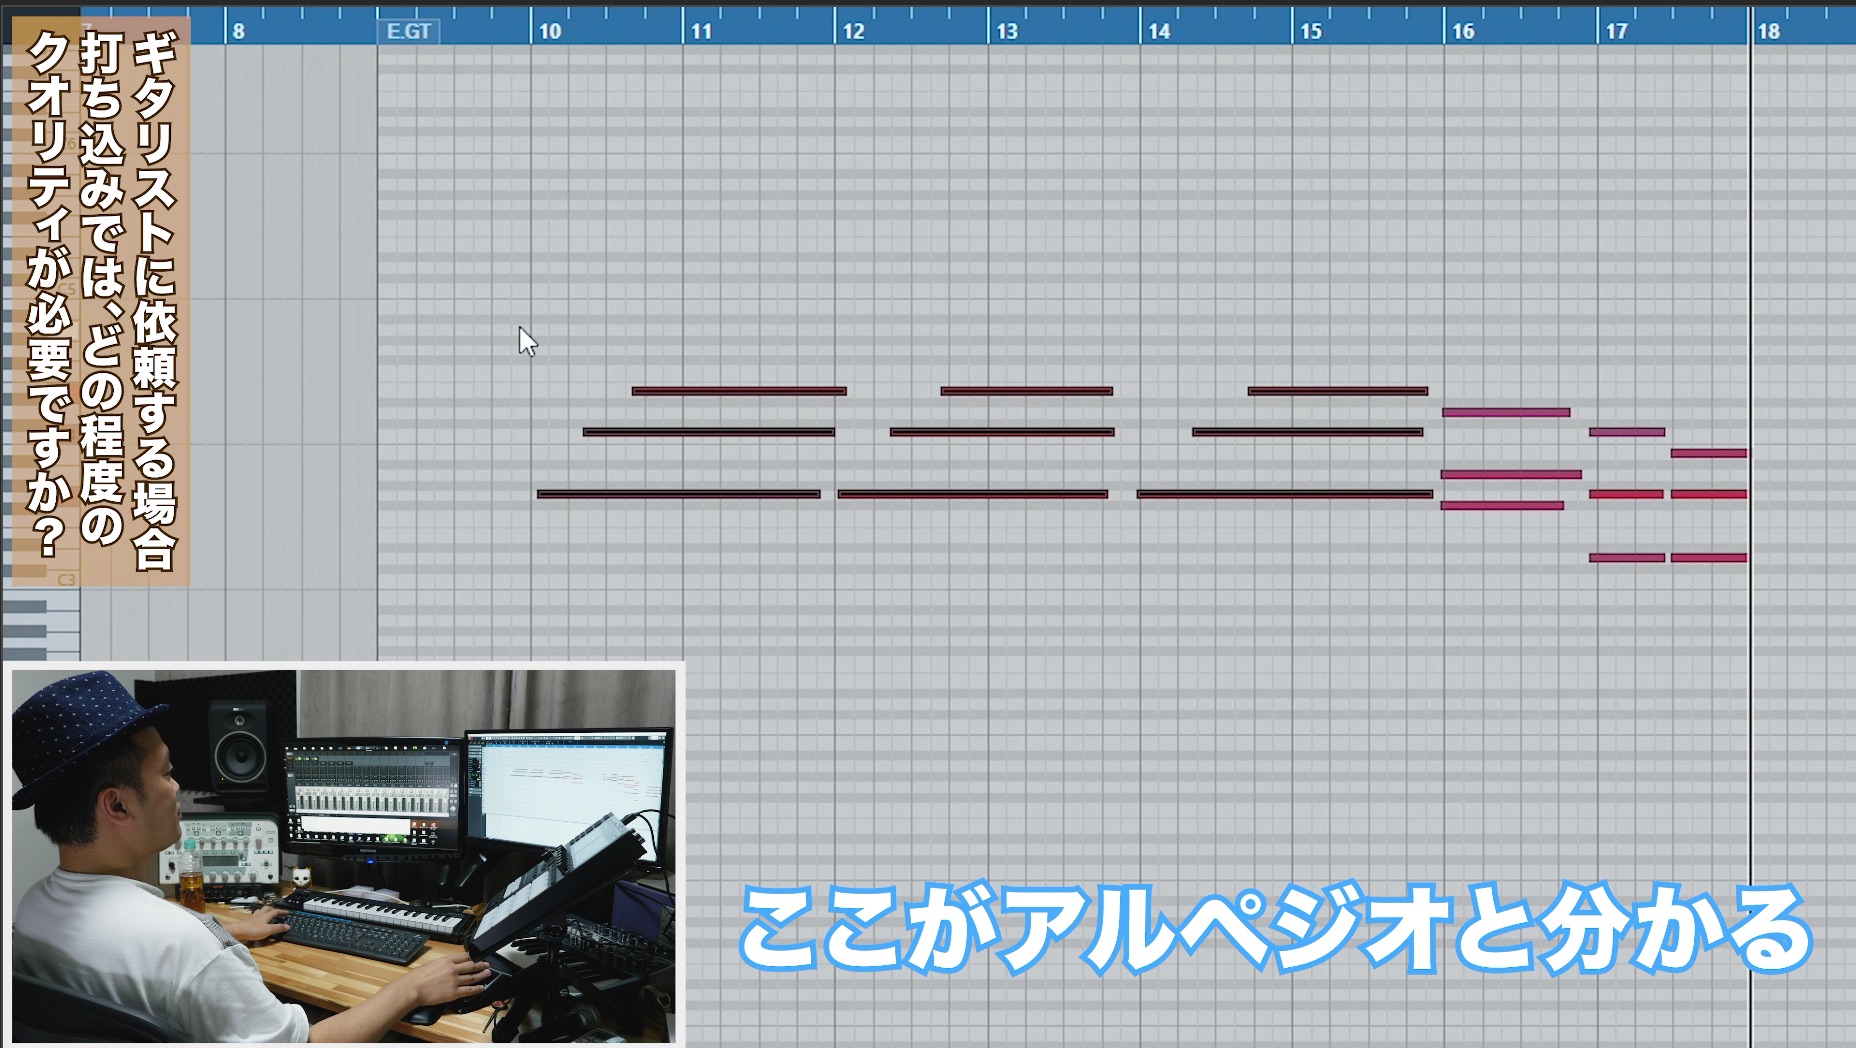
The guitar part will often ultimately be played by a guitarist as well.
When programming it at the arranging stage, I aim to communicate the performance I want and its emotional intensity to the guitarist.
First, I add acoustic guitar to give the song a brighter, fresher feel.
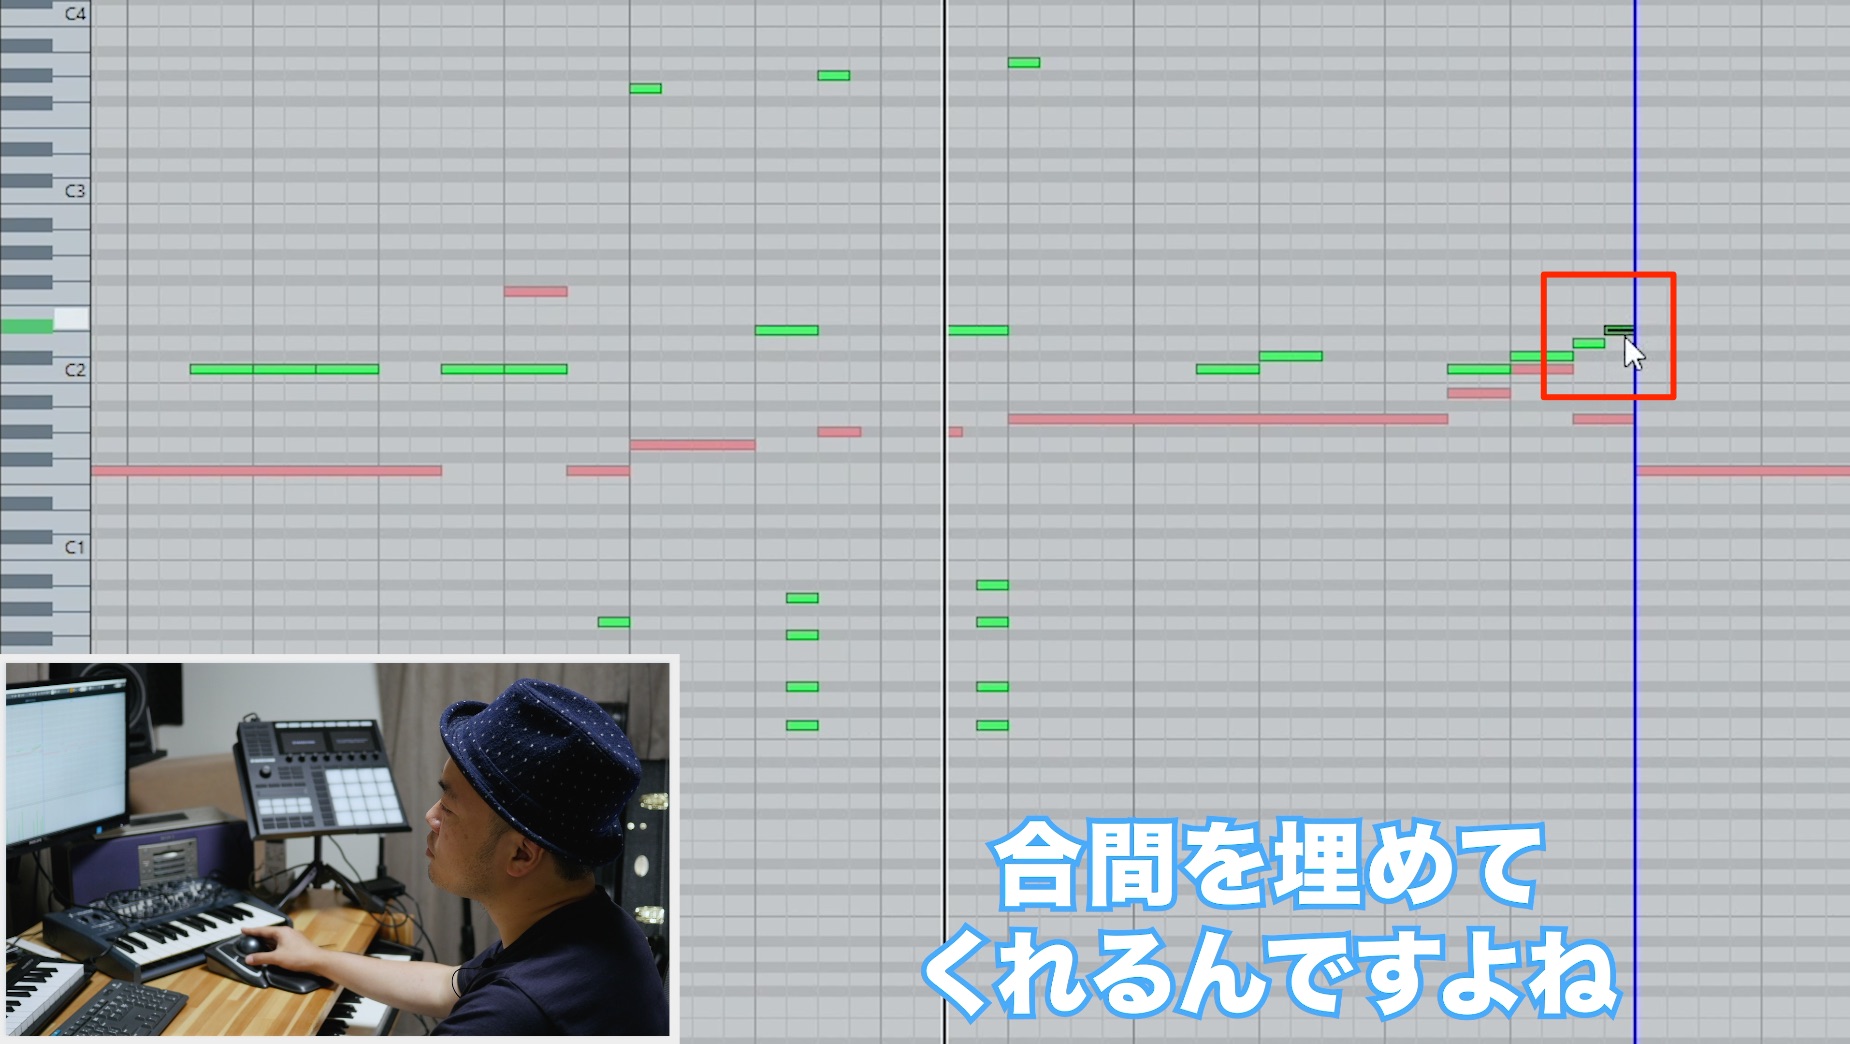
To fill rhythmic gaps and create a percussive groove, I place muted brush strokes between the pitched notes.
The basic pattern uses sixteenth notes.
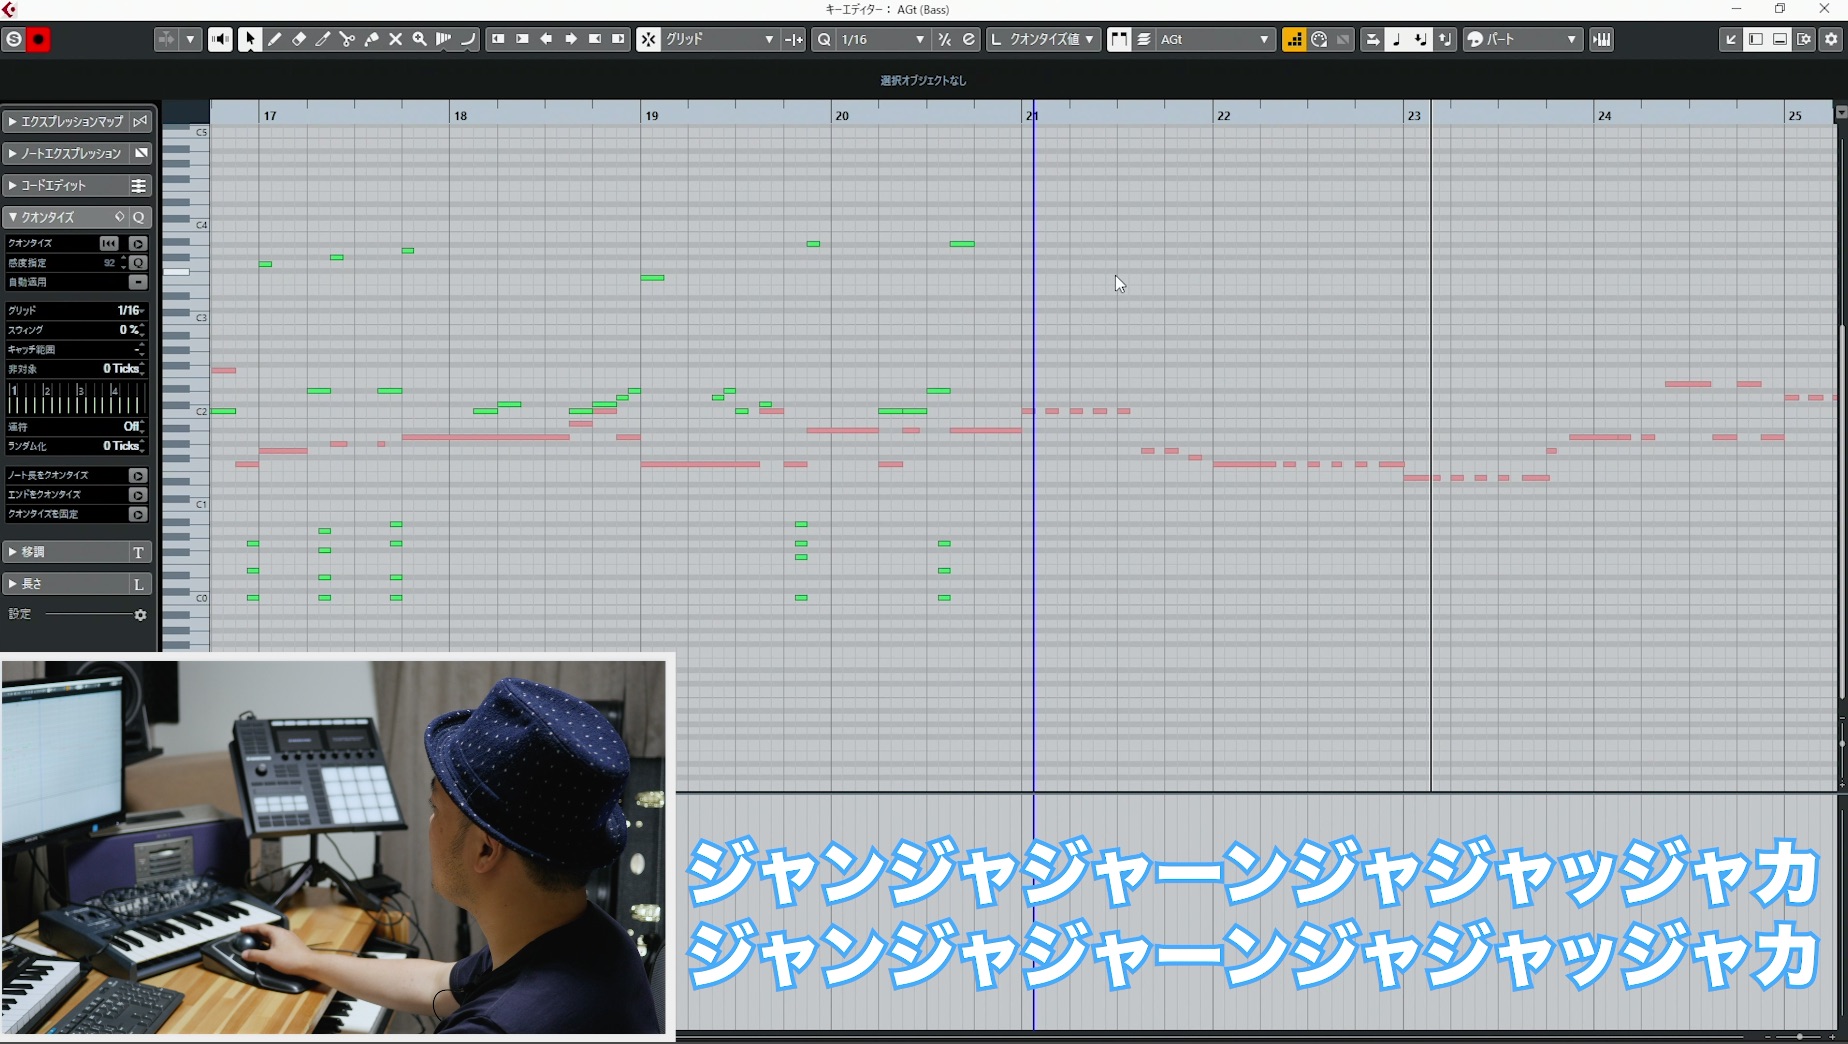
It helps to sing a strumming pattern aloud, then program one that fits.
Once the pattern is in place, varying the velocity gives it expression and makes the guitar sound more realistic.
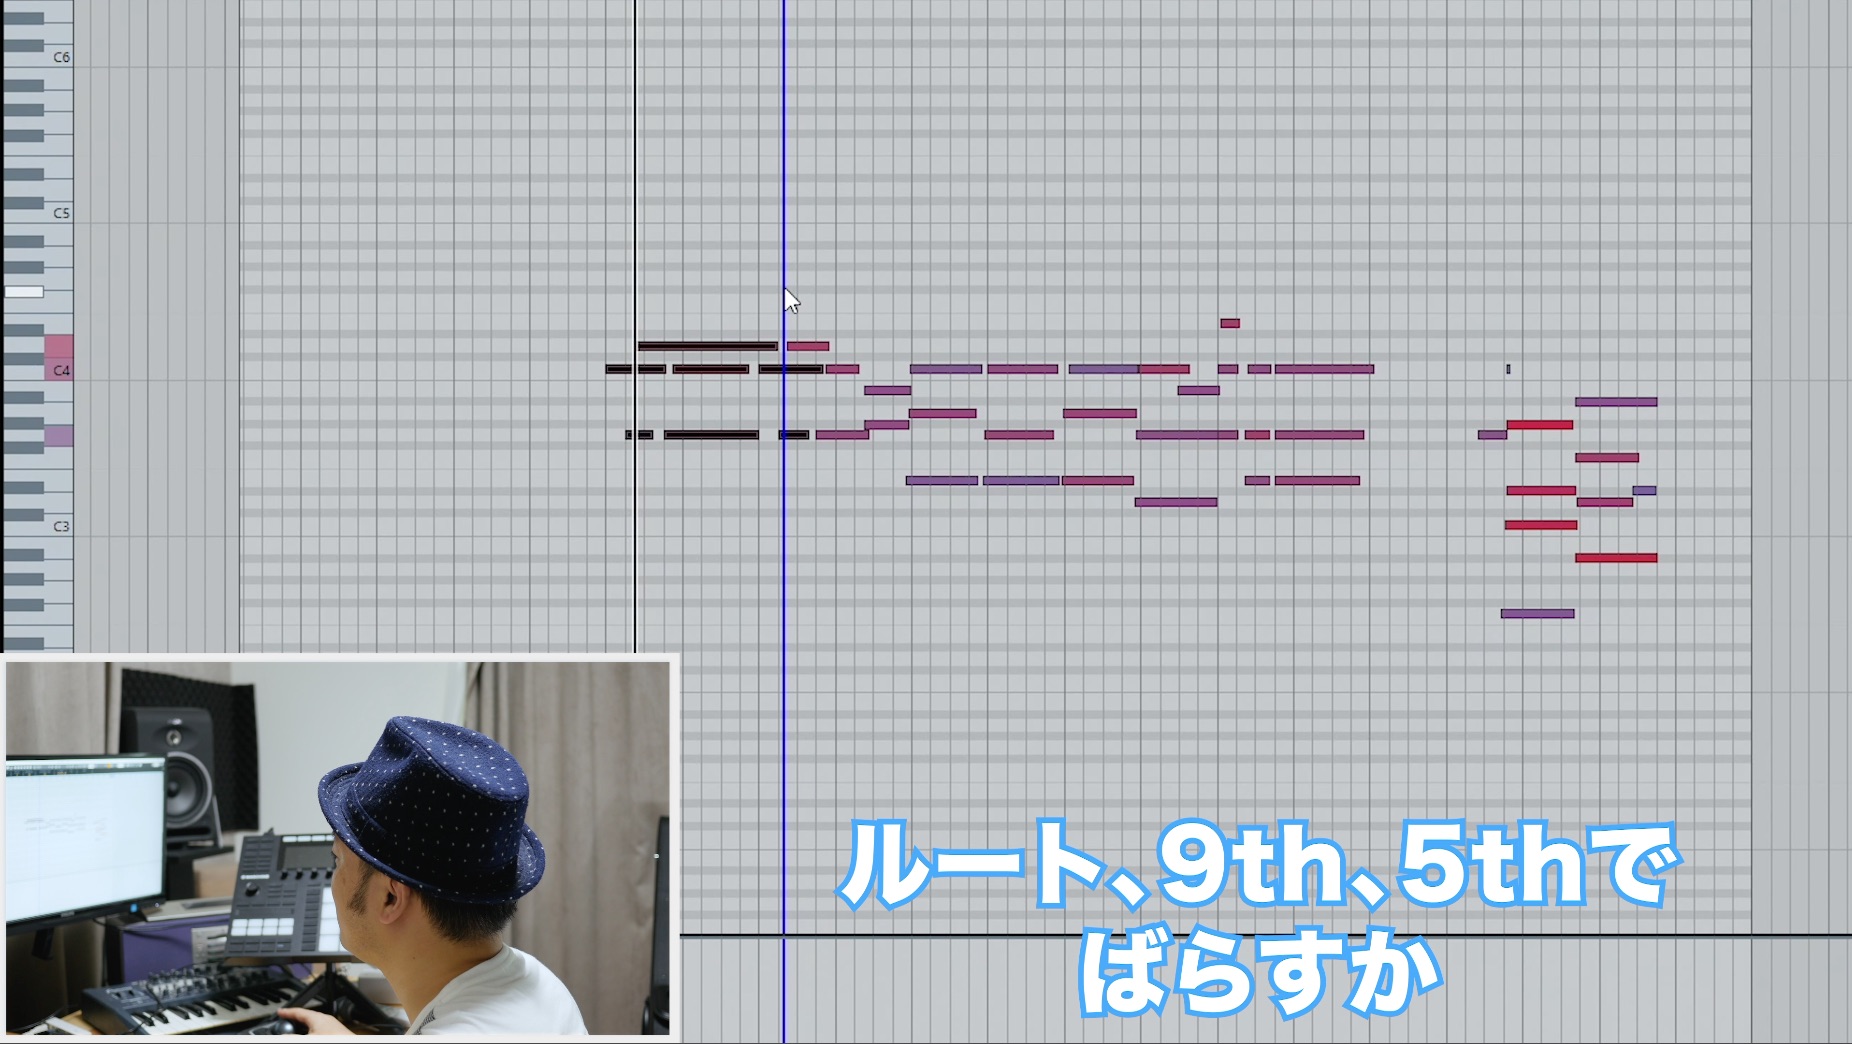
For electric guitar, rather than using power chords that would make the sound heavier, I use three-note arpeggios built mainly from the root, fifth, and ninth.
As the song develops, adding more strings to form four- or five-note voicings can thicken the sound effectively.
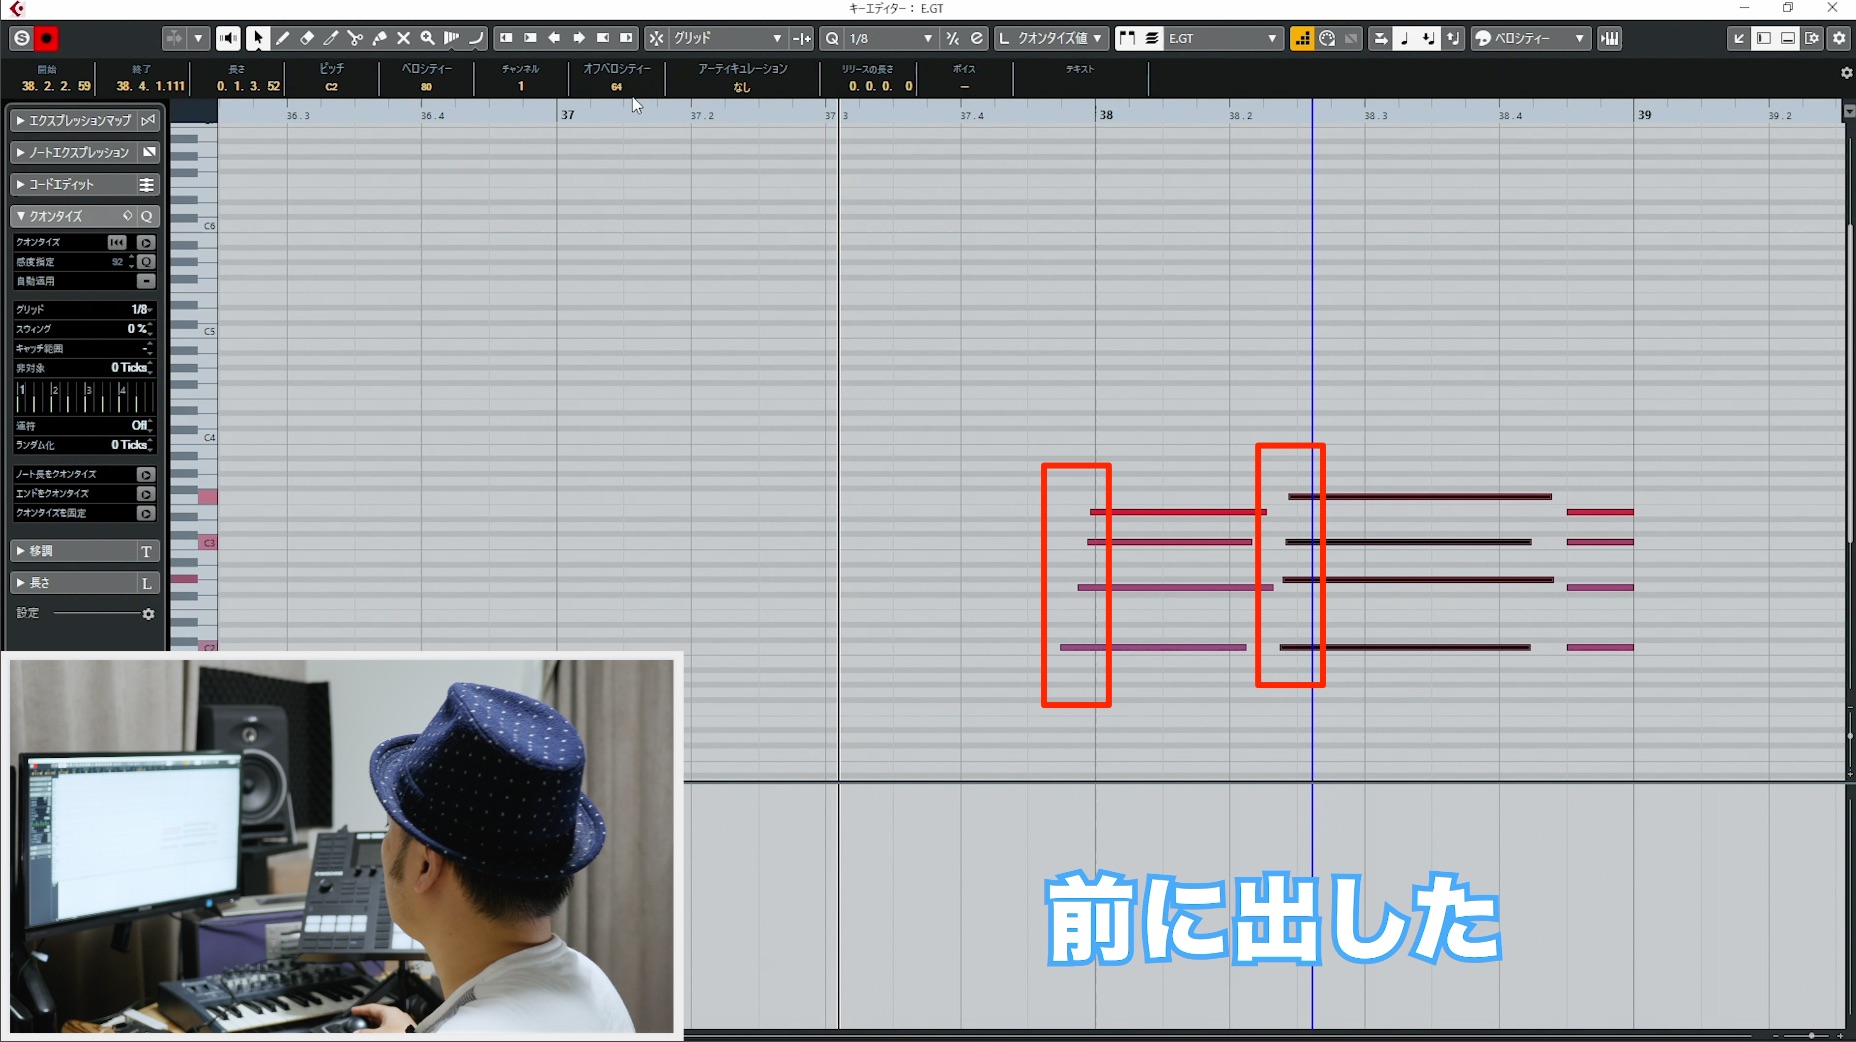
I add a strum—a slight offset between notes—to convey the picking feel.
Here, starting the strum a little ahead of the beat adds a sense of forward motion.
Arranging the Strings
First, I add strings to the quiet introduction.
Several phrase ideas come to mind, so I try them while listening.
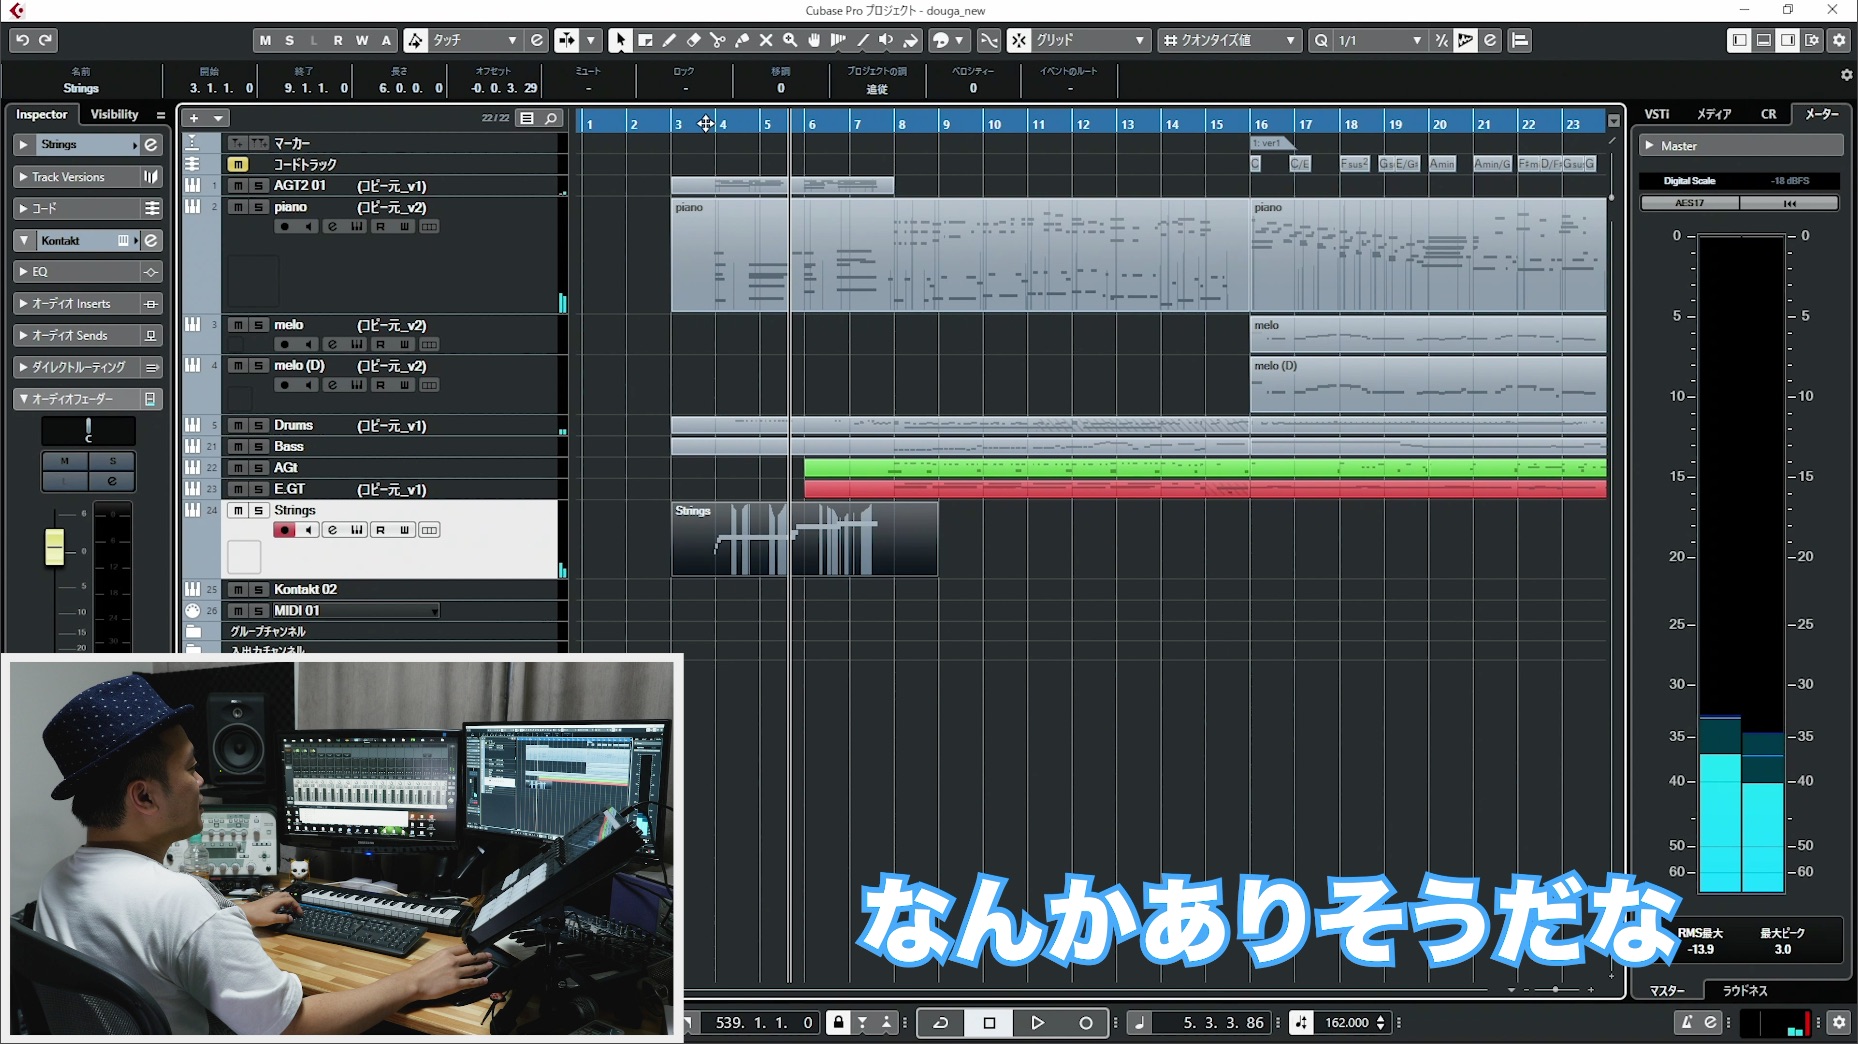
The first is a simple, high-register, sustained single-note line.
It creates anticipation that something is about to happen.
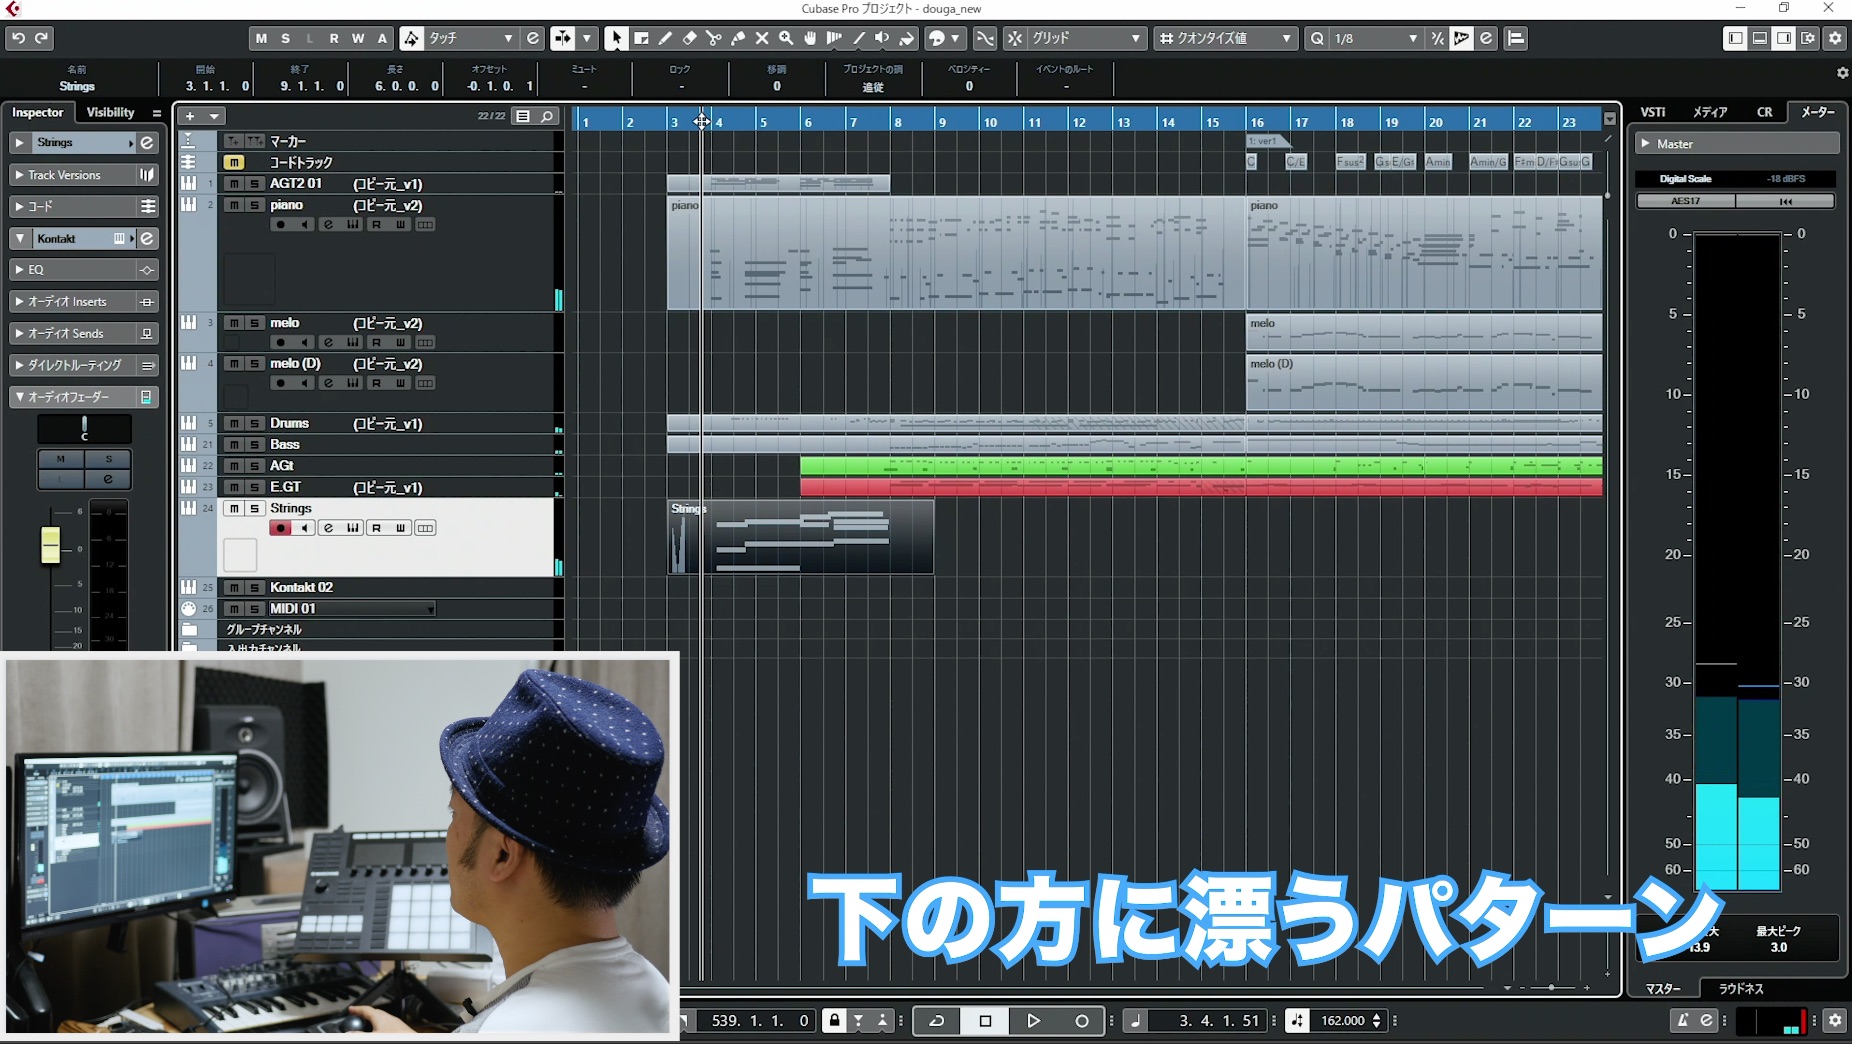
Next is a lower, sustained chord pattern that fills the low-mid register.
This gives the music warmth and calm.
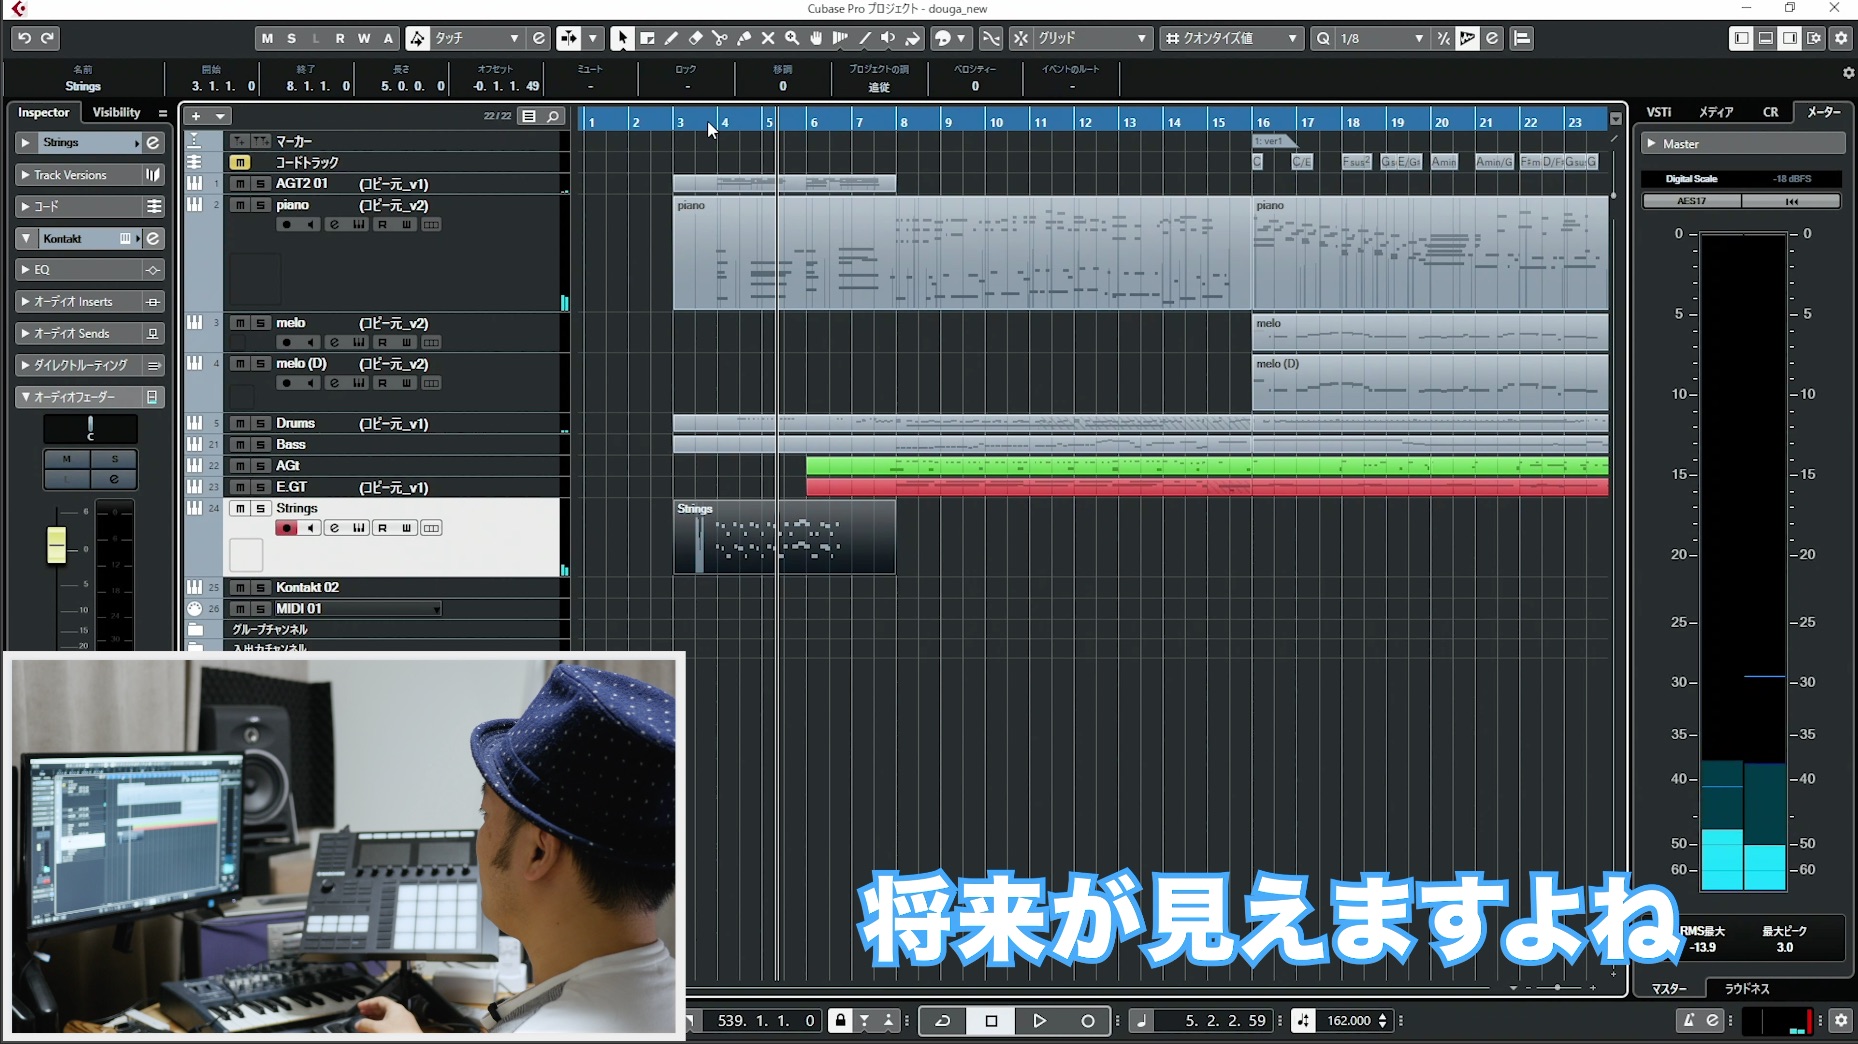
A more active pattern moving in octaves also creates anticipation for the next section.
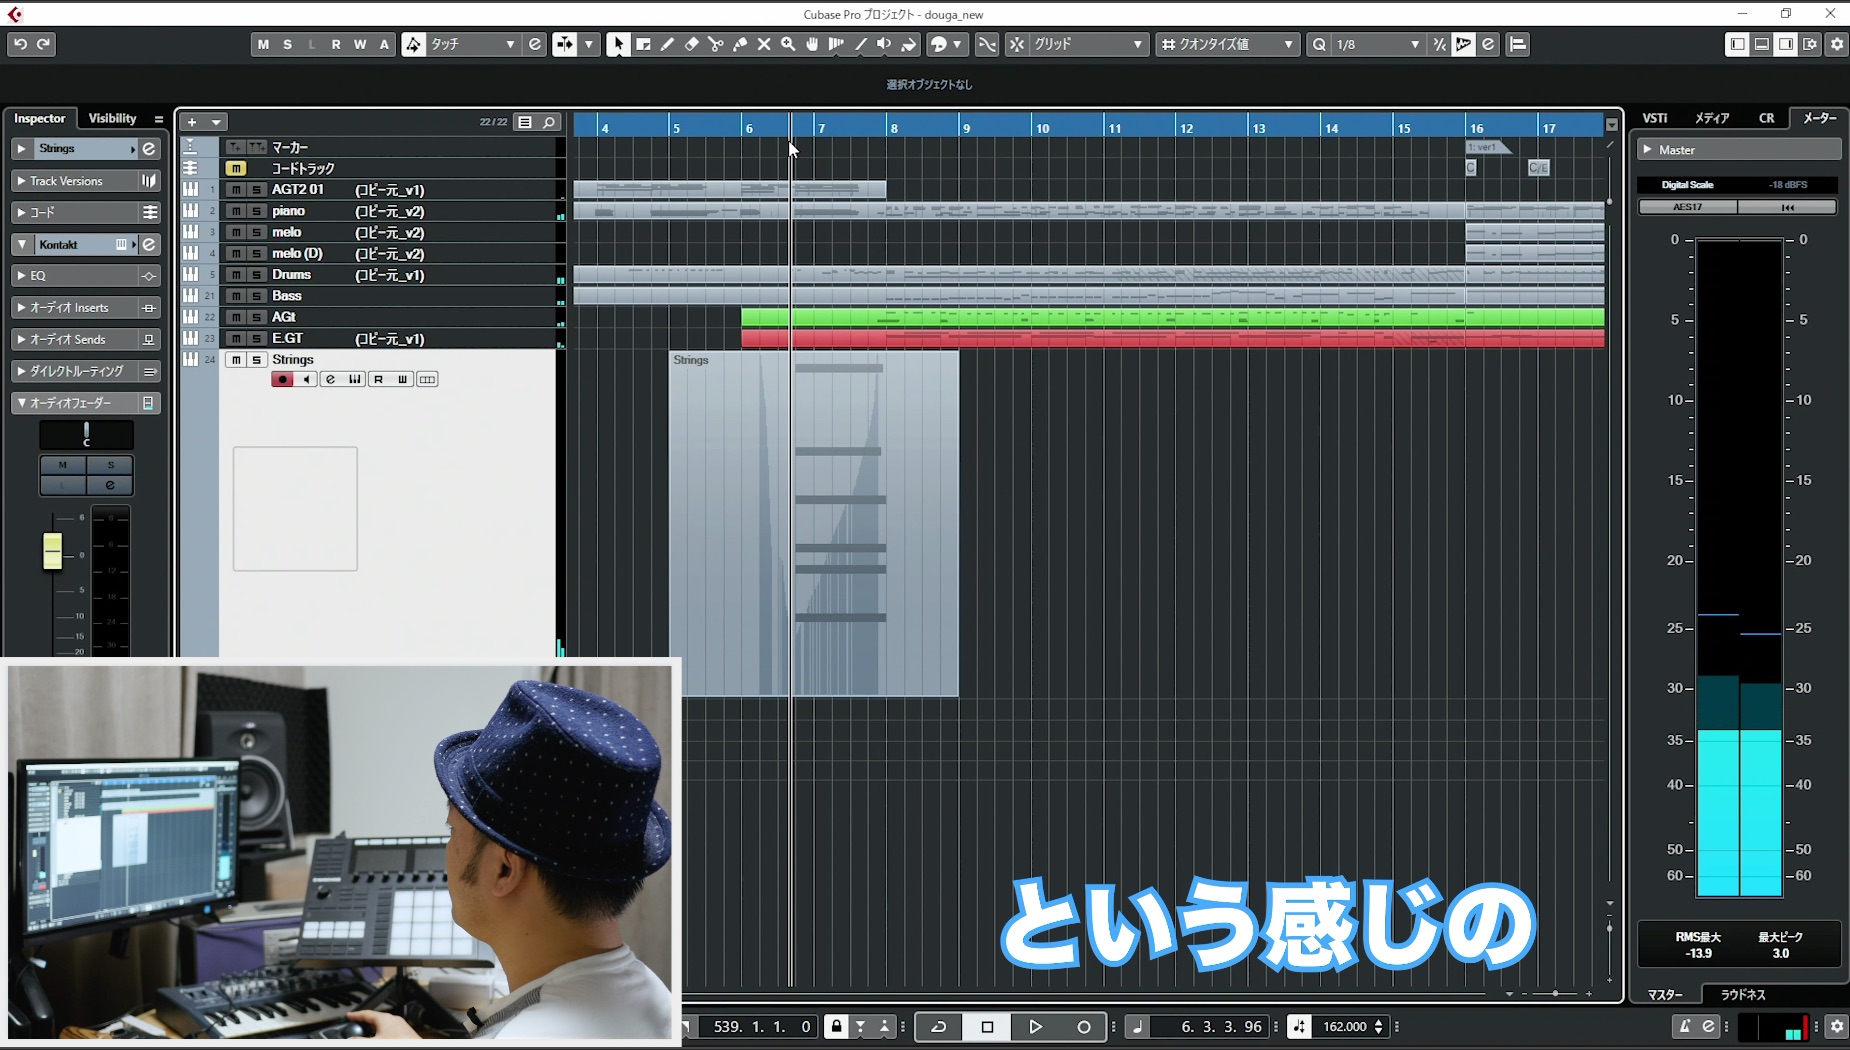
At the transition, I use a chord outside the song's key. Bringing in the strings with a crescendo at that point can make the change dramatic.
Strings may seem formal or rigid, but I encourage you to experiment. If the result sounds good, trust your musical judgment and keep going.
You can find information about strings online and in books, but I believe the most important element is the phrase itself.
The top notes of a phrase and the scales you choose can have enough influence to change its stylistic character.
J-pop has its own history, with many exemplary recordings to learn from.
Trying to work out and reproduce these parts yourself is a very effective way to develop your string-writing skills.
My recommendations include work by Ikimonogakari and aiko, and productions by Masanori Shimada and Akimitsu Homma.
These recordings use not only strings, but brass phrases very effectively too.
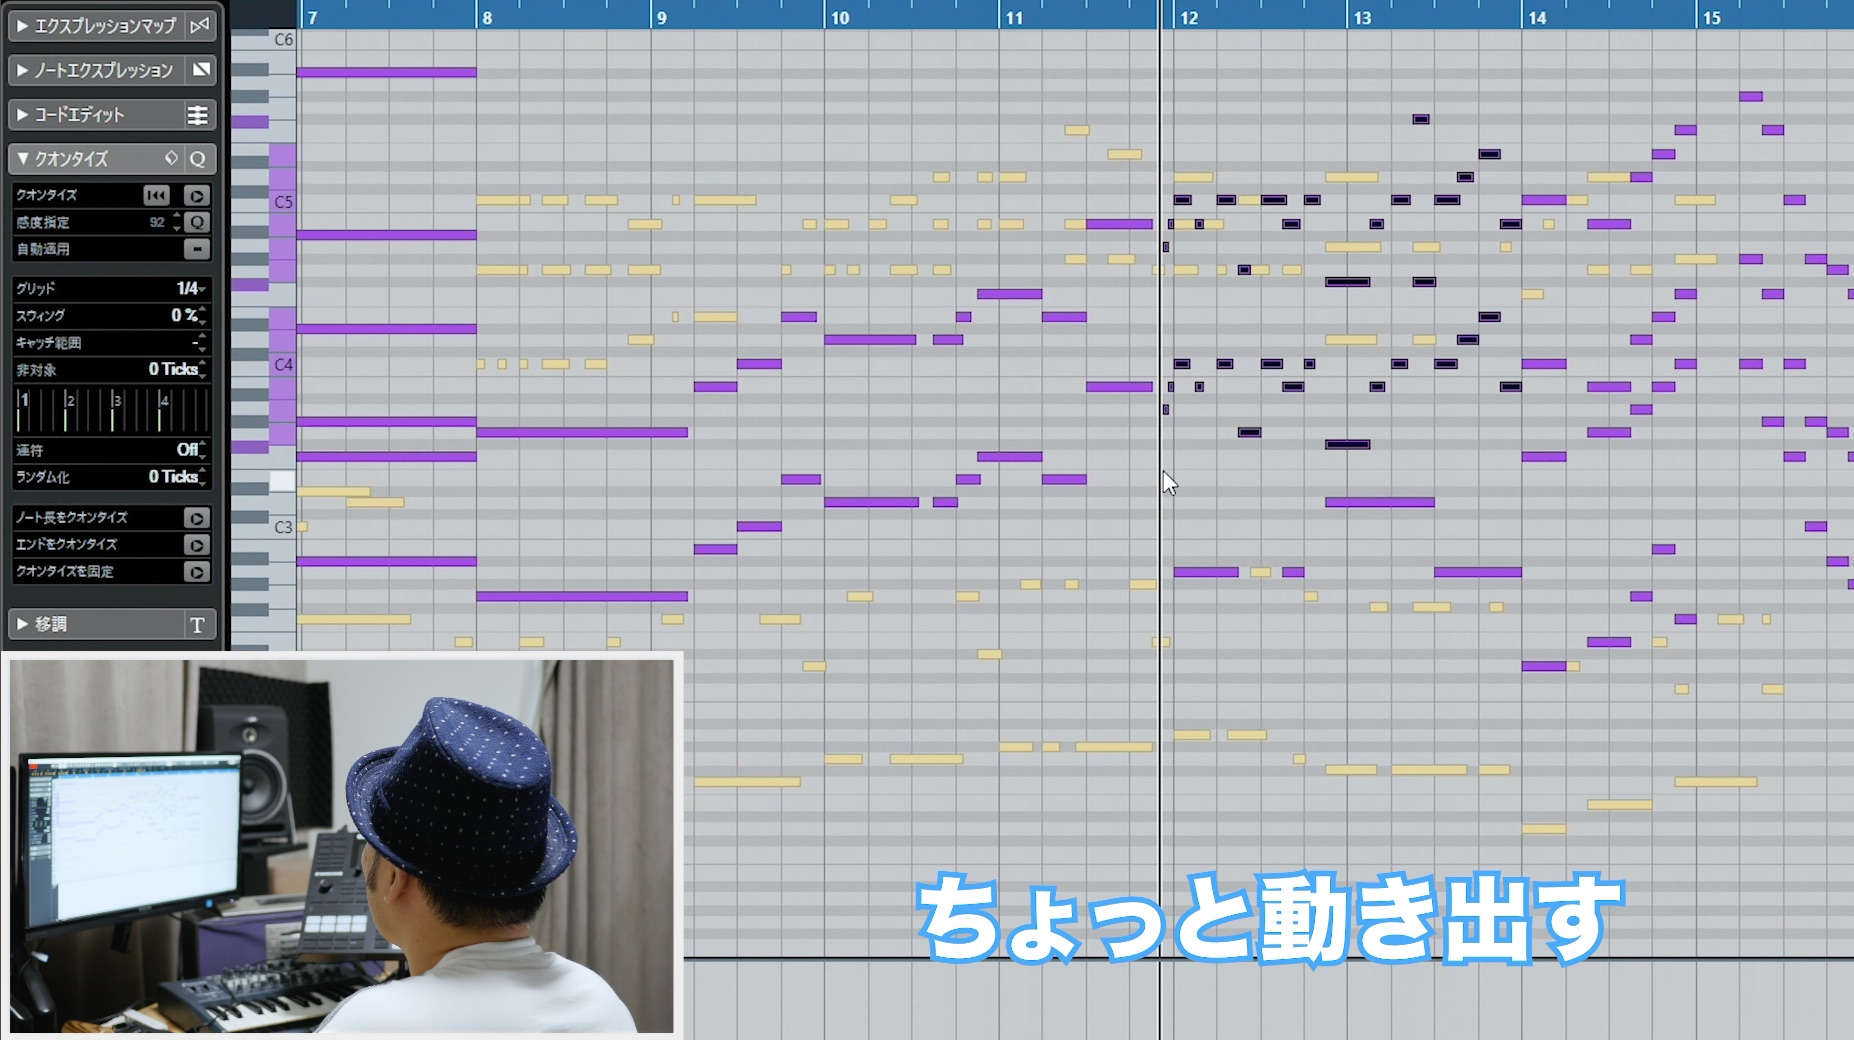
While checking the piano phrases, I coordinate where each part comes forward and where it holds back.
For example, while the piano plays a melodic phrase, the strings can stay quiet on sustained notes, then become more active in the gaps.
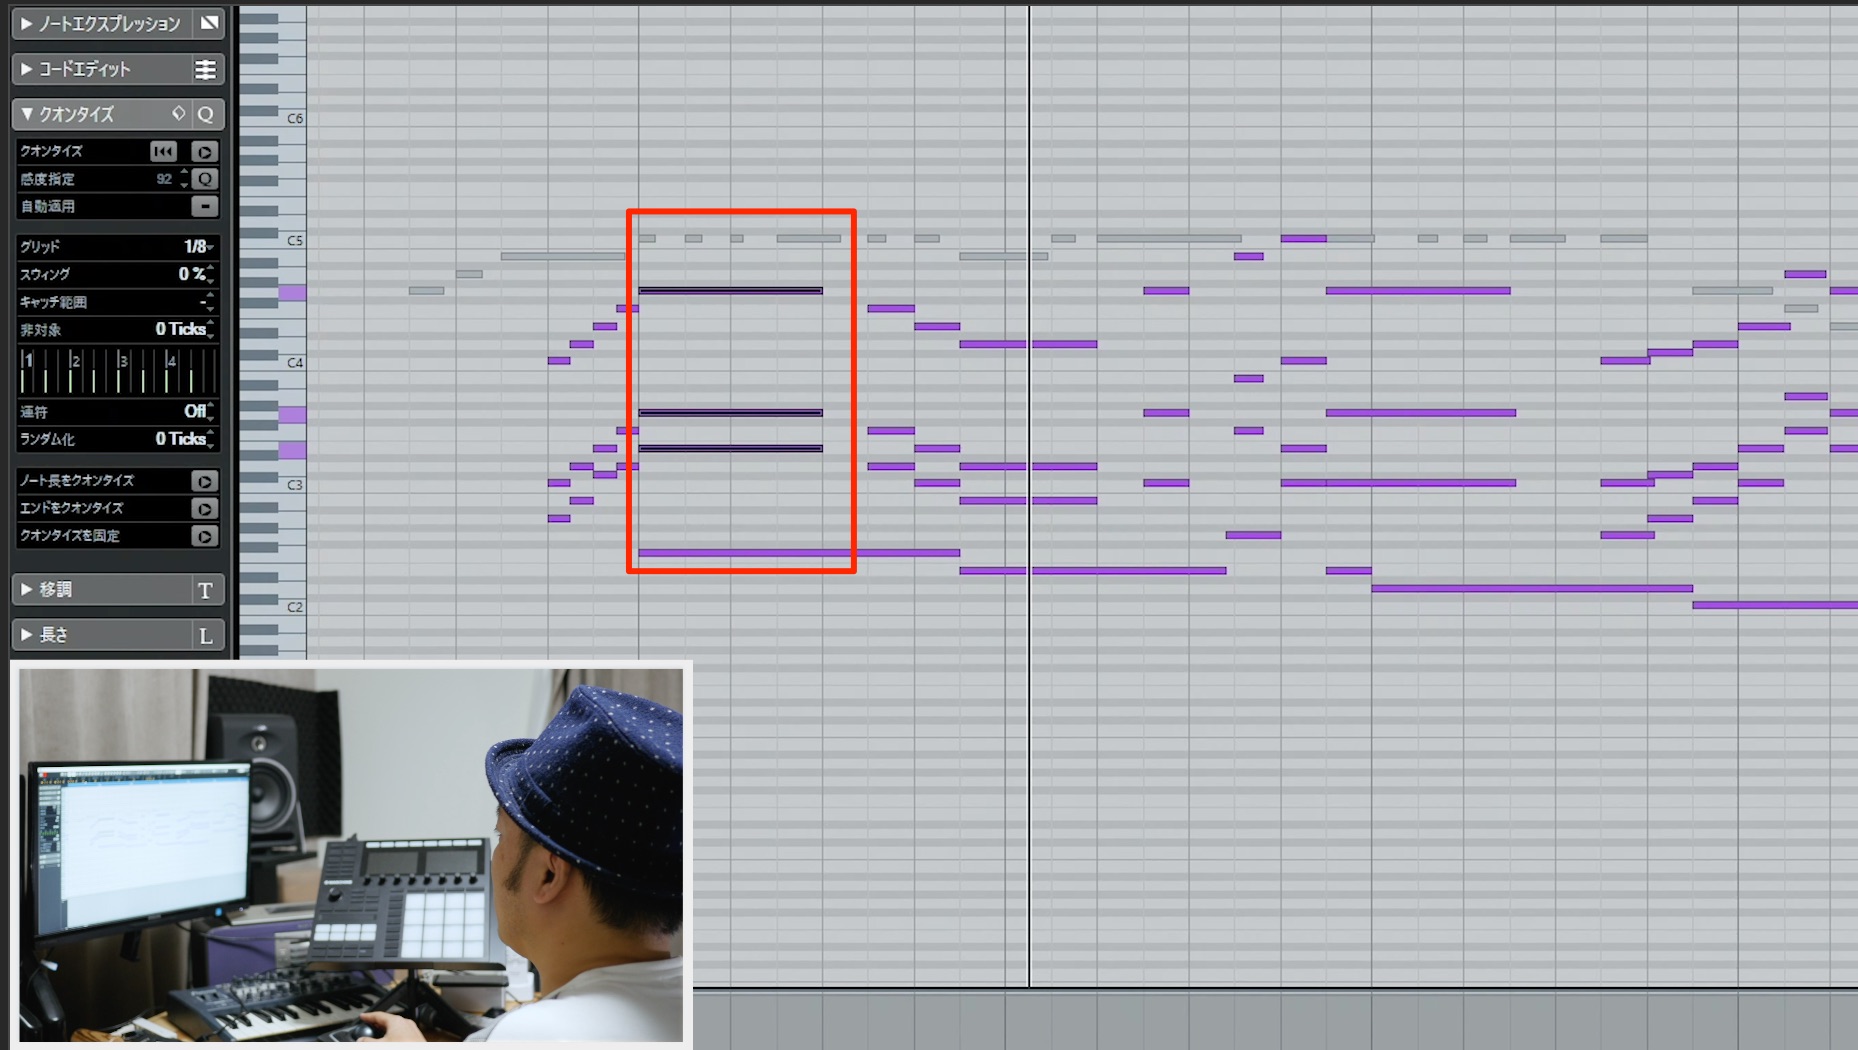
Here is the entrance to the chorus.
If the strings move as actively as the melody here, the result can become overbearing and weaken the impact of the entrance.
This does not apply to every case, but paying attention to such interactions can improve an arrangement.
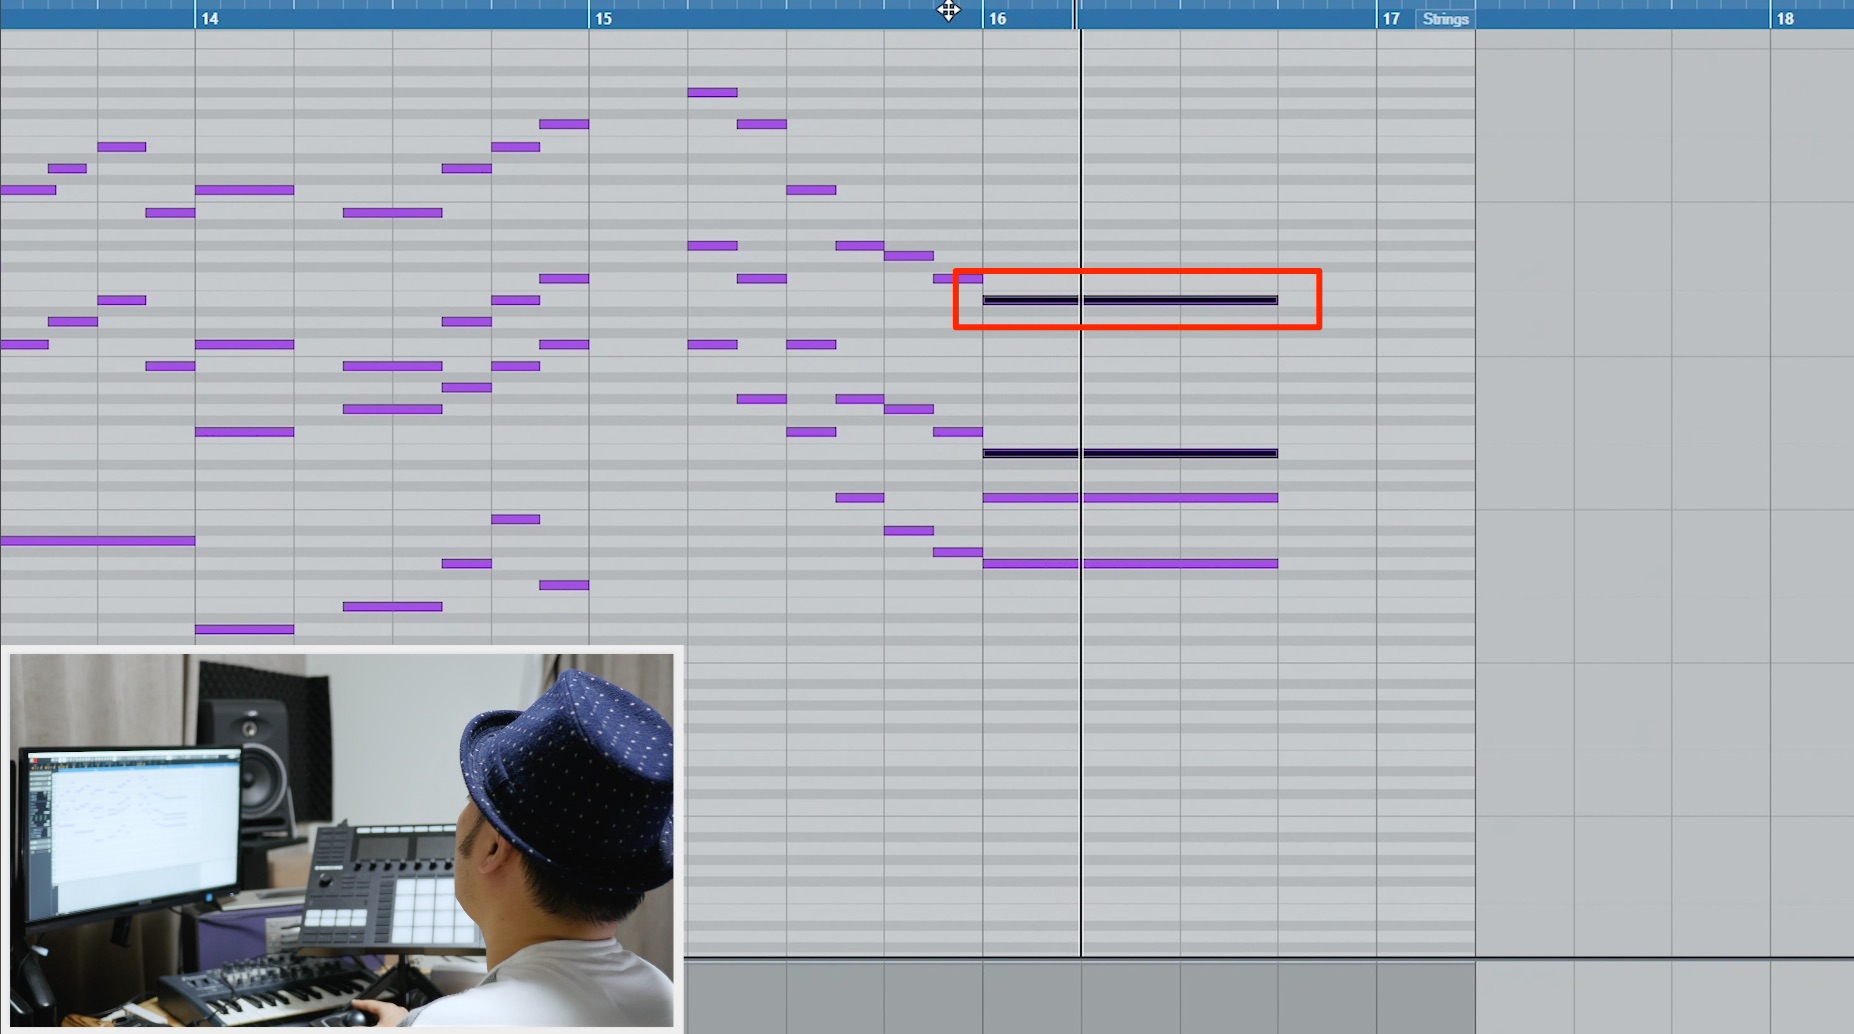
Of course, the relationship with the bass also matters.
Playing the bass and the strings' top note at the same pitch tends to make the sound heavy, so I avoid it unless there is a specific reason.
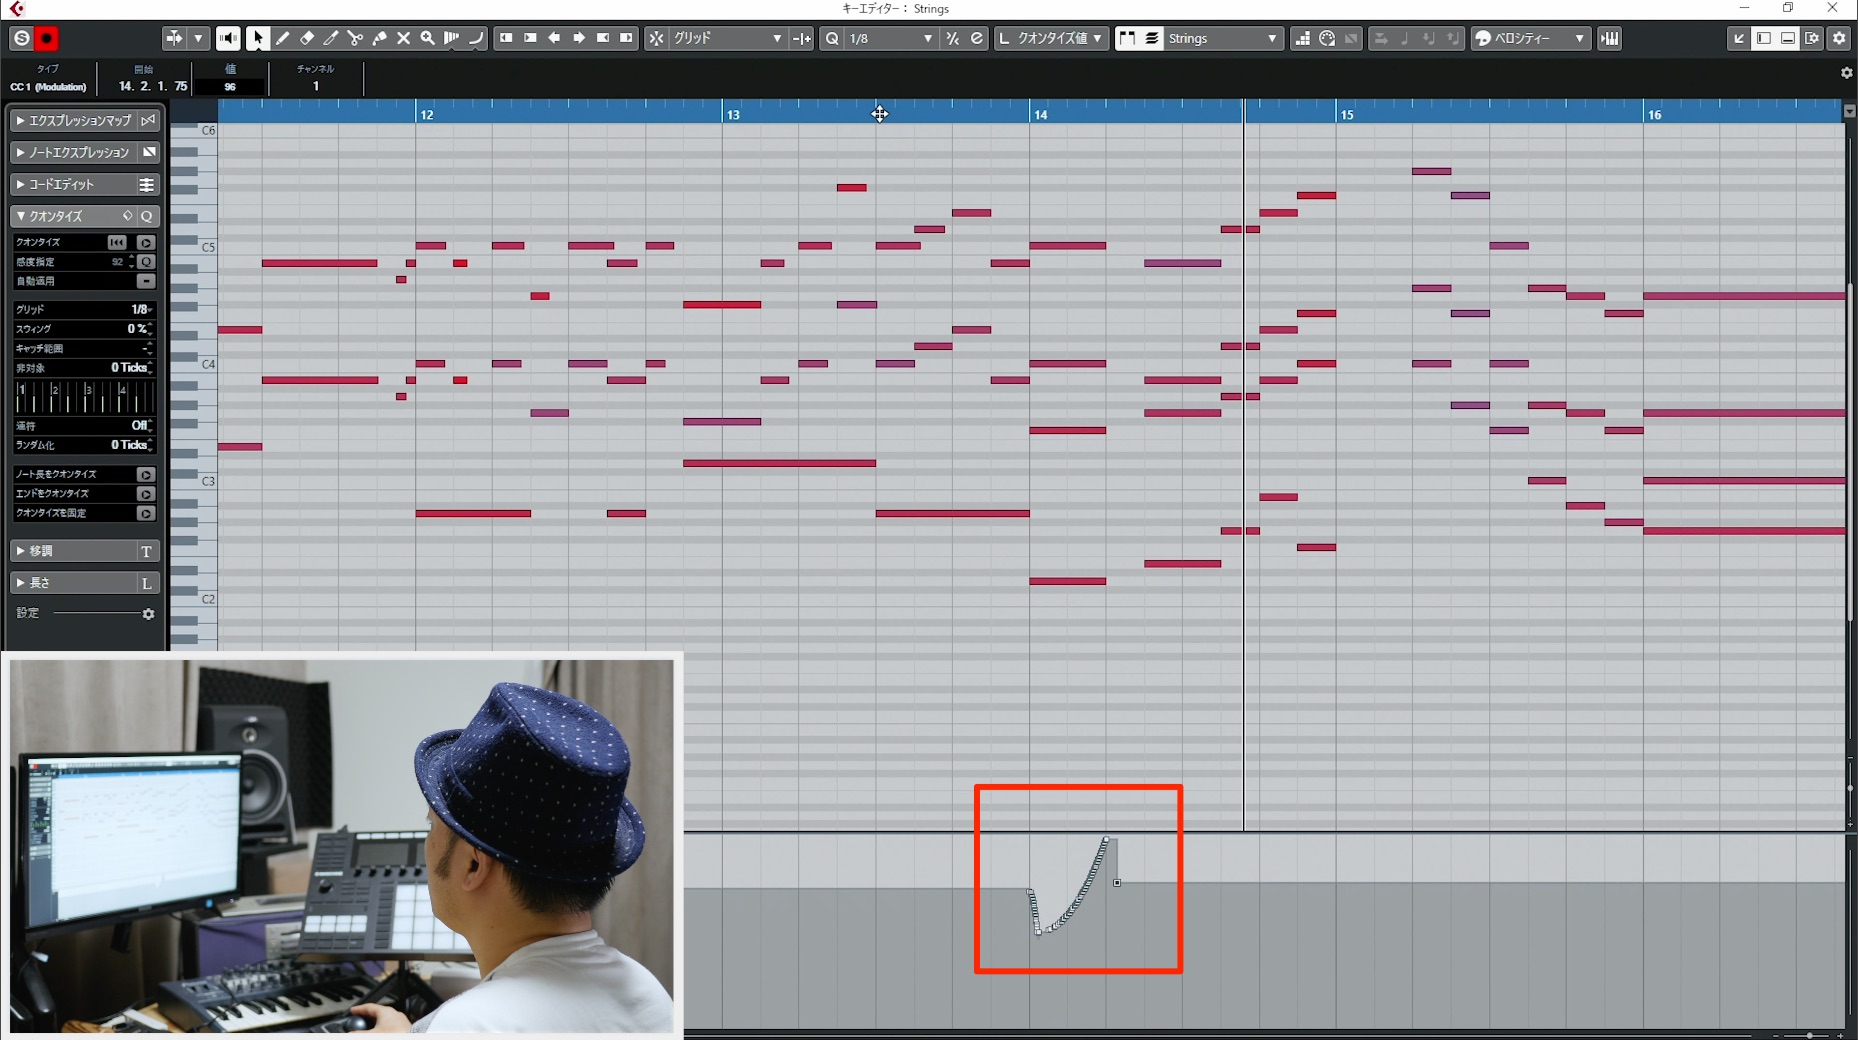
Volume control is extremely important for expressive strings.
I draw volume-expression changes for the notes to establish the intended performance.
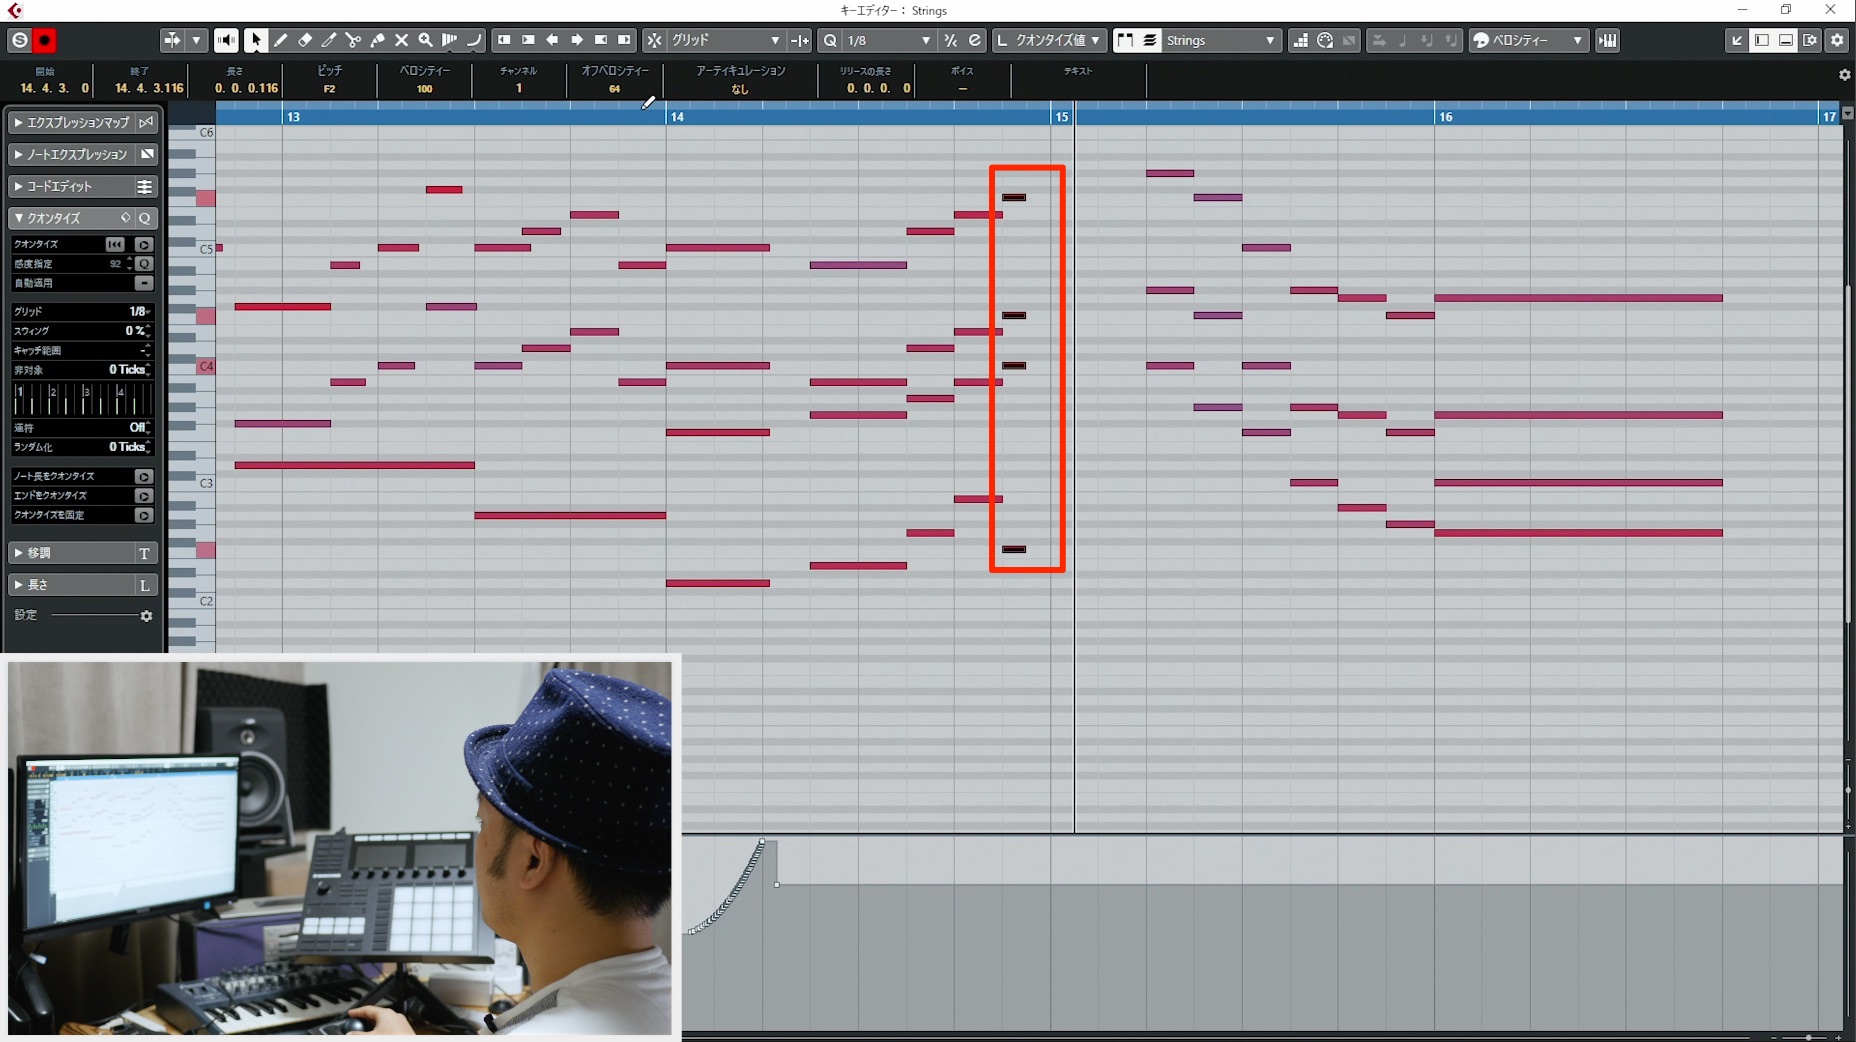
I also pay attention to note lengths.
At tightly coordinated accents, I may use a slightly staccato articulation to keep the attack and release crisp.
Staccato often works well for phrases where I want the rhythm to stand out.
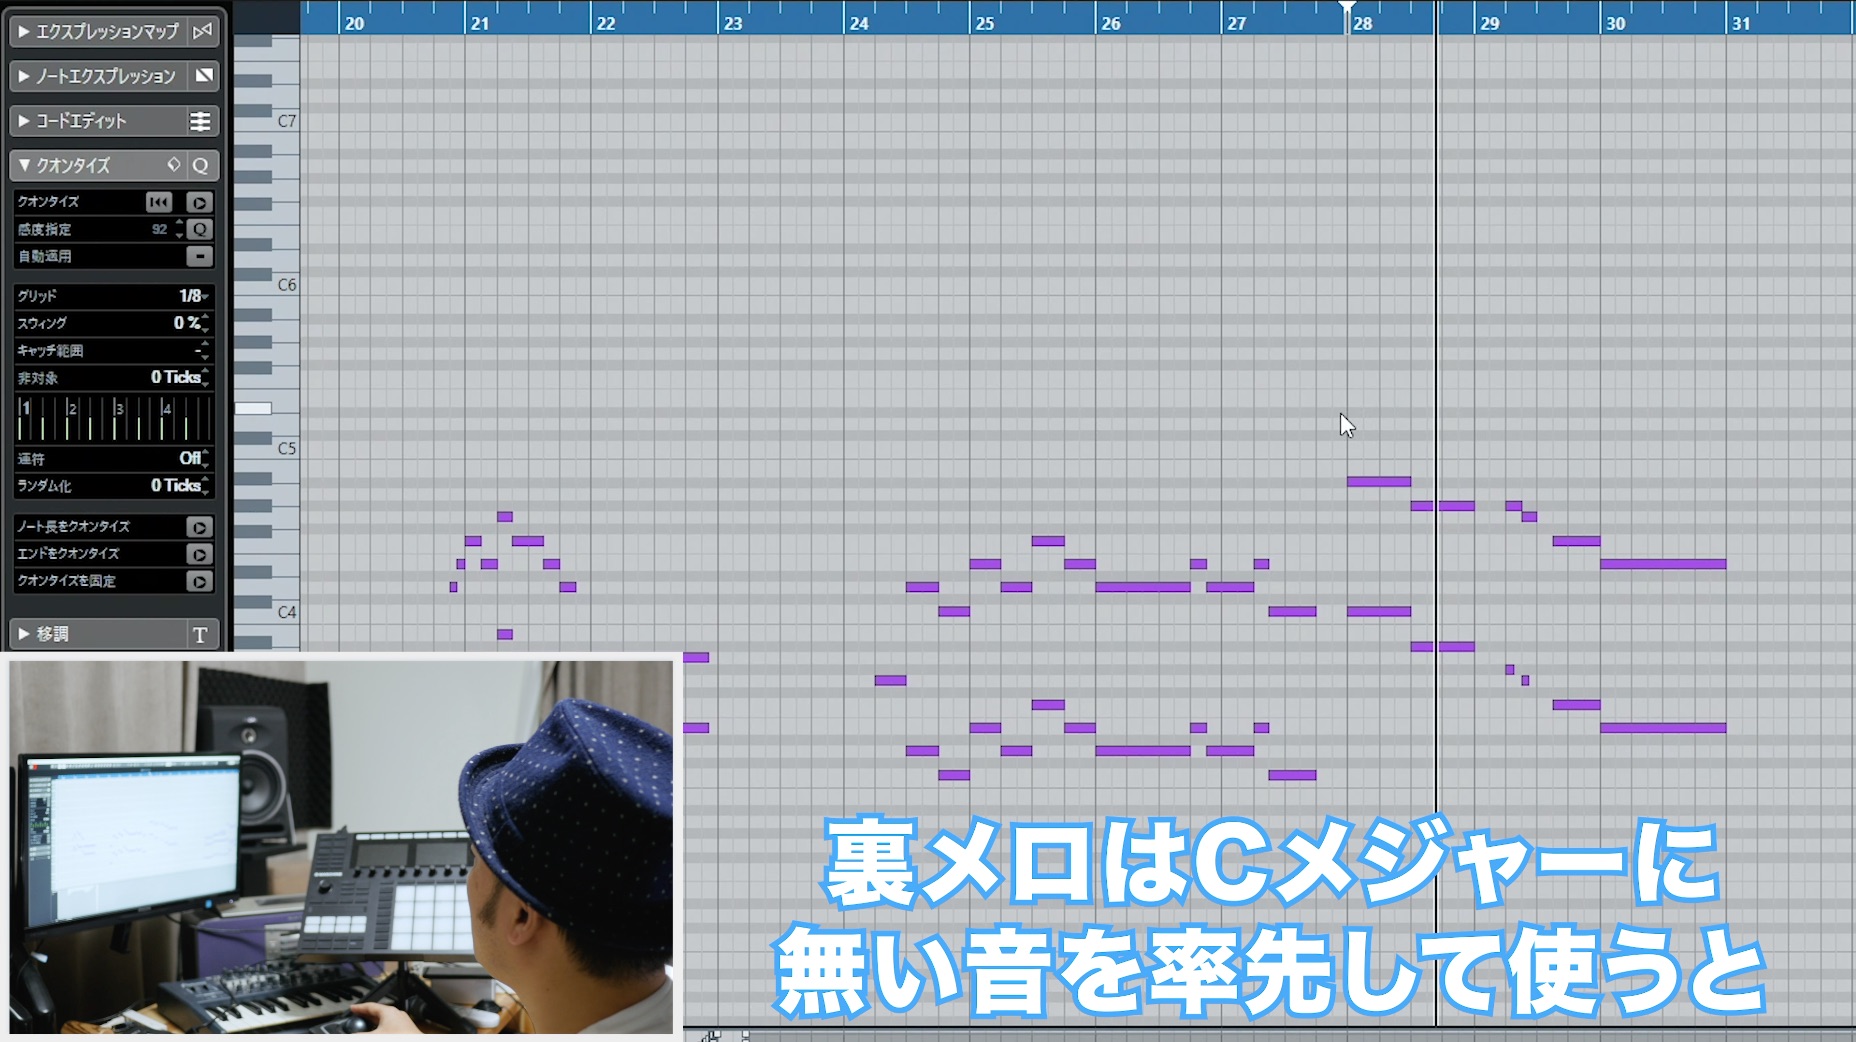
Strings also frequently carry a countermelody.
When the chords move outside the main diatonic framework—as in the passage discussed here, involving C minor and its relative major, E-flat major—the main melody can stay within its usual scale while the strings supply non-diatonic notes in the countermelody, adding considerable depth.
Try exploring different combinations here.
Synthesizer and Sound-Effect Tracks
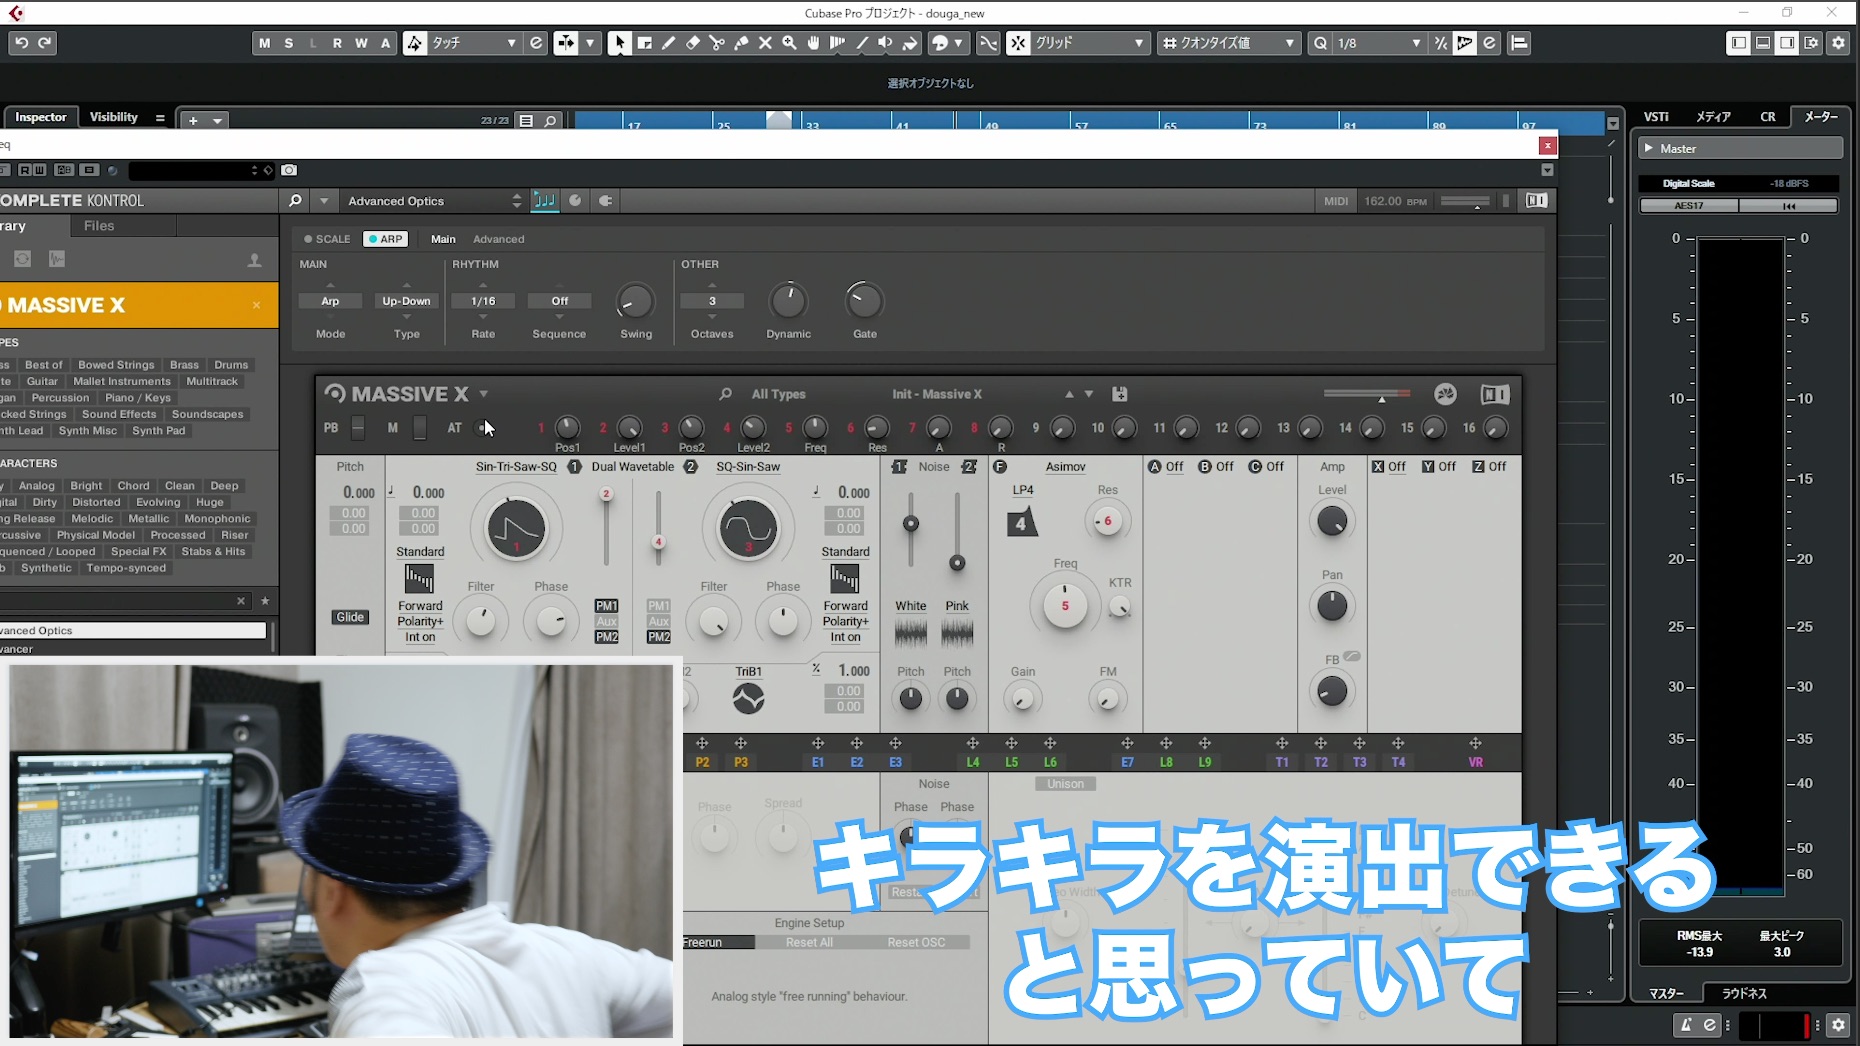
To give the chorus some sparkle, I add an arpeggiated synthesizer phrase.
This is mainly a decorative layer, so I keep the volume low enough to create atmosphere without taking over.
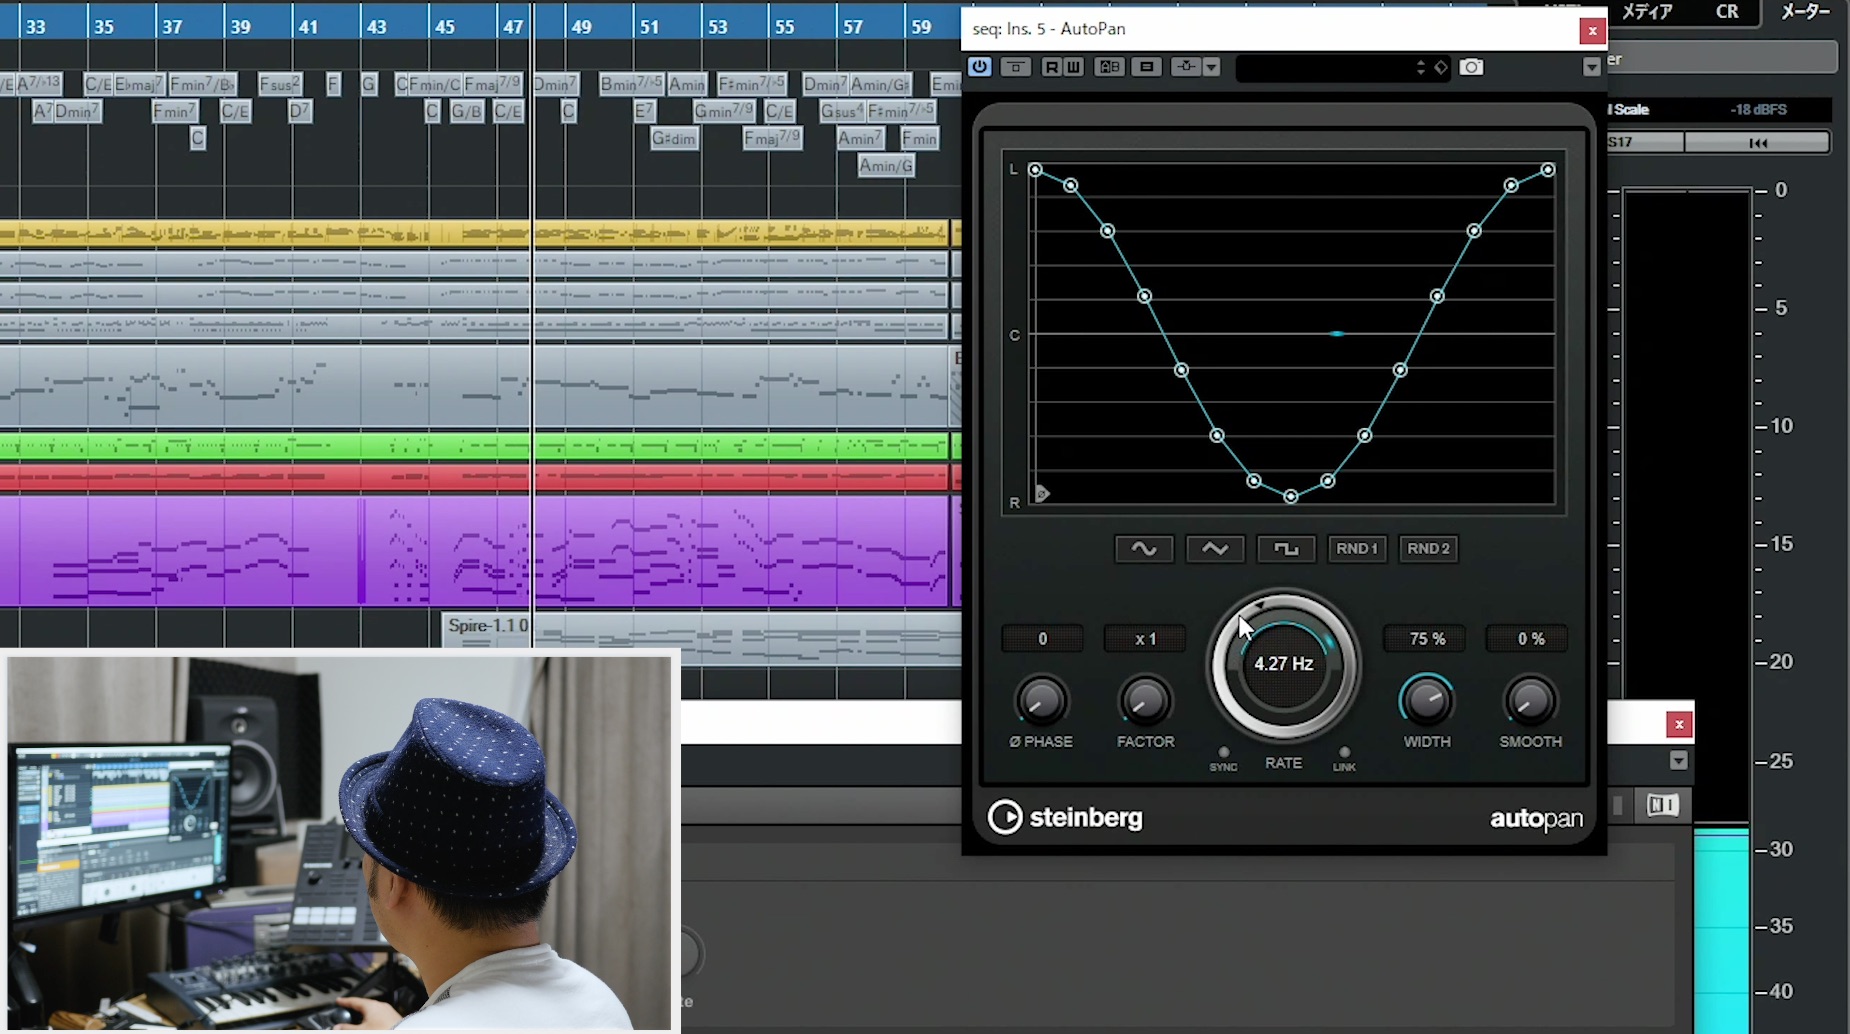
I add depth with delay and movement with auto-pan, which shifts the sound from side to side.
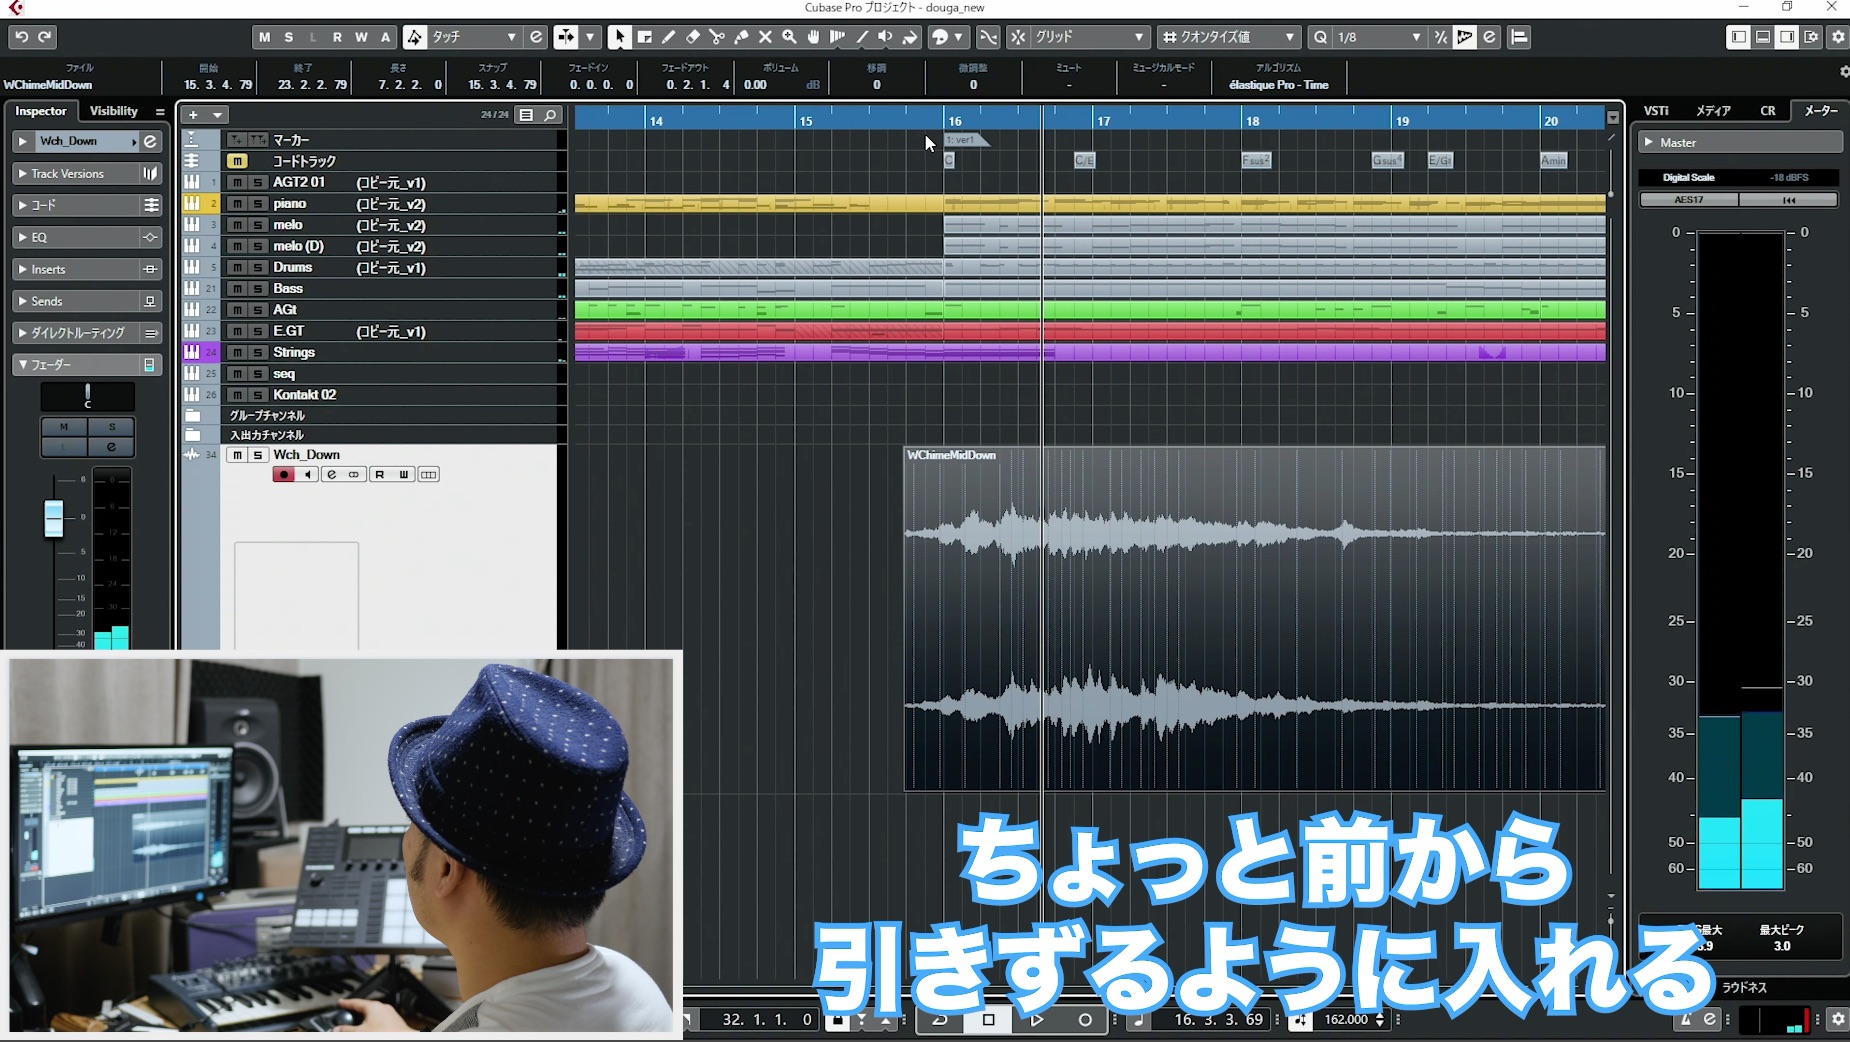
I also use an audio wind-chime effect.
Rather than starting exactly on the downbeat where the section changes, bringing it in slightly earlier makes the transition smoother.
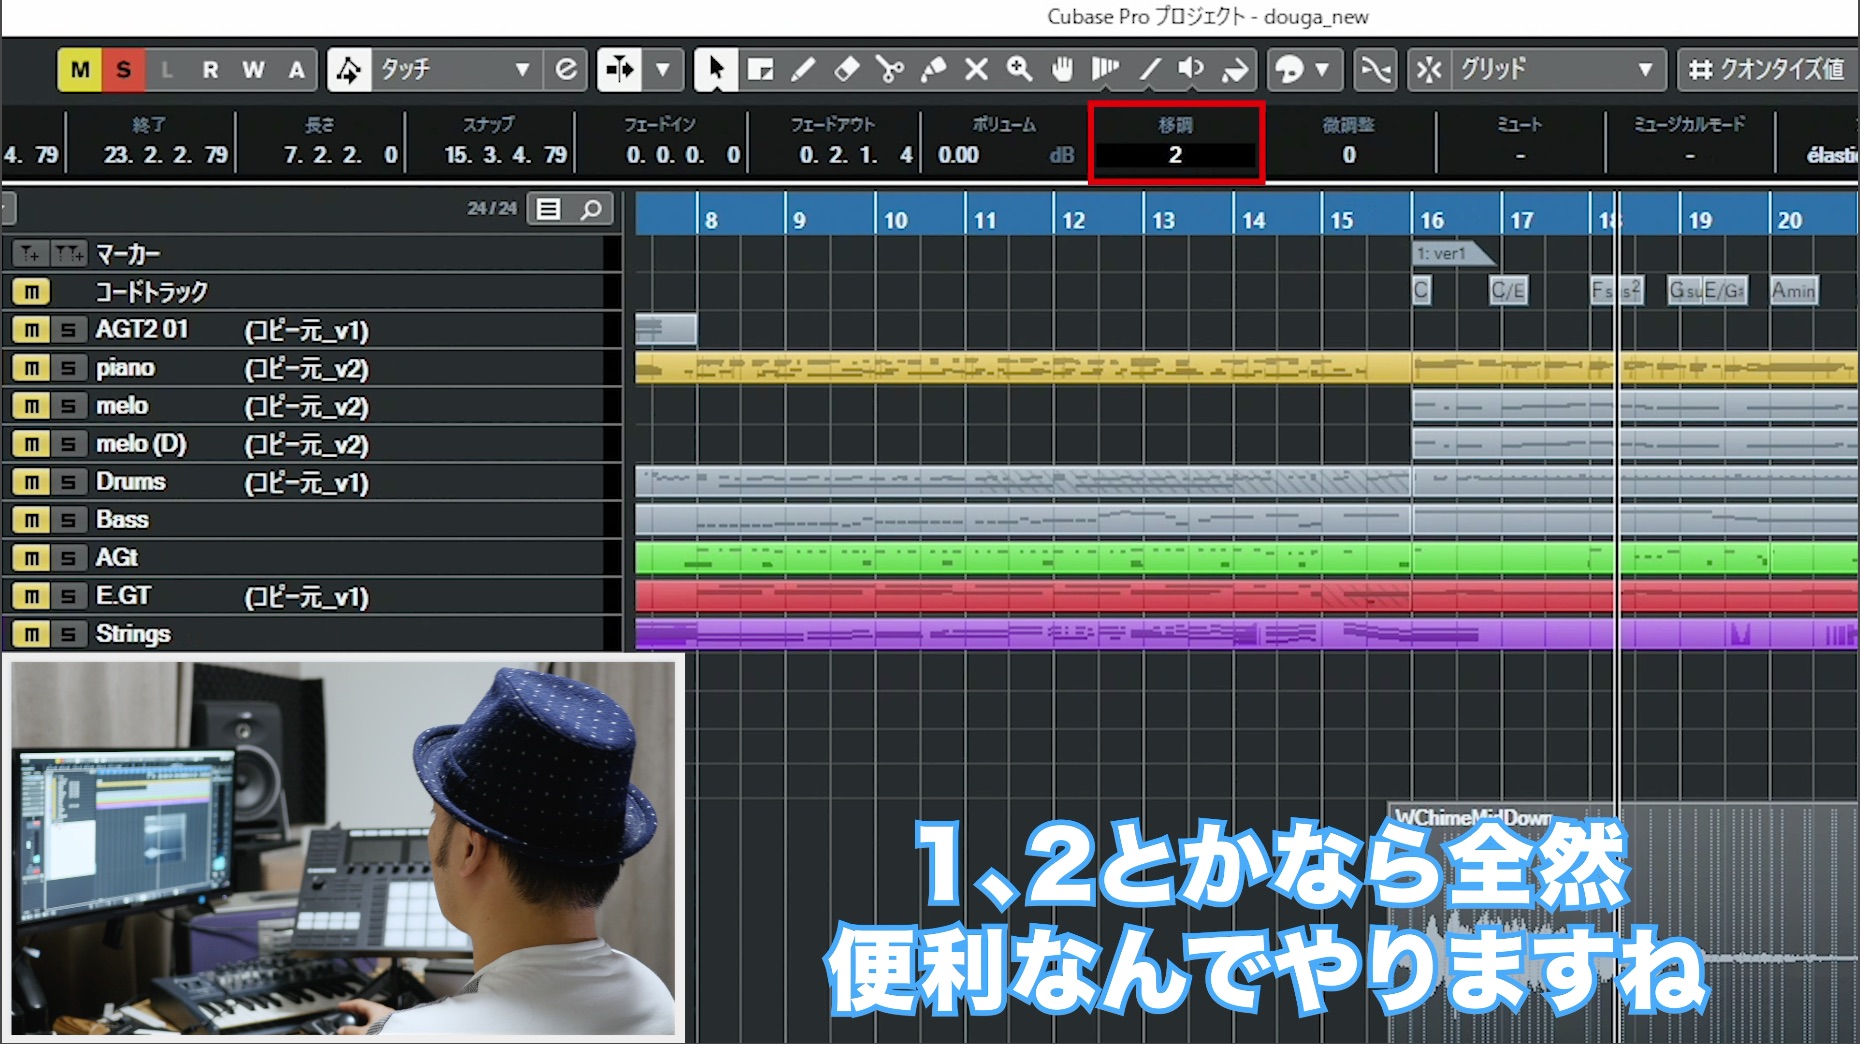
Cubase, the DAW I use, makes it easy to transpose an audio part.
Considering the other tracks, raising this effect by two semitones worked well here.
Throughout production, it is important to keep asking whether there is anything you could improve.
Closing Thoughts
Working through this arrangement has reminded me that the intention I valued when first creating the melody can remain alive right through to the finished arrangement.
What I want to express is already present in the demo.
One challenge of arranging is that there is never just one problem to solve.
You constantly make choices. You need to notice the issues and ask yourself how to address them.
Phrasing, timbre, and the balance between tracks interact in complex ways. Theory does not always produce the result you expect, and things may not go as planned.
That is why it is so important to trust the decisions you make through your own musical sensitivity.
Music has many great predecessors, and there is so much to learn from their work.
I believe that continually trying to move forward and making the effort will build both confidence and growth.
Keep at it!
Thank you for reading to the end.
Instruments and Software Used in the Video
Here is the music-production equipment and software used in this video.
DAW: Cubase Pro

Product link: https://new.steinberg.net/ja/cubase/new-features/
Drums: SUPERIOR DRUMMER 3
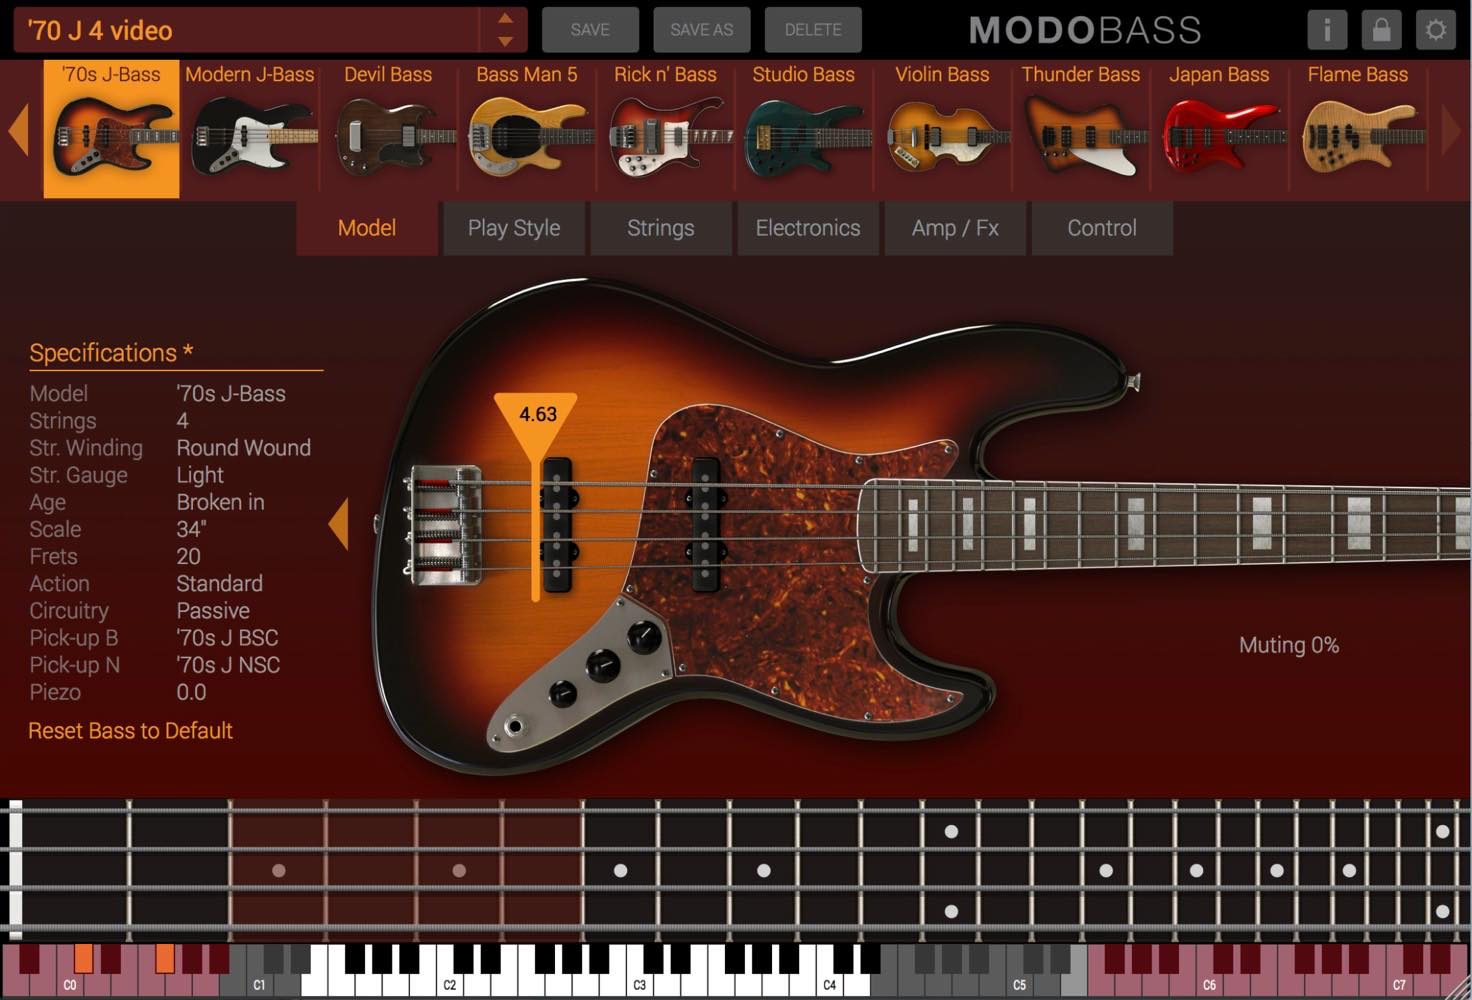
Bass: MODO BASS
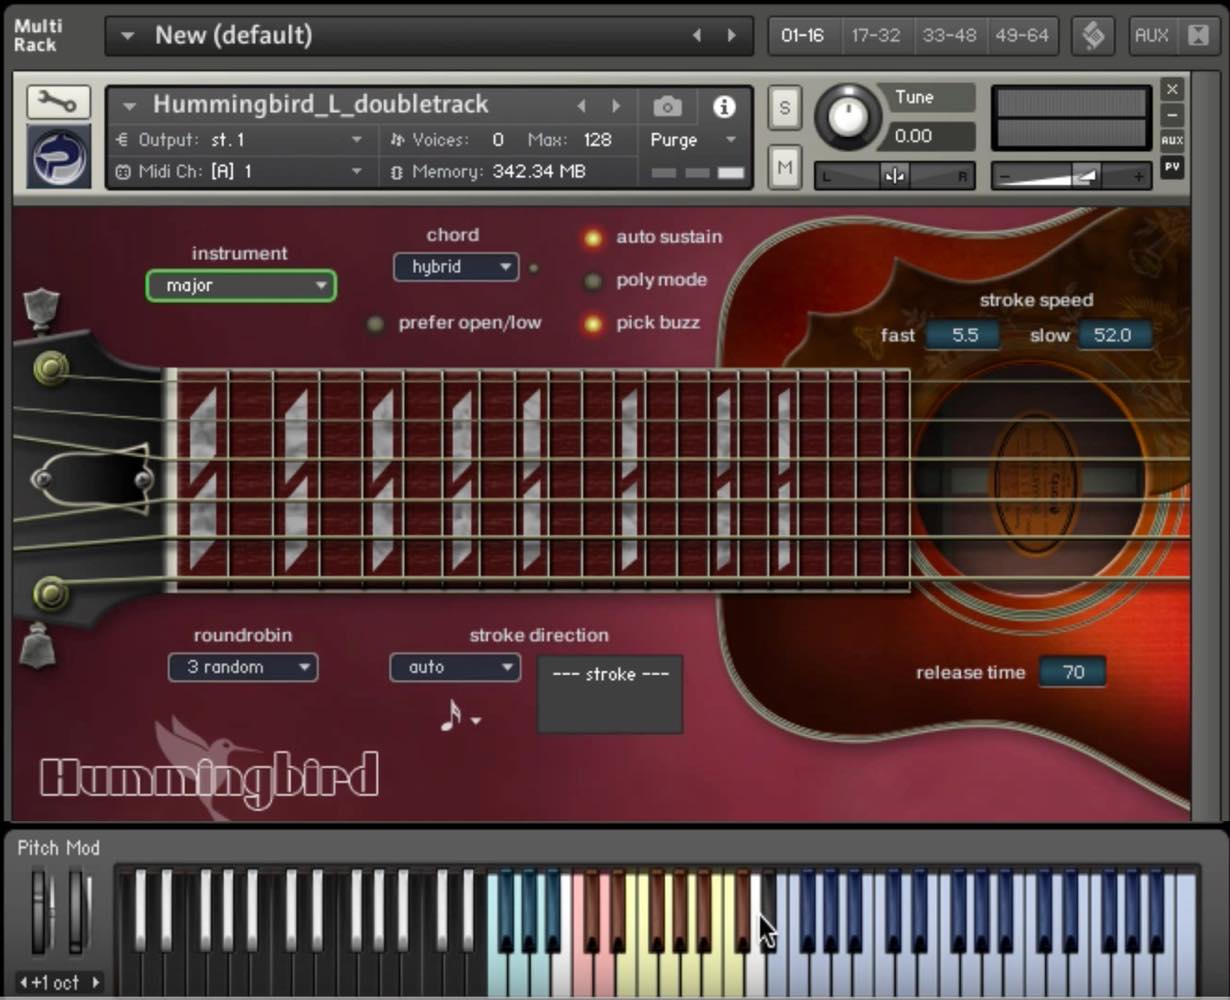
Acoustic Guitar: Hummingbird
Electric Guitar: ELECTRI6ITY
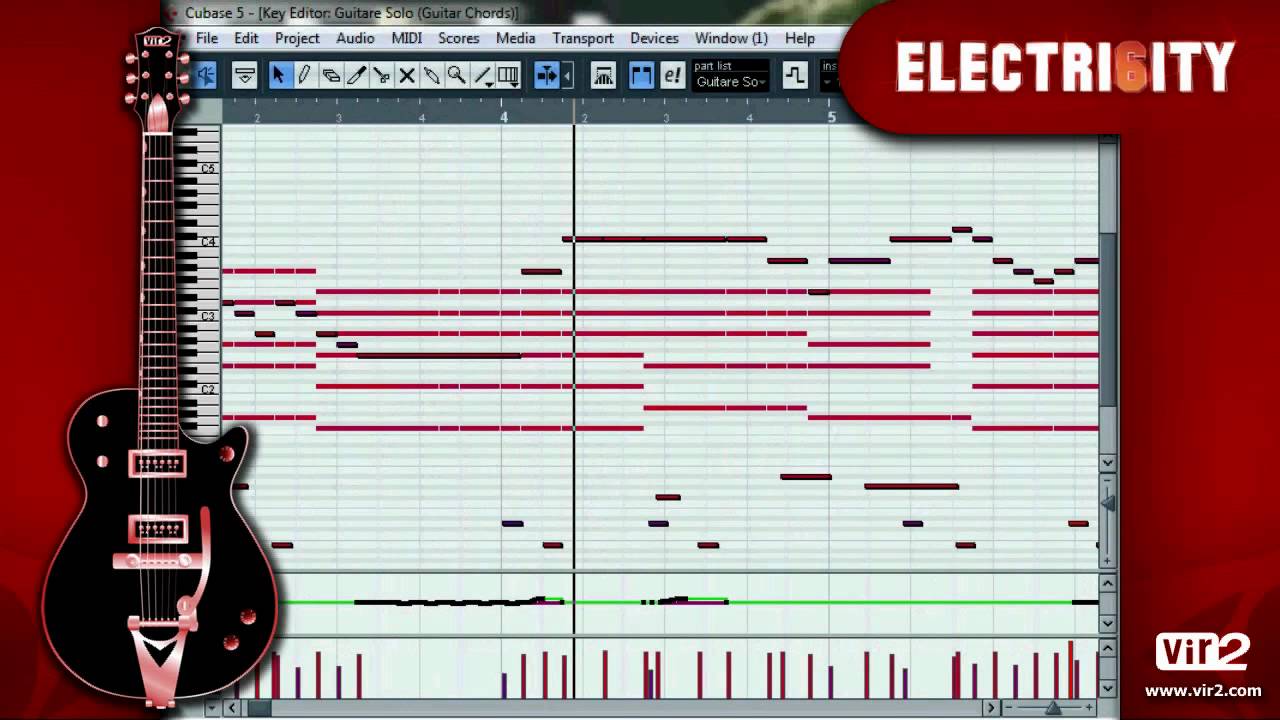

Strings: LA SCORING STRINGS 2.5
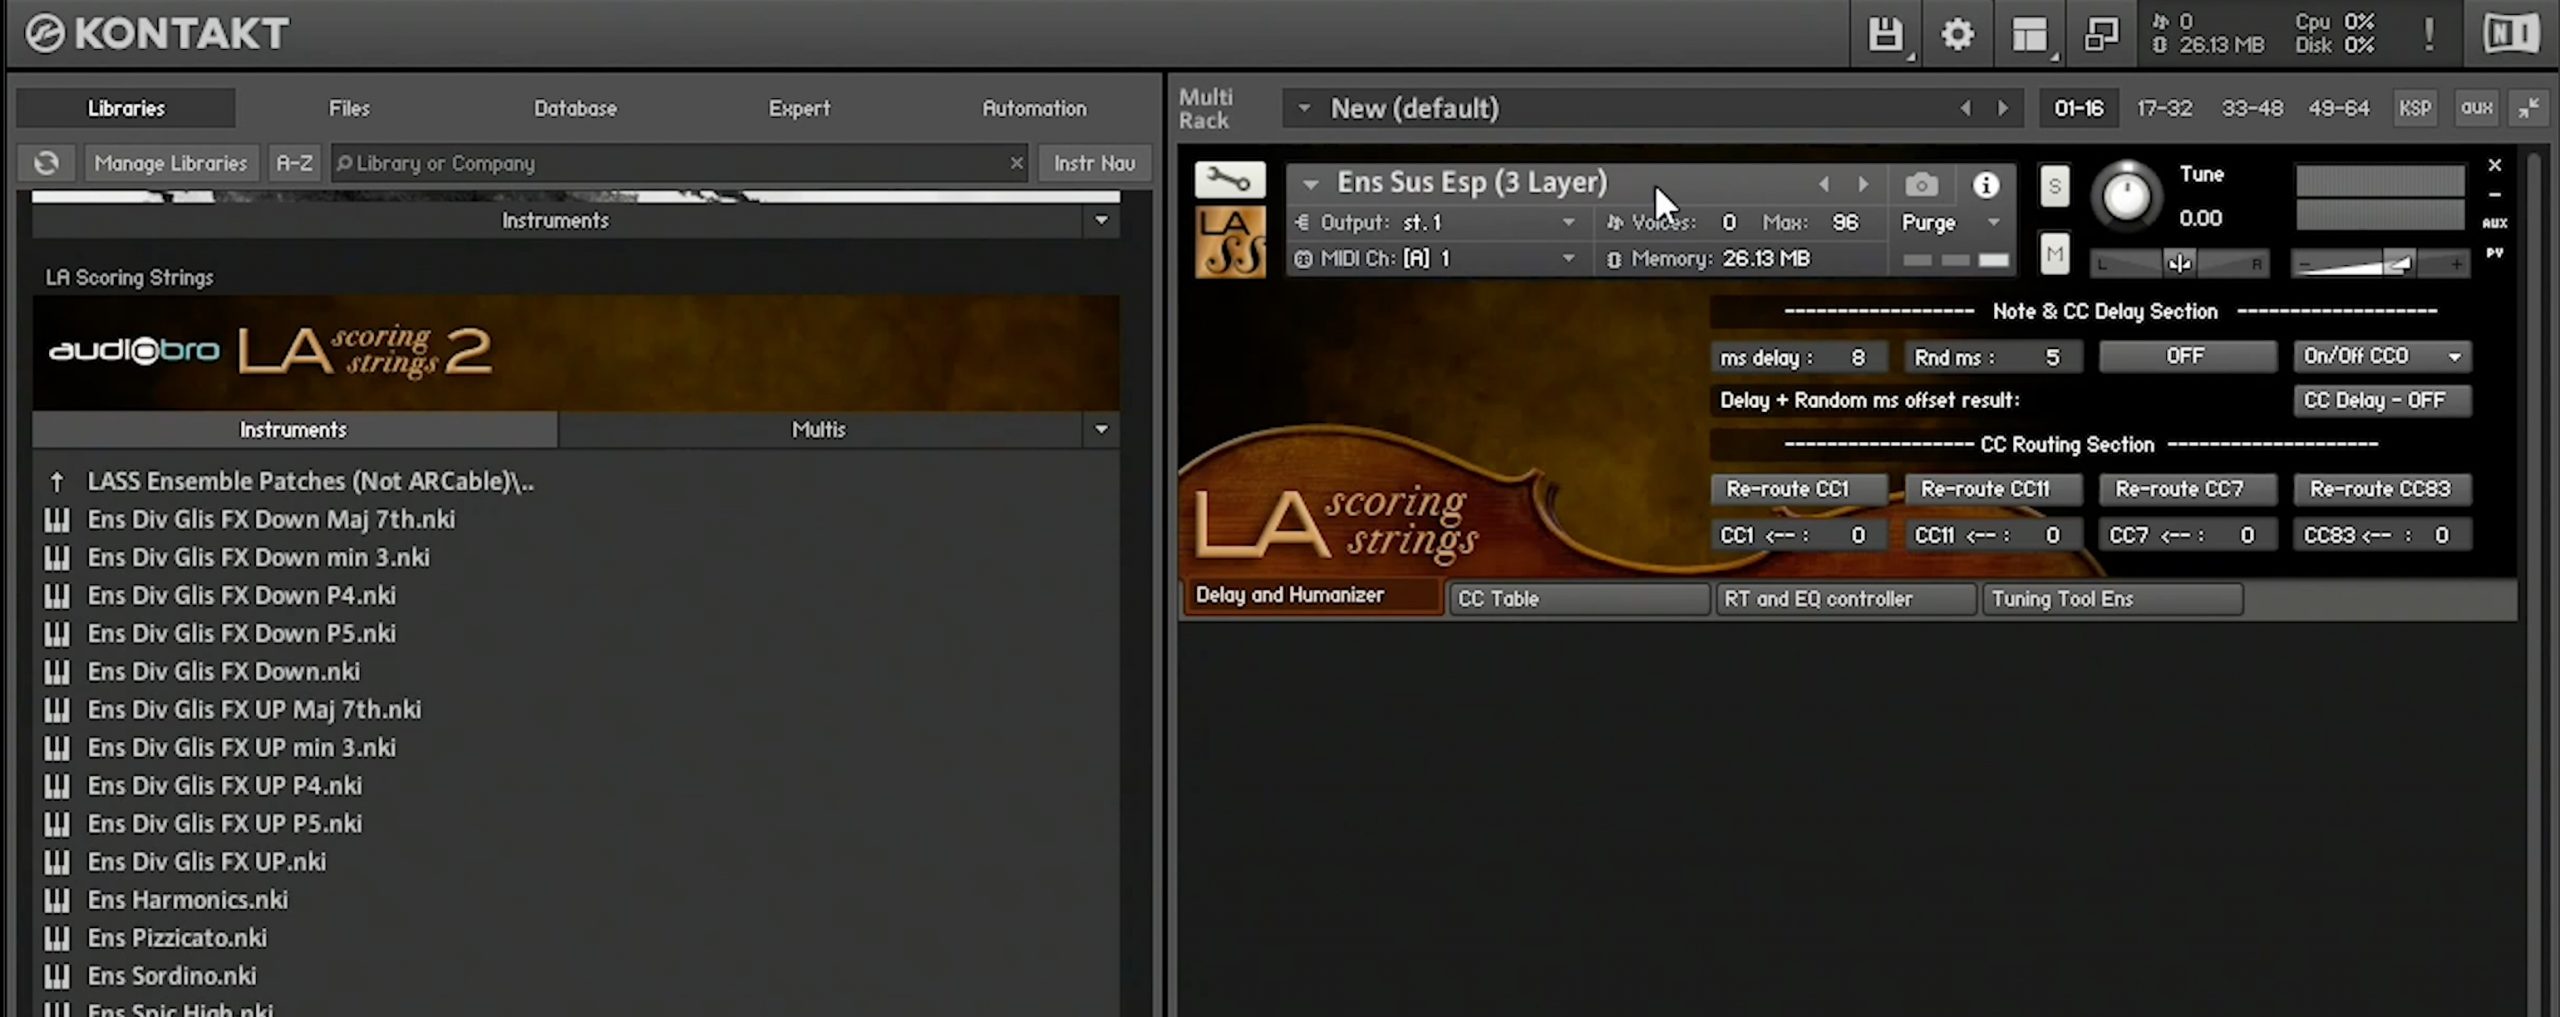
Product link: https://ec.crypton.co.jp/product/detail/32724
Synthesizer: MASSIVE X with KKS
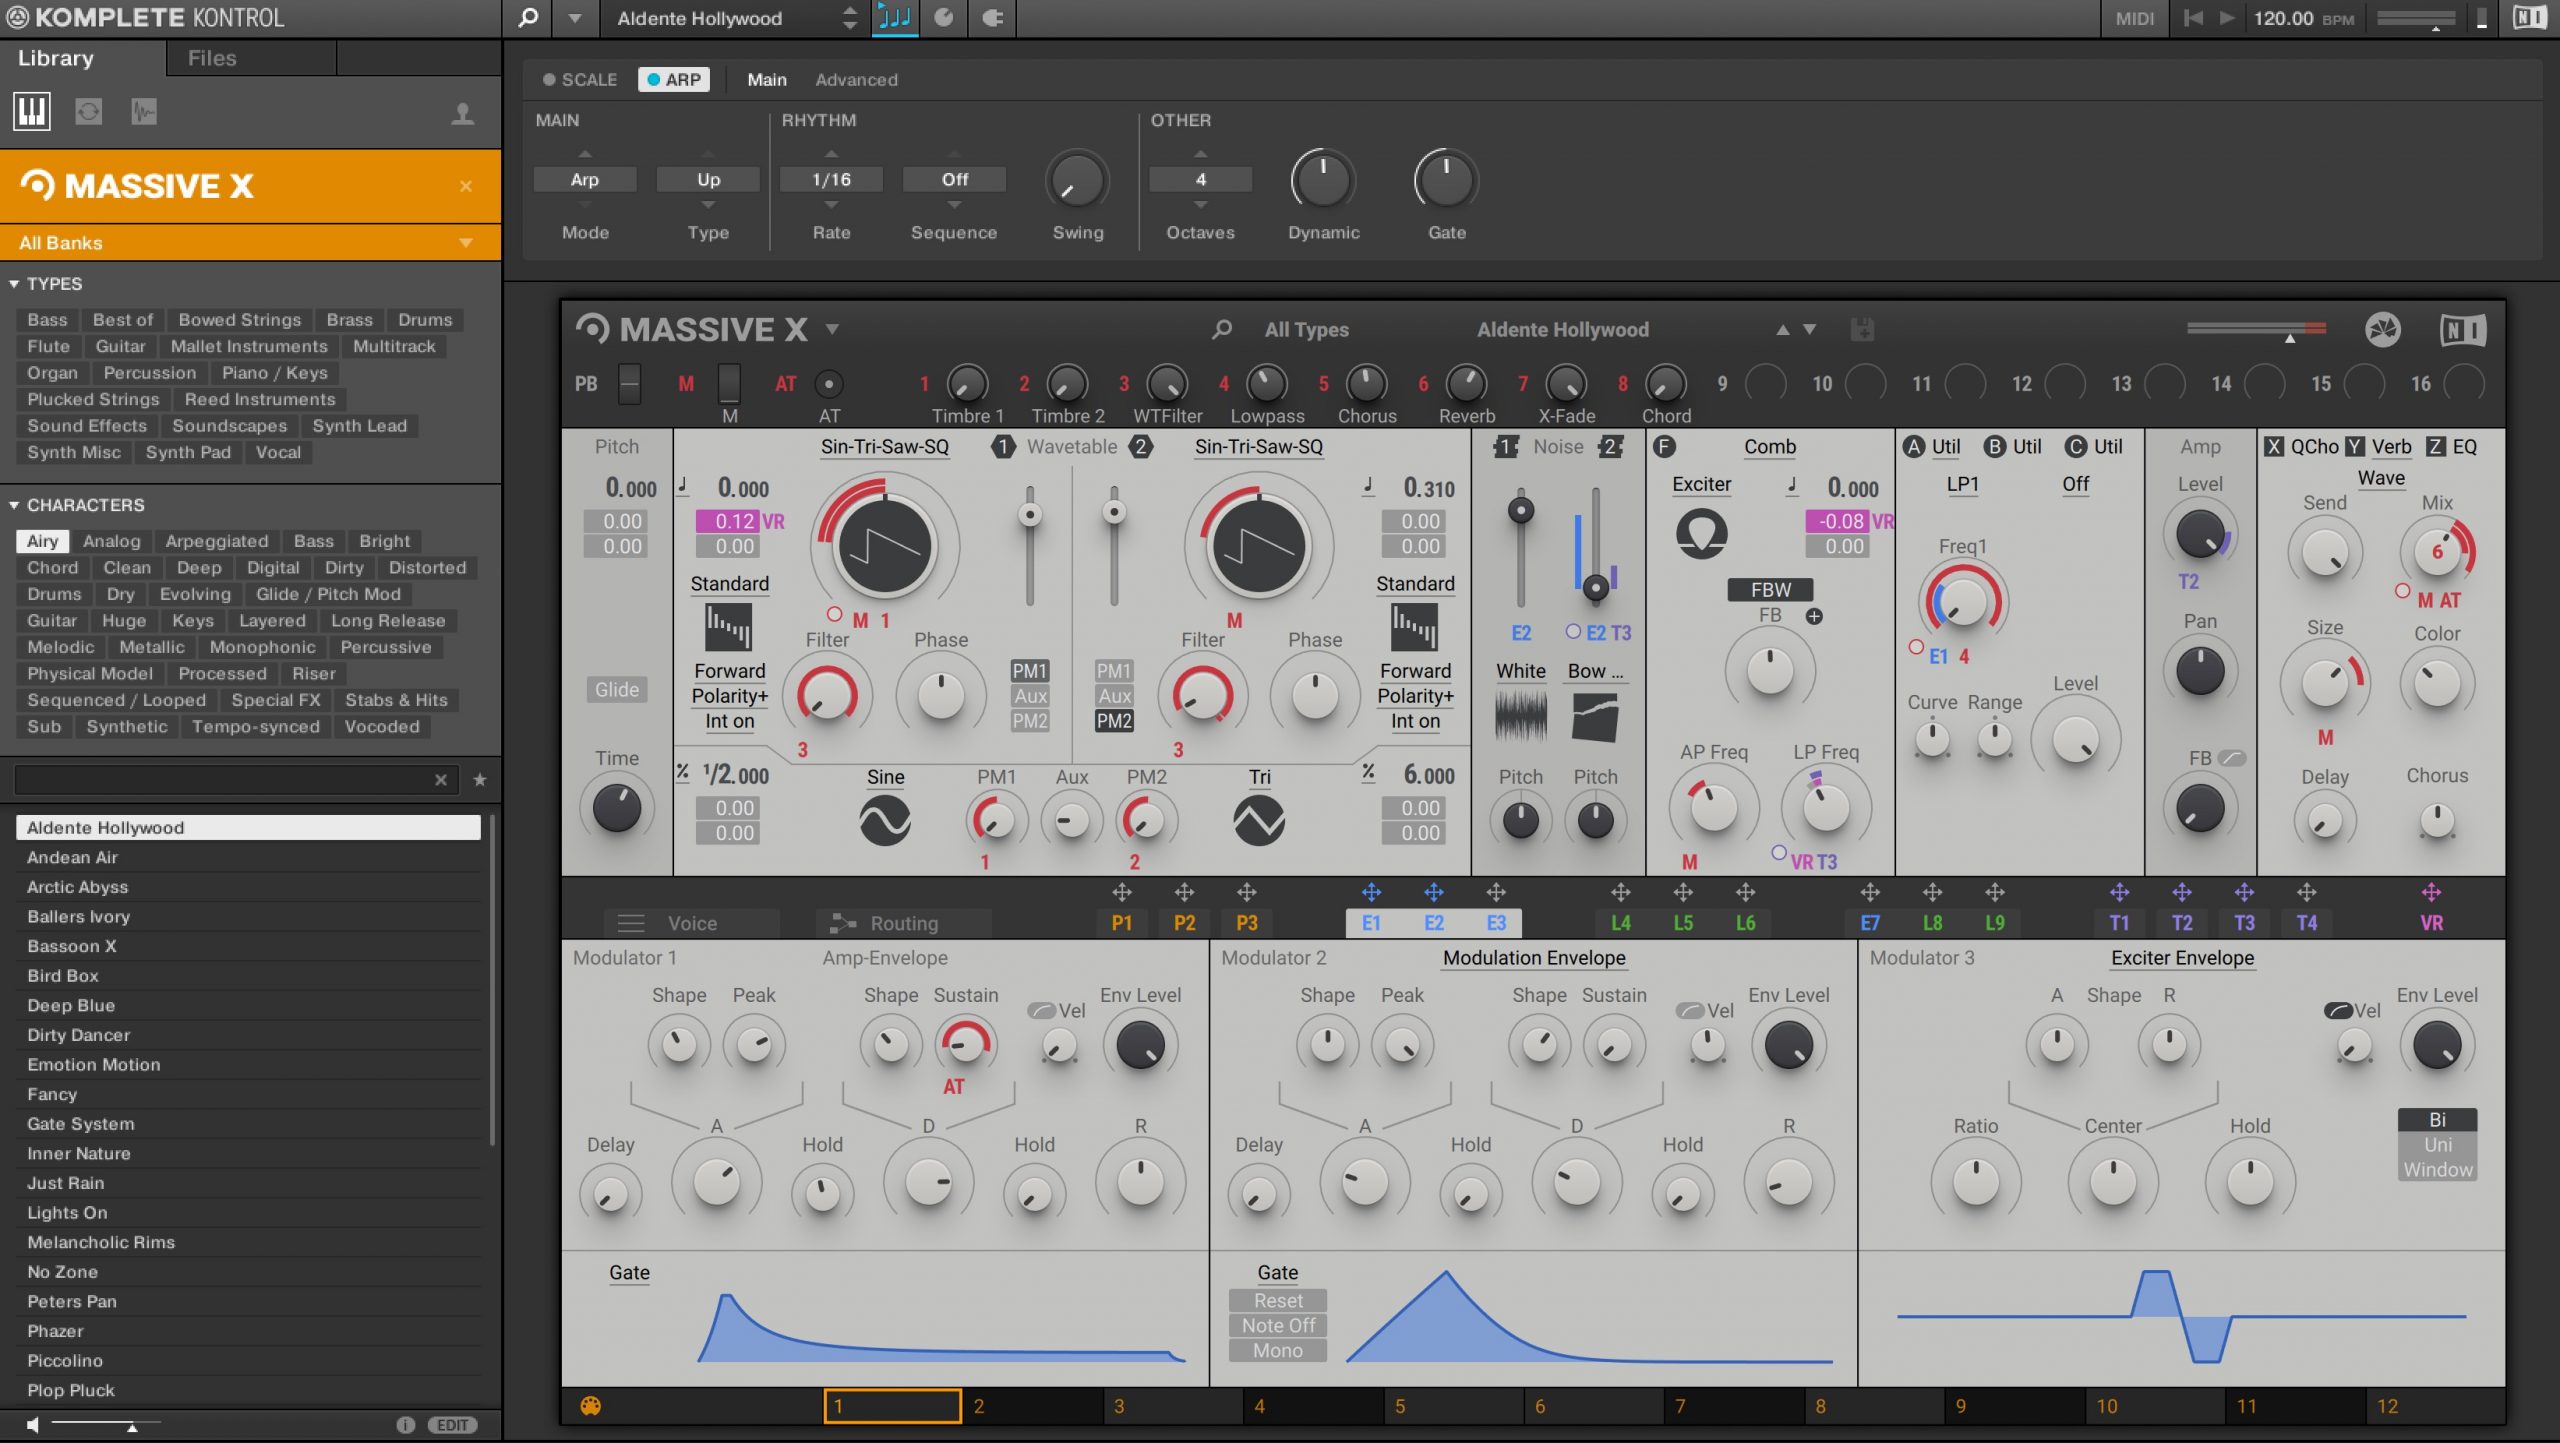

🎉 By popular demand: Part 2, Arranging! 🎉
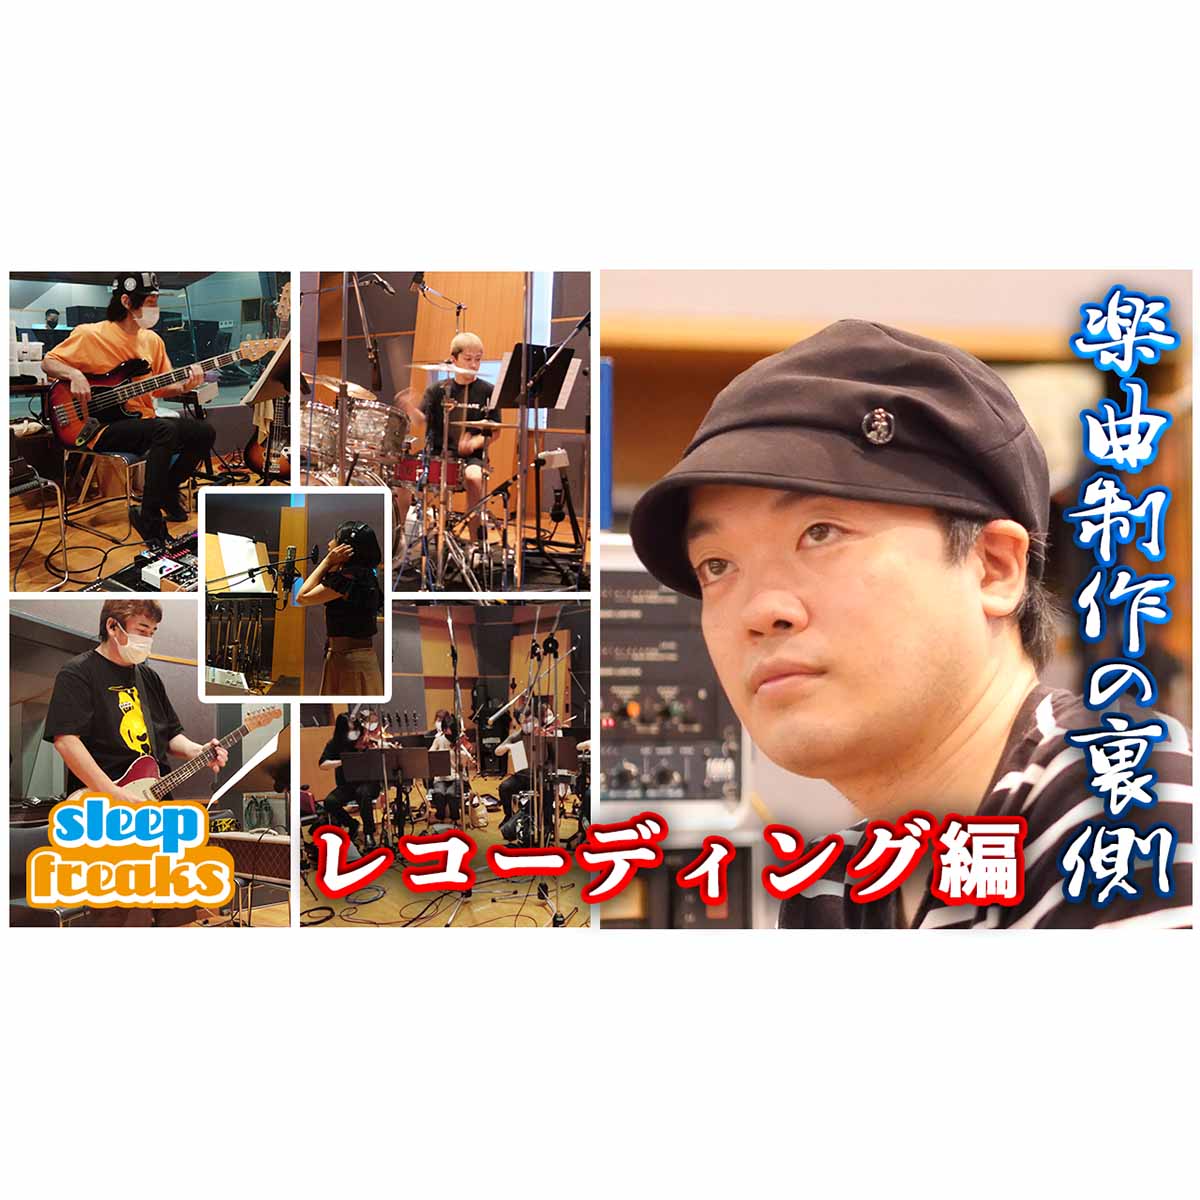
Behind the scenes with composer Yusuke Shirato (@sirato10).
A two-hour special on the music-production process!This time, we arrange the song created in the first video. ✨
🎬 Original premiere: April 26, 2020, at 8 p.m. Japan time 🎬
🎥 YouTube: https://t.co/5cGcoNRFRo📝 Article: https://t.co/nyZcuOvwfP#StayHome #DTM pic.twitter.com/zZlKElo9ox
— SLEEP FREAKS (@SLEEPFREAKS_DTM) April 26, 2020
Frequently Asked Questions
Q1. Where should I start when arranging drums in a DAW?
Shirato's approach is to sketch the foundation on piano, then establish the drum rhythm. Starting with the drums helps define the groove and direction of the arrangement that follows.
Q2. What helps when creating a bass phrase?
Use the kick placement as a reference, and pay close attention to note duration, such as quarter, eighth, or sixteenth notes. Combining roots with fifths, octaves, slides, and ghost notes can help avoid repetitive phrases.
Q3. How should I choose piano chord voicings?
Adjust them so the melody sounds good, while considering other instruments in the same register. Techniques such as omitting the third can bring the voicing closer to the sound you want.
NEW ARTICLES
Latest English Articles