This article explains advanced reverb and pan techniques in the Cubase 7 MixConsole. It covers practical mixing methods including simultaneous control of multiple tracks with Q-Link, sharing a reverb efficiently via send and return, positioning reverb with send pan, and changing the pan mode on stereo tracks. These techniques can help you use CPU resources efficiently while creating more precise spatial placement and a professional sense of loudness and depth.
Reverb and Pan Settings in the MixConsole
Here we explain the MixConsole using a sample song
and explore its greatly improved appearance and functionality.
Although this is part of our new-features series, this installment mainly focuses on techniques!
Some are quite specialized, but they can be useful when mixing.
We hope you find this useful.
Cubase 7 MixConsole: Reverb and Pan Techniques Video
Harmony Voice
Chord Assistant
MixConsole: Setup
MixConsole: Reverb and Pan Techniques (this page)
MixConsole: Inserts and Channel Strip
MixConsole: Vocal Processing and Routing
Loudness and the RMS Meter
CurveEQ
Video Focus: Using Q-Link

Select multiple tracks and activate Q-Link
to change their volume, pan, mute, solo, and other settings together.
When you finish adjusting, click Q-Link again to deactivate it.
Video Focus: Using Send and Return
Send and return is used for spatial effects such as reverb and delay.
For more on send and return, see the following article.
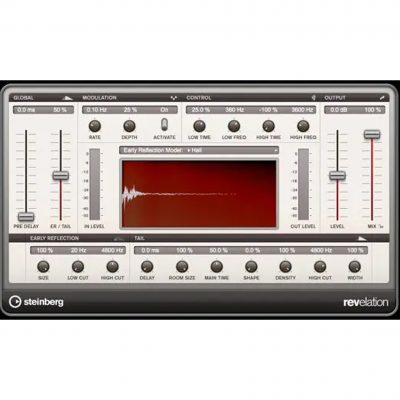

Create an FX channel track,
then click the Send section to expand the panel.
Click an expanded slot and select the desired FX channel track.

Once applied, adjust the send level to determine how much effect is heard.
Video Focus: Using Send Pan
The reverb set up with send and return above
can also be panned.
For example, you can pan the reverb of a left-panned track to the left,
or deliberately pan it in the opposite direction.
This allows for more detailed spatial placement.

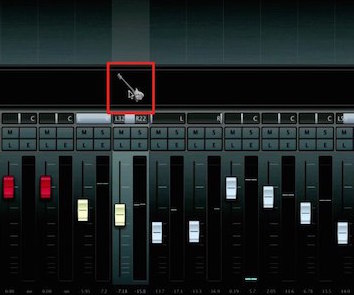
Click the E button on the track whose pan you want to adjust.

In the window opened by the E button,
adjust the Send and Pan controls.
The following article also explains this:
https://sleepfreaks-dtm.com/for-advance-cubase/reverb_control-3/
Video Focus: Changing the Pan Mode
The pan mode can be changed for stereo tracks.

Right-click the pan control
and select Stereo Combined Panner.
The default is Stereo Balance Panner.

The left and right pan controls are independent, allowing finer adjustment.
For more on pan modes, see the following article.

Frequently Asked Questions
Q1. What are the benefits of Q-Link in the Cubase 7 MixConsole?
You can select multiple tracks and control volume, pan, mute, and solo together. This improves efficiency and lets you adjust the balance between tracks quickly.
Q2. Why use send and return for reverb?
Reverb can be CPU-intensive. Sharing one reverb effect across several tracks saves processing resources while allowing you to create a professional sense of space.
Q3. What is the effect of panning reverb in the opposite direction with send pan?
Placing the original track and its reverb in different directions can create a sound field with greater depth and dimension, refining the sense of space and stereo image.
Q4. What is the difference between Stereo Balance Panner and Stereo Combined Panner on a stereo track?
Stereo Balance Panner controls the overall positioning, while Stereo Combined Panner lets you adjust the left and right sides independently. The latter allows finer stereo positioning and more complex spatial placement.
NEW ARTICLES
Latest English Articles