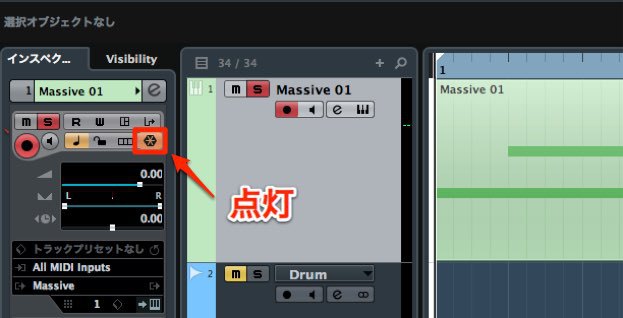
Converting instrument tracks to audio in Cubase is a practical music production technique. As a project grows, the number of software instruments and plug-ins can increase CPU load. Converting tracks to audio can make mixing more efficient, reduce the load on your computer, enable waveform editing, and make levels easier to see. You can use File → Export → Audio Mixdown, and use Save As to preserve a separate version of your project for flexibility.
Benefits of converting instrument tracks to audio
As your project progresses, you may add more plug-ins and software instruments.
High CPU load can make it difficult to keep working smoothly.
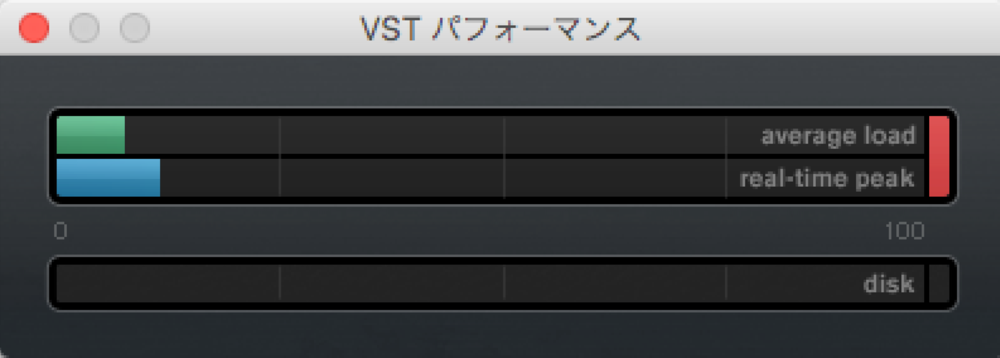
If you start mixing at this stage,
the additional plug-ins will inevitably increase the CPU load even further.
We recommend converting your instrument tracks to audio.
This offers the following benefits:
- It makes the final mixing stage easier.
- It reduces the load on your computer.
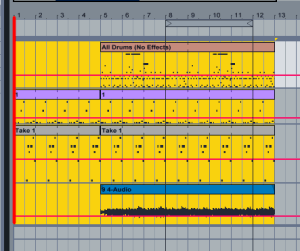
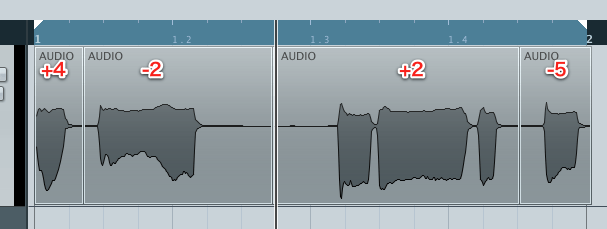
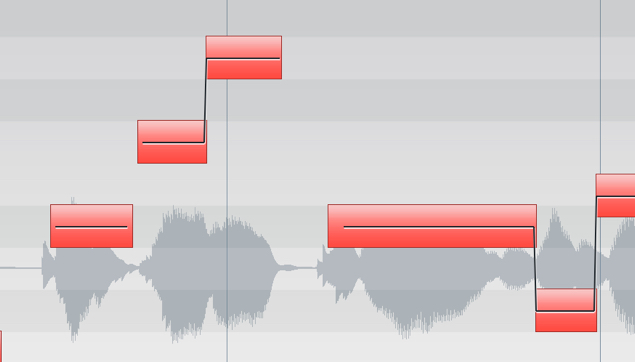
- A waveform lets you use audio-specific editing tools.
- You can see the level within a track.
Let's look at how to convert the tracks.
Video tutorial
Selected questions and answers from YouTube

I got stuck at channel selection. Does Cubase Elements 7 have this audio conversion feature?

Thank you for your question. Unfortunately, Cubase Elements does not include this feature. You would need to upgrade Cubase to use it.
How to convert MIDI to audio
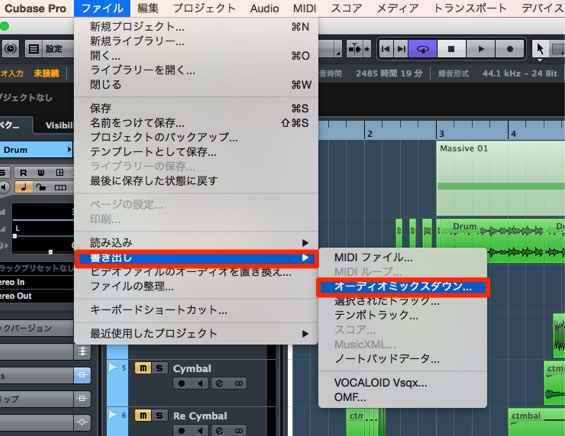
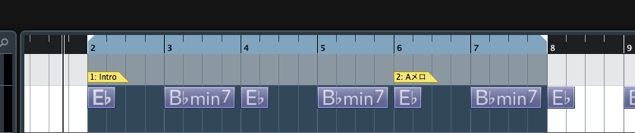
Set the loop range to the section you want to export,
then select File → Export → Audio Mixdown from the top menu.
The following window opens.
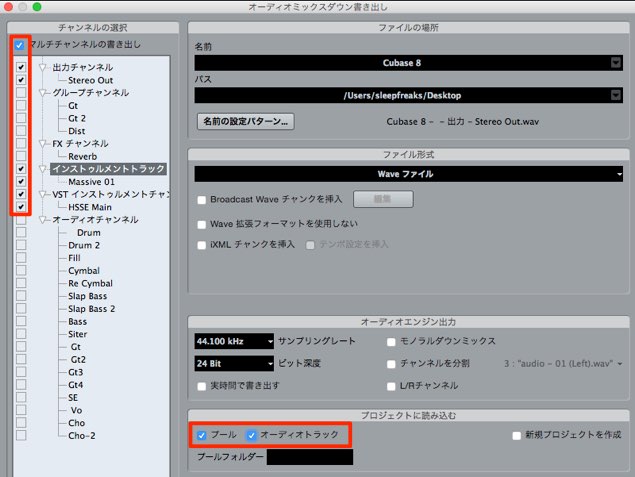
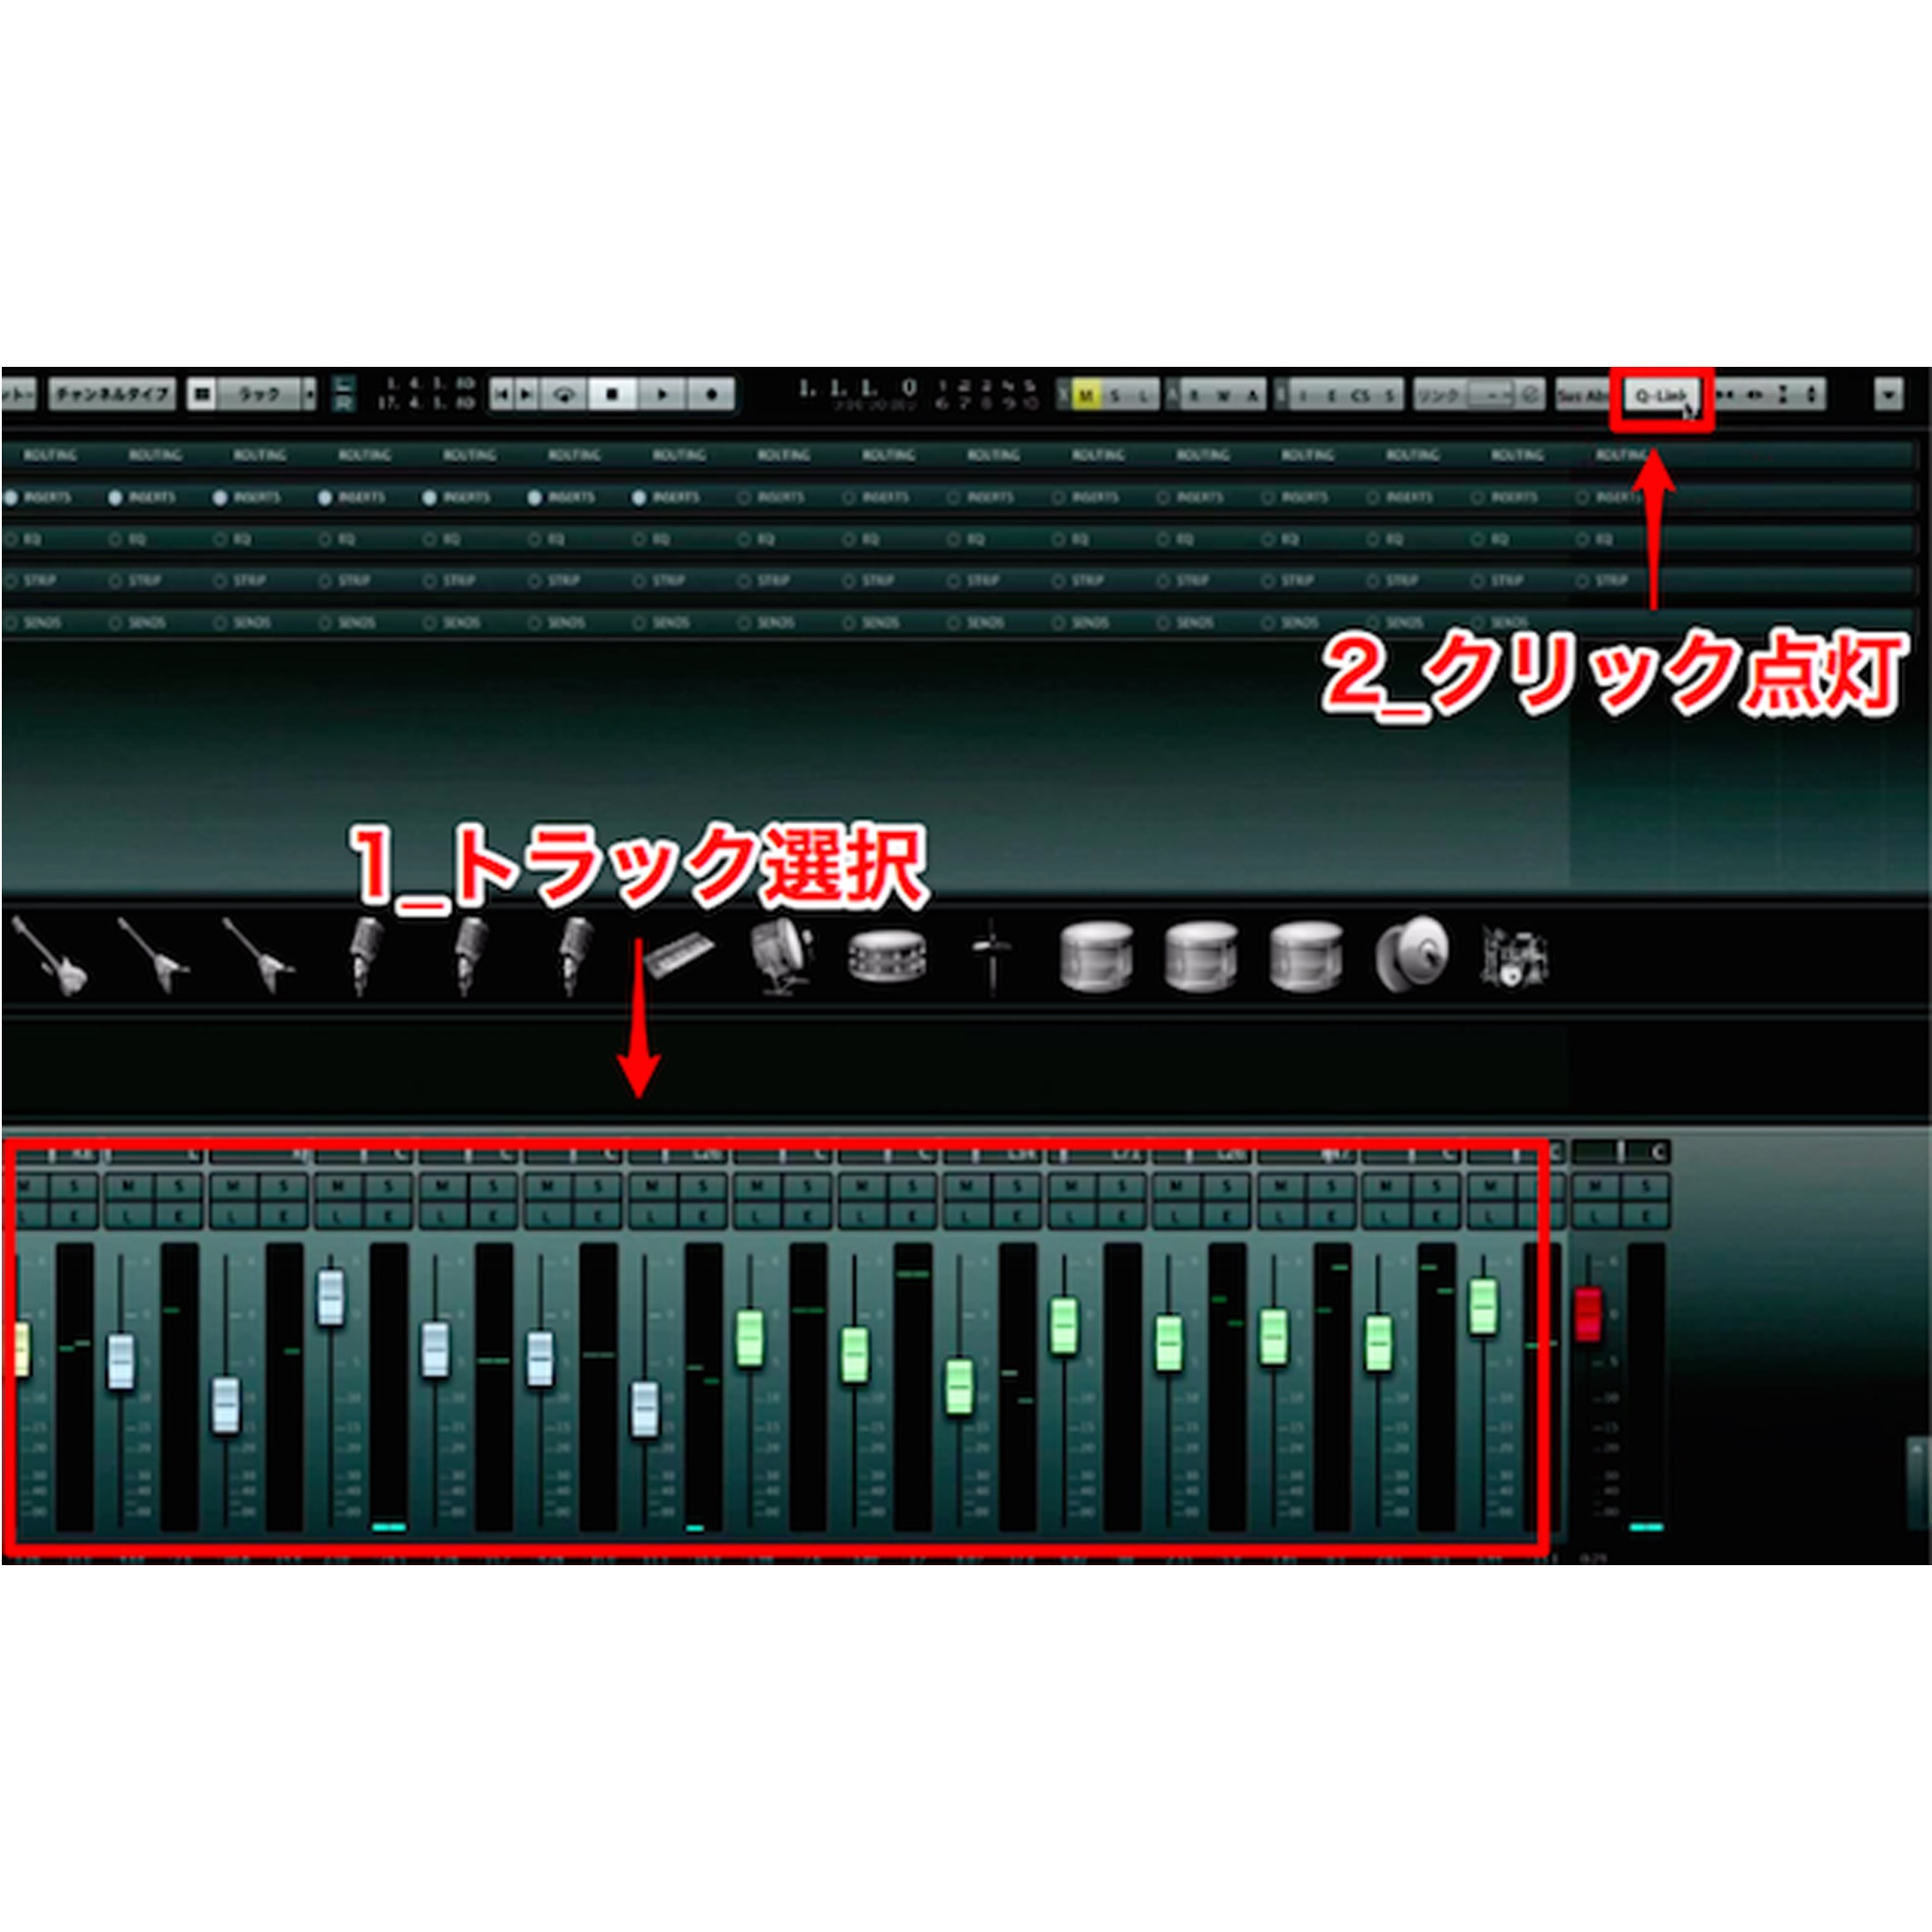
Check the two areas outlined in red.
1. Is the software instrument track you want to convert selected?
2. Is the exported audio track set to be inserted into the project automatically?
If everything is correct, click Export.
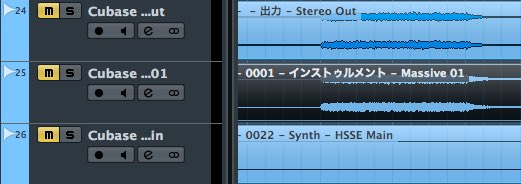
The audio has now been exported as shown.
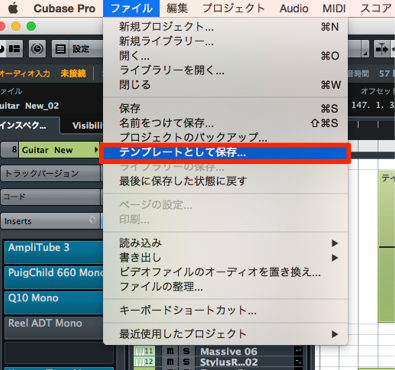
Use Save As to avoid losing your work
After converting to audio, you will delete the instrument track,
but you may later want to return to the MIDI programming stage.
We strongly recommend using Save As to create a separate version before proceeding.
Many people find this technique tricky, but it is used very often.
Take this opportunity to learn it.
Render in Place in Cubase 8
In addition to the method above, Cubase 8 offers another way to export audio.

Frequently asked questions
Q1. What are the benefits of converting an instrument track to audio?
It reduces CPU load and makes processing easier for your computer. The waveform also helps you judge levels visually and gives you access to audio-specific editing tools, making mixing more efficient.
Q2. What if I want to return to the MIDI data after conversion?
Before converting to audio, use Save As to create a separate project version. This gives you a way back to the original MIDI data later.
Q3. Which Cubase menu is used for audio conversion?
Choose File → Export → Audio Mixdown. Make sure the track you want to convert is selected, then click Export.
NEW ARTICLES
Latest English Articles