
Prominy Hummingbird - How to use ② Techniques to achieving realistic sounds
Controls to create realistic guitar articulation

This is the second article in our Prominiy “Hummingbird” series.
Previously we took a look at the basics and some expression techniques via strum/arpeggios,
but in this article we will look at techniques used to achieve a realistic sound.
※ May 22nd: A video on arpeggios added to the end of the article
About Prominy Hummingbird

Prominy Hummingbird precaution
In our last video article, we used a different interface than this article, but we are still reviewing the same product.
In addition, the KONTAKT keyboard layout differs slightly from our last article so please keep this in mind.
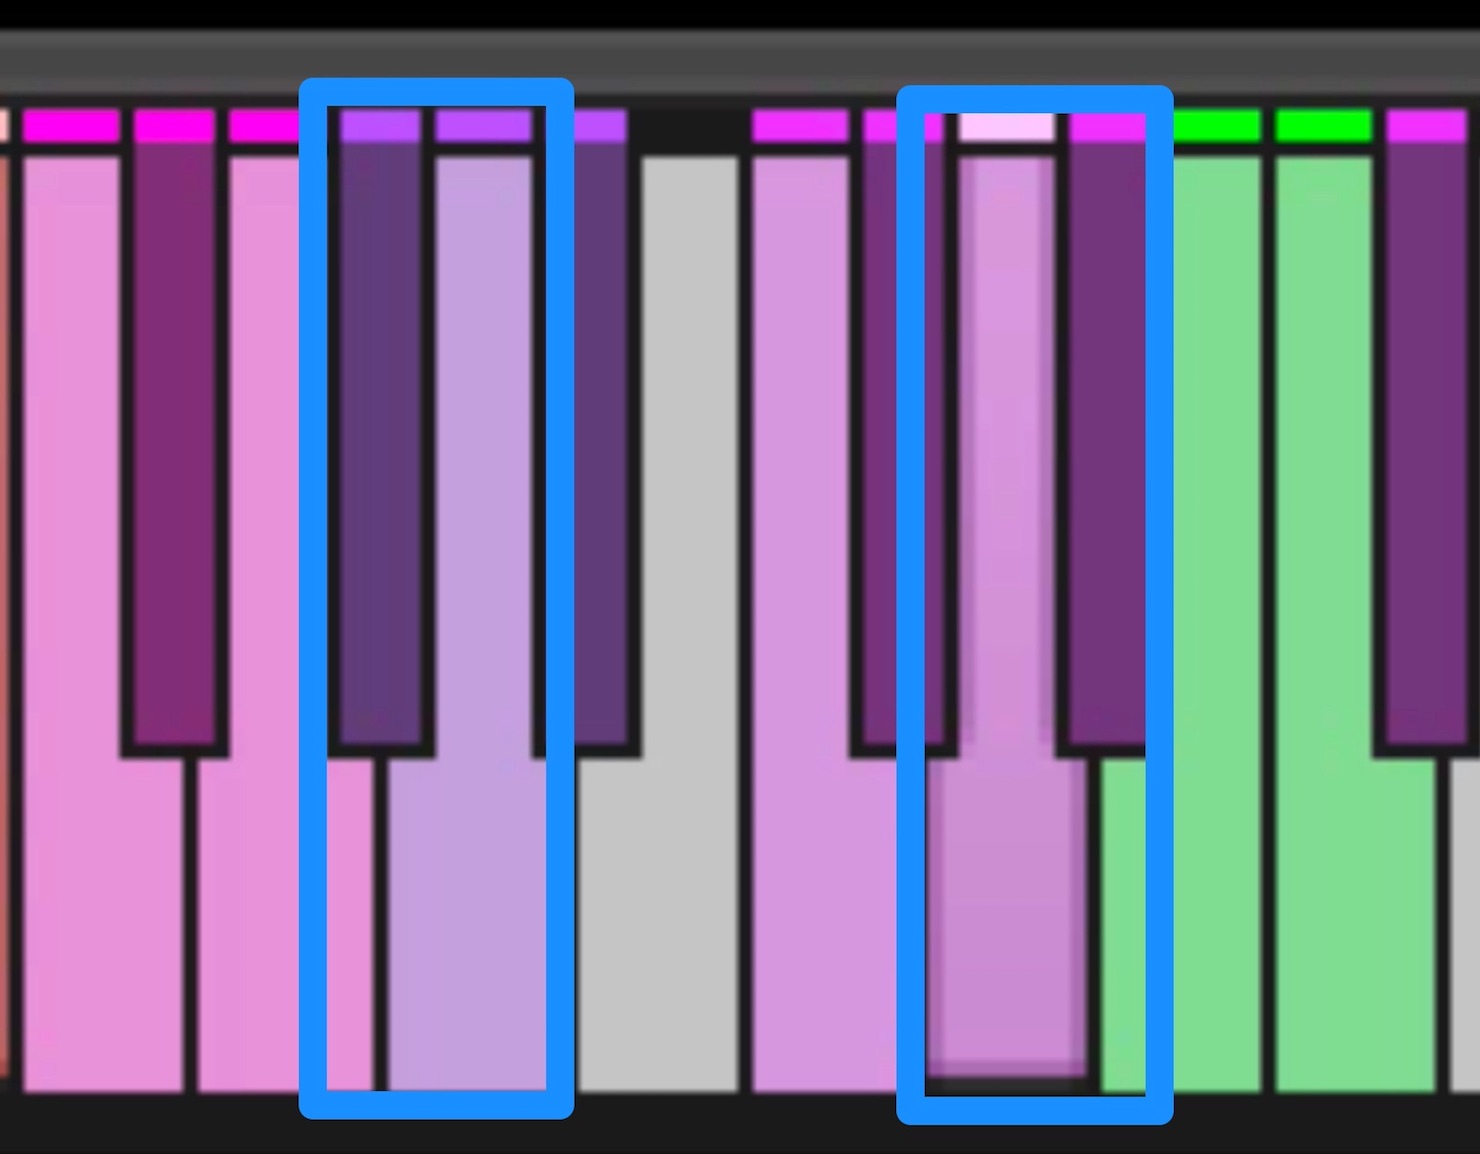
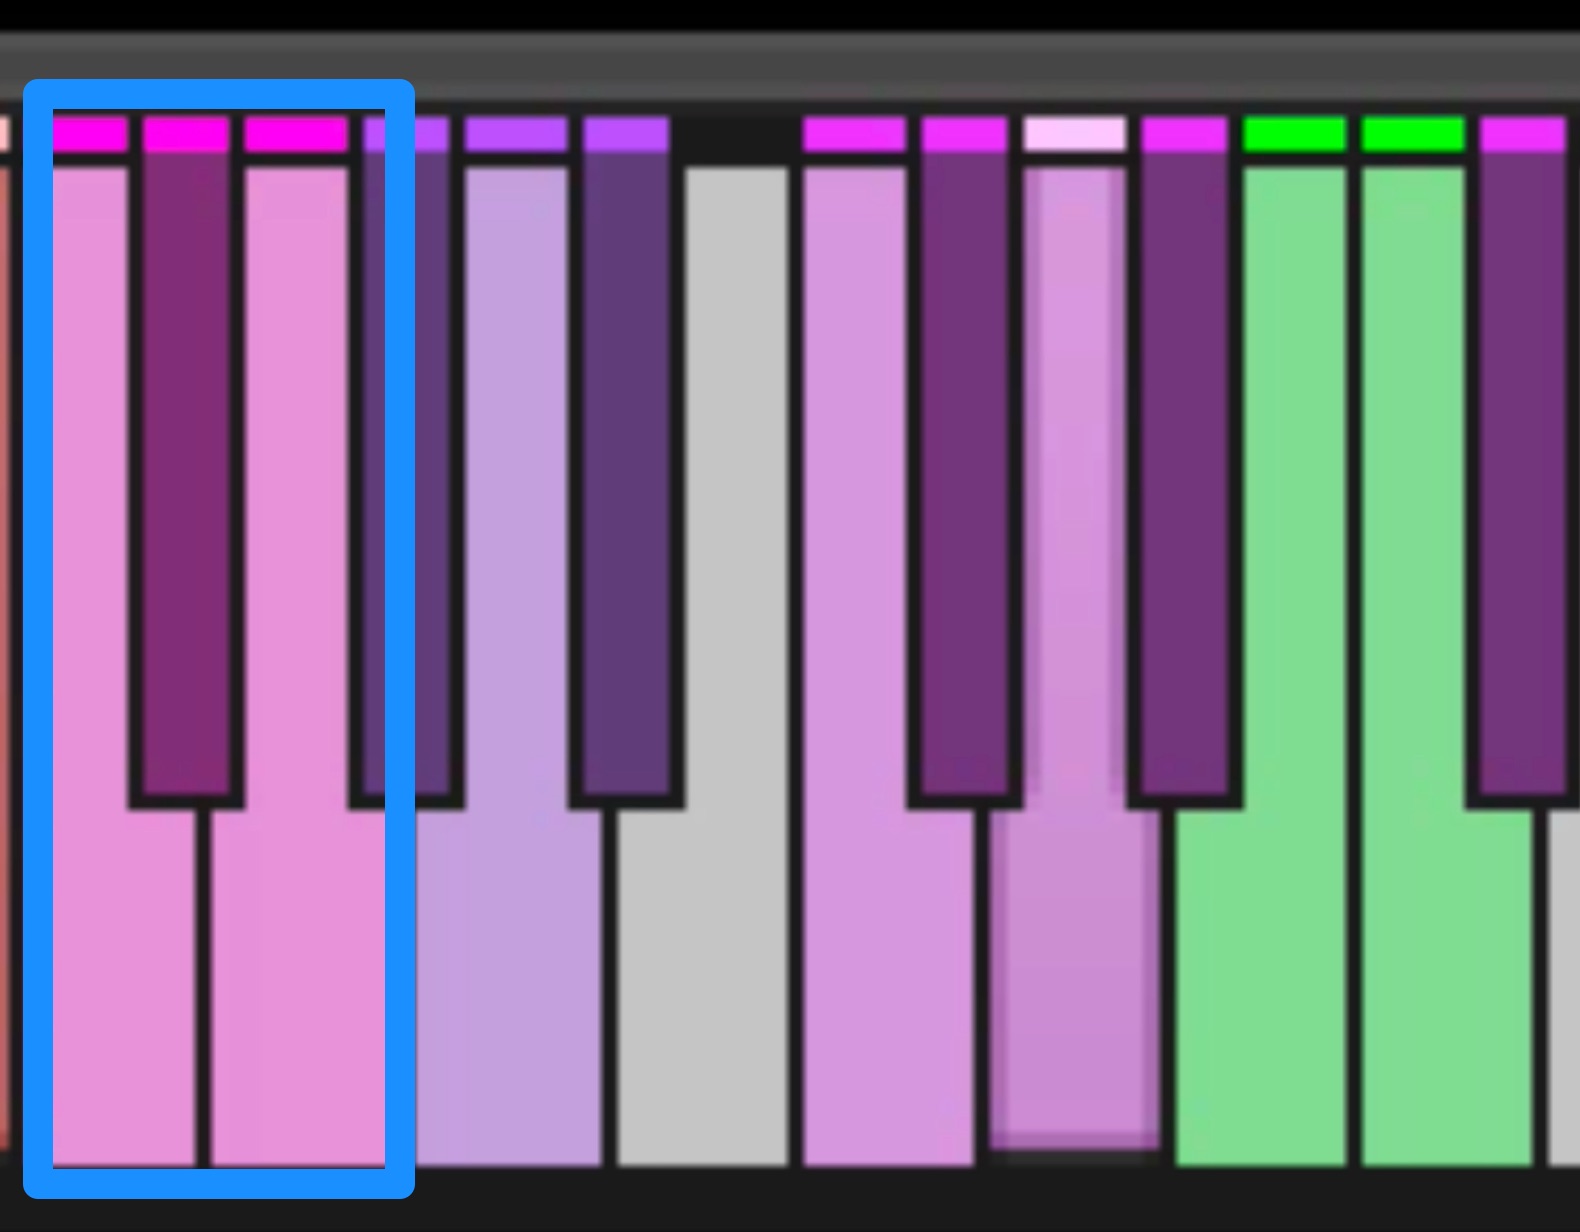
The new version’s key layout is as shown:
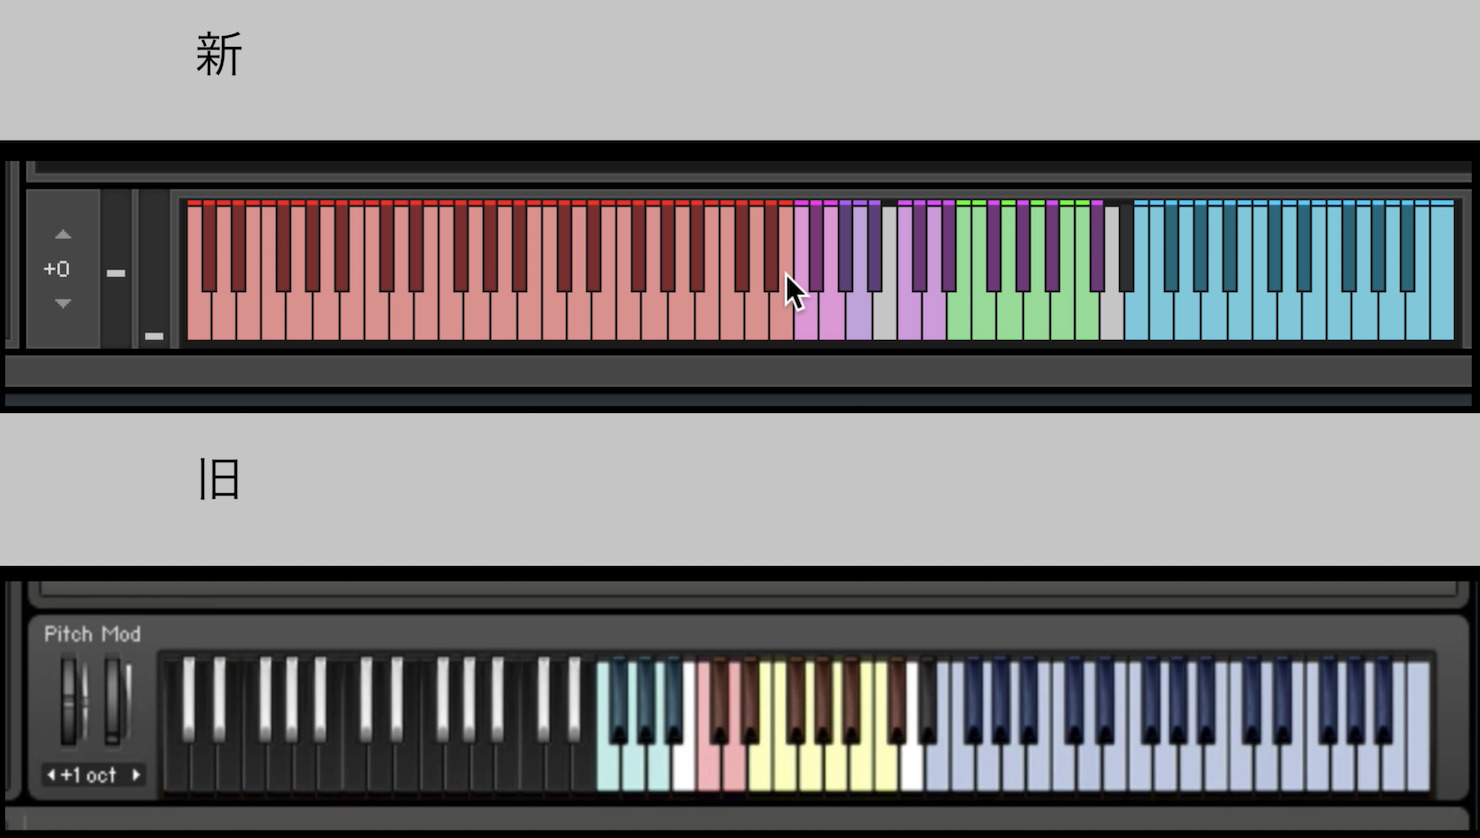
- Blue: Normal keys
- Green: Strum keys/Arpeggios
- Pink: Play keys
- Red: Instrument select key switch
Stroke speed and how to change it
Stroke speed can be change from “MIDI CC# 3.”
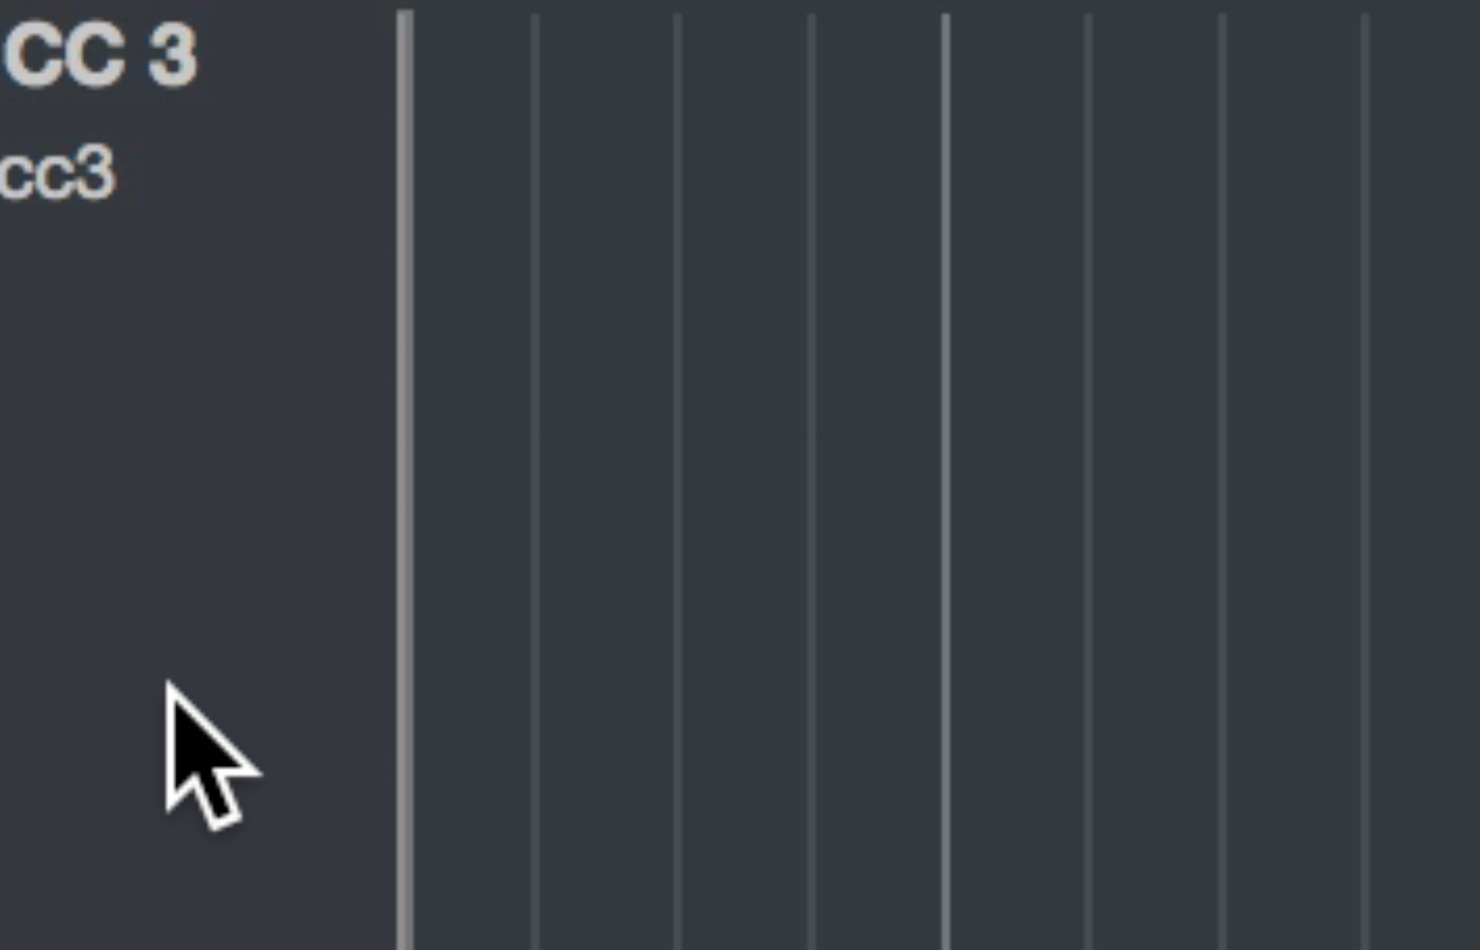
- fast stroke: 0〜63
- slow stroke: 63〜127
To achieve a realistic guitar performance, variation in strum speed is important, so though it is slightly time consuming, try changing each stroke speed to create a realistic performance.
Changing stroke
Changing strokes is done through “MIDI CC# 58.”

- auto: 0〜31
- forced: 32〜63
- down only: 64〜95
- up only: 96〜127
You can learn more about CC from the download manual out from Prominy here.
※ “MIDI controllers” are shown via pg 118〜.
Playing single notes
Aside from open/barre chords, single notes can be played as well.
From the pull down menu, you will find 3 different play patterns.
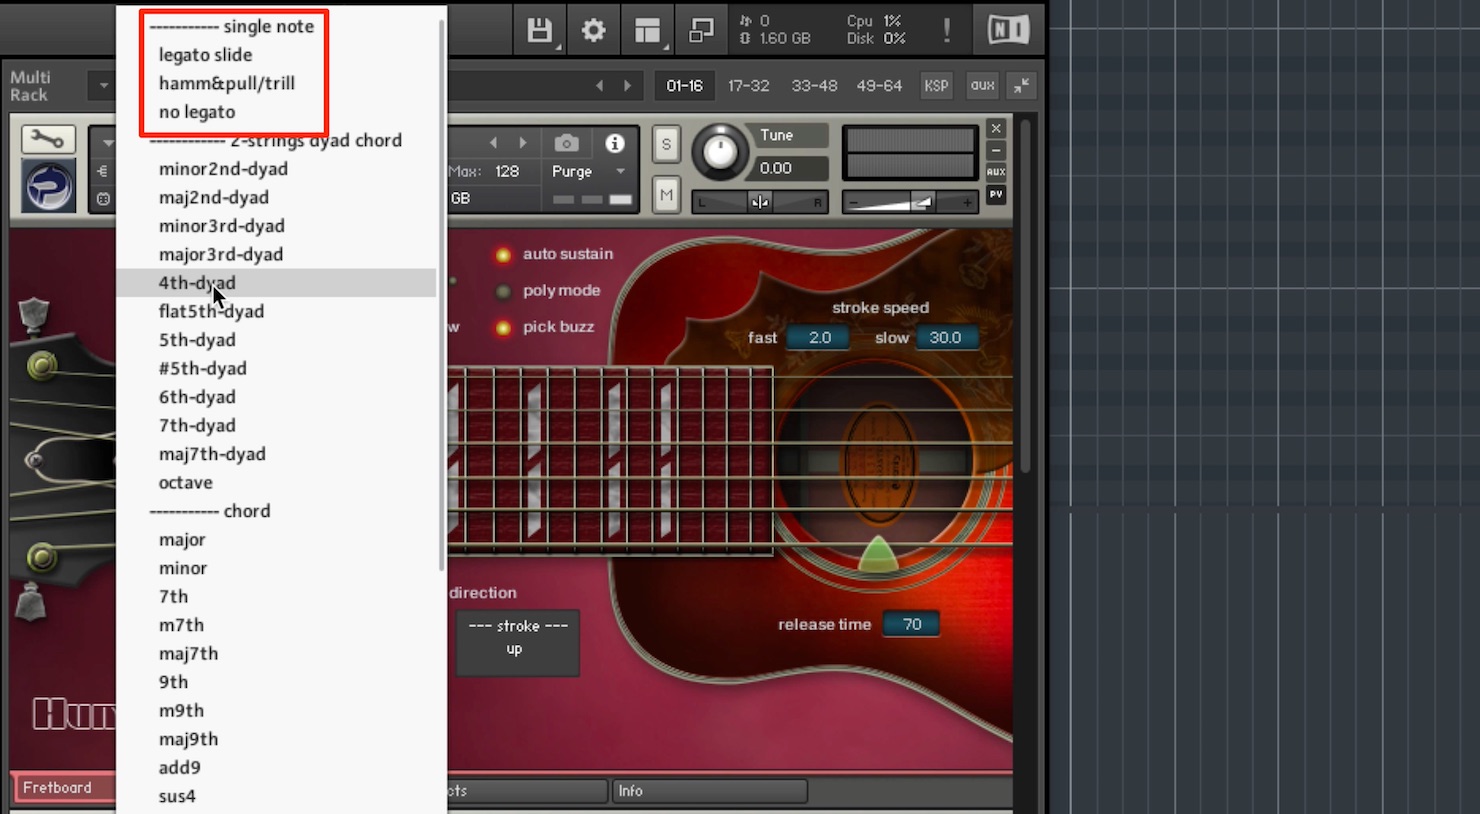
- legato slide: By sequencing a new note while the previous note is still held, you can play legato/slide or hammer-on/pull style articulations
※Using the slide articulation, you can also perform slide up/down and gliss styles. - no legato: When playing a note after another note, the slide articulation won’t occur.
Techniques to achieve realism
By adding noises throughout the performance, you can create a more realistic performance.
In this article, noise refers to fret noise and mute sounds.
Use the 4 key switches of D2・D#2 mute up/down, G#1 “picking noise,” and A1 “muted brush noise,” you can create more realistic performances.
How to use the Hold Key
The key switches for slide-offs are F1・F#1・G1, and are called “Hold Key”s. By releasing a note with the Hold Key held, a finger release noise and fret noise will play, with a slide-off.
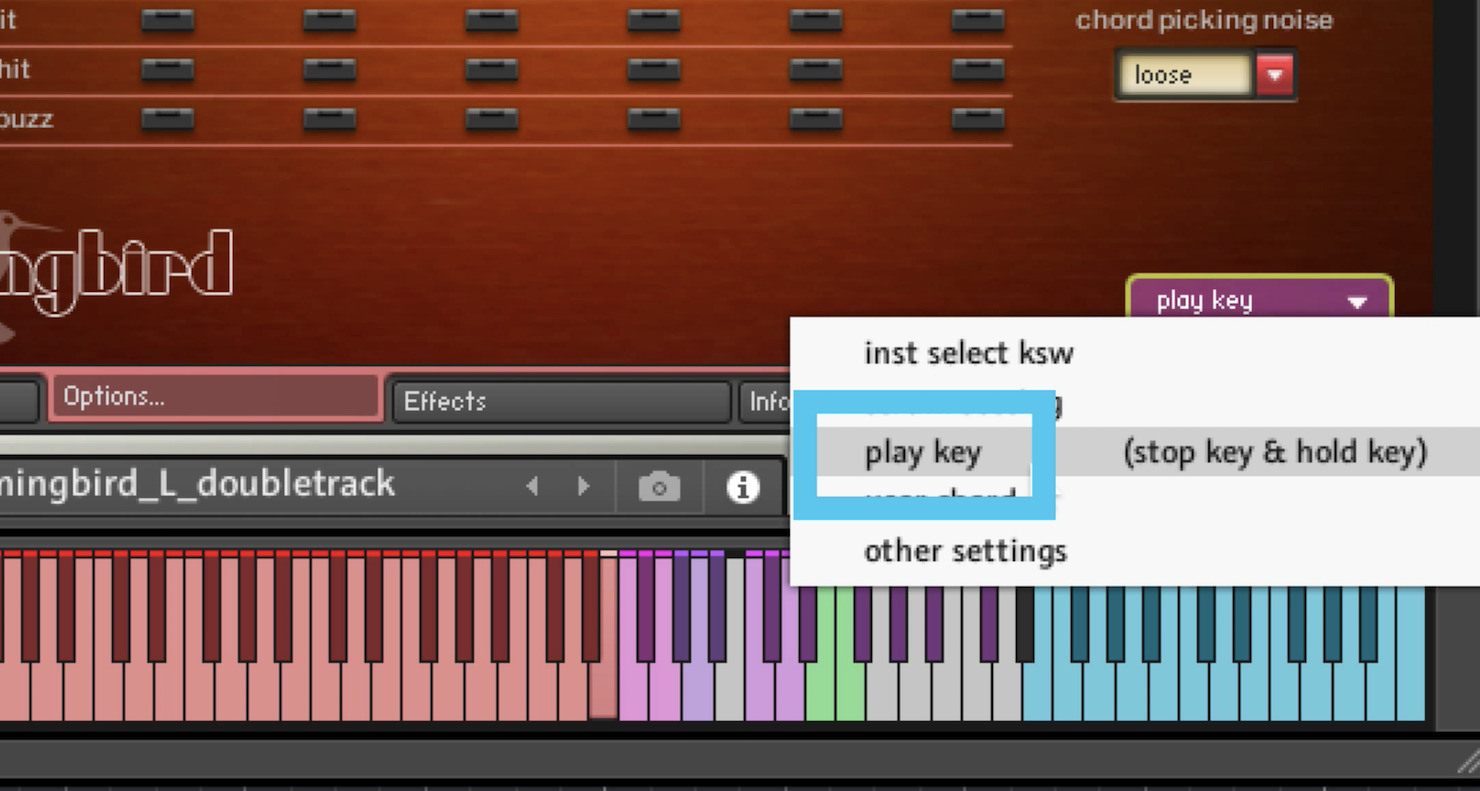
Customizing play keys
Select the Options tab, and select play key from the upper right menu.
A1 has “muted brush noise” assigned to it with an orange “on” light.

Click on it to turn it off, and when A1 is played there will be no sound.
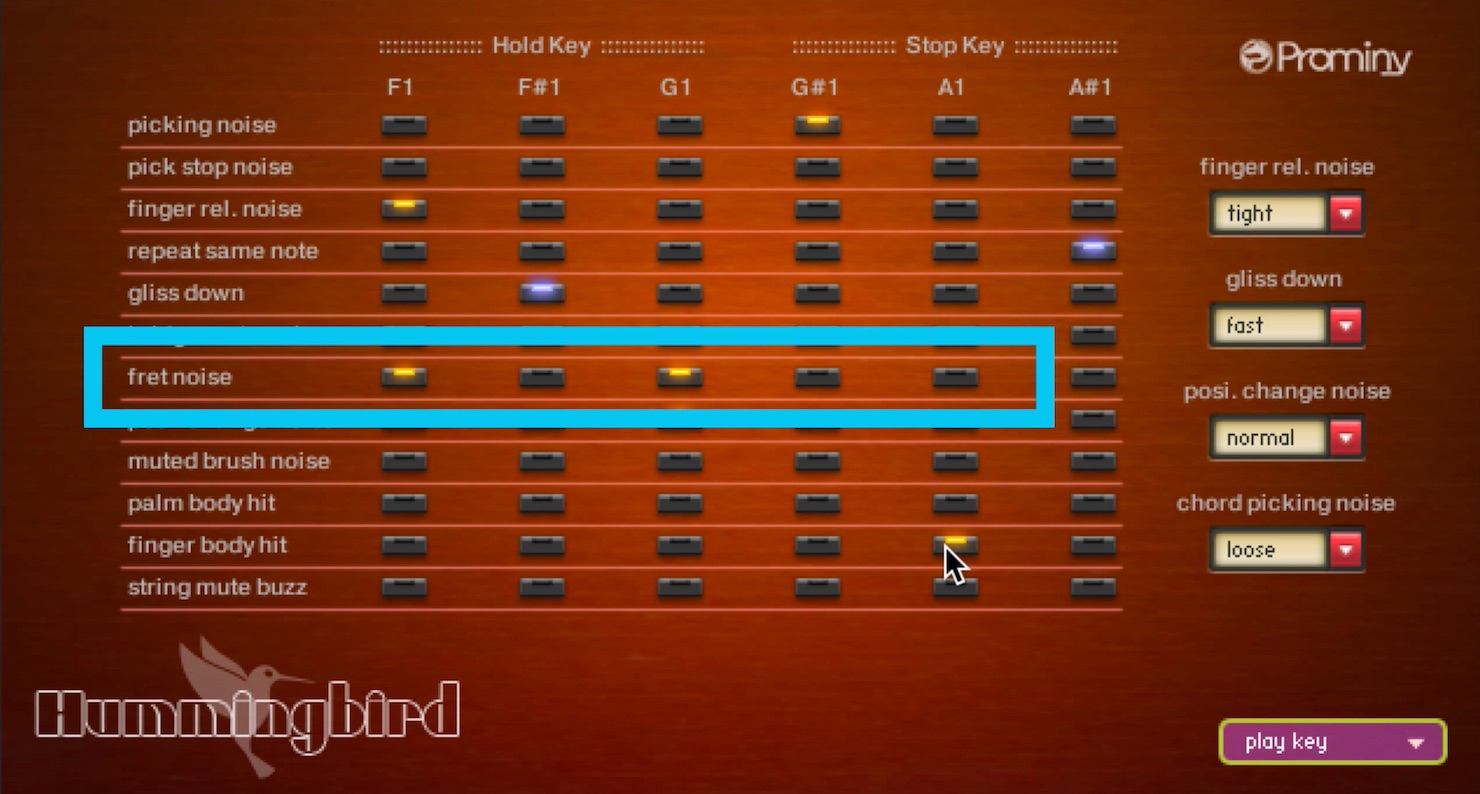
Noise assignment can become overlapped, and when “fret noise” is on, both body hit sounds and fret noises will be mixed together.
Noises can be customized from F1 to A#1, allowing you to add the sounds you want to create realistic sounds.
Using Effects to add sound variation
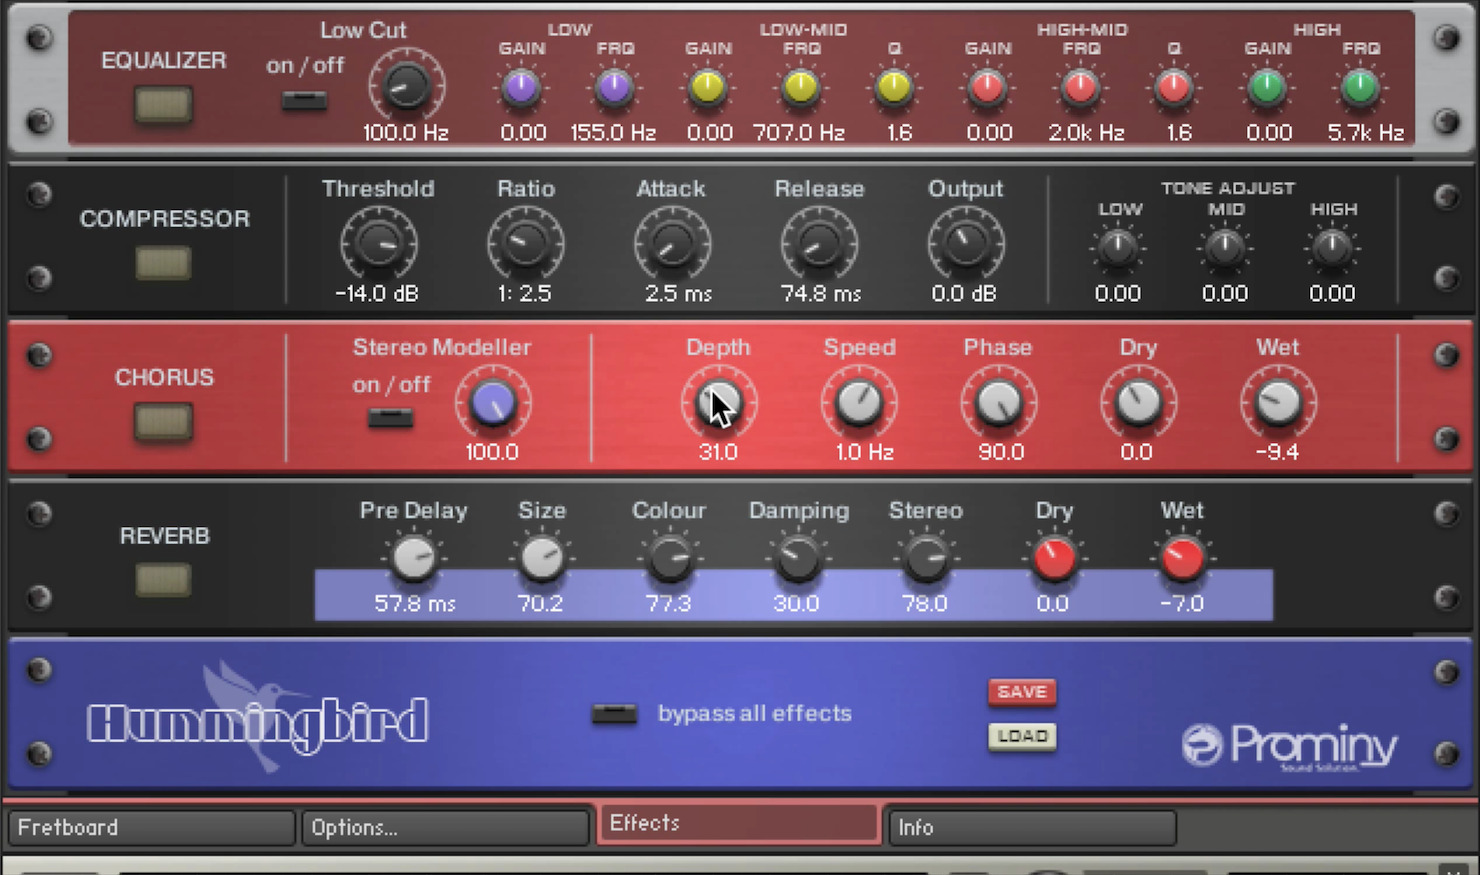
You can turn ON/OFF Effects from the rack type layout, starting from the top with equalizer, compressor, chorus, and reverb, and although many individuals do most edits on their DAW, perhaps it’s worth trying out the built in EQ and comps within hummingbird.
You might find new and undiscovered sounds.
Prominy Hummingbird – Arpeggio tutorial
Article Writer

Daisuke Ito:Song Writer
Twitter Sleepfreaks ID : @k5_stud1o
Twitter K5-STUDIO ID : @k5_studi0


New articles
-

iZotope RX 7 Tutorial ③ Removing Noise, Reverb, and Clipping
Mixing plugins -

iZotope RX 7 Tutorial ② Removing Breath and Various Noise
Mixing plugins -

Clean Up Noise with iZotope RX 7 – Tutorial ① Basics
Mixing plugins -

reFX Nexus 3 Tutorial – New Features 2
Software Synths : How to use -

Testing the Strength of a 28 core “MacPro” for Computer Music
Music hardware/software introduction -

NEUTRINO Tutorial – Revolutionary Vocal Service Using AI
Software Synths : How to use