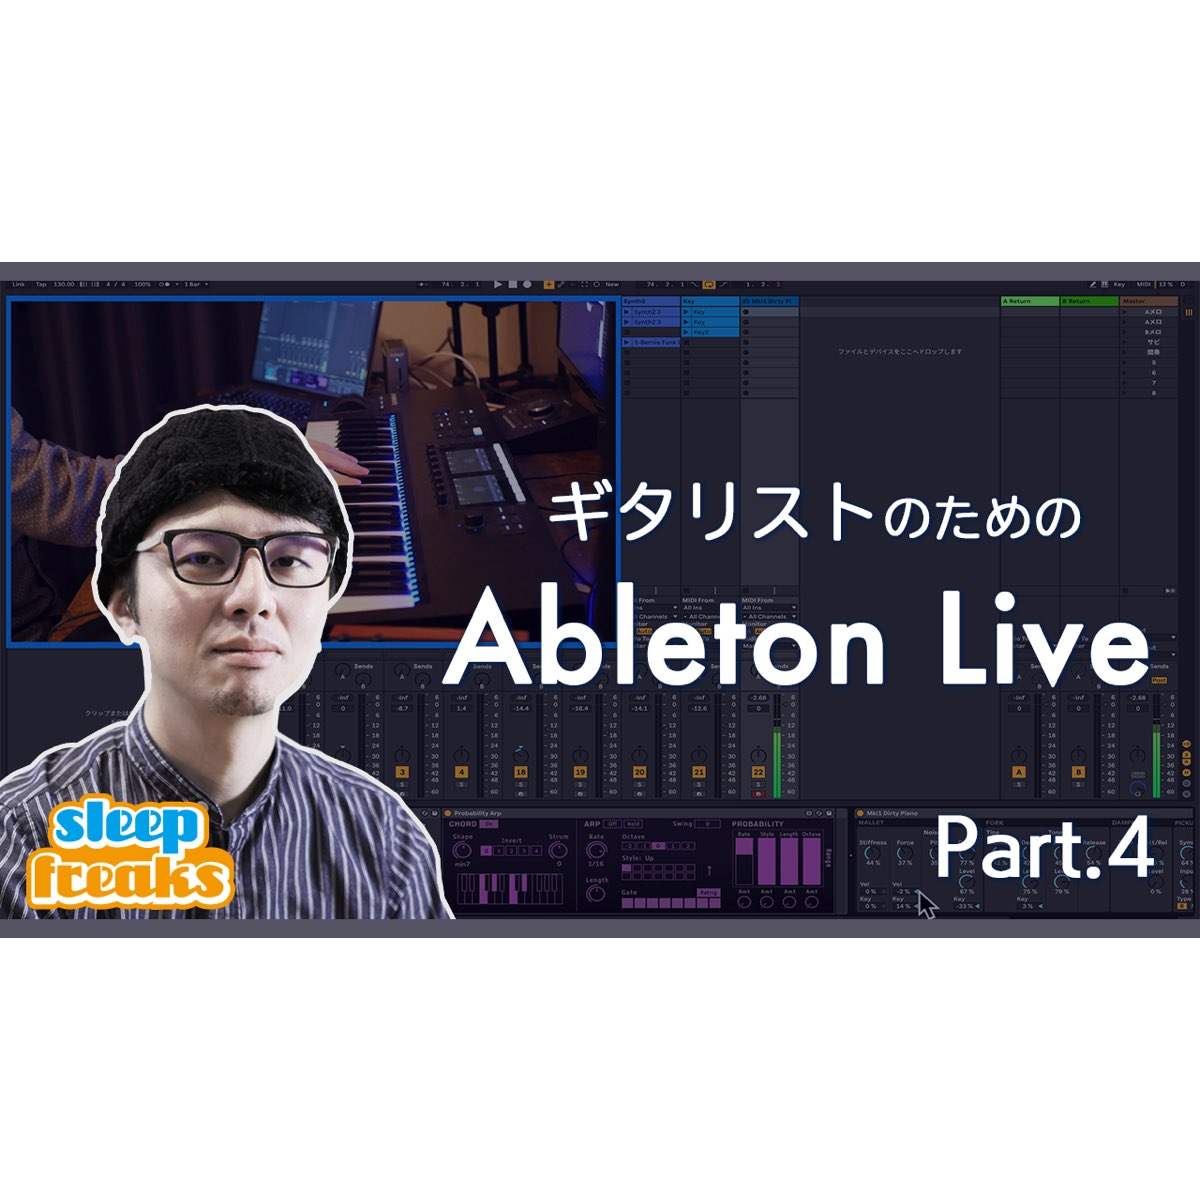
Arranging and editing clips in Ableton Live's Arrangement View is an efficient way to build a song's structure. This article explains the basic operations: moving, copying, splitting, consolidating, and deleting clips. These skills help even beginners build more complex arrangements, and the modifier-key copying method on Mac and Windows can be applied to many editing tasks.
Build an arrangement by placing clips
An advantage of Arrangement View is
that you can place clips wherever you want.
Arrange clips along the bars to shape the structure of your song.
Here we'll explain how to work with clips in Arrangement View.
Live 25: Cutting, pasting, and looping clips
Product details

Moving clips
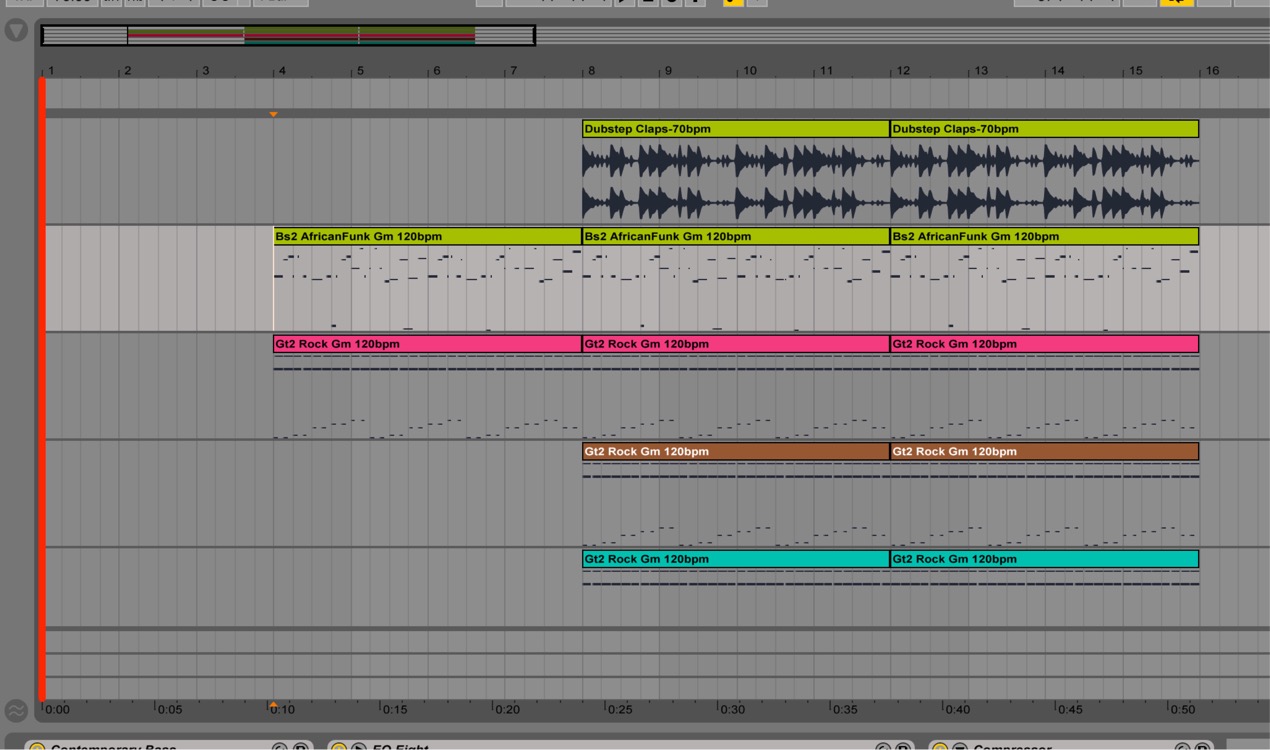
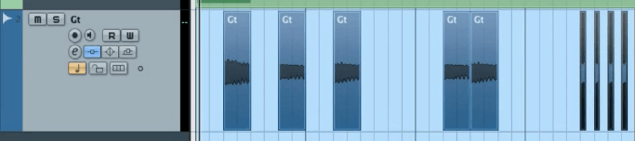
Above are clips brought in from Session View.
We want them to play from bar 1, but they are a few bars out of position.
Move the clips to the desired location.
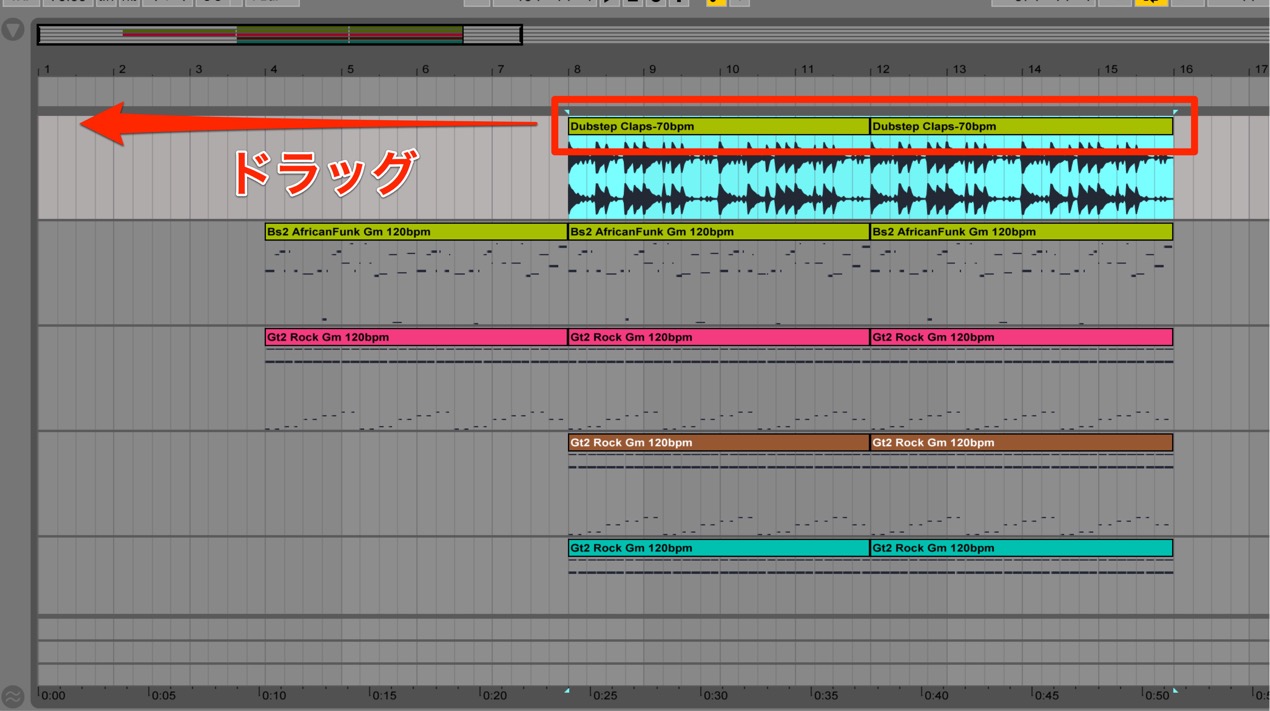
Select the clip's name area
and drag it to the desired location.
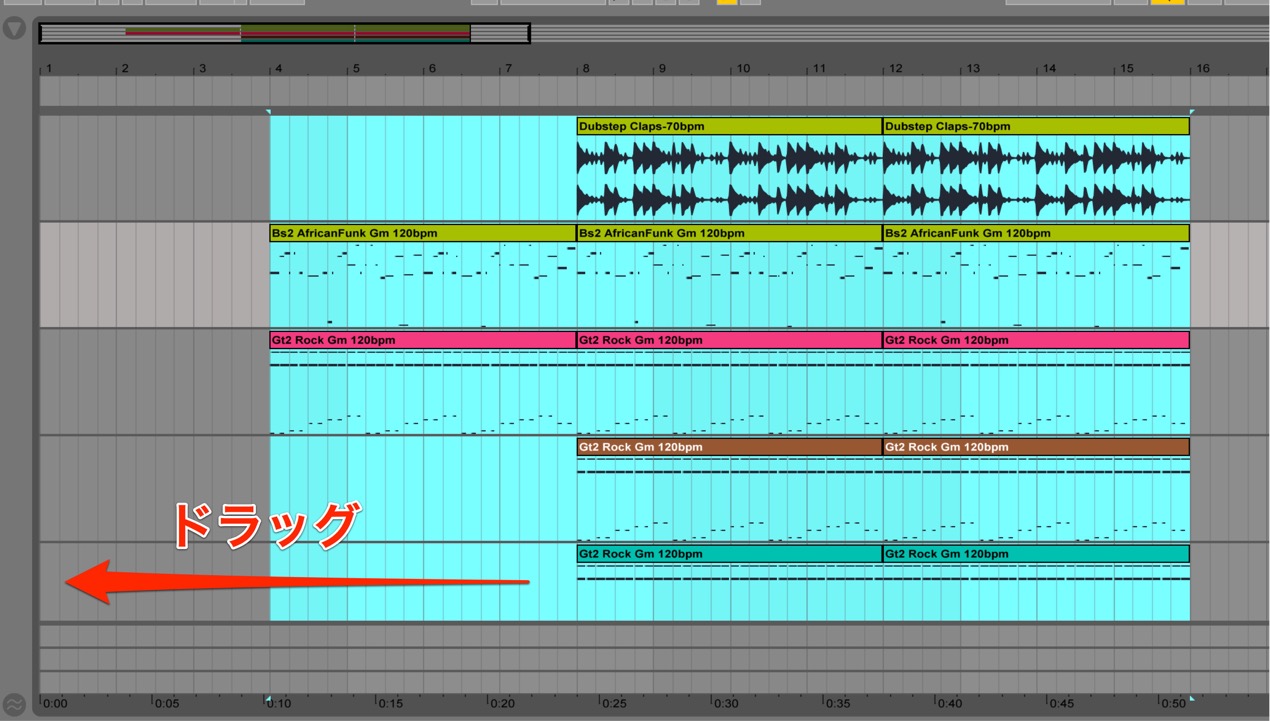
Select clips while holding Shift to select multiple clips,
then move or edit them together.
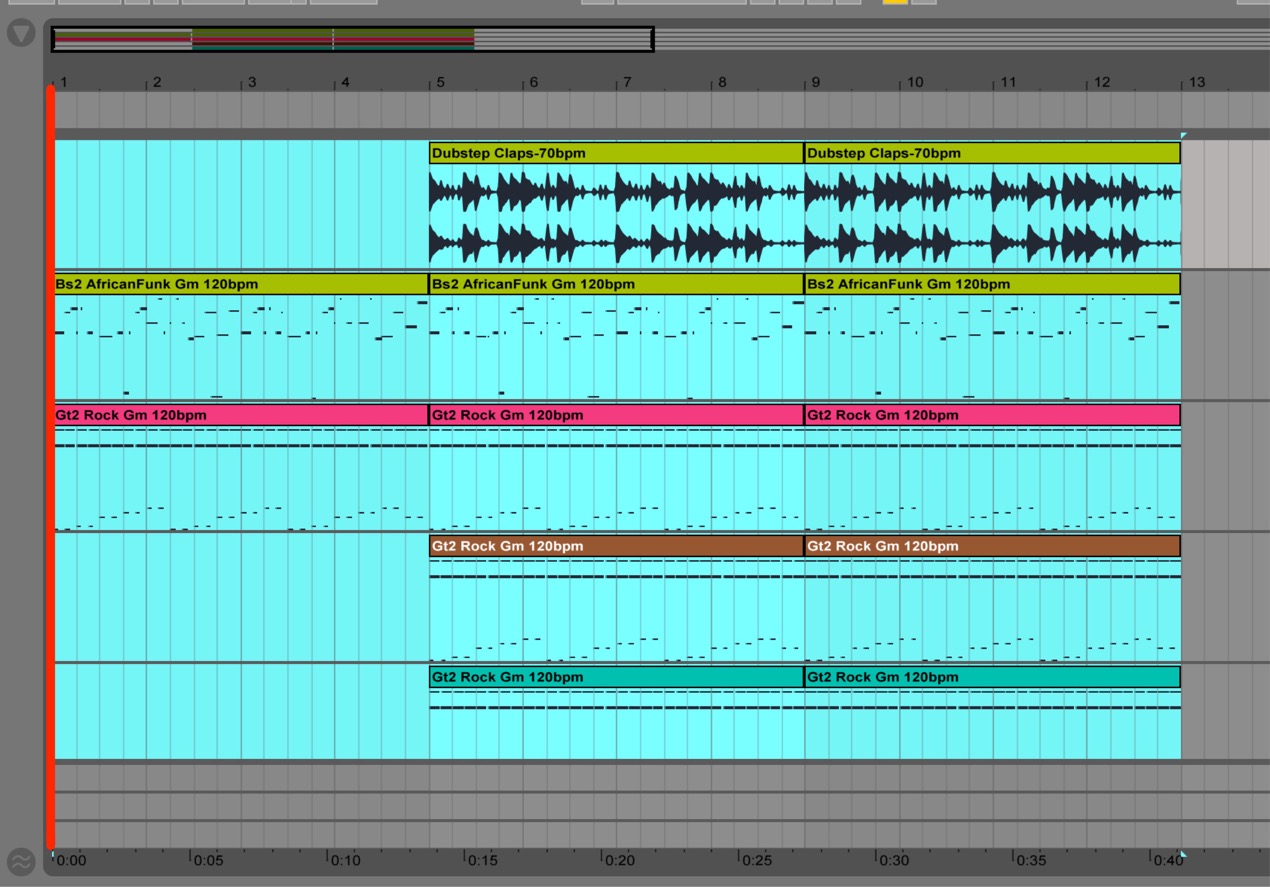
The clips have now been moved.
Copying clips
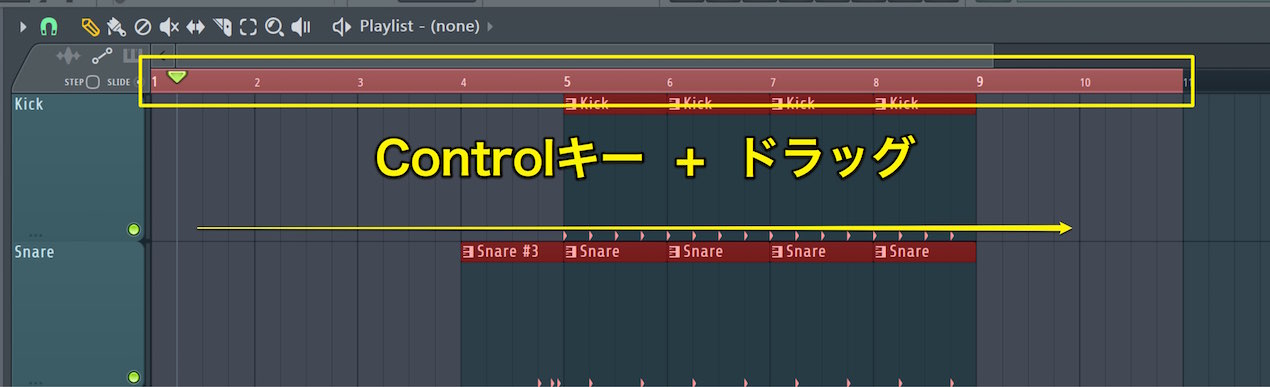
To create a new arrangement, let's copy bars 5–13.
This is also very simple.
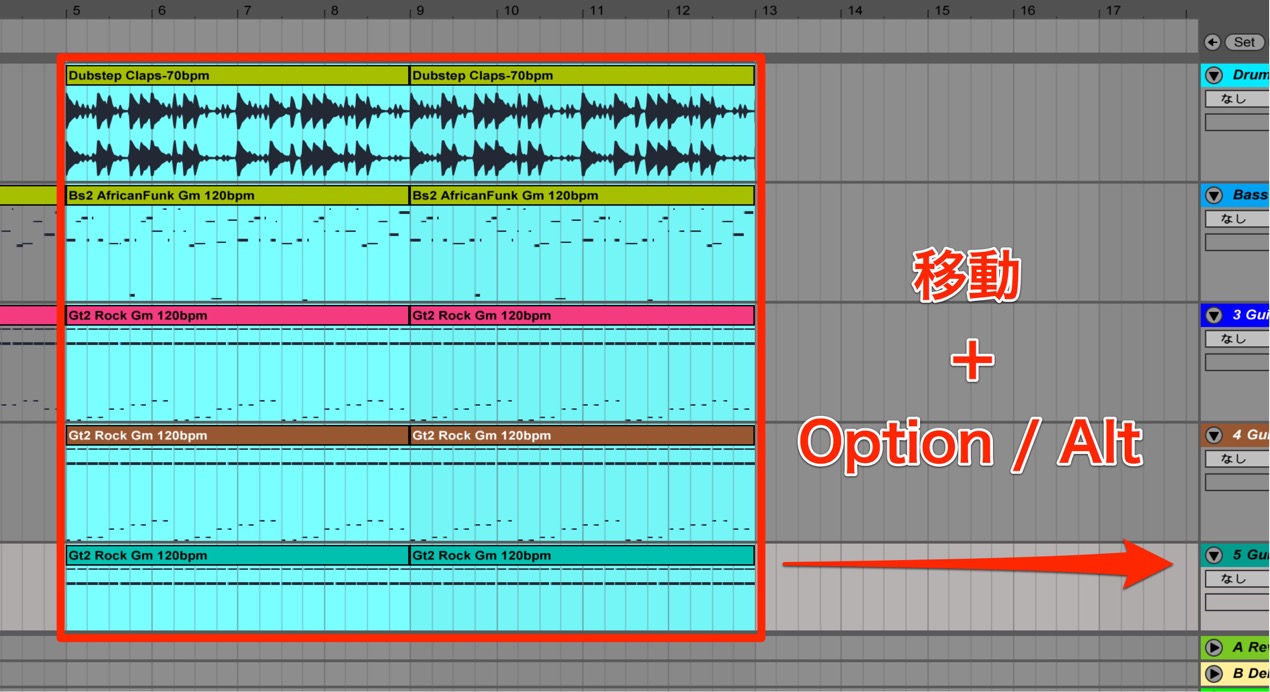
Use the same drag operation as above while holding:
- Mac: Option
- Windows: Control
Hold the appropriate key while dragging.
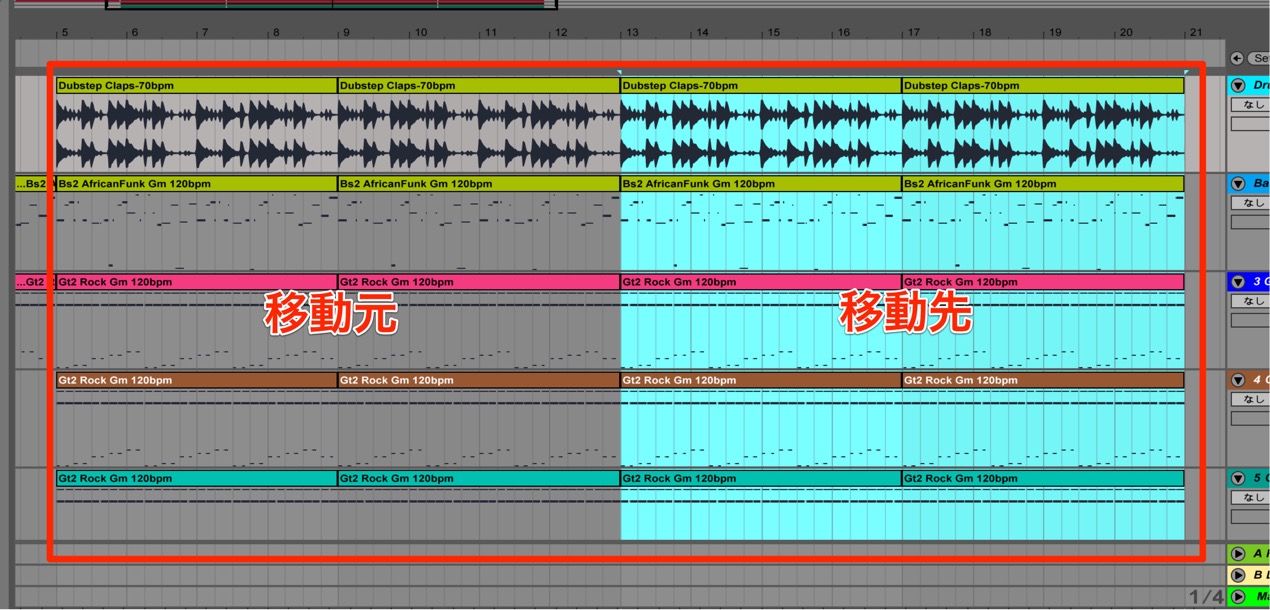
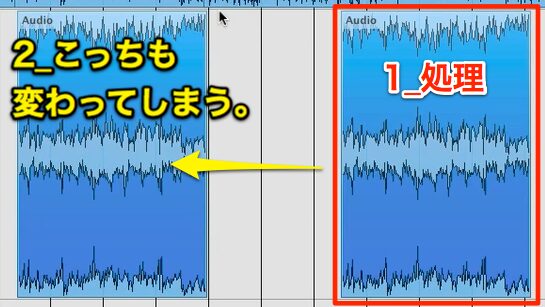
The original clip stays in place,
and a copy appears at the destination.
This copying method is useful in many editing operations,
so it's worth learning here.
Splitting clips
You may often want to split a clip in two
and move or copy one part.
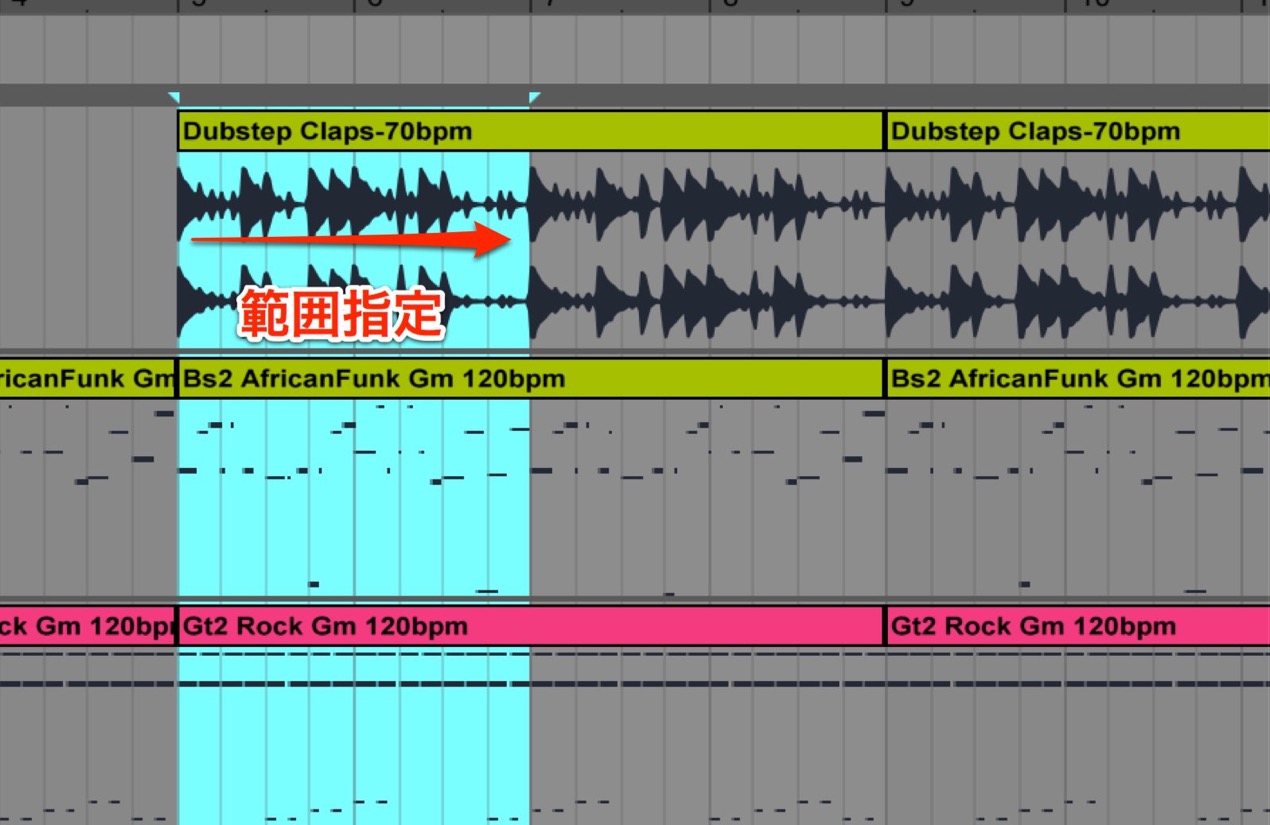
Drag to select the range you want to split.
When doing so, drag anywhere except the clip's name area.
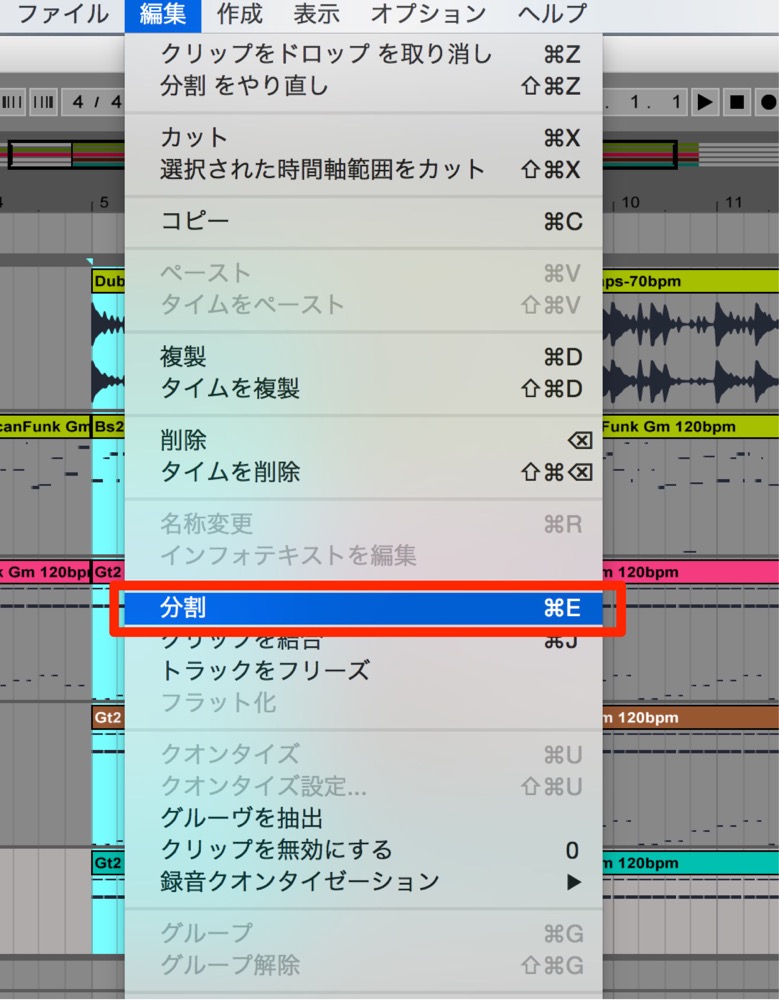
In the top menu, choose Edit → Split.
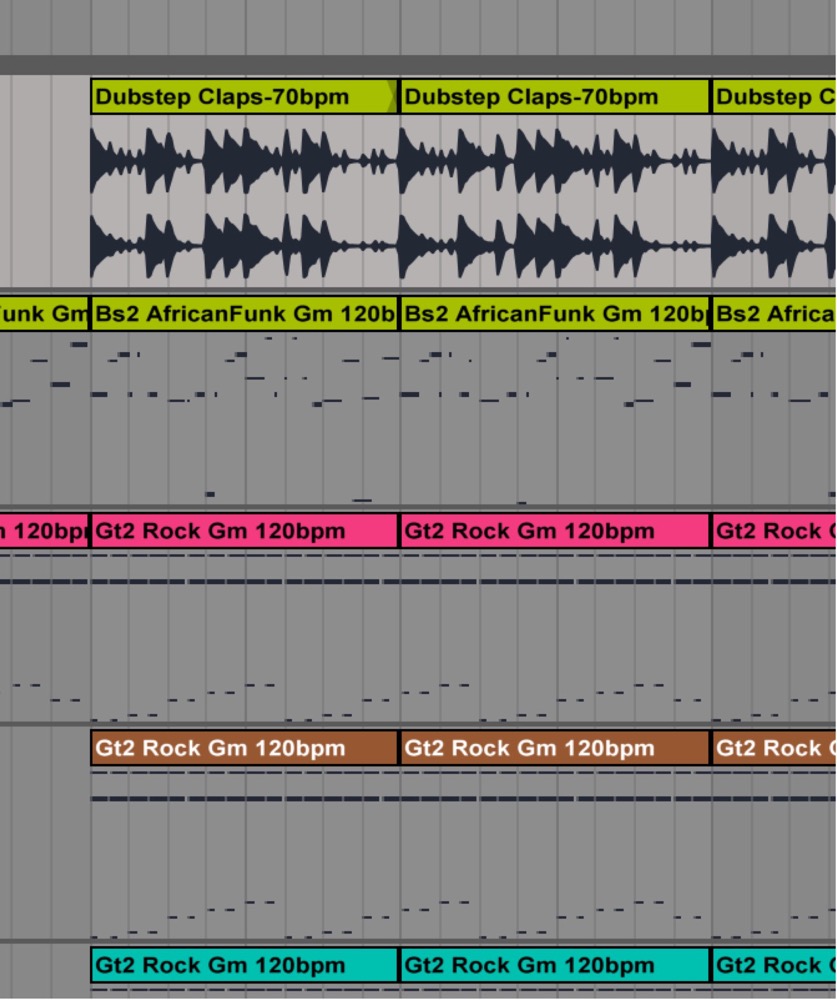
The clip is split at the boundaries of the selection.
Consolidating clips
The opposite operation combines multiple clips into one.
This makes operations such as moving and copying much easier.
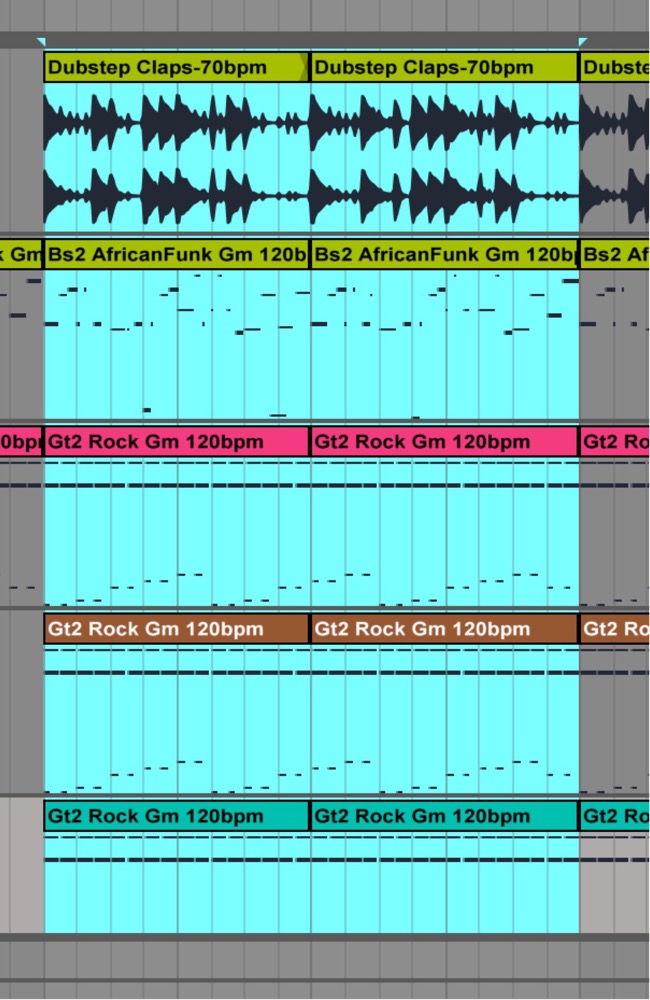
Select the clips you want to combine.
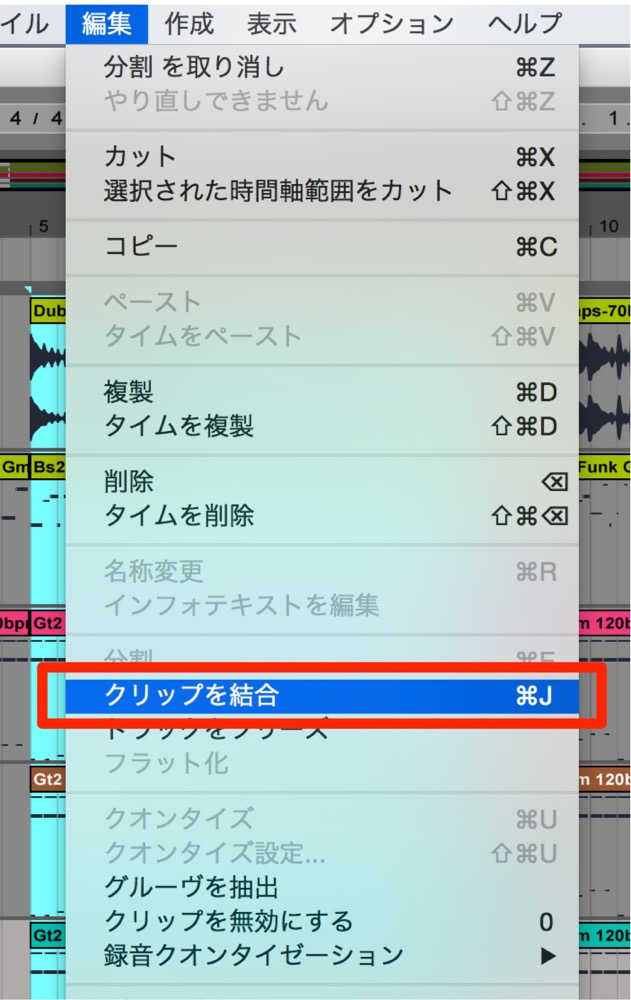
In the top menu, choose Edit → Consolidate.
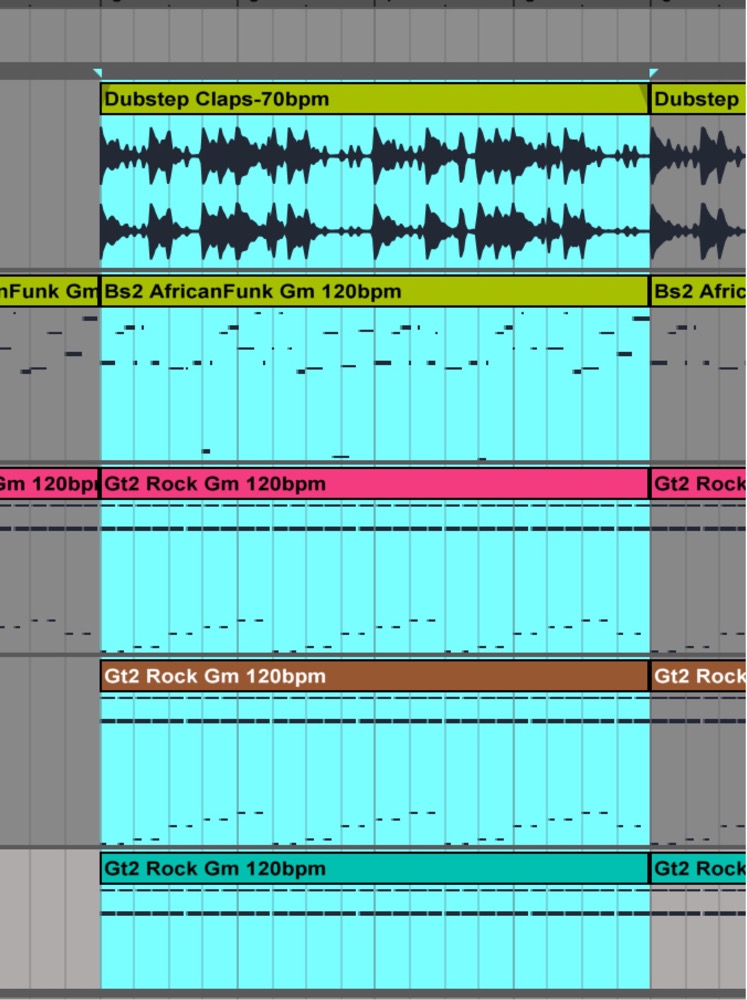
The clips are combined into one clip, as shown.
Deleting clips
You can remove clips you no longer need.
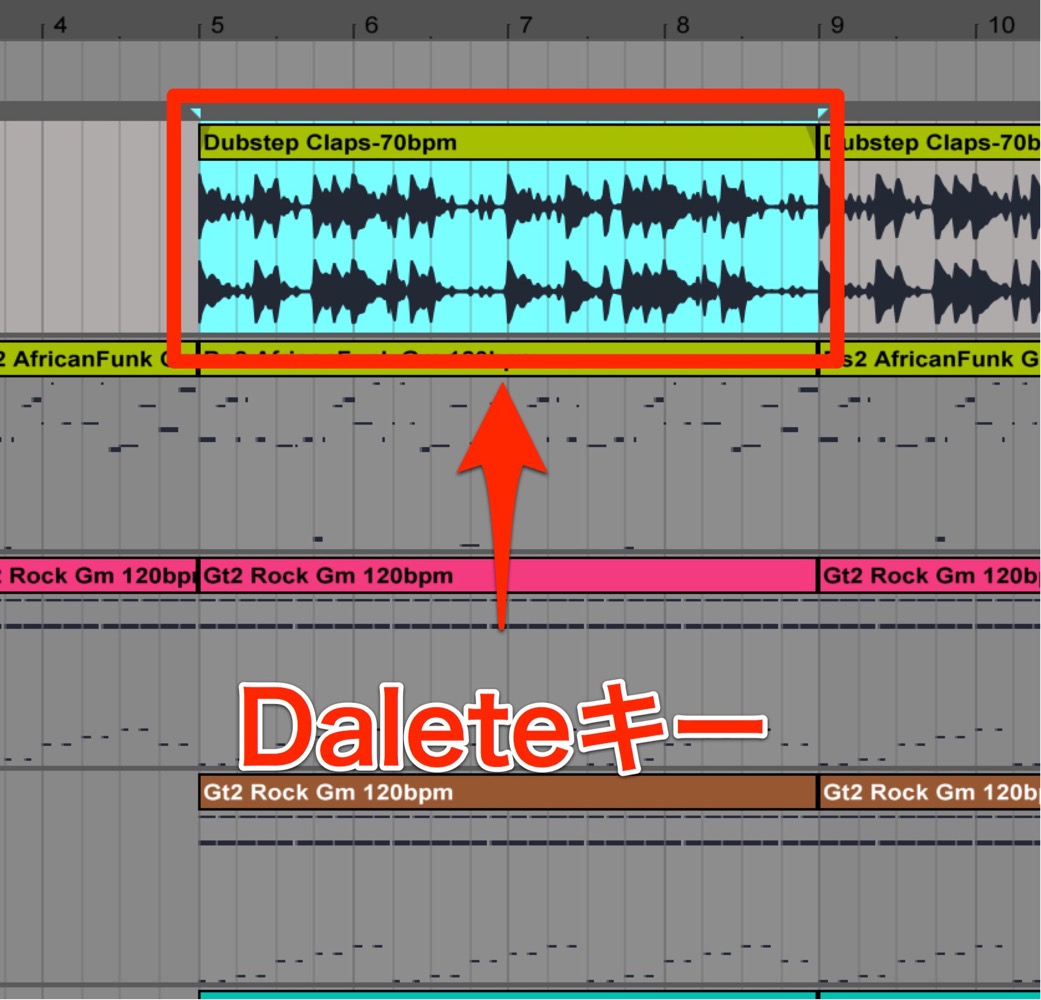
Simply select a clip and press Delete.
You can also
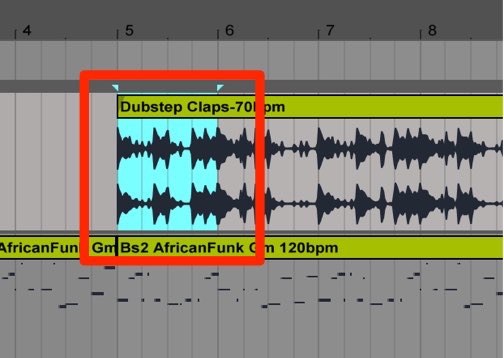
select a range within a clip and press Delete
to remove just that portion.
Frequently asked questions
Q1. Which modifier key copies a clip in Ableton Live?
Hold Option on Mac or Control on Windows while dragging the clip. The original remains in place and a copy appears at the destination, making it easy to extend an arrangement.
Q2. Can I delete just one part of a clip after splitting it?
Yes. Select the portion you want to remove and press Delete. Together with consolidation, this allows more detailed editing.
Q3. How can I move or edit several clips at once?
Hold Shift while selecting multiple clips, then move or edit them together. This can make rearranging a song much more efficient.
NEW ARTICLES
Latest English Articles