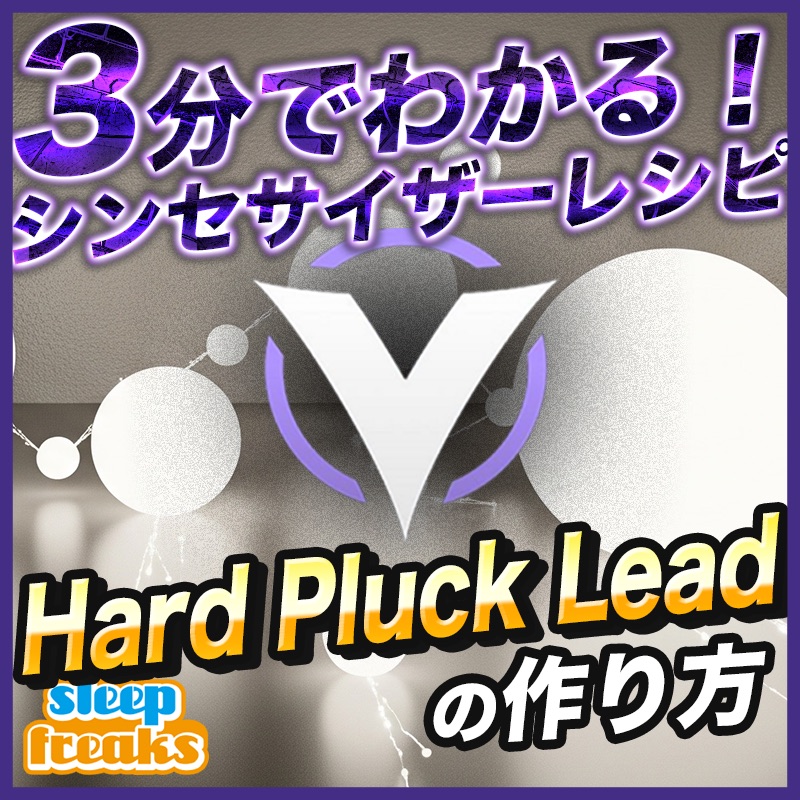
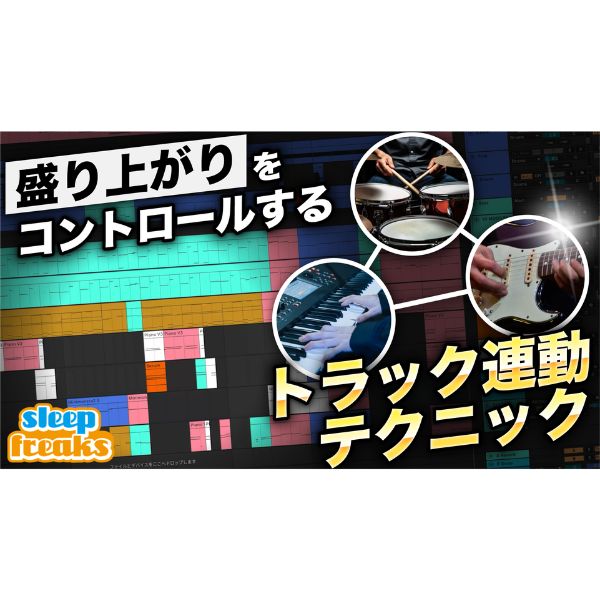
Controlling ADSR to build excitement as a track develops is a common technique in EDM. This article covers practical steps, from selecting an oscillator waveform and setting the initial ADSR parameters to creating gradual sound changes with DAW automation. Extending Attack, Decay and Release over time, together with effects such as reverb and filters, opens up a range of dynamic sound-design possibilities.
Create a Buildup as the Track Develops
This is a classic technique used frequently in EDM.
It sounds cool every time you hear it!
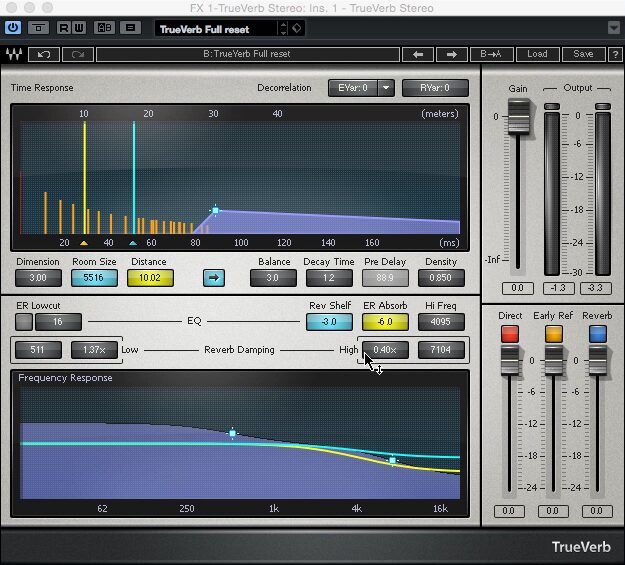
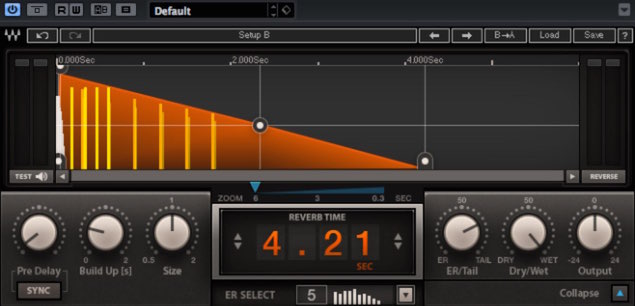
You can also raise the volume or deepen the reverb as the track develops.
There are many variations to explore.
How to Create the Sound
Questions and Answers from the YouTube Video

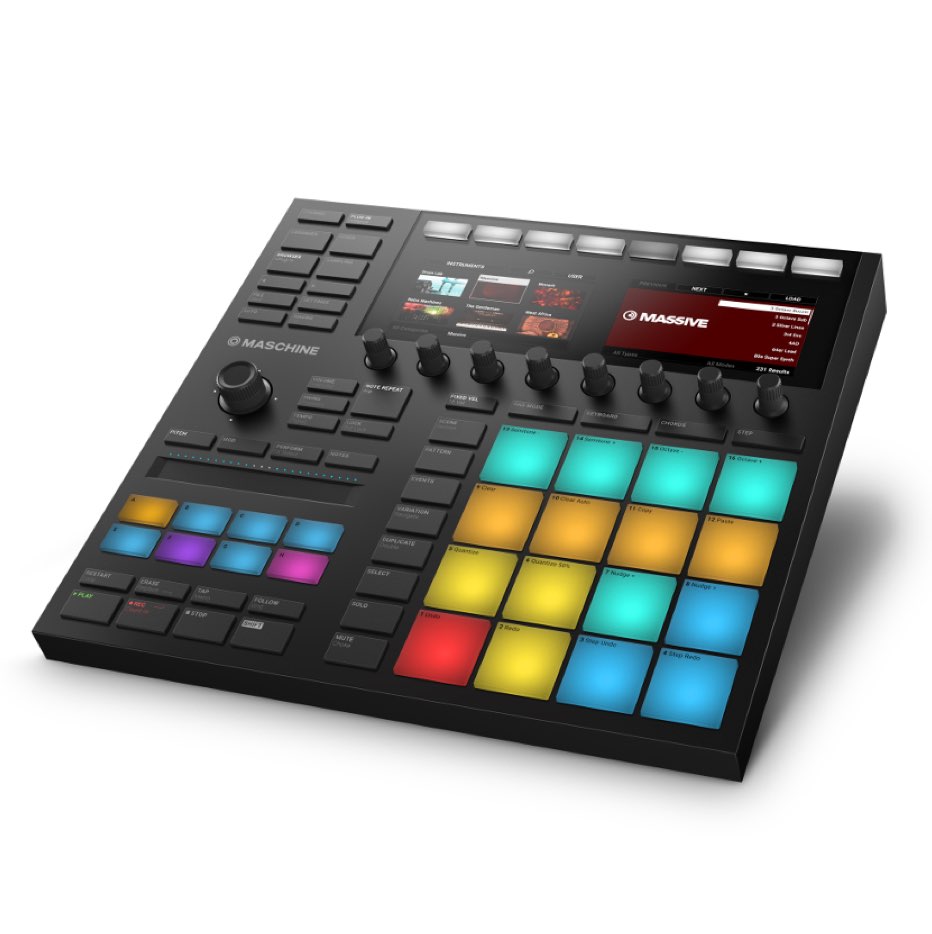
I use MASCHINE 2.0 as my DAW, but I’m not sure how to work with MASSIVE, including how to write automation. What should I do?

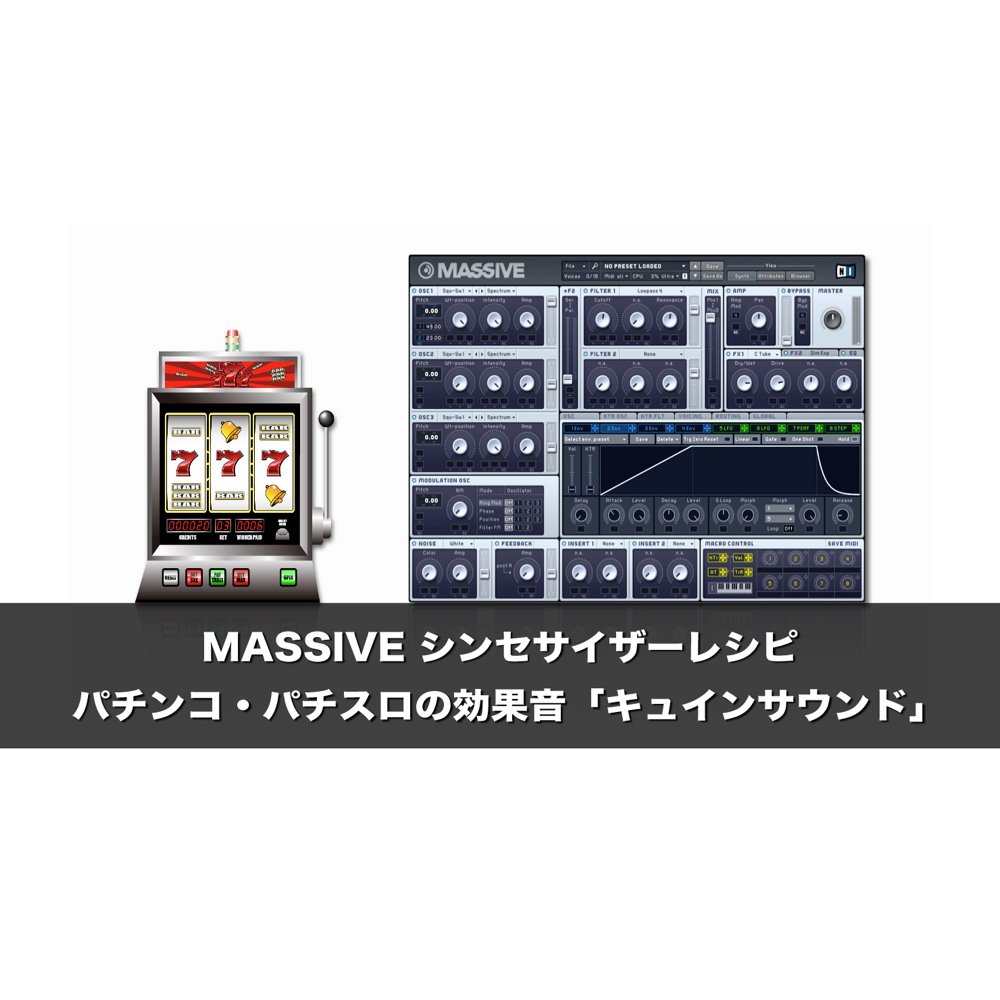
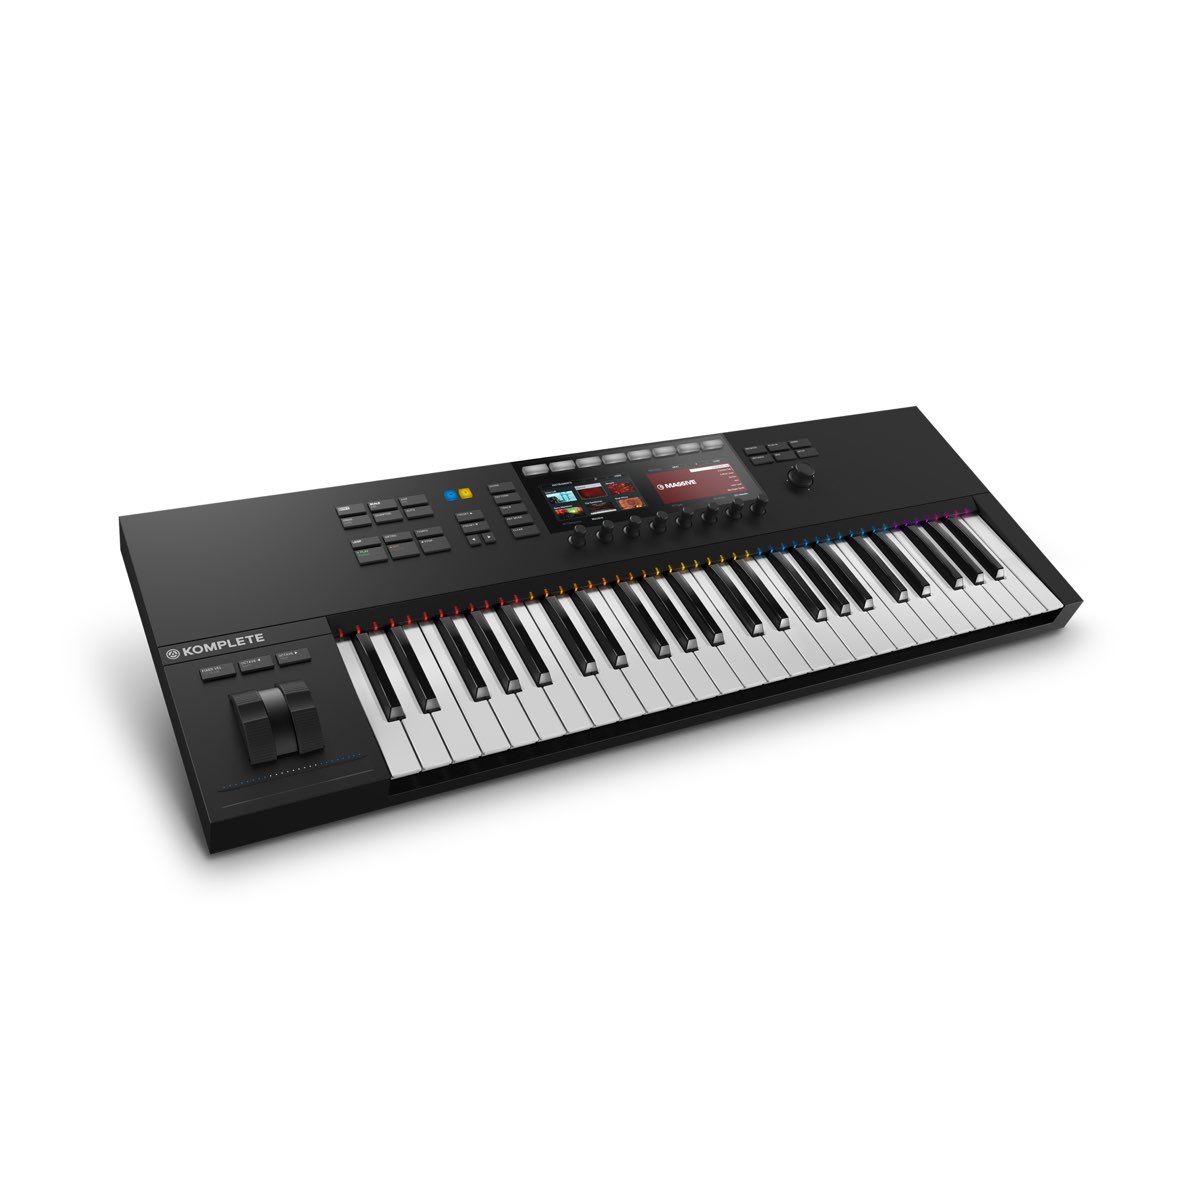
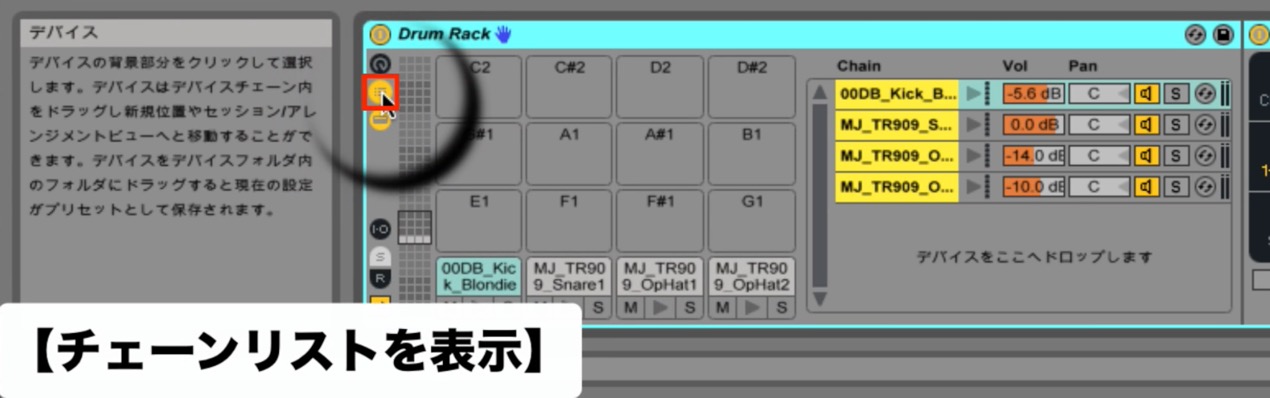
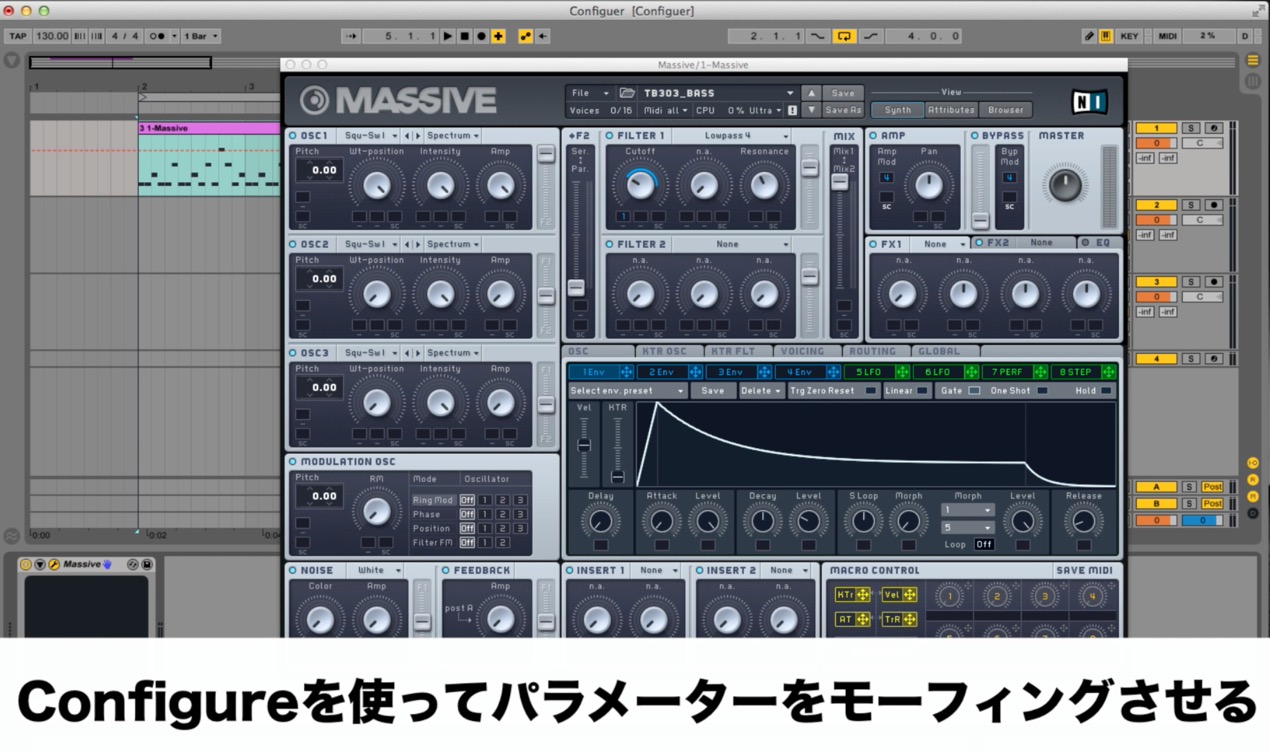
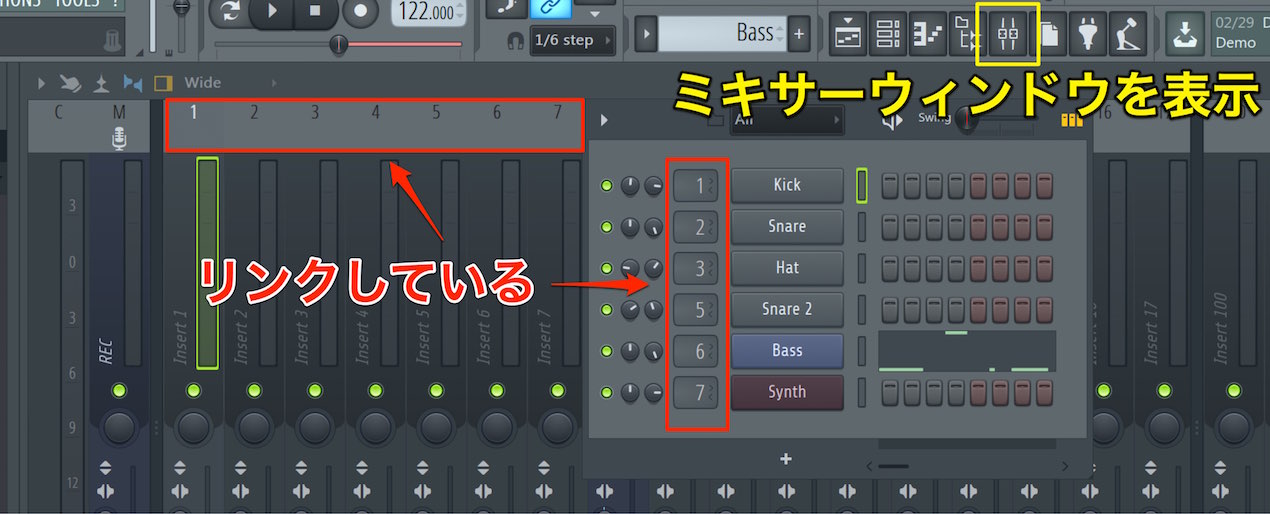
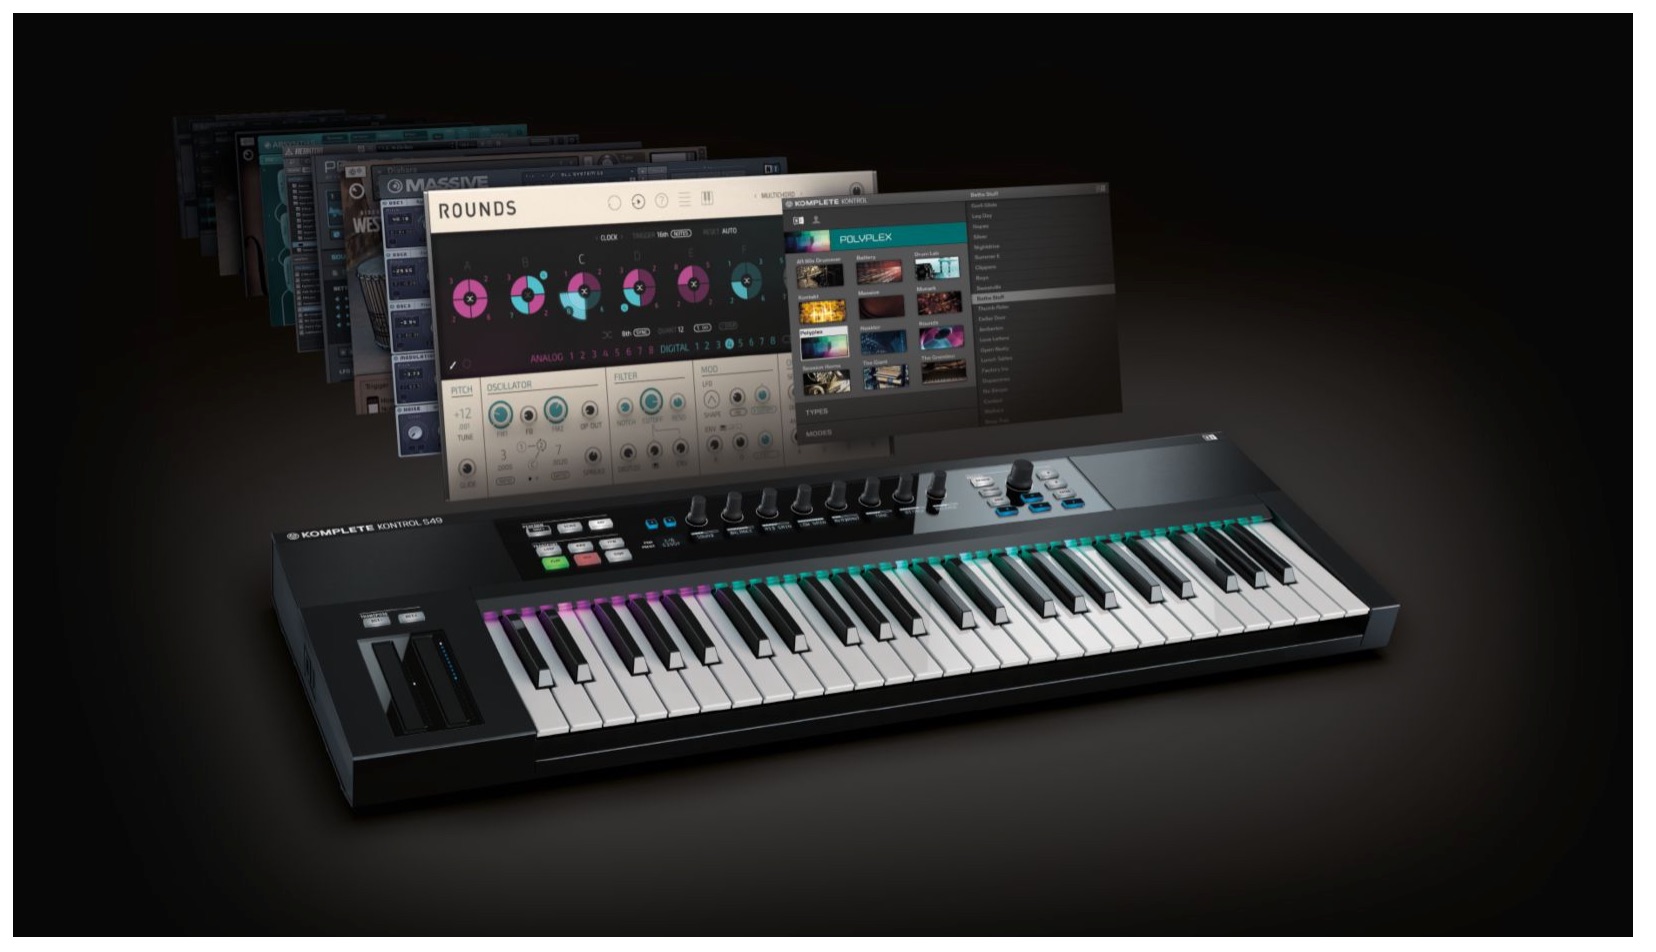
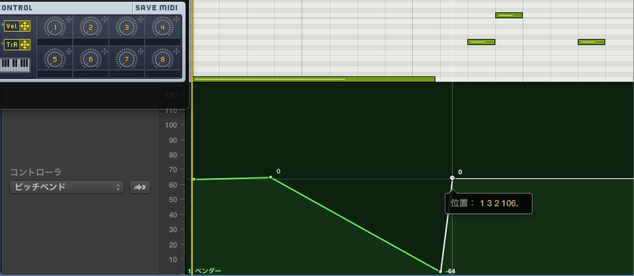
When you open MASSIVE inside MASCHINE 2 as shown here, its parameters are assigned to the knobs. https://app.box.com/s/j03wu6w9nn3s6ow2hxvdj3qzfj71wb8h You can then record automation as shown in the video below. https://youtu.be/6eqzYWEDlgQ
Can I use this knowledge to make J-pop or rock using only synthesizers?
For guitar, play a real instrument or use dedicated guitar software. If you want the sound of electric bass or acoustic drums, those sounds are also difficult to reproduce with a synthesizer like this.
Three seconds in, I stopped understanding what was being said.
Please take a look at this synthesizer tutorial series. Learning the basics should help you understand it. https://sleepfreaks-dtm.com/category/synth-basic/
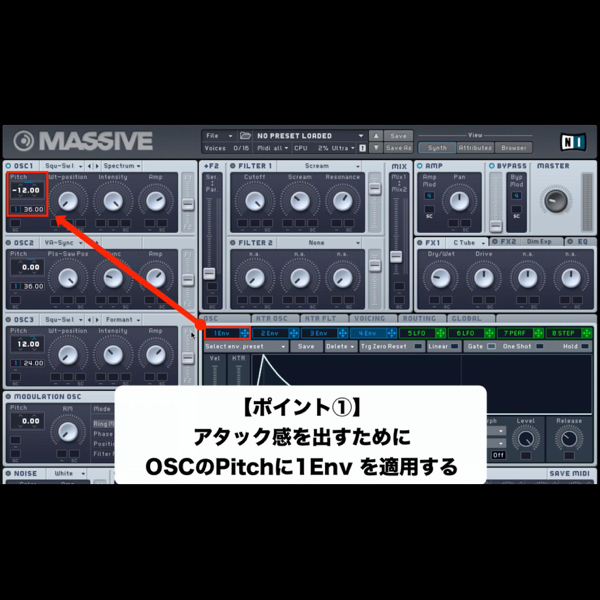
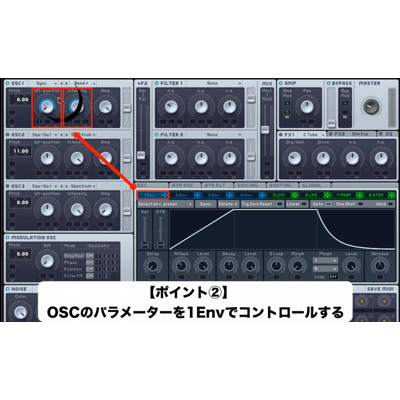
Oscillator Settings
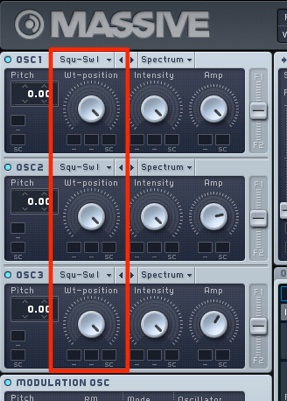
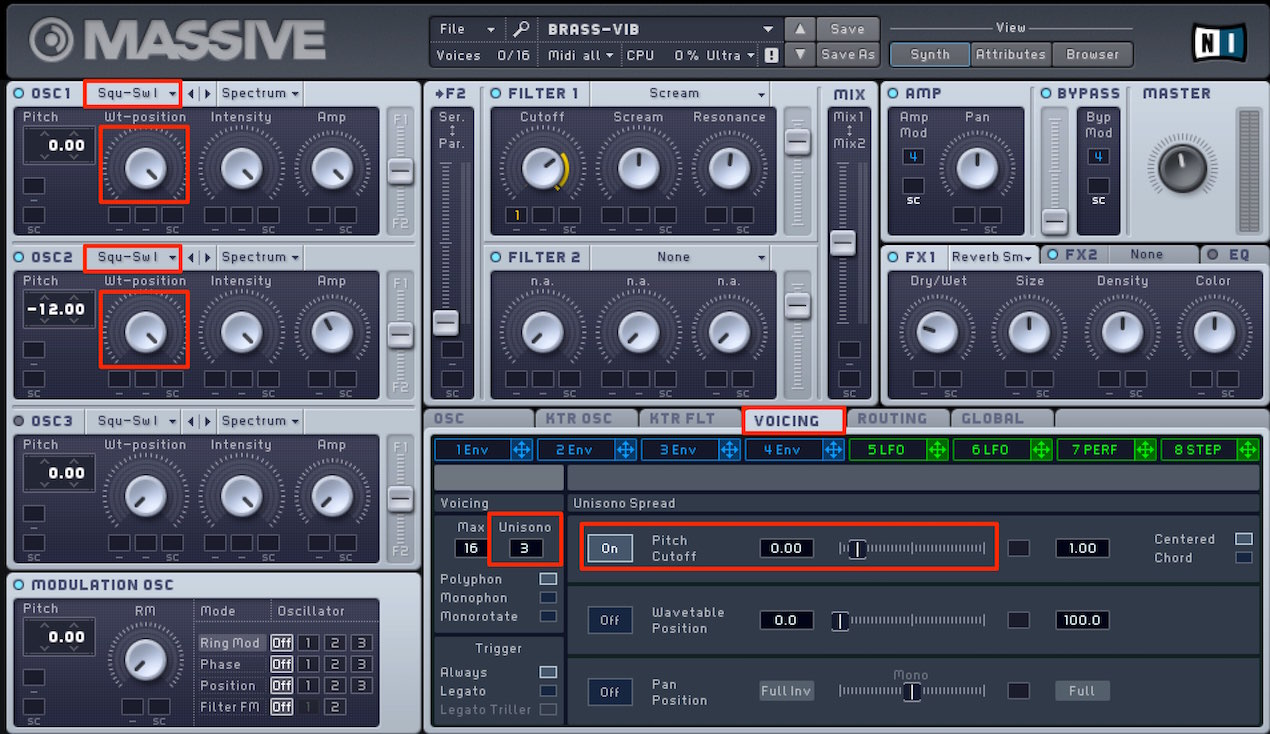
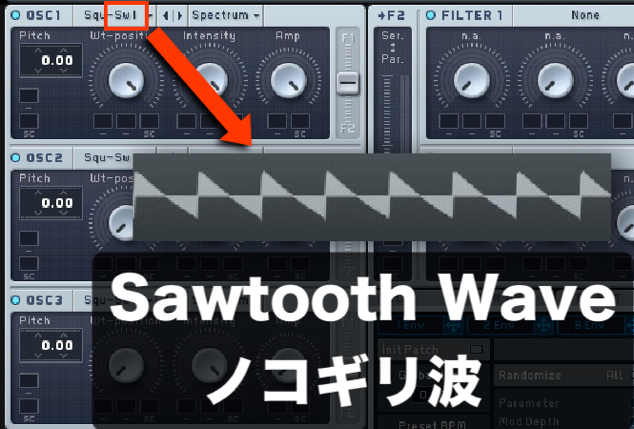
We recommend a prominent sawtooth waveform for the oscillator so the effect is easy to hear.
Of course, it is worth trying different waveforms too.
ADSR Settings
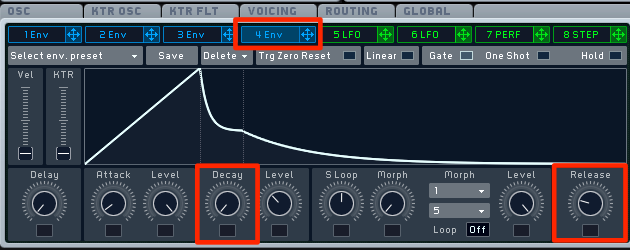
Since the sound will gradually become longer,
start by setting it up to be short.
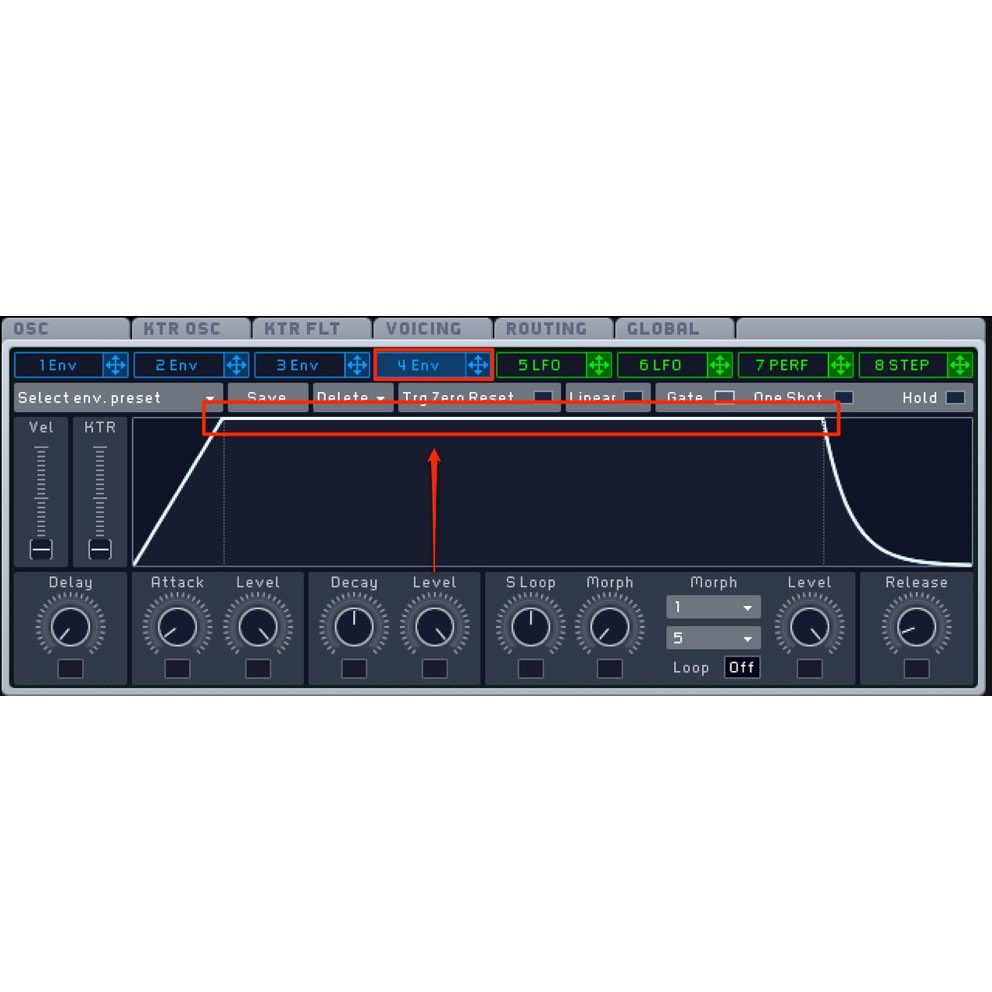
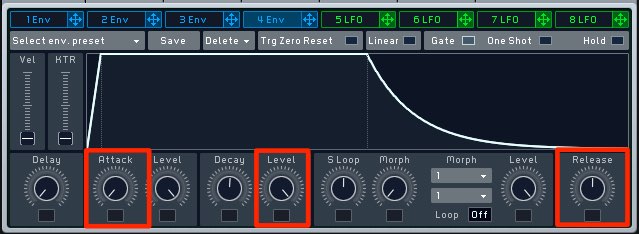
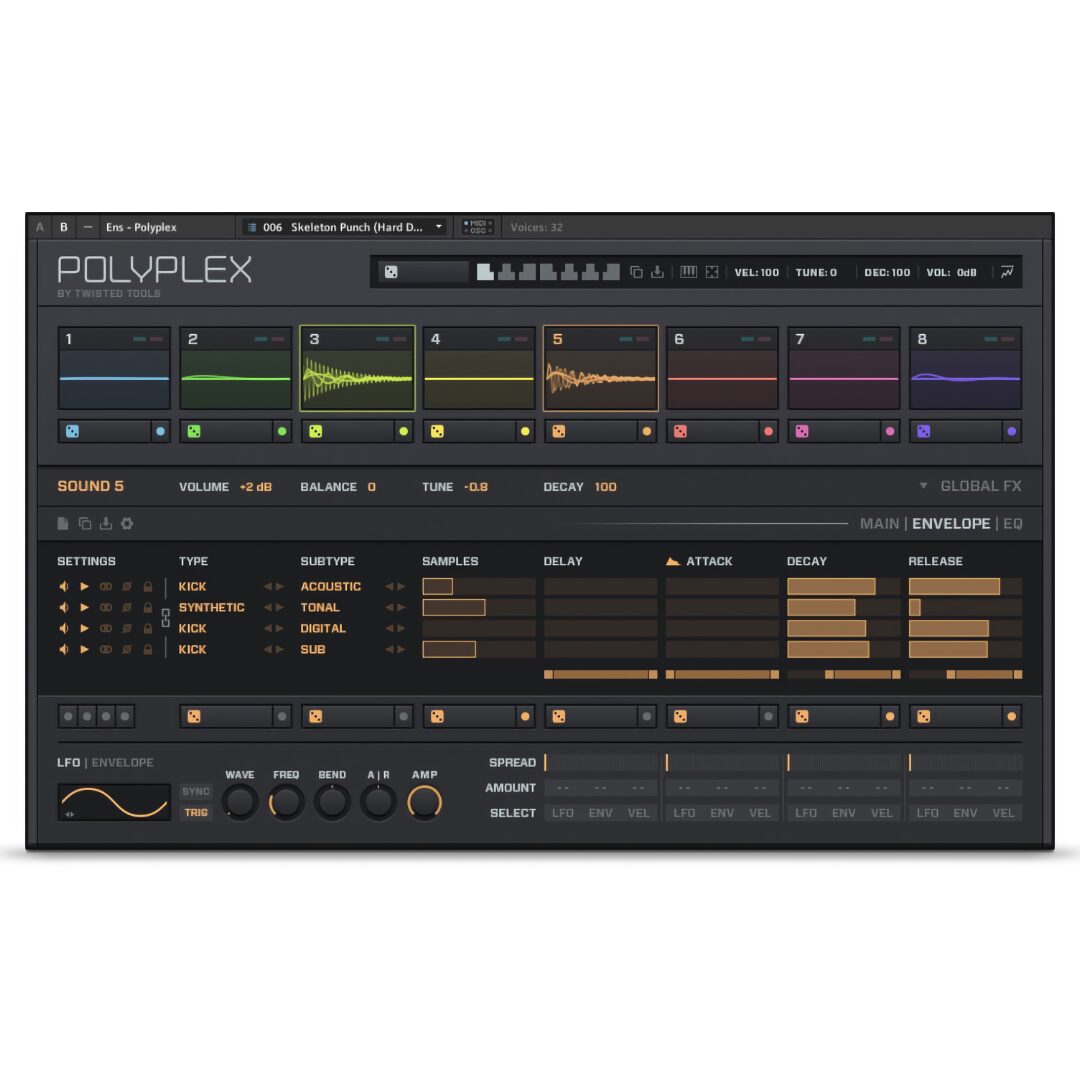
- Attack: short, so the sound starts immediately
- Decay: short, so the sound falls away quickly
- Sustain (Level): low, so changes in Decay are easier to hear
- Release: short, so the sound does not linger
Automation
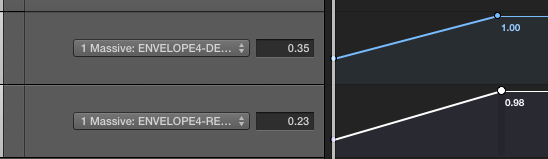
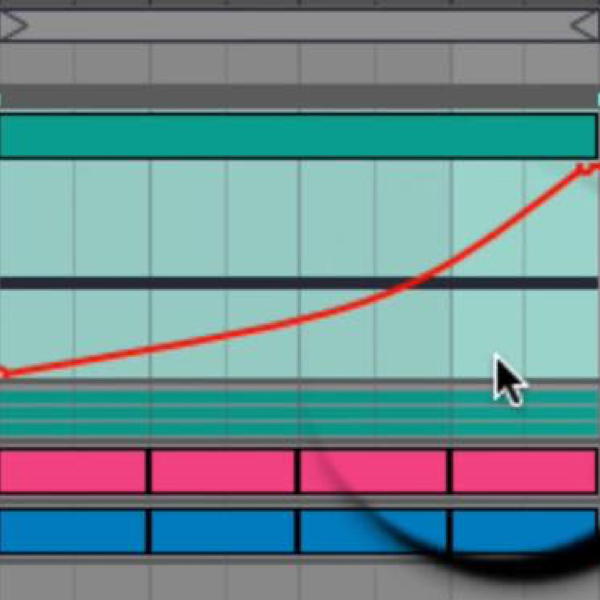
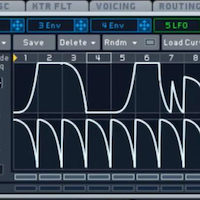
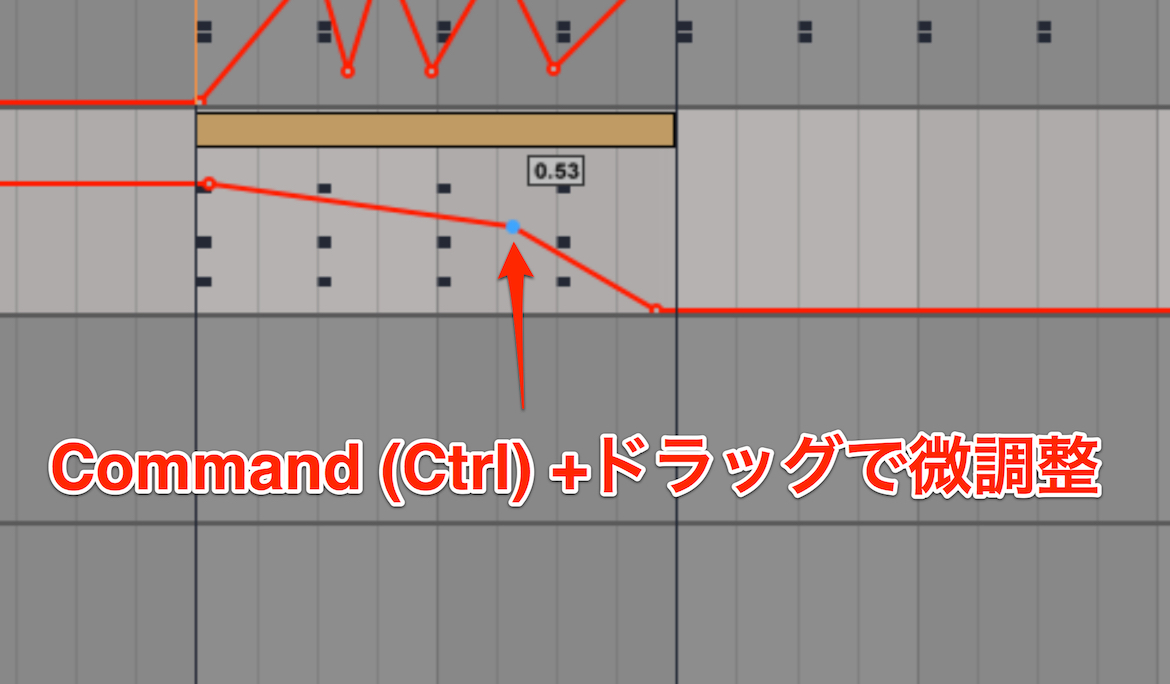
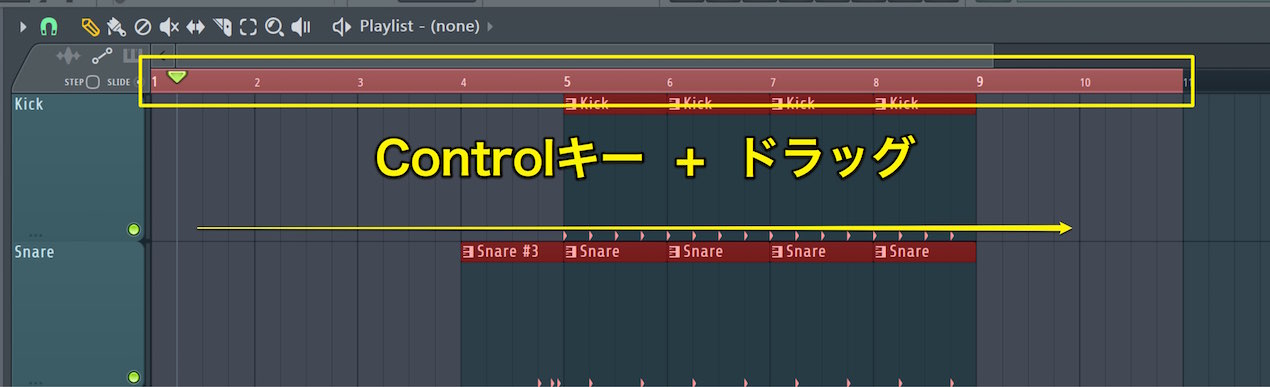
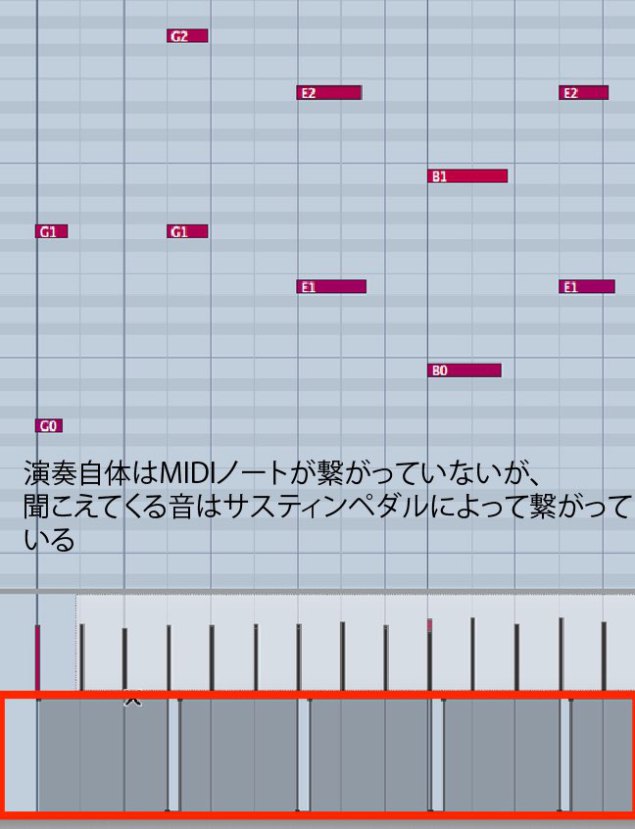
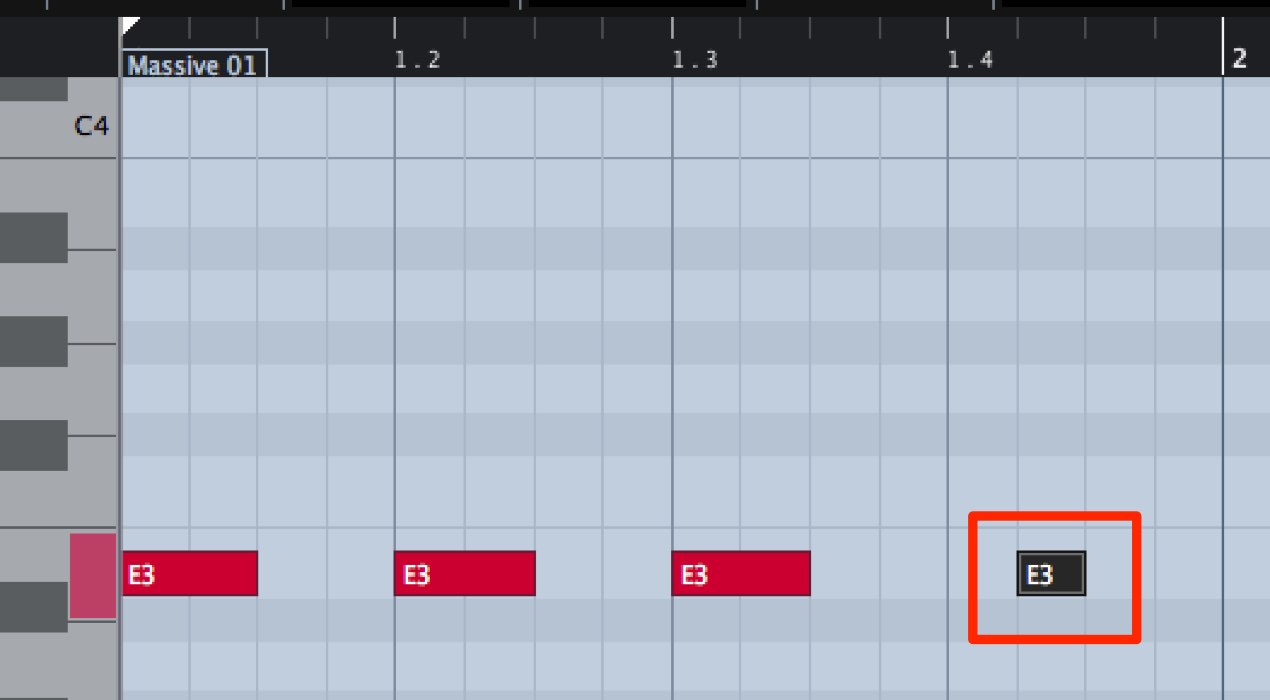
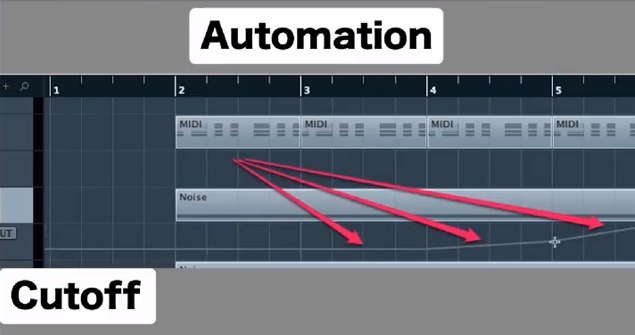
Next, record automation for Decay and Release in your DAW.
Set the values to increase gradually.
Variations
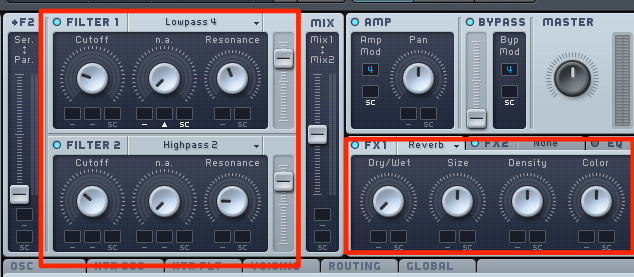
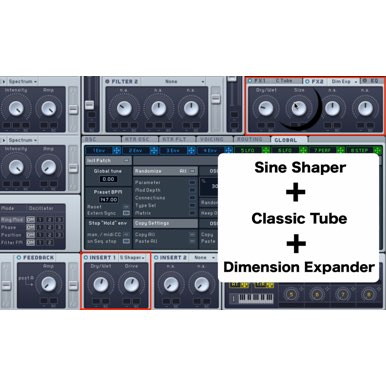
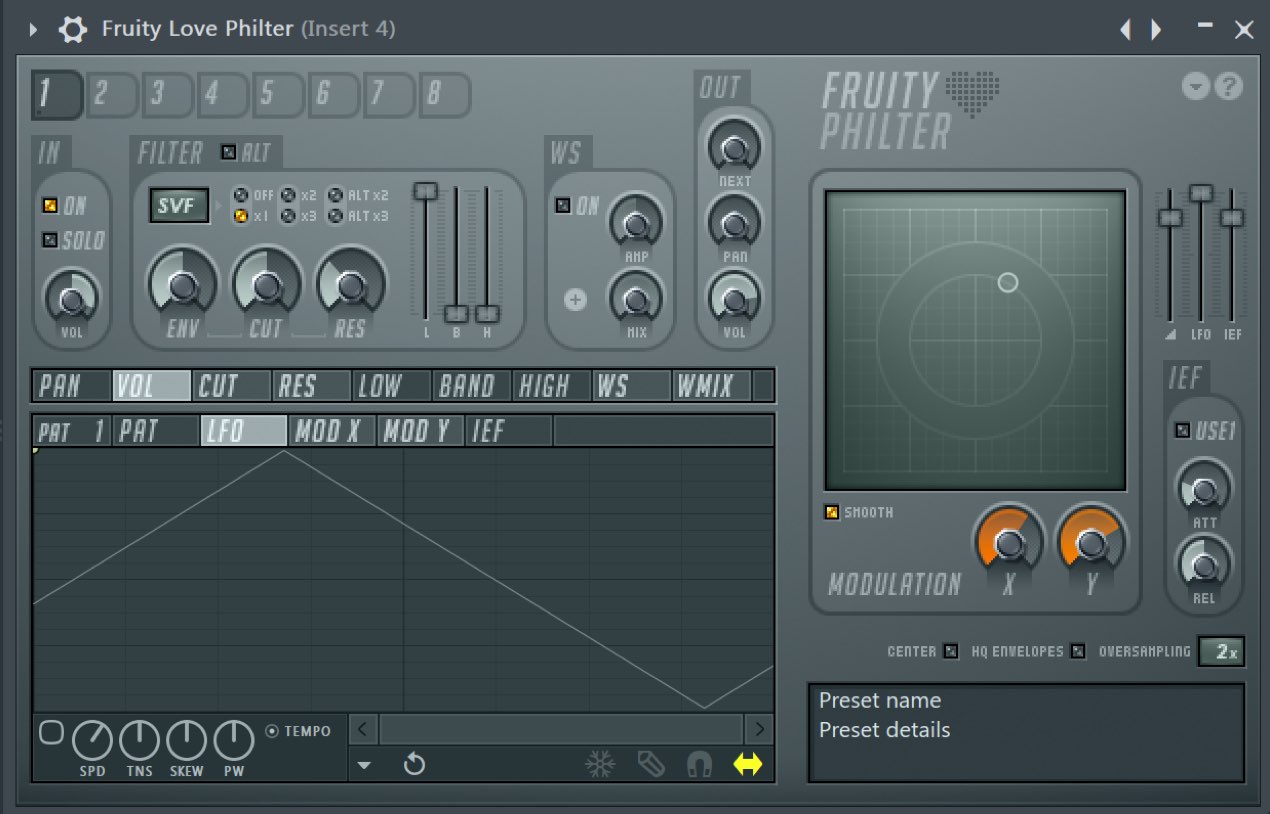
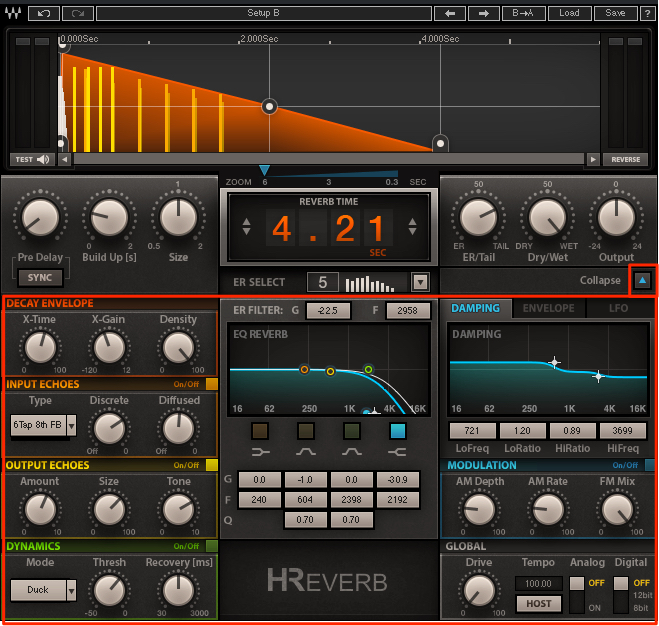
As above, combine various parameters such as reverb and filter settings
to create an even more distinctive sound.
Frequently Asked Questions
Q1. Why is ADSR control useful in EDM production?
ADSR control lets you shape a sound from its onset through its decay and build excitement in step with the track. It can create a sense of anticipation and immersion, making it a common EDM technique.
Q2. Why start with a short sound when setting up automation?
Starting with short Attack and Release settings keeps the initial sound subtle; gradually increasing values through automation can create a natural buildup.
Q3. Should reverb and filter settings change at the same time?
Automating reverb depth and filter cutoff alongside ADSR can add dimension and character to the sound.
NEW ARTICLES
Latest English Articles