Cubase automation lets you record changes to knobs and buttons as a project plays. The three write modes covered here—Touch, Auto-Latch, and Crossover—let you capture and edit changes in volume, effect parameters, and more over time. Real-time writing makes it possible to create complex changes intuitively and can improve both mixing efficiency and expression.
Record knob and button movements directly
The previous article explained how to record automation using the editing tools.
This time we will introduce real-time writing,
which records your movements as you adjust controls during playback.
Questions and answers from the YouTube video

I have Cubase Elements 8, but the automation mode does not appear. Could it be because I saved the project on another internal hard drive? When I try to enable it, the available items are State Buttons, Auto-Scroll, and Transport Buttons, in that order. Is automation mode available only in Cubase Pro?

Thank you for your question. Unfortunately, these automation modes are available only in Cubase Pro. The top edition of Cubase includes convenient features and effects, so once you are comfortable with the software, you may wish to consider upgrading. Thank you for your continued support.
Cubase automation write modes
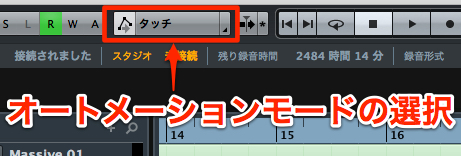
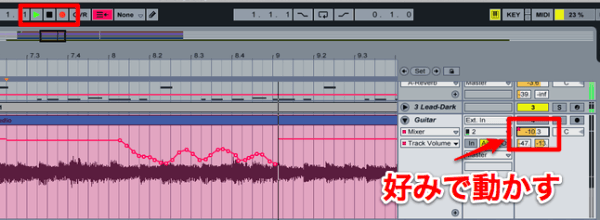
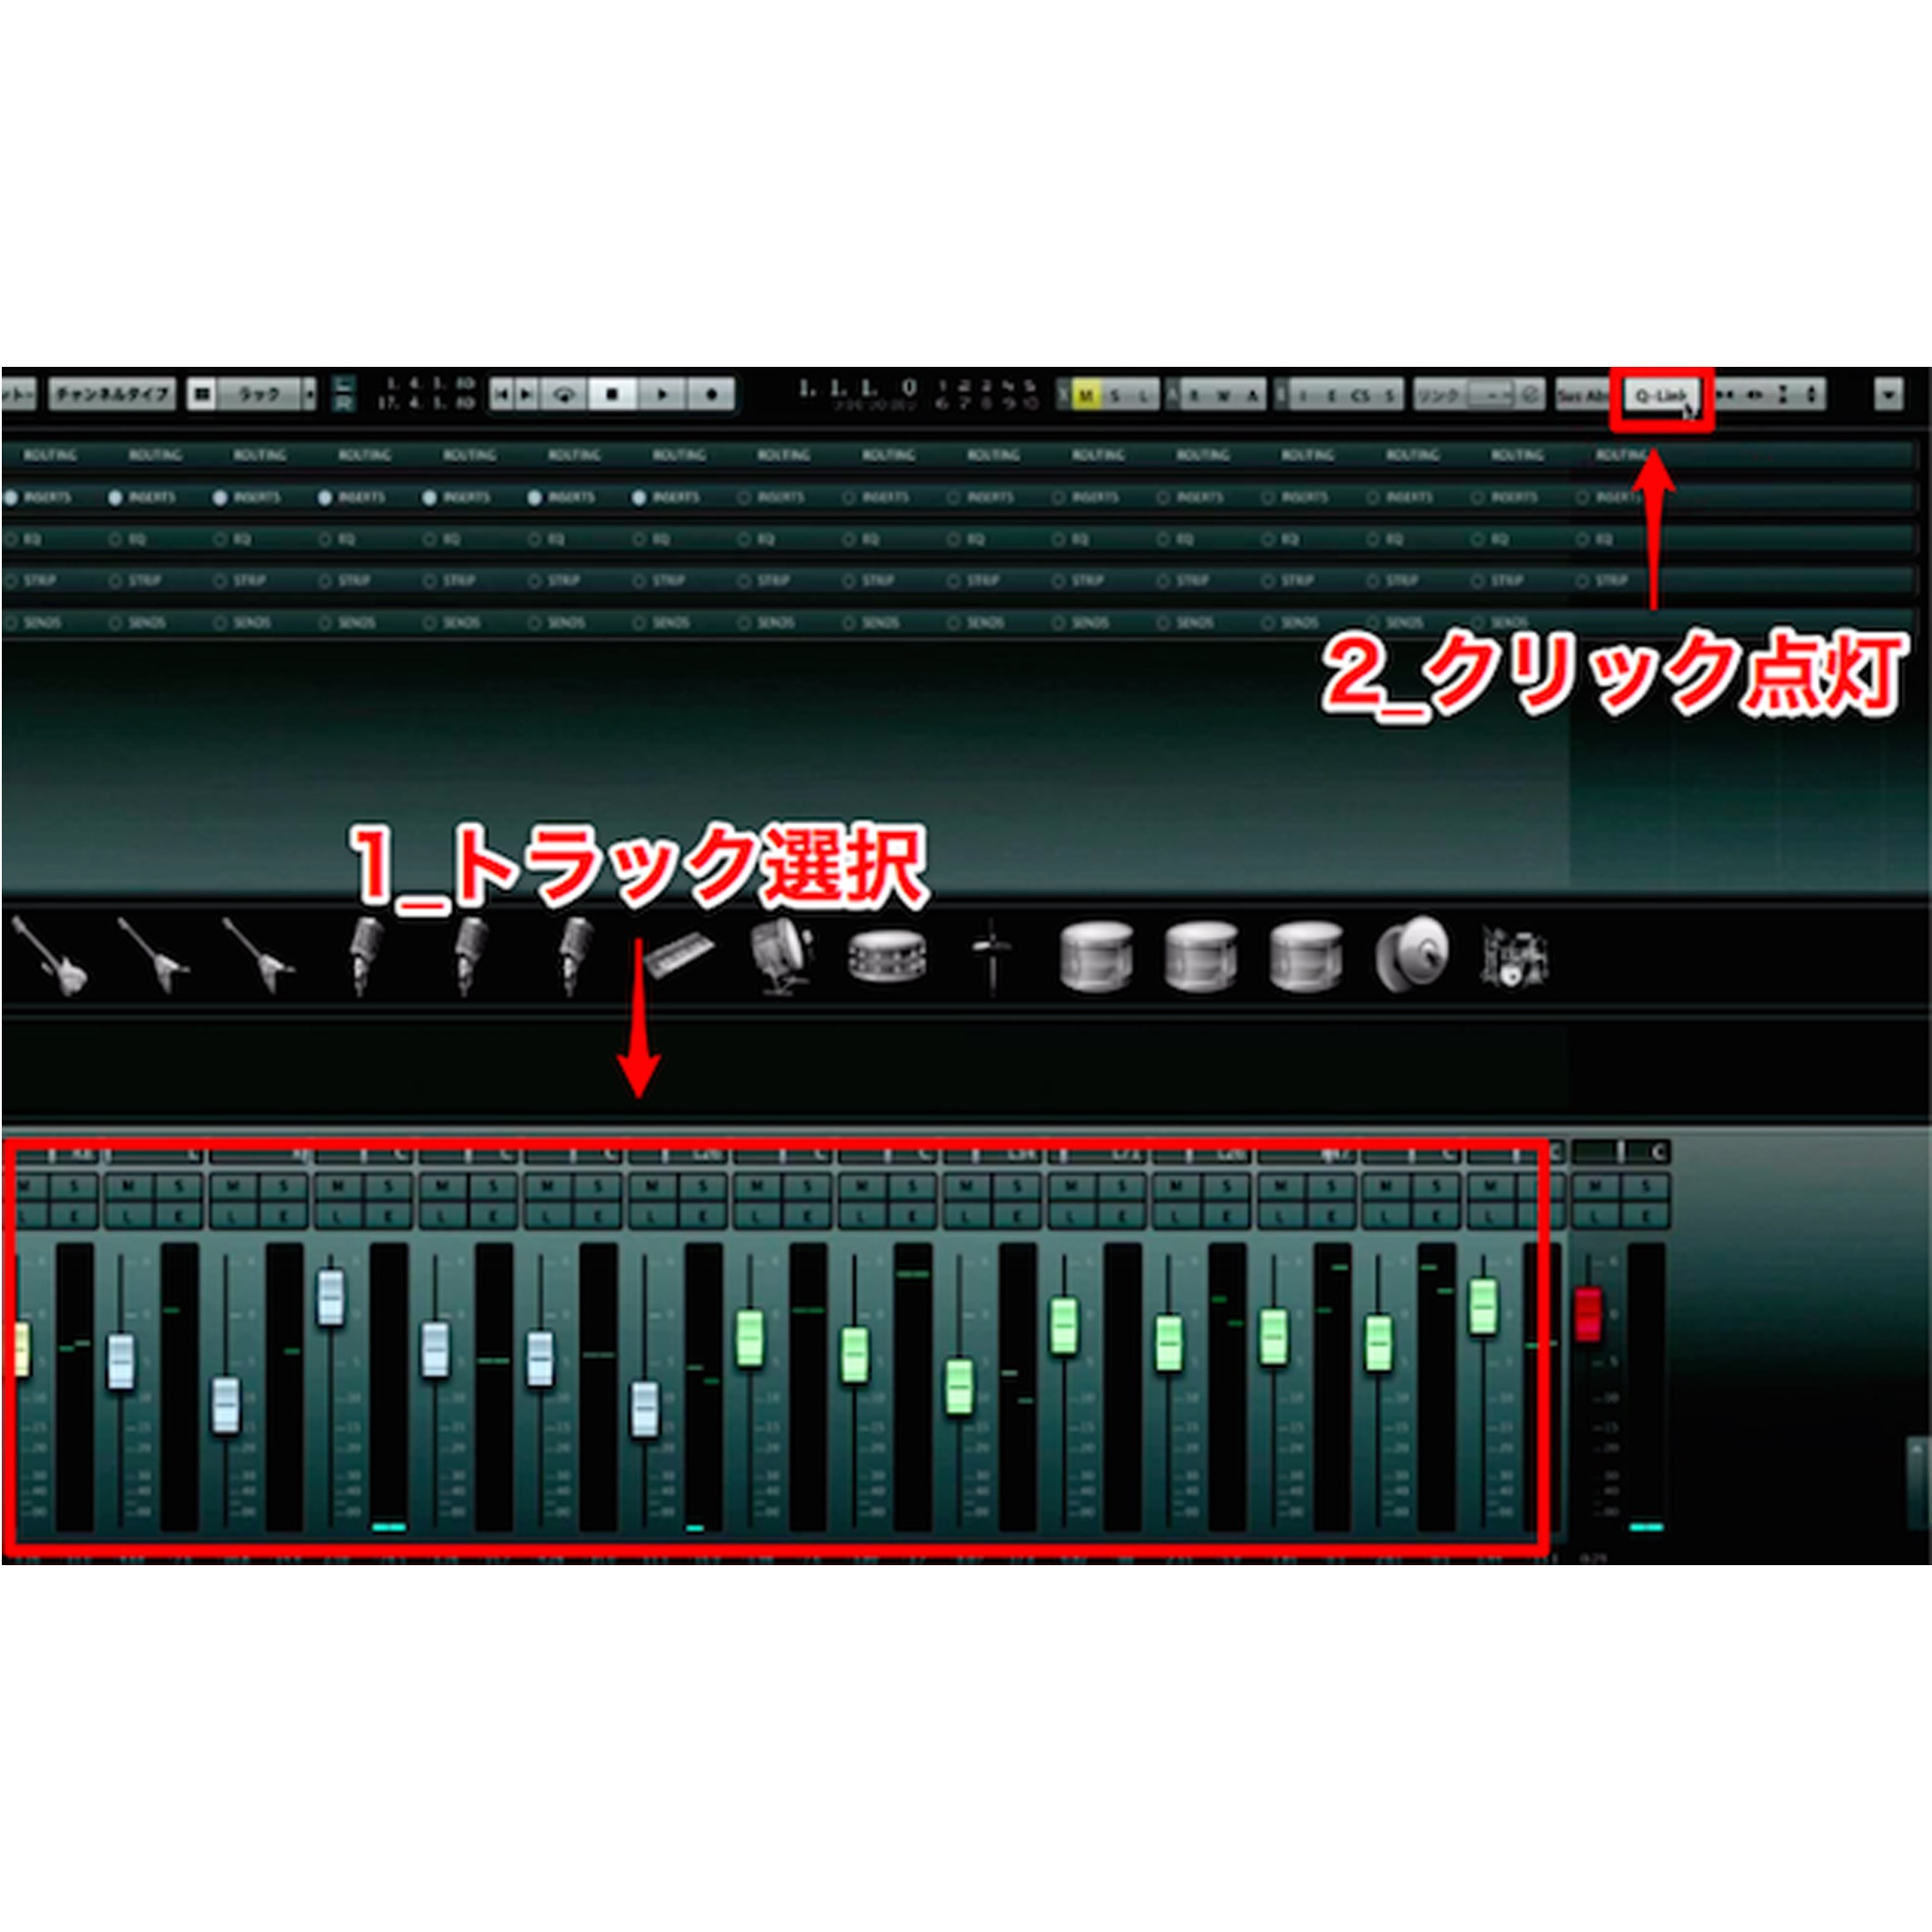
↑ Click the area outlined in red in Cubase and select a write mode.
There are three modes.
Video: Touch and Latch
Touch
Touch a control during playback to begin writing.
Automation is written only while you touch the control; when you release it, the value returns to its previous level.
Later data is not overwritten, making this useful for changing a specific section.
Auto-Latch
Touch a control during playback to begin writing.
Writing continues after you release the control, maintaining the last value.
Previous automation data is overwritten as writing continues.
Crossover
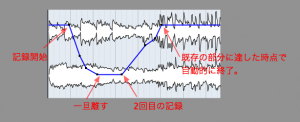
↑ After writing,
this mode lets you manually write the movement back to the existing automation.
After releasing the control once,
adjust it again toward the existing automation.
Gradually move the control toward the existing curve;
writing stops when you reach the existing automation value.
How to write automation
The process is very simple.
Choose the mode you want from Touch, Latch, and Crossover.
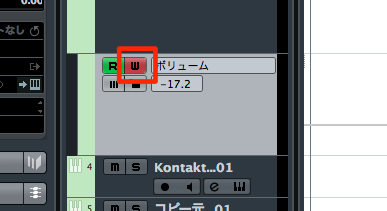
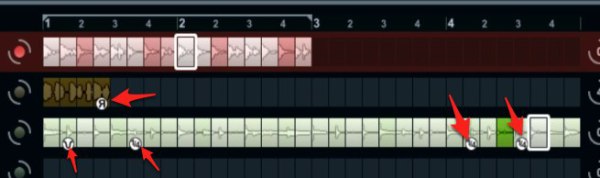
Turn on the W button for the automation parameter you want to record.
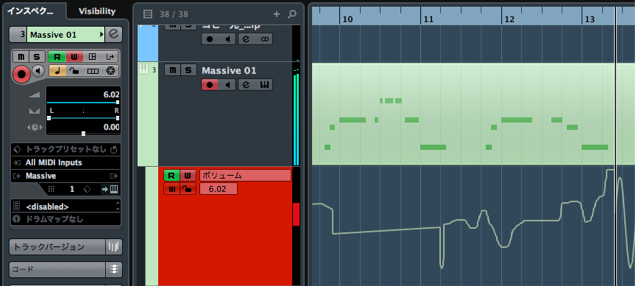
Play the project in Cubase and move the control where you want to write.
Stop playback when you are finished.
After writing, turn off the track’s W button to prevent accidental recording.
Deleting automation
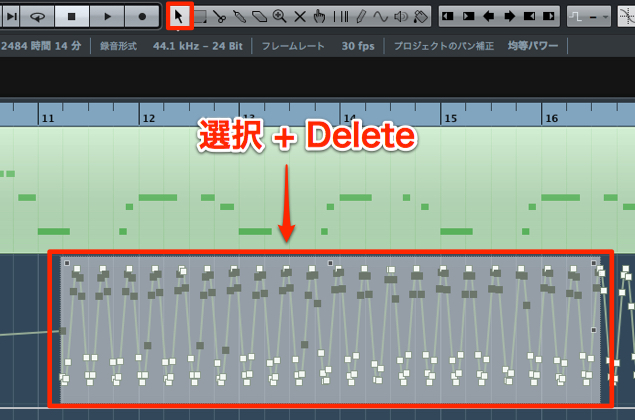
↑ Switch to the selection tool and select the section you want to remove,
then press Delete or Backspace.
Temporarily suspending automation
Sometimes you may want to suspend automation temporarily.
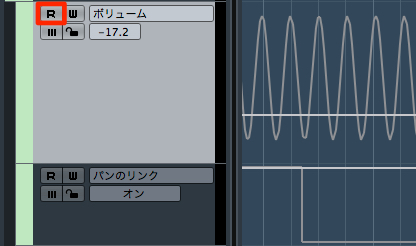
To stop all automation, turn off R.
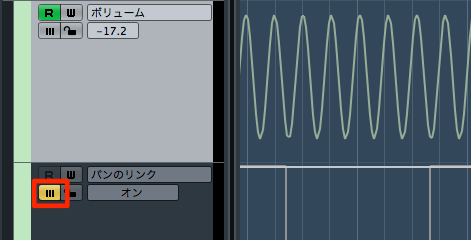
To suspend an individual parameter, turn on its suspend button.
Frequently asked questions
Q1. How do I choose between Cubase automation write modes?
Touch is useful for changing a section, while Auto-Latch is useful for continuous changes. Crossover can help when you need to return to existing automation. Choose the mode that suits the edit.
Q2. How do I delete automation that I recorded by mistake?
Switch to the selection tool, select the section to remove, and press Delete or Backspace. Turn off W after writing to help prevent mistakes.
Q3. What should I check if automation is not working?
For writing, check that W is enabled for the parameter. For playback, check whether R is off or an individual parameter’s suspend button is on, then adjust the relevant setting.
NEW ARTICLES
Latest English Articles