ミックスが上手くなるTIPS Waves Gold Bundle 活用術
定番バンドルをもっと使いこなそう
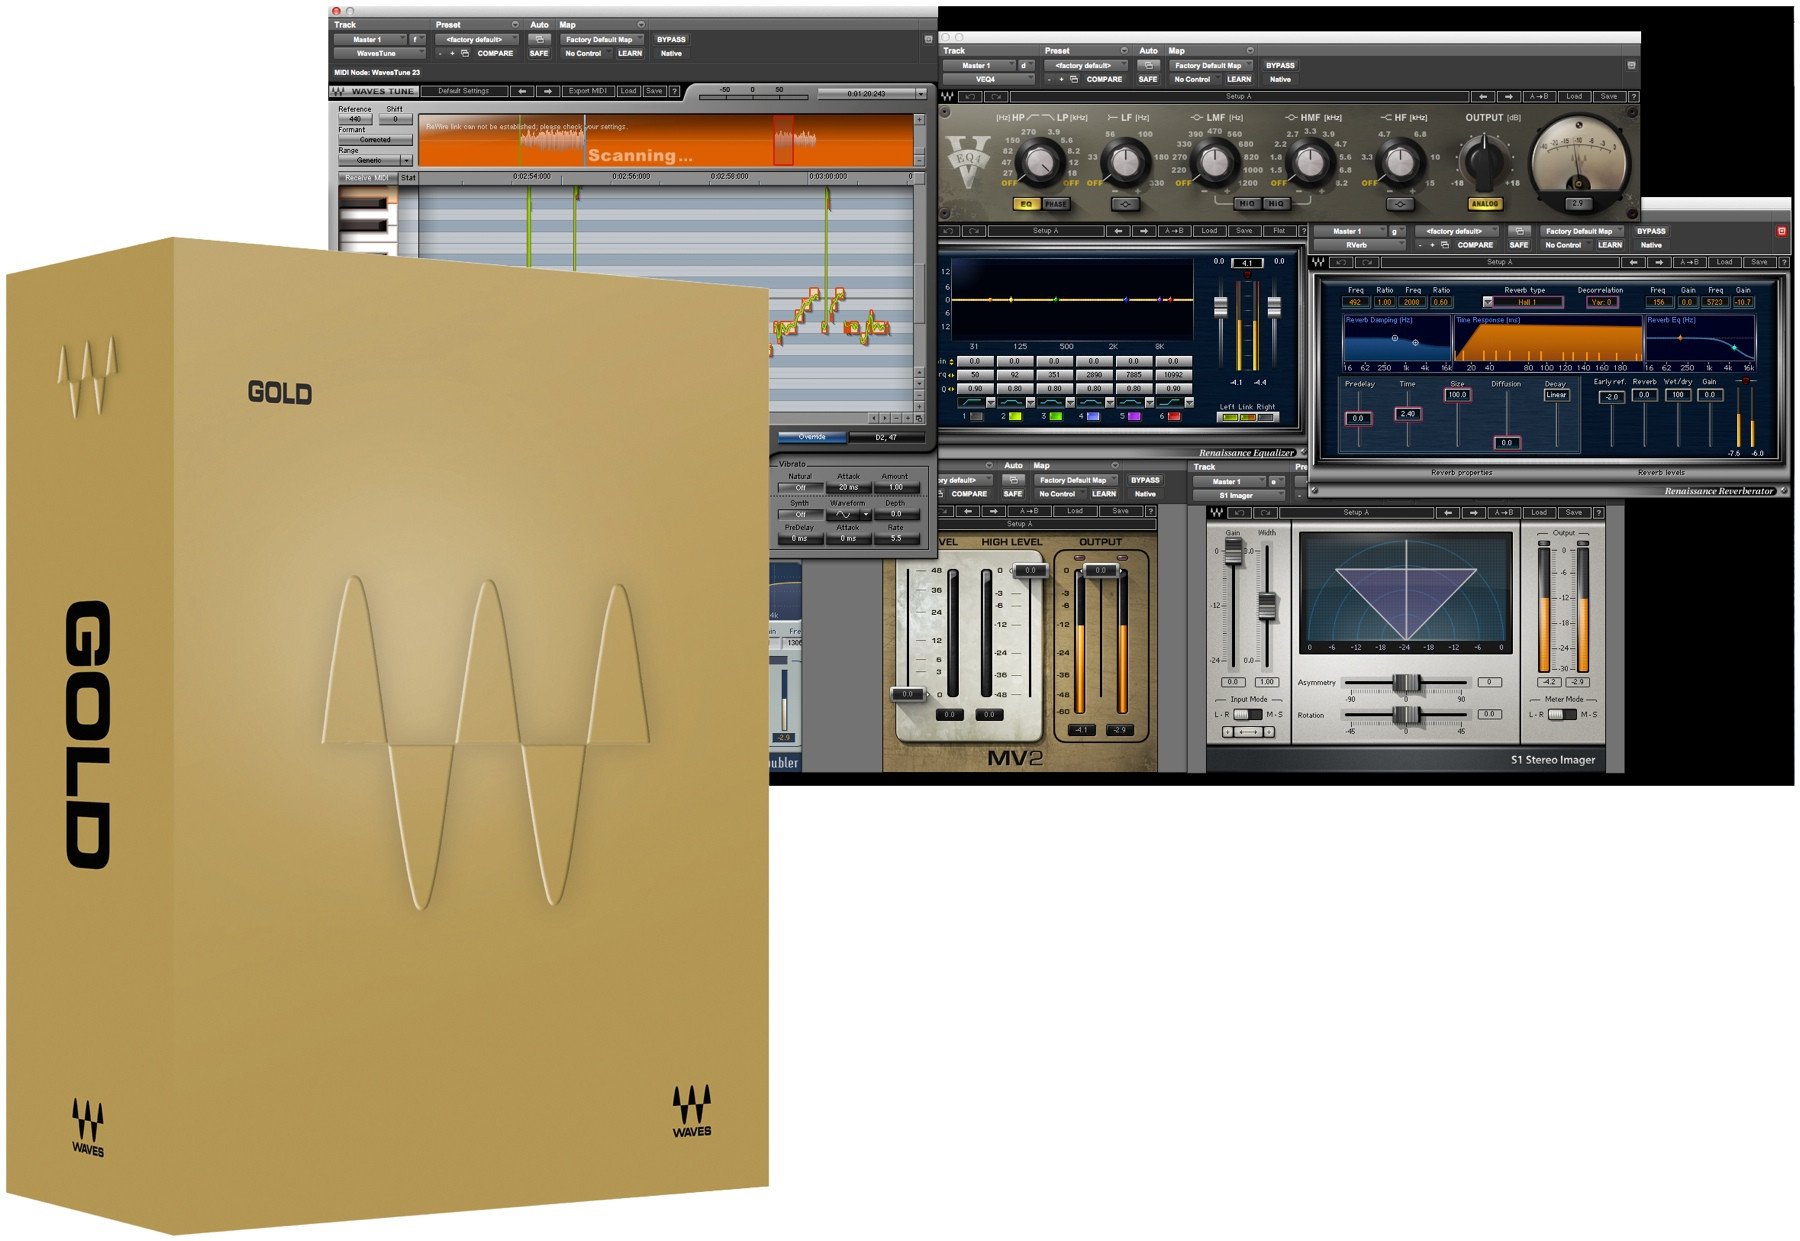
今回はおなじみの定番プラグインバンドル、WavesのGold Bundleについて、いくつかのプラグインをピックアップしながらTipsをお送りしたいと思います。
特にそれらのプラグインならではの使い方や、意外な活用法などをお伝えしていきますので、どうぞ最後までご覧ください。
それでは、各プラグインの詳細を見ていきましょう。
ミックスが上手くなるTIPS Waves Gold Bundle 活用術 動画
▶︎製品のご購入


Eddie Kramer Drum Channel
まずご紹介したいのがこちら、「Eddie Kramer Drum Channel」です。

ビートルズやジミ・ヘンドリックス、レッド・ツェッペリンなどのエンジニアを務めたEddie Kramer氏の監修の元に開発されたプラグインで、手軽にそのエッセンスを活用できるよう設計されています。
これはもう、その触れ込みの通りで、挿してドラムの種類を合わせるだけで、手早くミックスのスタートラインに立つことができます。
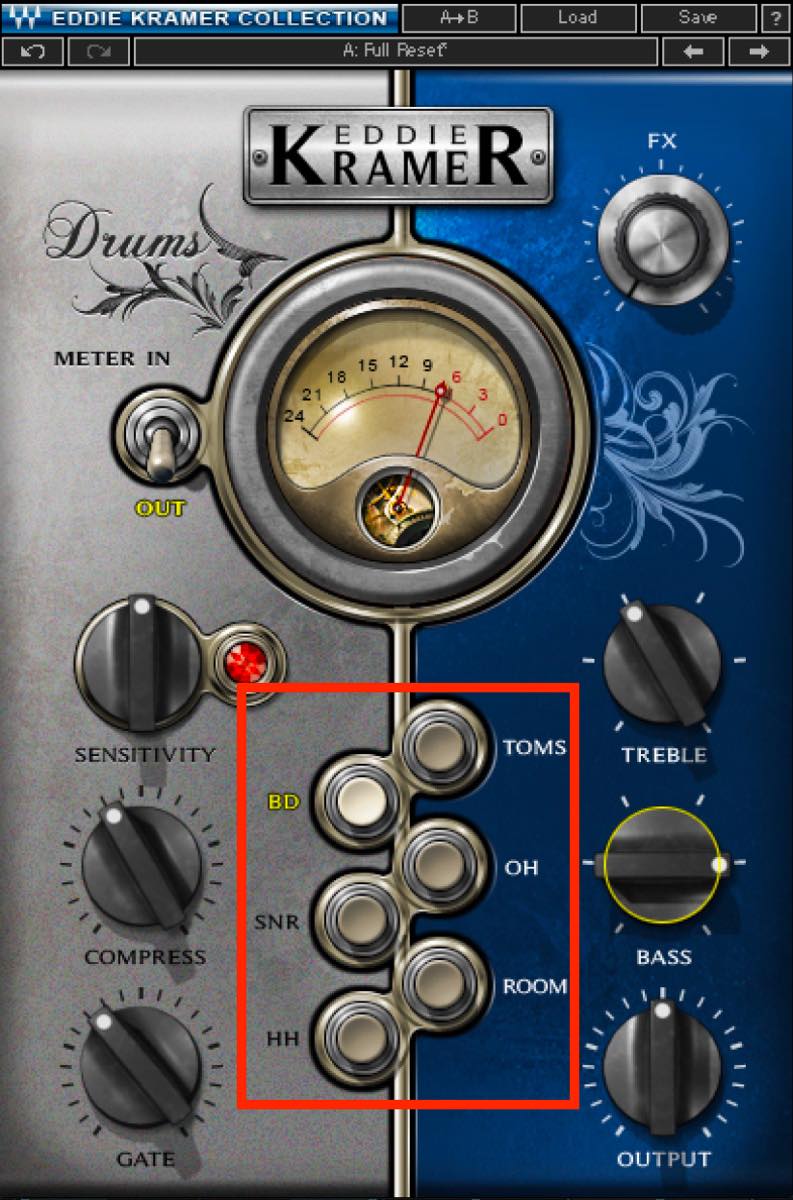
あとはお好みでEQなどを調整するだけ。適用前後をサウンドで確認してみましょう。
(スネアとキックに適用しています)
▶︎適用前
▶︎適用後
このプラグインの良いところは、とにかく作業が早い点です。イメージするサウンドとマッチしていれば、シンプルに手早くサウンドメイクすることができます。それも、かなり使える音というところがポイントですね。通せばいい感じに仕上がるアウトボード的な扱いとして、ラインナップに加えておけばいいのではないでしょうか?

MV2
次にご紹介するのが、こちらの「MV2」。
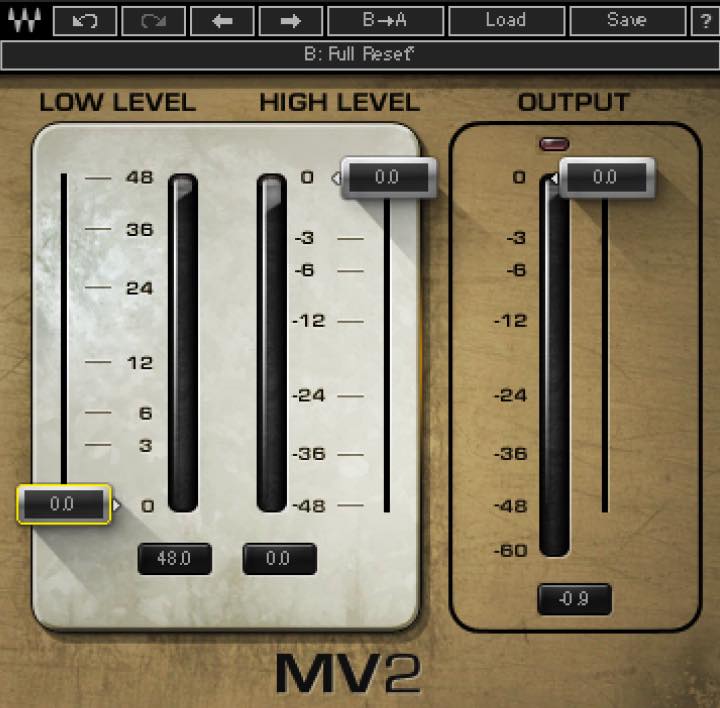
これはダイナミクス系に類するプラグインなのですが、画期的なのはコンプのように大きい音を潰すのではなく、小さな音を持ち上げてくれるという点です。
元のサウンドのニュアンスを損なわずにレベルを平均化したい、埋もれがちな音を拾い上げたい、といった際にかなり重宝するプラグインですね。
今回はギターのトラックに適用してみましょう。このようなフレーズです。
▶︎適用前
合間合間に挟まるミュートの音が小さく、他のトラックと混ぜるとややグルーヴ感が薄れてしまいます。
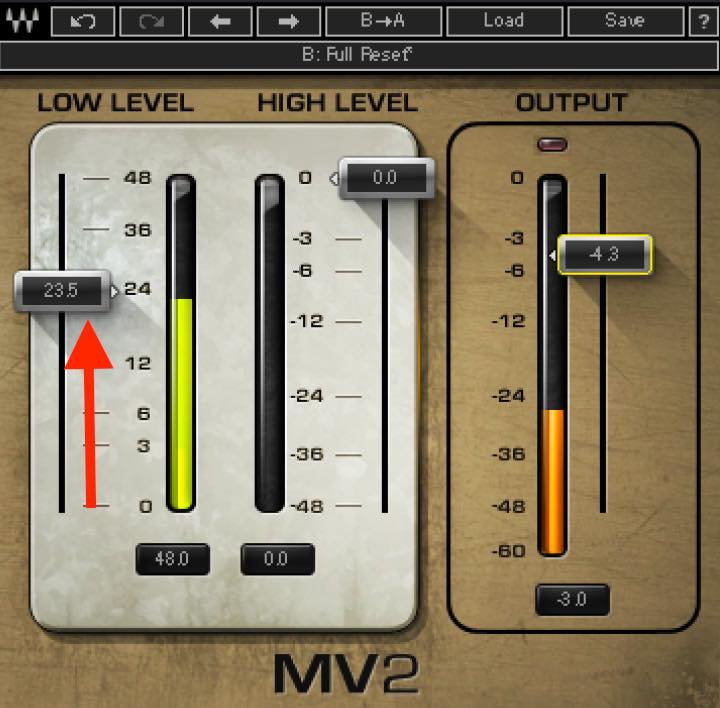
そこで、LOW LEVELのスライダーを上げて、レベルが小さい部分を底上げしてみます。
レベルに応じてレシオが可変するようなので、ここは大胆に上げて、アウトプットを下げて対応してみましょう。
適用後のサウンドはこちらです。
▶︎適用後
明らかにミュートの部分が大きくなっています。またそれ以外も程よく余韻が出て、存在感が増していますね。
Renaissance Axx
続いてが、こちらの「Renaissance Axx」です。
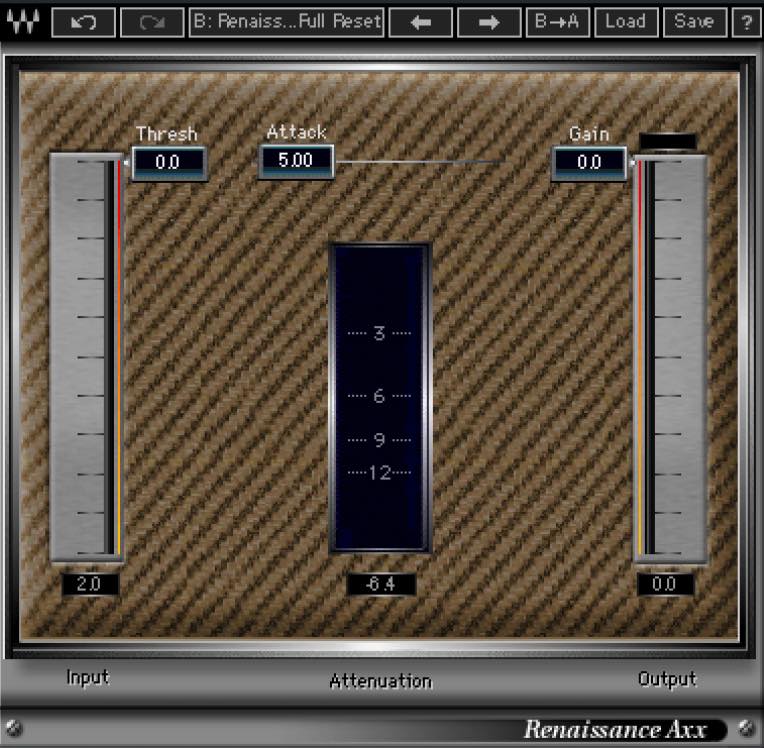
特にギターやベース向きにチューニングされたコンプレッサーで、他のコンプよりもシンプルなパラメーターで手早く簡単に結果を得ることができます。
今回はこのアルペジオのギタートラックに適用してみましょう。
▶︎適用前
狙いとしては、アタックの粒を揃えながら若干サスティンを出していきたいといったところです。
まず、何はともあれスレッショルドを下げてコンプ効果を加えてみたいのですが、このスレッショルドはマキシマイザーに似ていて、下げると同時にゲインが上がります。
音量感を変えたくない場合は、Shiftキーを押しながらスレッショルドとゲインを同時選択して下げていきます。
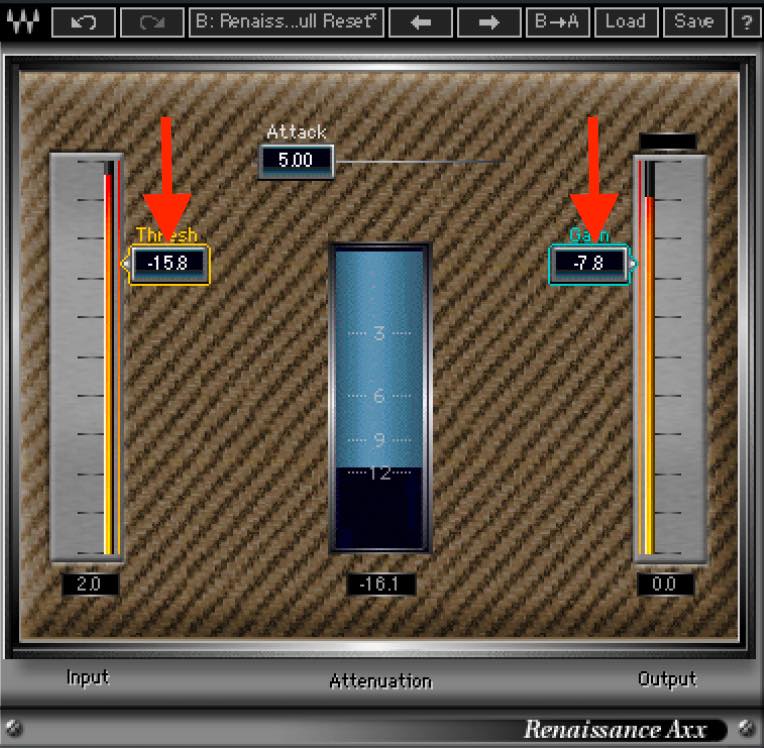
深く突っ込んでもあまりコンプ臭くなりません。
後は好みのニュアンスになるようにアタックを調整するだけです。早くすればソフトなタッチに、遅くするにつれピッキングのニュアンスが出てきます。
適用後のサウンドはこちらです。
▶︎適用後
オケ馴染みの良い伸びのあるサウンドになりました。
このようにギターやベースのダイナミクスを手早く整えたい際には、ぜひ使ってみてください。
Vitaminによるエンハンス成分のみを使った音作り
続いてはこちら、「Vitamin」です。
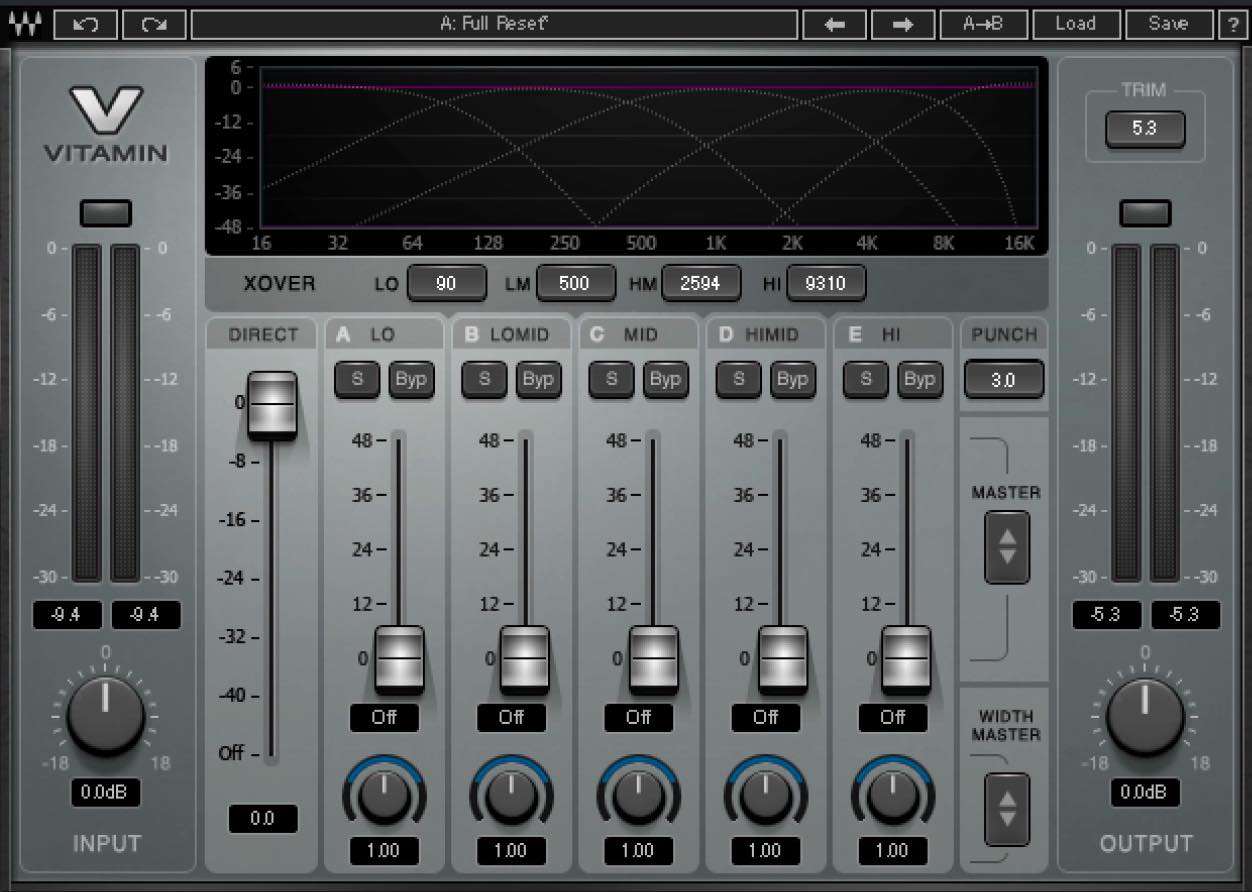
マルチバンド・ハーモニック・エンハンサーということで、帯域別にエンハンス効果を調整できる点が特徴なのですが、今回は少し変わった使い方をご紹介します。
適用するサウンドがこちら。
▶︎適用前
このギタートラックには主に高域を担当させたいと思っていますが、どんなに高い音であっても5K以上の倍音が少ないため、どうしても埋もれがちになってしまいます。
これはエレキギターの特性上しょうがないのですが、ここは思い切って、通常では出せないような音をVitaminで作ってしまいましょう。
まず、ダイレクトのスライダーを全部下げてしまいます。まだエンハンスも行なっていませんので、当前無音になります。
ここから、各バンドのスライダーを上げて、エンハンス成分のみで音を作っていきます。
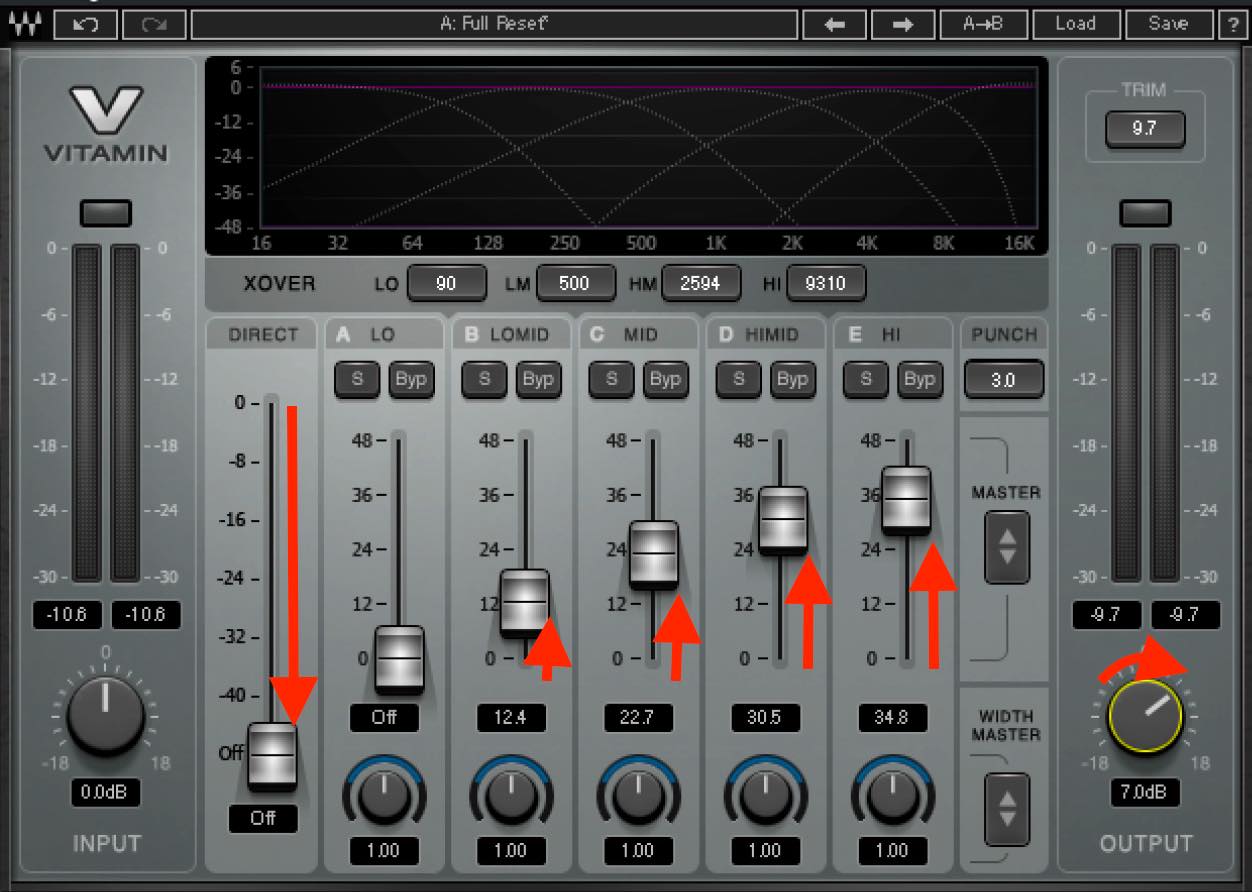
高域は欲しいですからここを多めに上げましょう。それを補強するように、他のバンドを上げていきます。中低域は混雑していますから、逆にあまりいらないですね。
少し音が小さくなりますので、アウトプットを上げておきます。
適用後のサウンドはこちらです。
▶︎適用後
まるで楽器そのものが変わってしまったかのような、質感の変化が起きましたね。使い方によってはかなりトリッキーなサウンドも作れるかもしれません。
このようにサウンドをデザインする感覚で使ってみるのも、Vitaminの面白い使用方法だと思います。
H-Compによるパラレルコンプレッション
続いていきましょう、こちらの「H-Comp」。
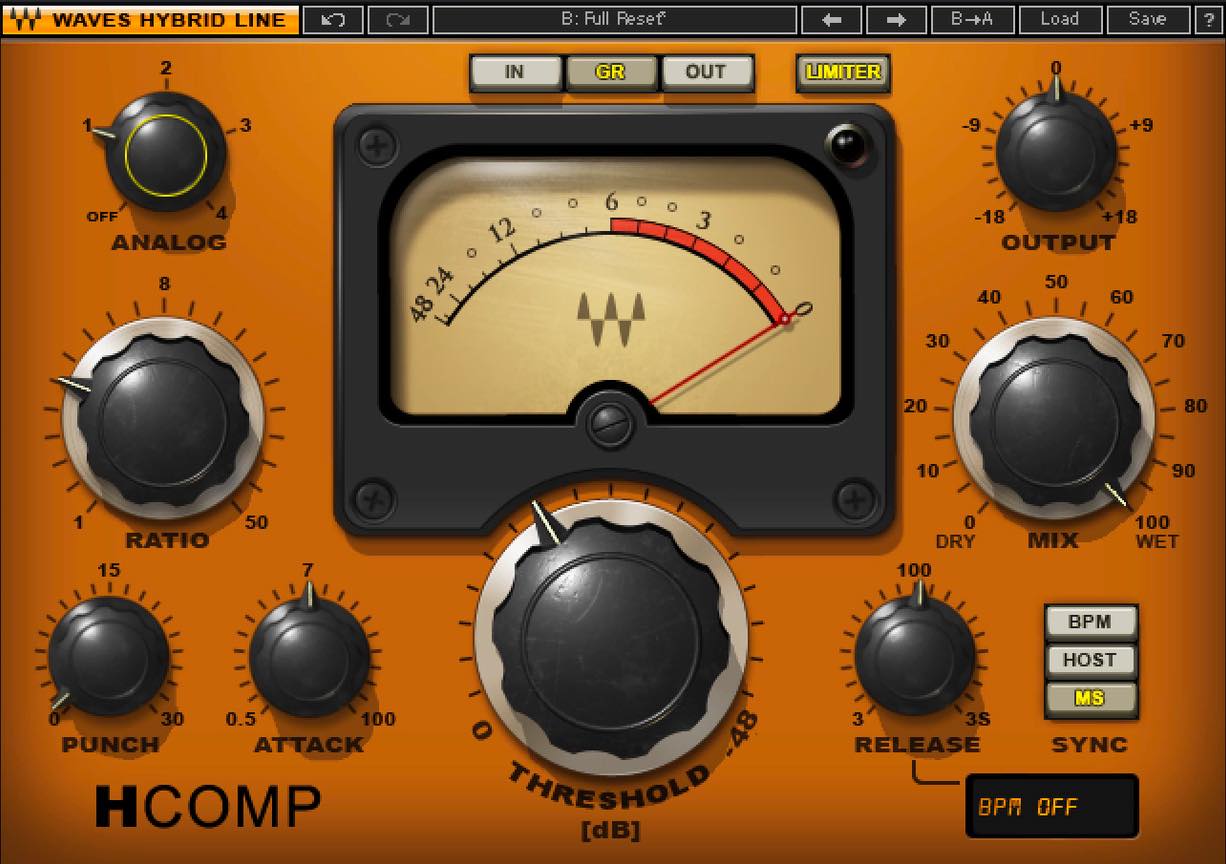
RCompに次いでWavesの定番コンプの一つと言えますが、何と言っても特徴的なのが、「MIX」つまみです。これによって、いわゆるパラレル・コンプレッションをトラック一つで完結させることができます。
試しにこちらのエレピに適用してみましょう。
▶︎適用前
ちなみにここで使用している音源も、実はGold Bundleに含まれるもので「Electric Grand 80」というものです。
さてこれに対し、コンプを使って積極的に音作りをしていきたいのですが、どうも通常の調整では思い描いた音になりません。こんな時はパラレルコンプレッションを試してみましょう。
レシオ高め、アタックやリリースをは少し早めに設定して、スレッショルドも深めに入れておきます。ちょっとかかりすぎくらいに設定しておくのがポイントです。
そしてMIXつまみを一旦左いっぱいに回し、ドライの状態からスタートするのが基本です。徐々にコンプがかかった音を混ぜていき、このくらいがちょうどいいというところで止めます。
仕上げにゲインリダクションの分だけアウトプットを上げておきましょう。
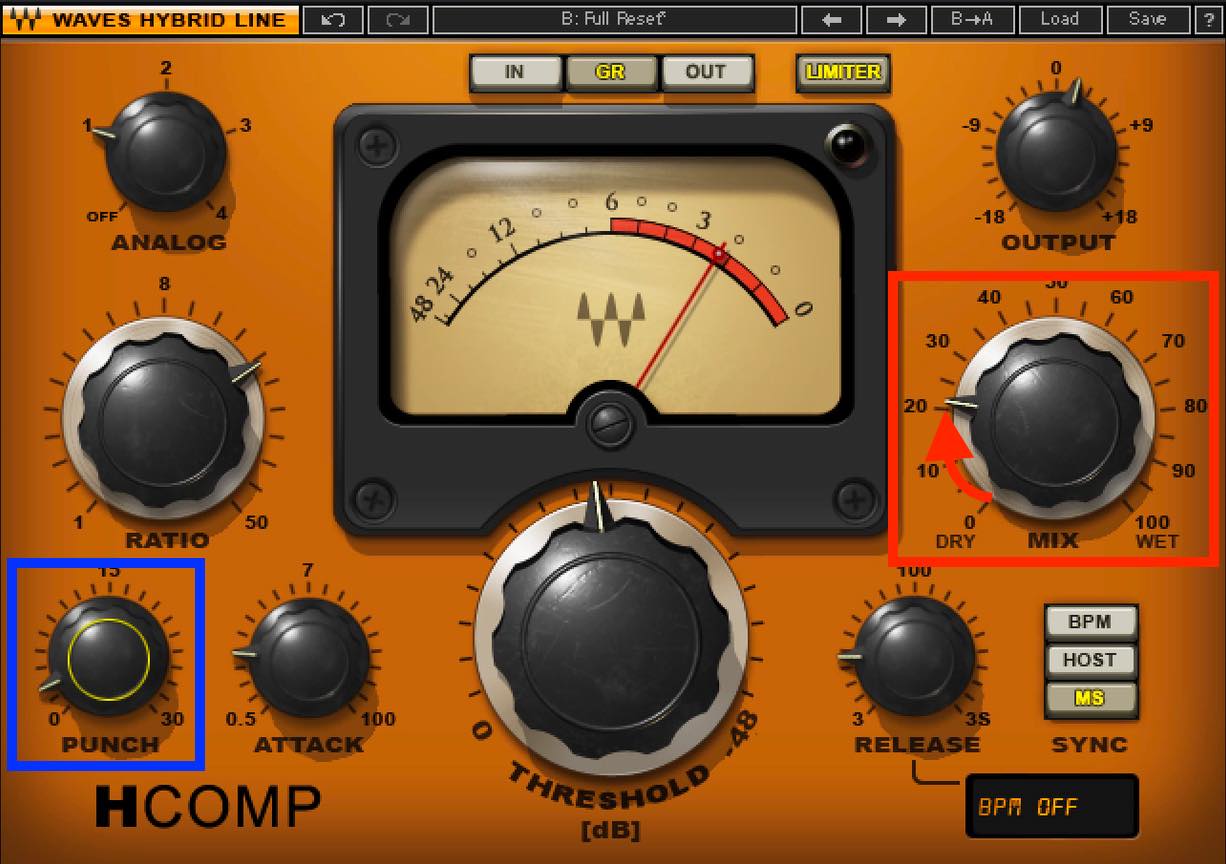
また余談ですが、PUNCHというツマミも、H-Compならではですね。少し回すだけでも、単純にアタックタイムを遅くするより強烈なアタック感が与えられて、ビンテージコンプを強めにかけたようなパンチが得られます。
全て適用したサウンドがこちらです。
▶︎適用後
このようにコンプのかかり具合を、MIXを調整しながら探ることができ、より自然な結果を得られるのがパラレルコンプレッションの特徴です。
S1 MS MatrixとQ10を用いたMS処理
次はこちら、「S1 MS Matrix」と「Q10」を使ったTipsをご紹介します。
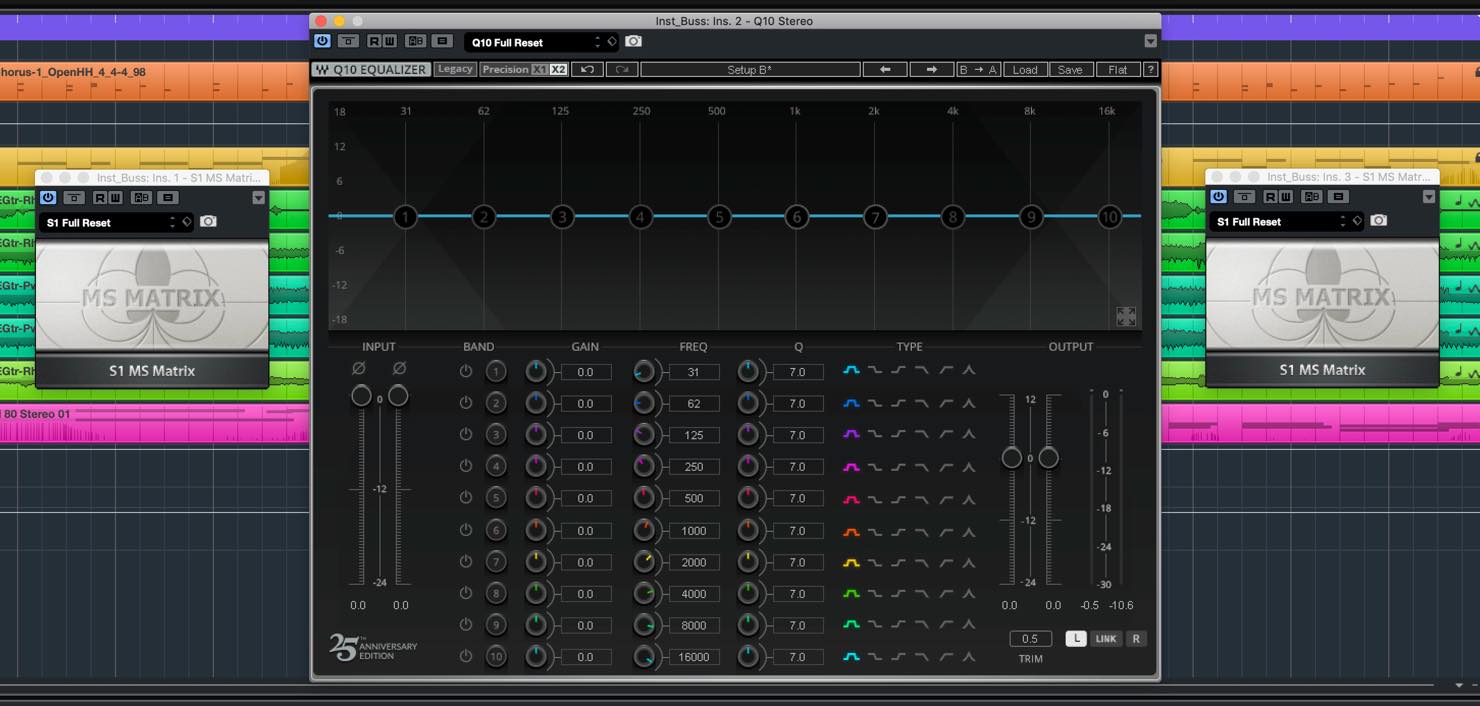
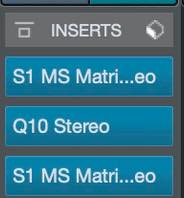
「S1 MS Matrix」はこのような順でインサートして、2つを対にして利用します。
まずLRのステレオ信号をMSに変換し、プラグイン処理をして、LRに戻す、という使い方です。
2つのMS Matrixの間ではLがミッド、Rがサイド、ということになりますので、間のプラグインでLR別の設定を行えば、MS処理を行うことができるわけです。
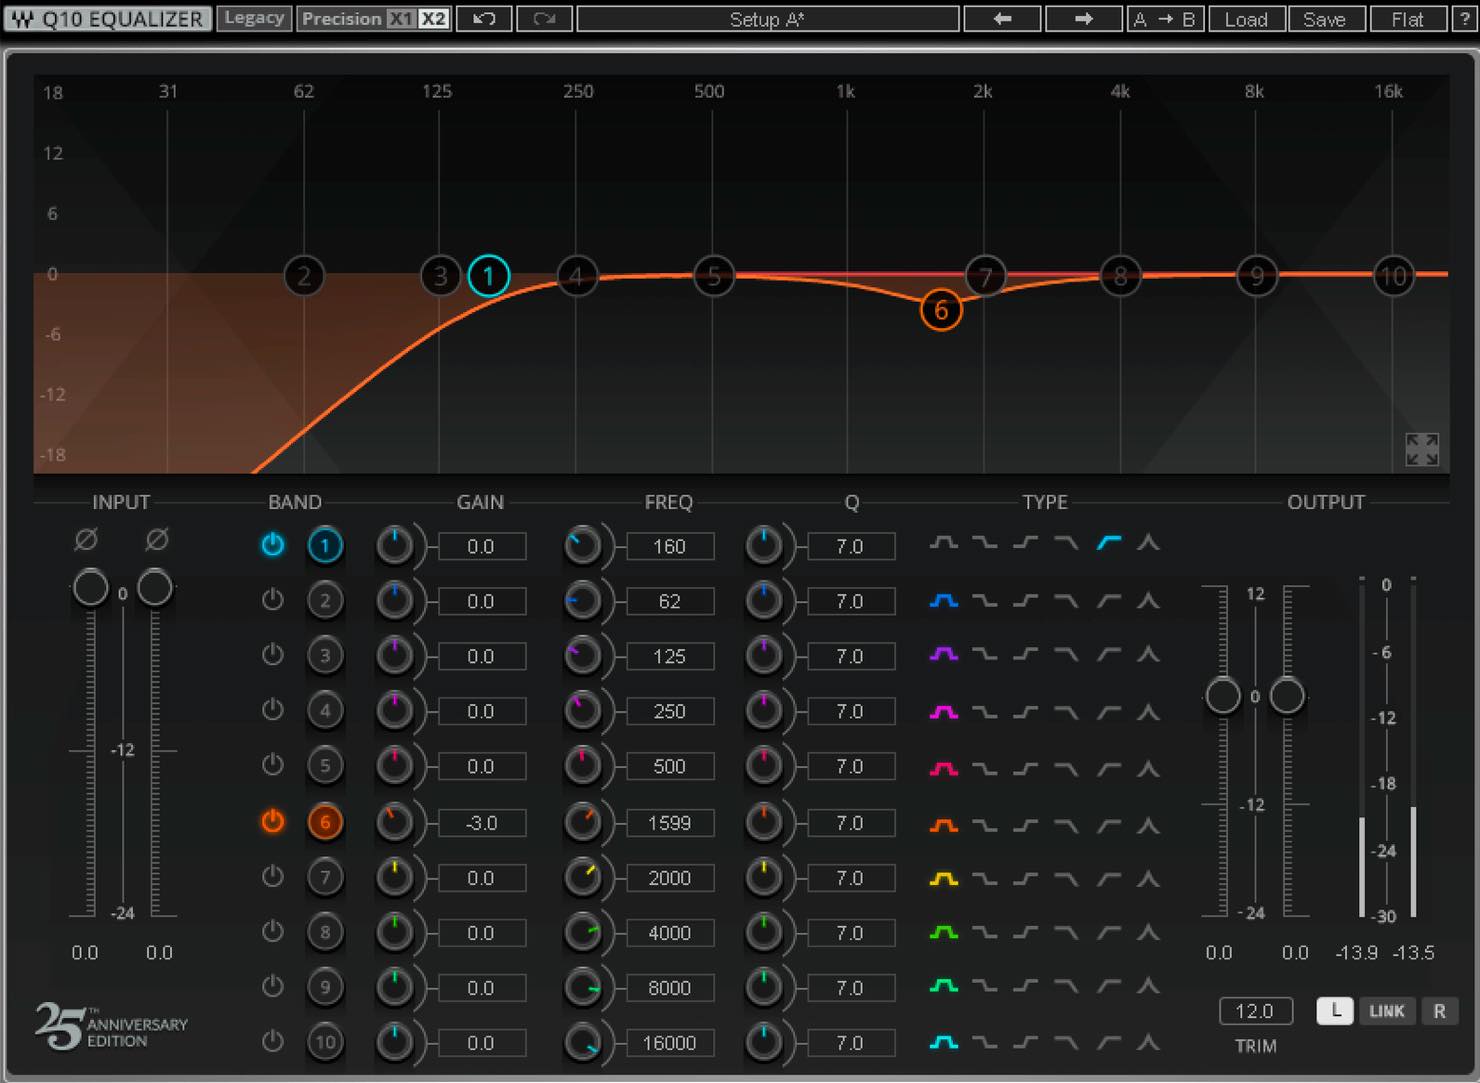
今回は、このようにリンク解除でLR個別設定が可能なQシリーズのEQを使用します。
このQシリーズも、25周年を記念して見た目だけでなく進化しています。ゲインに合わせてQが適切に可変するプロポーショナルQや、バンドフォーカス機能、また64bit精度で32bit float処理を行う、倍精度処理が追加されています。
それでは、実際にMS処理を行ってみましょう。適用するトラックは、ドラム、ベース、メロディ以外のトラックをまとめたバストラックです。
なお、MS Matrixの仕様として6dbボリュームが下がりますので、トラックのフェーダーを6db上げておいてください。
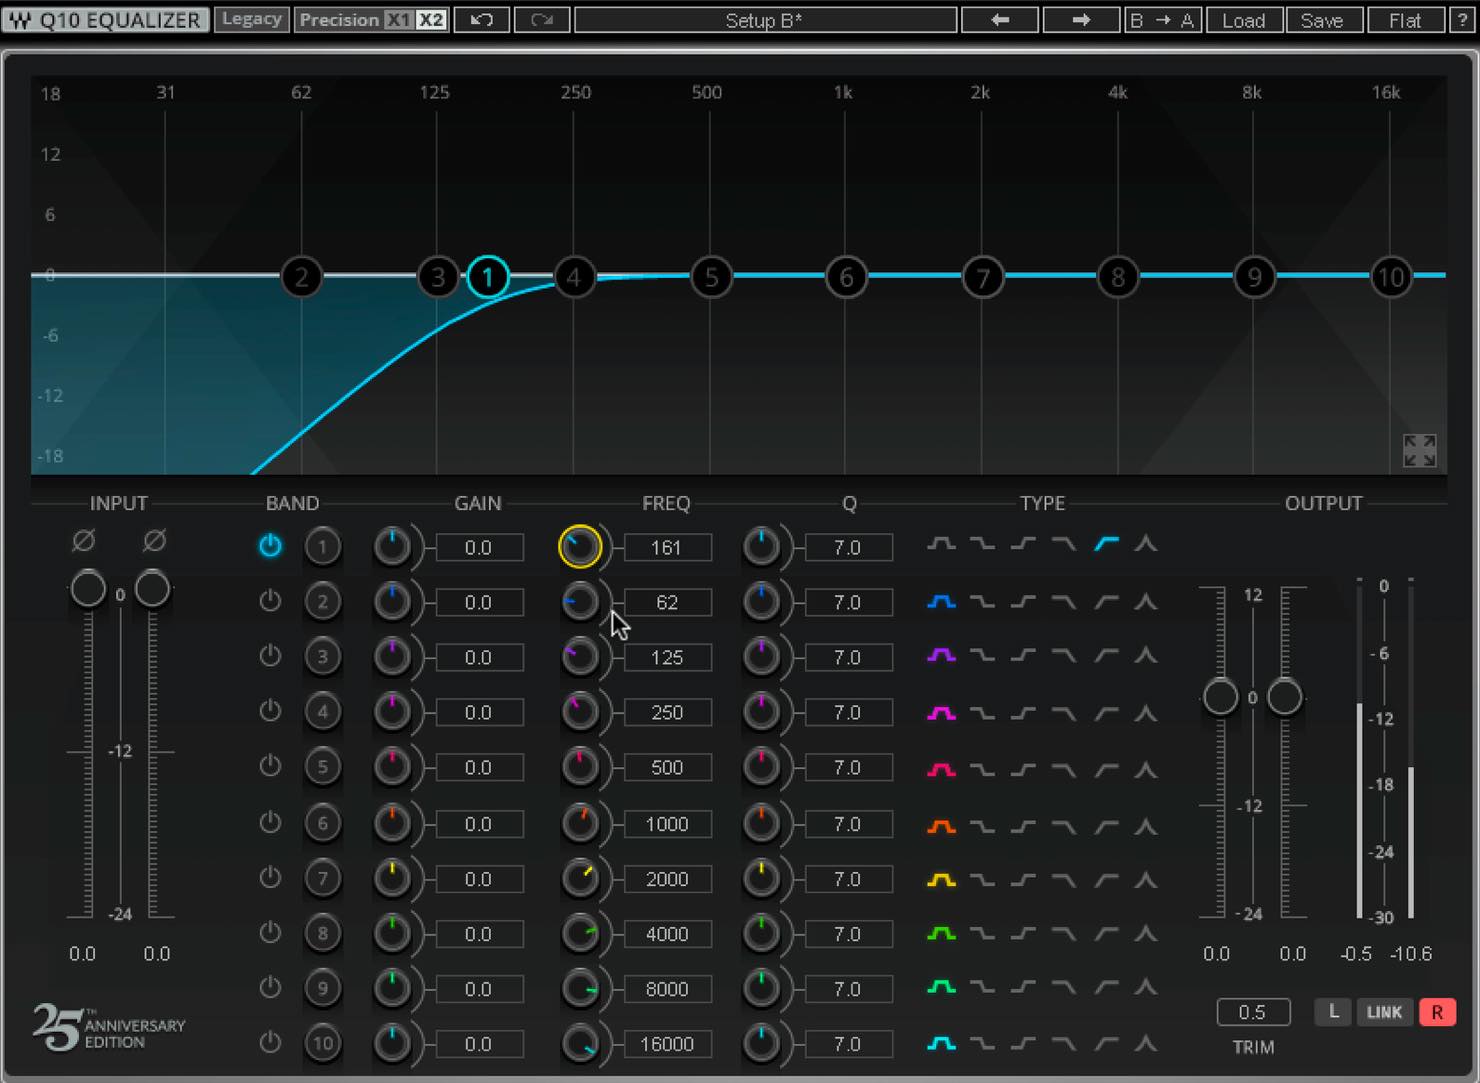
まずサイドのローカットから。R chすなわちサイドに切り替え、1番をハイパスにして、160Hzくらいまでカットしてみましょう。操作する際は、キック、ベースの存在感・タイトさに注目します。
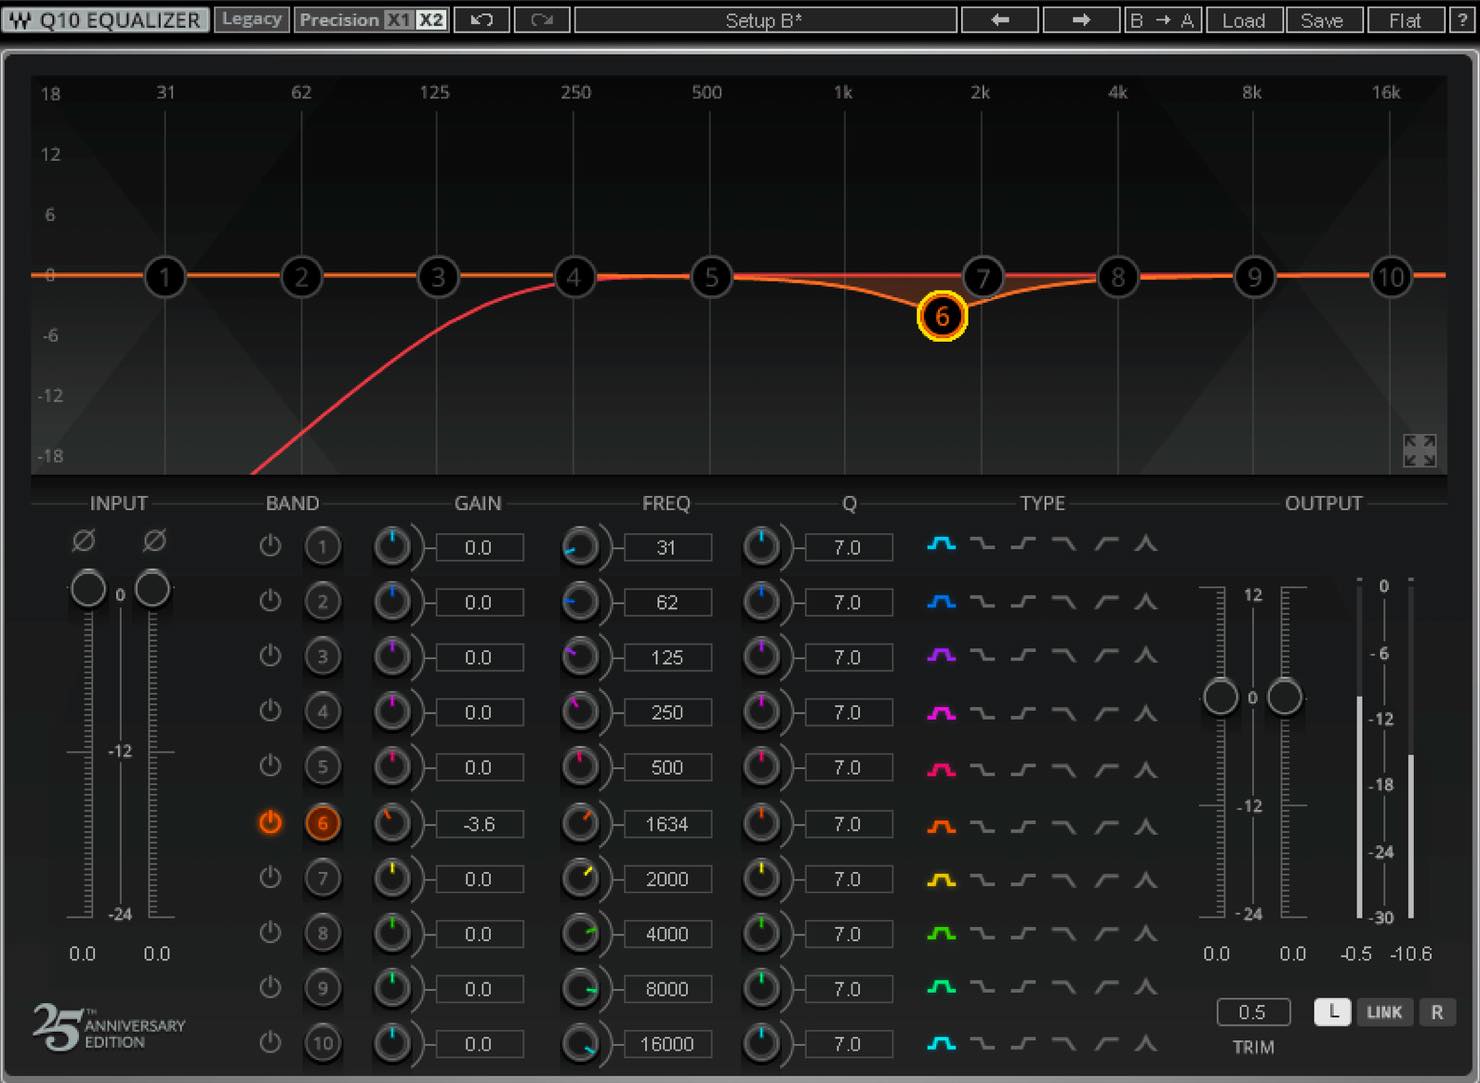
続いてL chすなわちミッドに切り替えて、1.6kHz付近をカットしていきます。これはメロディのためのスペースを空けるためです。操作する際は、メロディの存在感に注目してください。
同様の処理をリバーブのトラックに行ってみても良いでしょう。こちらでは、ミッド、サイド共にローカットし、ミッドのみ1.6kHz付近をカットしています。
これらの処理について、適用前と適用後をミックス全体で確認してみましょう。
▶︎適用前
▶︎適用後
低域がすっきりとして定位感が良くなり、メロディラインも明確になりましたね。
このように、MS処理はマスタリングだけでなく、バストラックやリバーブなどに適用していくことで、より細かくステレオイメージやトラックの分離を突き詰めることができます。
Vitaminを用いたマルチバンド・ステレオイメージング
最後に「Vitamin」のもう一つの使い方に触れておきましょう。
Vitaminにはエンハンサー機能の他に、マルチバンドのステレオイメージャー機能が付いています。
今回はこれをマスターに挿して、ローの広がりを狭めてみましょう。

クロスオーバーのローを40Hz程度とし、ローのStreo Widthつまみを左に回して、モノラルに近づけていきます。
ジャンルによっては完全にモノラルにしても良いですが、今回は0.2程度にしておきます。
また、トランジェントに影響を与えるPUNCHパラメーターは今回は不要なので、0としておきます。
適用前後を比べてみましょう。
▶︎適用前
▶︎適用後
さらに低域がタイトになり、キックやベースの量感が増したようにも感じますね。中低域の濁りもすっきりとし、全体の見通しが良くなった感もあります。
Vitaminは非常に多機能なプラグインですが、このようにピンポイントの処理でも効果を発揮します。
動作も軽いですから、ぜひ積極的に使ってみてください。
いかがだったでしょうか?
Gold Bundleといえば、定番の基本セットという感じもしますが、このように非常に特徴的な機能を備えたプラグインも含まれています。お持ちの方はぜひ使い倒して、その手早さや奥深さを体感していただければと思います。
17分と少し長めの動画ですが、定番プラグインバンドル「Waves Gold Bundle」から、特徴的な機能を備えたプラグインをピックアップしながらTipsをご紹介いたします。
>ミックスが上手くなるTIPS#3
📝記事:https://t.co/YC40l1Ln2D🎥YouTube:https://t.co/7qUy1NjKVh@WavesAudioLtd @minetjp pic.twitter.com/M1Akj6bKC7
— SLEEP FREAKS (@SLEEPFREAKS_DTM) September 21, 2019
記事の担当 大鶴 暢彦/Nobuhiko Otsuru