ループレコーディングを行う Logic Pro の使い方
※最新のLogic Pro 11 解説はコチラから
特定箇所を繰り返しレコーディングできる
ベストプレイが録れるまで、何度もレコーディングを行えるのがDTMの醍醐味です。
ただ、そのベストテイクに至るまで 「再生→失敗→停止→再生→失敗→停止」 では効率が悪く大変です。
そこで活用したいのが、この「ループレコーディング機能」です。
特定箇所を繰り返しレコーディングすることができるため
レコーディンの時間、手間を大きく削減することができます。
Logic 便利なレコーディング機能
ループレコーディングの解説
- Logic X
- Logic 8/9
Logic X_ ループレコーディング使用方法
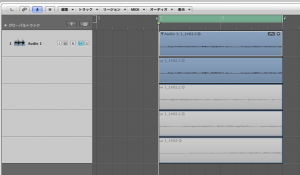
ロケータからループレコーディングの範囲を選択し、サイクルをオンにします。
後は通常通りのレコーディングを行います。
「レコーディングの方法」
ロケータ指定箇所を繰り返しレコーディングし続けることができます。
気に入ったテイクが録れた後、停止させます。
このように全てのテイクが録音されます。
停止後は最終テイク(ベストテイク)が優先的に表示、再生されます。
またループにて録音したテイクを組み合わせ1つのテイクを作成することができます。
「ループレコーディングからベストテイクを作成」
最終テイクのみを残す
上記のループレコーディングは全てのテイクを保存しますが、
作業用途により最終テイクのみ保存、表示させたい場合は
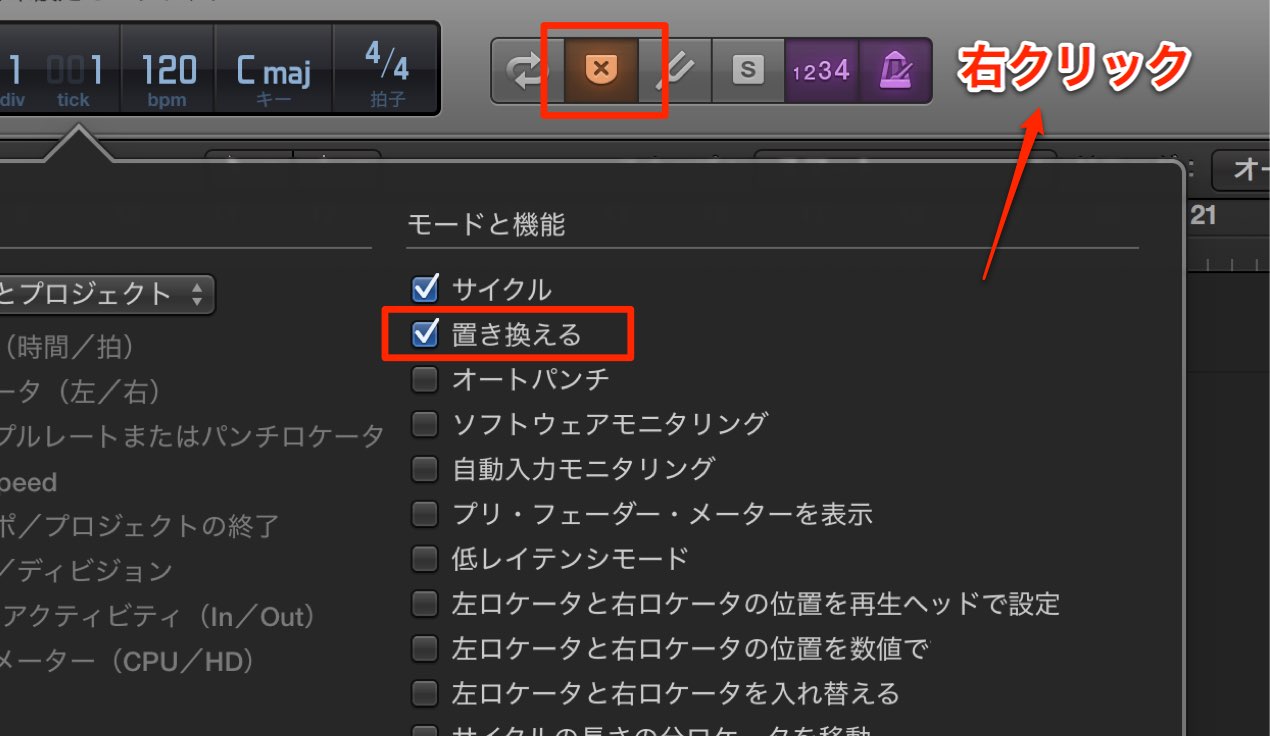
トランスポートの「置き換えボタン」を点灯させレコーディングを行います。
これにより重なった古いレコーディングは完全に削除されます。
「置き換えボタン」が表示されていない場合は、
空きスペースを右クリックし、チェックを入れることで表示が可能です。
Logic _ ループレコーディング使用方法
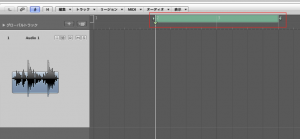
↑ ロケータでループレコーディングしたい部分を選択し、
通常通りにレコーディングを開始します。
「レコーディングの方法」
ロケータ指定箇所を繰り返しレコーディングし続けることができます。
気に入ったテイクが録れた後、停止させます。
↑ このように全てのテイクが録音されます。
停止後は最終テイク(ベストテイク)が優先的に表示、再生されます。
またループにて録音したテイクを組み合わせ1つのテイクを作成することができます。
「ループレコーディングからベストテイクを作成」
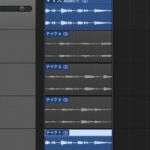
ループレコーディングからベストテイクを作成
ループレコーディングにより録音されたトラックを全て保存し、レコーディング後に良い部分のみを選出し組み合わせることができます。
最終テイクのみを残す
上記のループレコーディングは全てのテイクを保存しますが、
作業方針により最終テイクのみ保存、表示させたい場合は
↑ トランスポートの赤囲み部分「置き換え」ボタンを点灯させます。
これにより最終テイクのみが表示されます。
- Logic X
- Logic 8/9
最後に
お疲れ様でした。
パソコン音楽制作のためのDAW操作を解説してきました。
ここまでの操作を把握していれば、Logicをかなり快適にオペレートすることができると思います。
そして、「パソコン音楽制作は決して難しいものではない」ということもお分かりいただけたのではないでしょうか?
慣れるまでは、出来るだけ毎日ソフトを触る様にし、
体に操作を覚えこませください。
DAWにはこの他にも様々なテクニックがあります。
ここまでご紹介した項目を応用したテクニックを「上級編」としてご紹介しています。
是非、覗いてみてください。
皆様の素晴らしい音楽ライフをお祈りしています。
頑張ってください。


