Ultrabeat is not just a drum machine: by using its synthesizer section, it is a plug-in that lets you freely create sounds such as kicks and snares. This article explains in detail practical techniques for producing professional kick sounds, from choosing between the oscillator modes (Phase OSC, FM, Side Chain) and adjusting parameters, to setting pitch changes and envelopes, and finishing the sound with EQ and Stereo Spread. Mastering these techniques lets beginners and intermediate users create their own original kick sounds, greatly expanding their range of expression in music production.
Understand the synthesizer section and create a kick
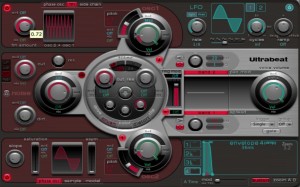
Ultrabeat is not just software for programming drums.
By using the synthesizer section, you can create sounds such as kicks and snares.
Ultrabeat video index
- 1Loading and saving kits
- 2Step sequencer 1
- 3Step sequencer 2
- 4Creating a kick *This article
- 5Creating a snare and hi-hat
- 6Using side-chaining and samples
Video point: Understanding the oscillators
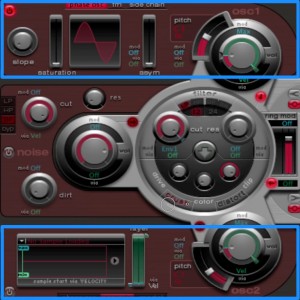
Ultrabeat has two oscillators (OSC).
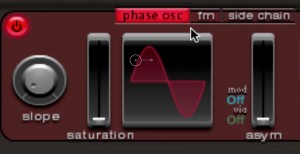
- "phase osc" mode: suited to simulating analog waveforms and analog-style sounds.
- "fm" mode: suited to generating bell-like digital sounds and metallic sounds.
- "side chain" mode: lets you input an external sound source
and send it through Ultrabeat's filter, envelopes, LFOs and step sequencer.
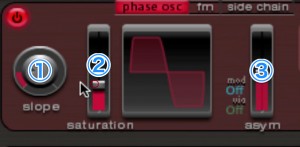
- "slope": sets the slope of the waveform.
The closer the slope is to vertical, the more character the sound has. - "saturation": raises the gain. As the value increases, the waveform gradually approaches a square wave,
and as a result the odd harmonics increase. - "asym": selects the skew of the waveform. As the value increases, the waveform tilts into a sawtooth wave,
so the sound becomes more clearly defined.
Video point: Changing the pitch and using an envelope
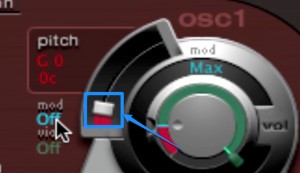
By default, the OSC pitch is set to "C 3".
Here, to create a kick sound, we change it to "G 0".
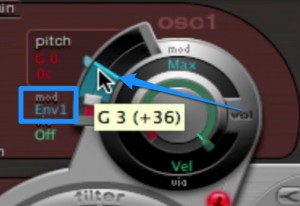
Change mod to "Env 1" and set the mod slider to "G 3", three octaves higher.
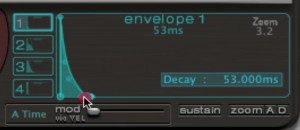
Then adjust "envelope 1". This alone brings the sound closer to a kick.
Video point: Using EQ and Spread
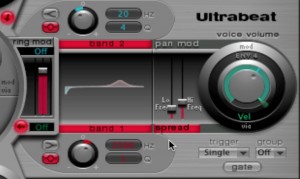
We cut the low end slightly with the EQ and boosted around 2k to help the sound cut through.
In addition, using spread ("Stereo Spread") lets you give the sound more width.
Please try creating your own kick sound!
Frequently Asked Questions
Q1. How do I choose between Ultrabeat's Phase OSC and FM oscillator modes?
Phase OSC is suited to simulating analog waveforms and analog sounds, making it good for natural, warm kick sounds. FM mode, on the other hand, is suited to generating bell-like and metallic digital sounds, letting you create more modern and distinctive kicks.
Q2. What is the basic pitch setting when creating a kick?
The default is C3, but G0 is the standard setting for kick sounds. Then, by using Env1 as the mod source and setting it to rise three octaves to G3, you get a typical kick sound.
Q3. How do I help a kick cut through the mix in Ultrabeat?
Cutting the low end slightly and boosting around 2 kHz in the EQ section improves how well it cuts through. Using the Stereo Spread function also adds width to the sound, giving you a more polished kick.
NEW ARTICLES
Latest English Articles