Exploring Generate, Mutate, and Animator’s new Freeze mode
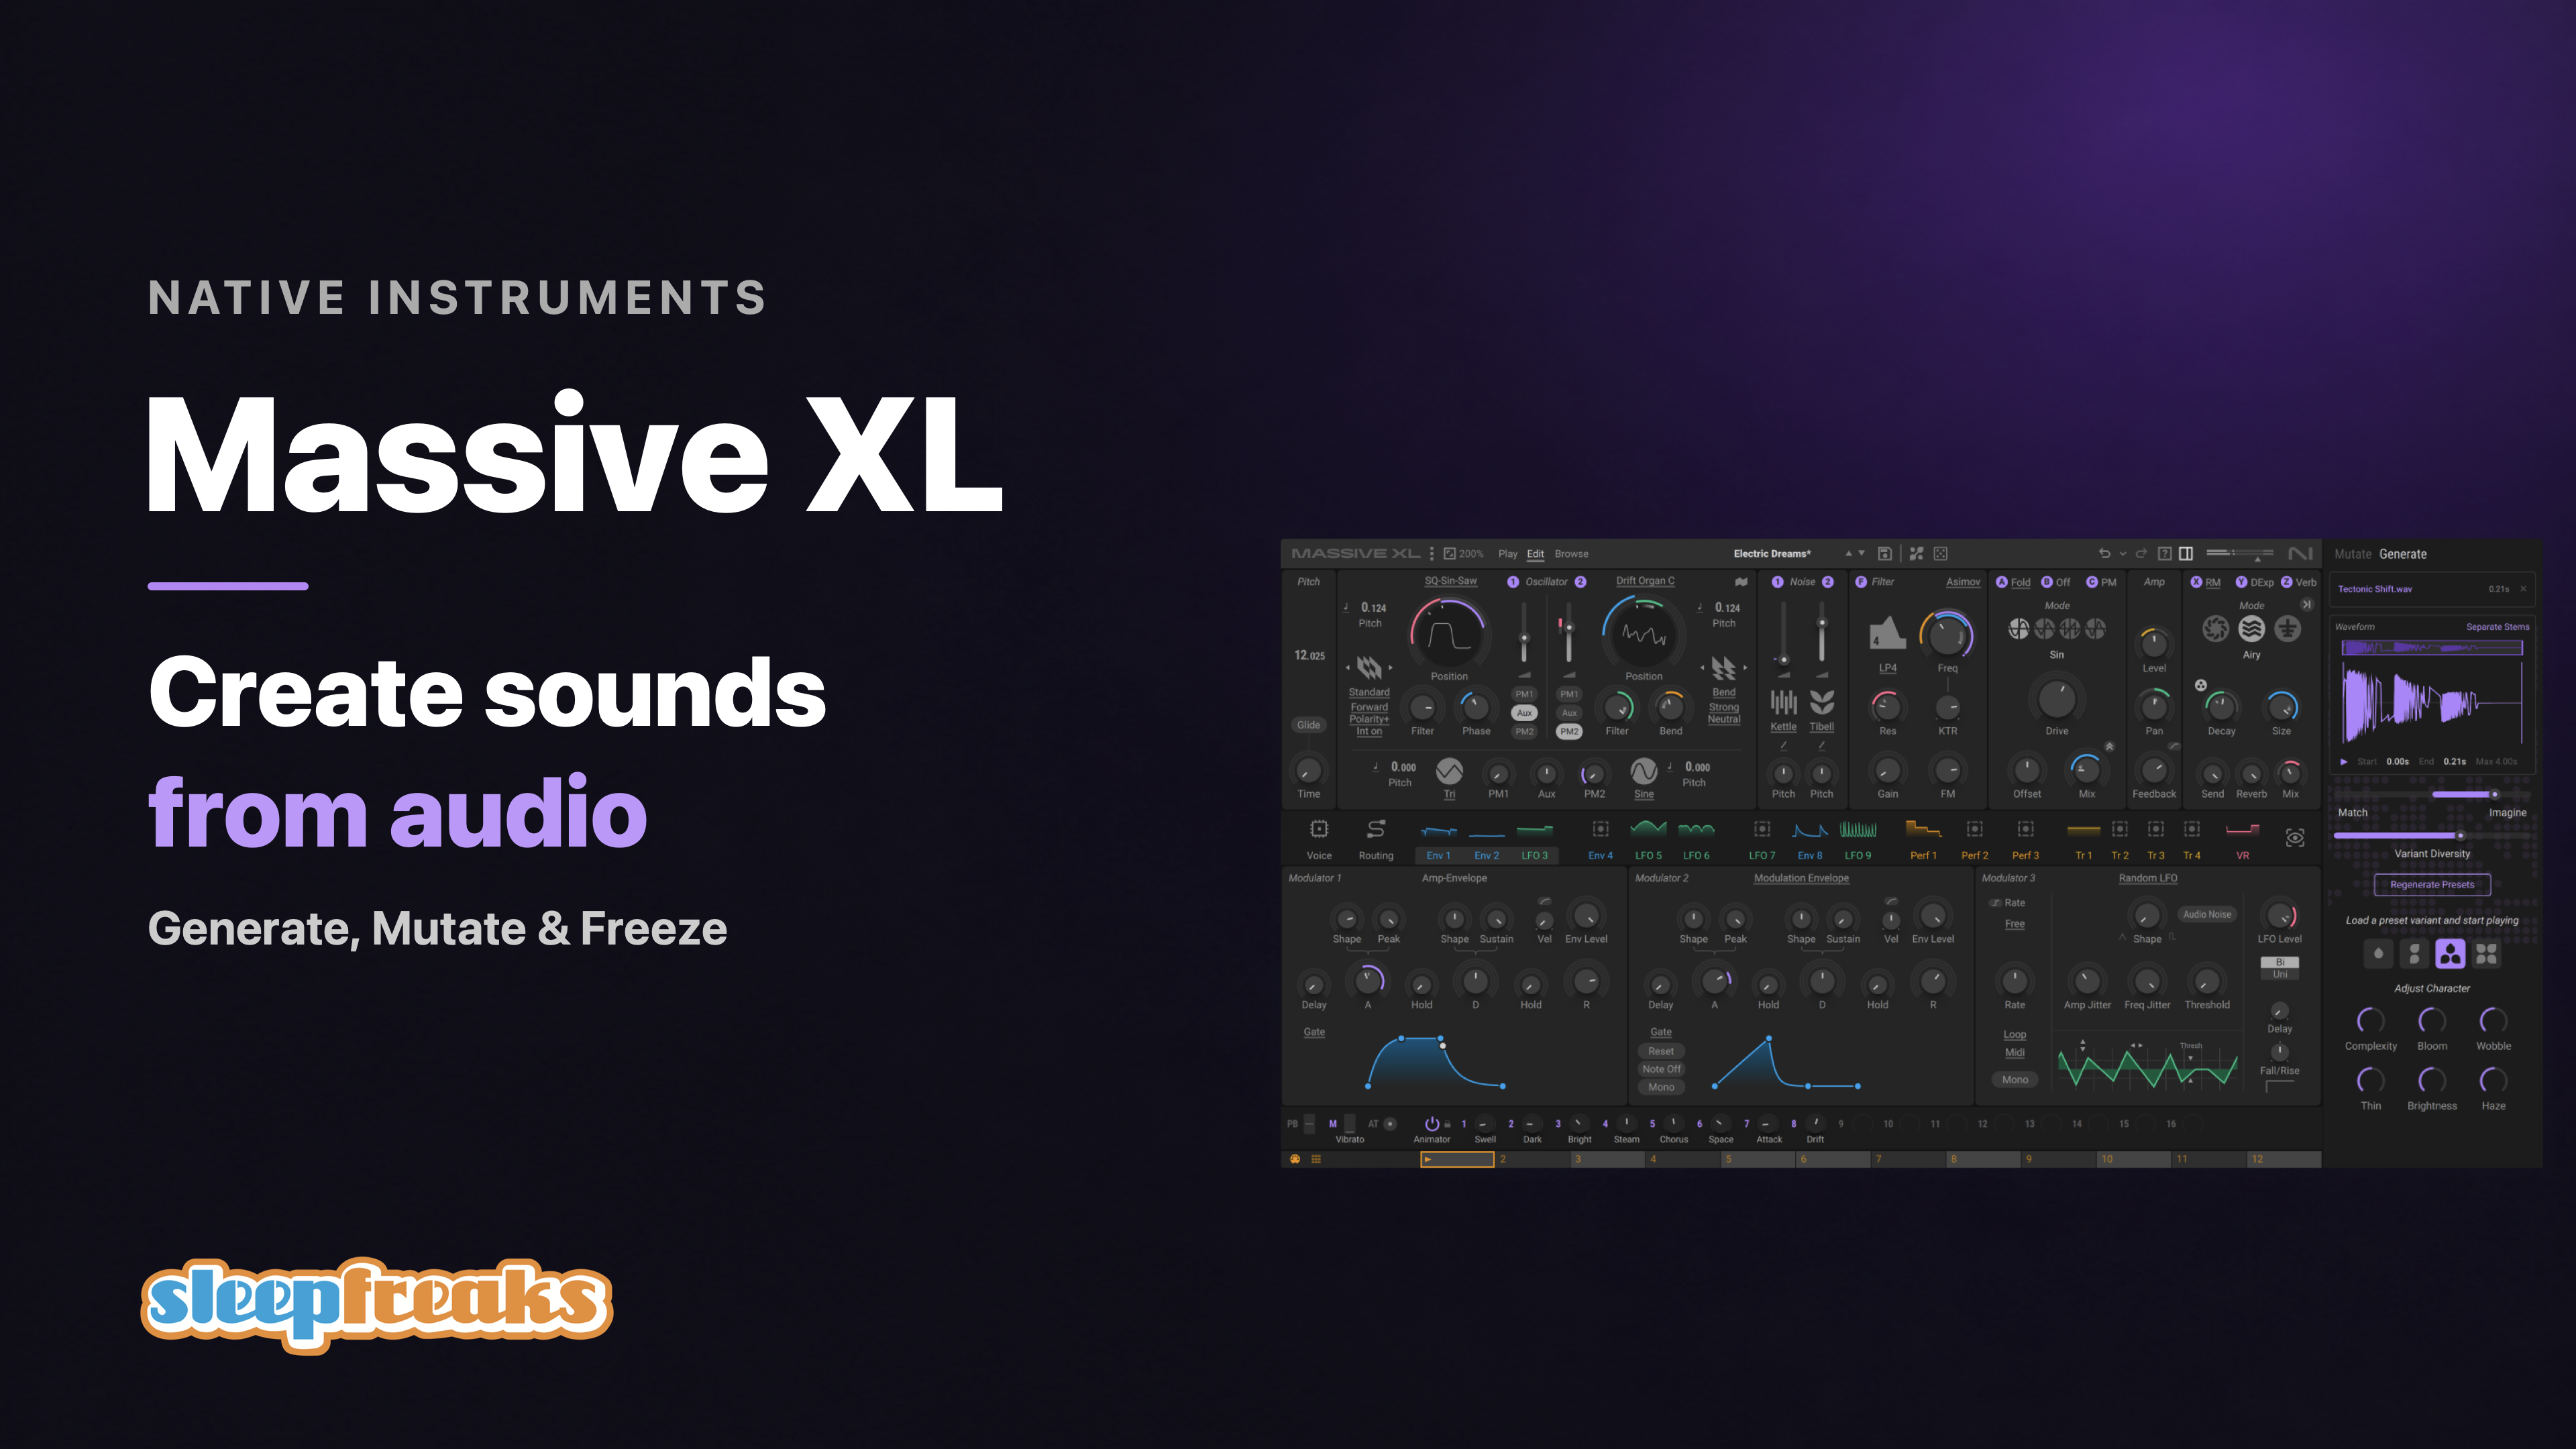
Native Instruments has introduced Massive XL.
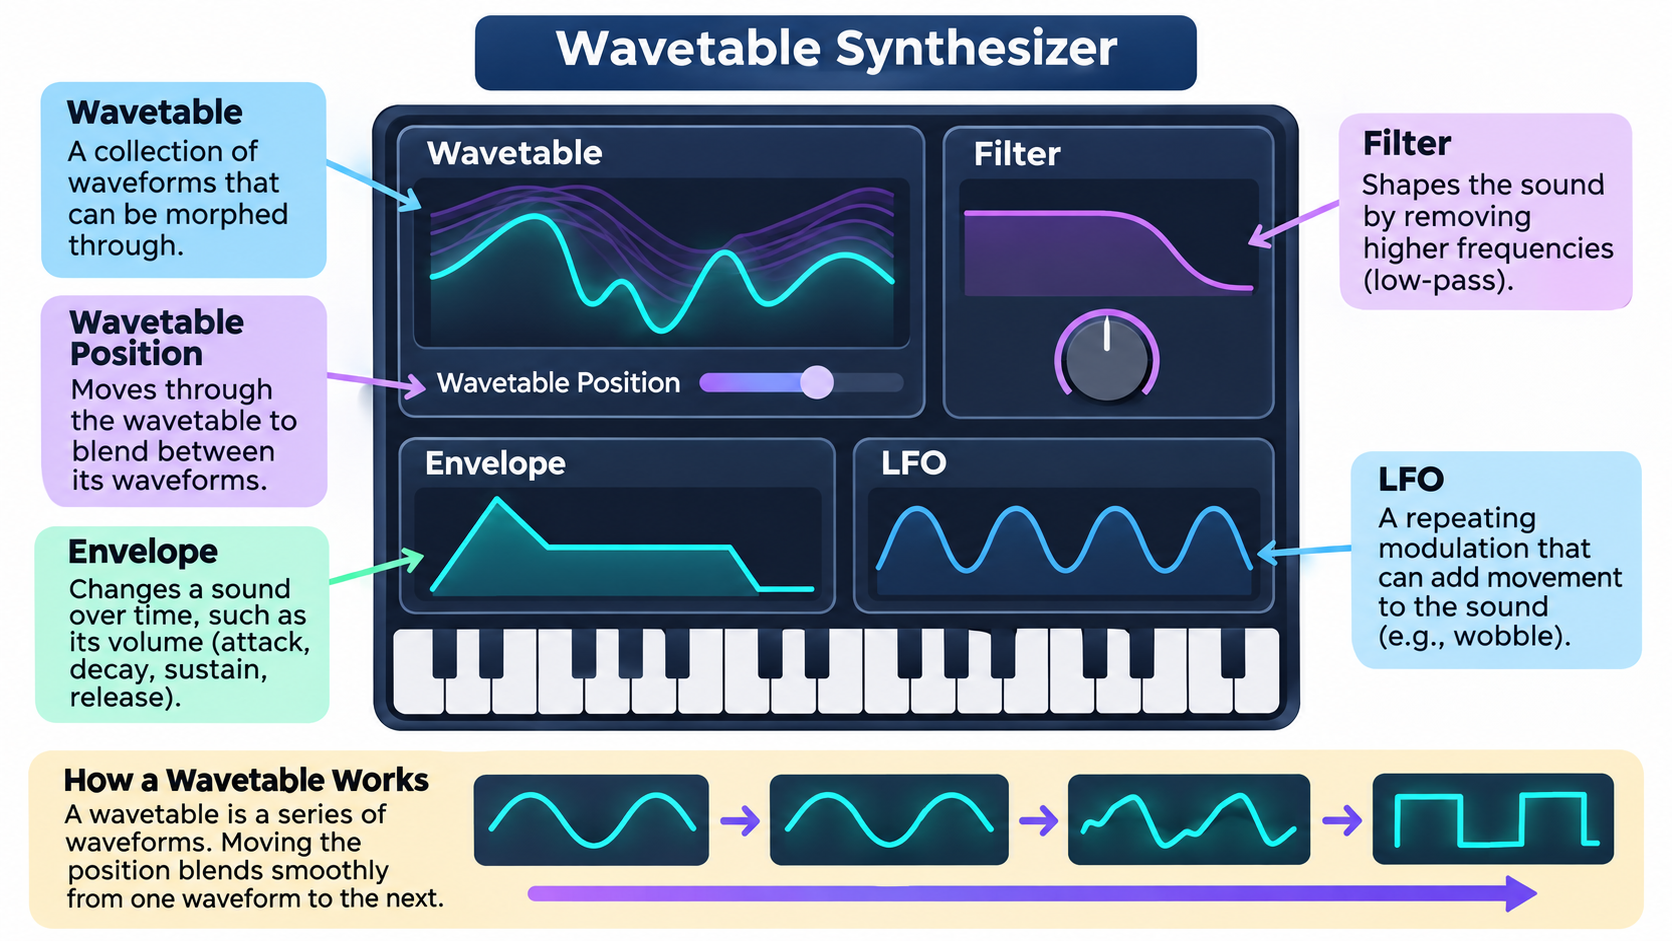
Developed from Massive X, this wavetable synthesizer brings several new features together on the right side of the interface. Some images below are conceptual diagrams rather than screenshots of the actual interface.
The highlight is a feature that creates a similar sound when you load an audio file.
For guides to Massive and Massive X, see these articles.

How to Use Massive | Native Instruments
Native Instruments’ Massive is a subtractive synthesizer used by music producers of all levels. Its thick, powerful sound is well suited to bass and lead sounds.

MASSIVE X Guide: Overview and Features | Native Instruments
MASSIVE X is a next-generation software synthesizer from Native Instruments and a major evolution of the original MASSIVE, with more than 350 presets.
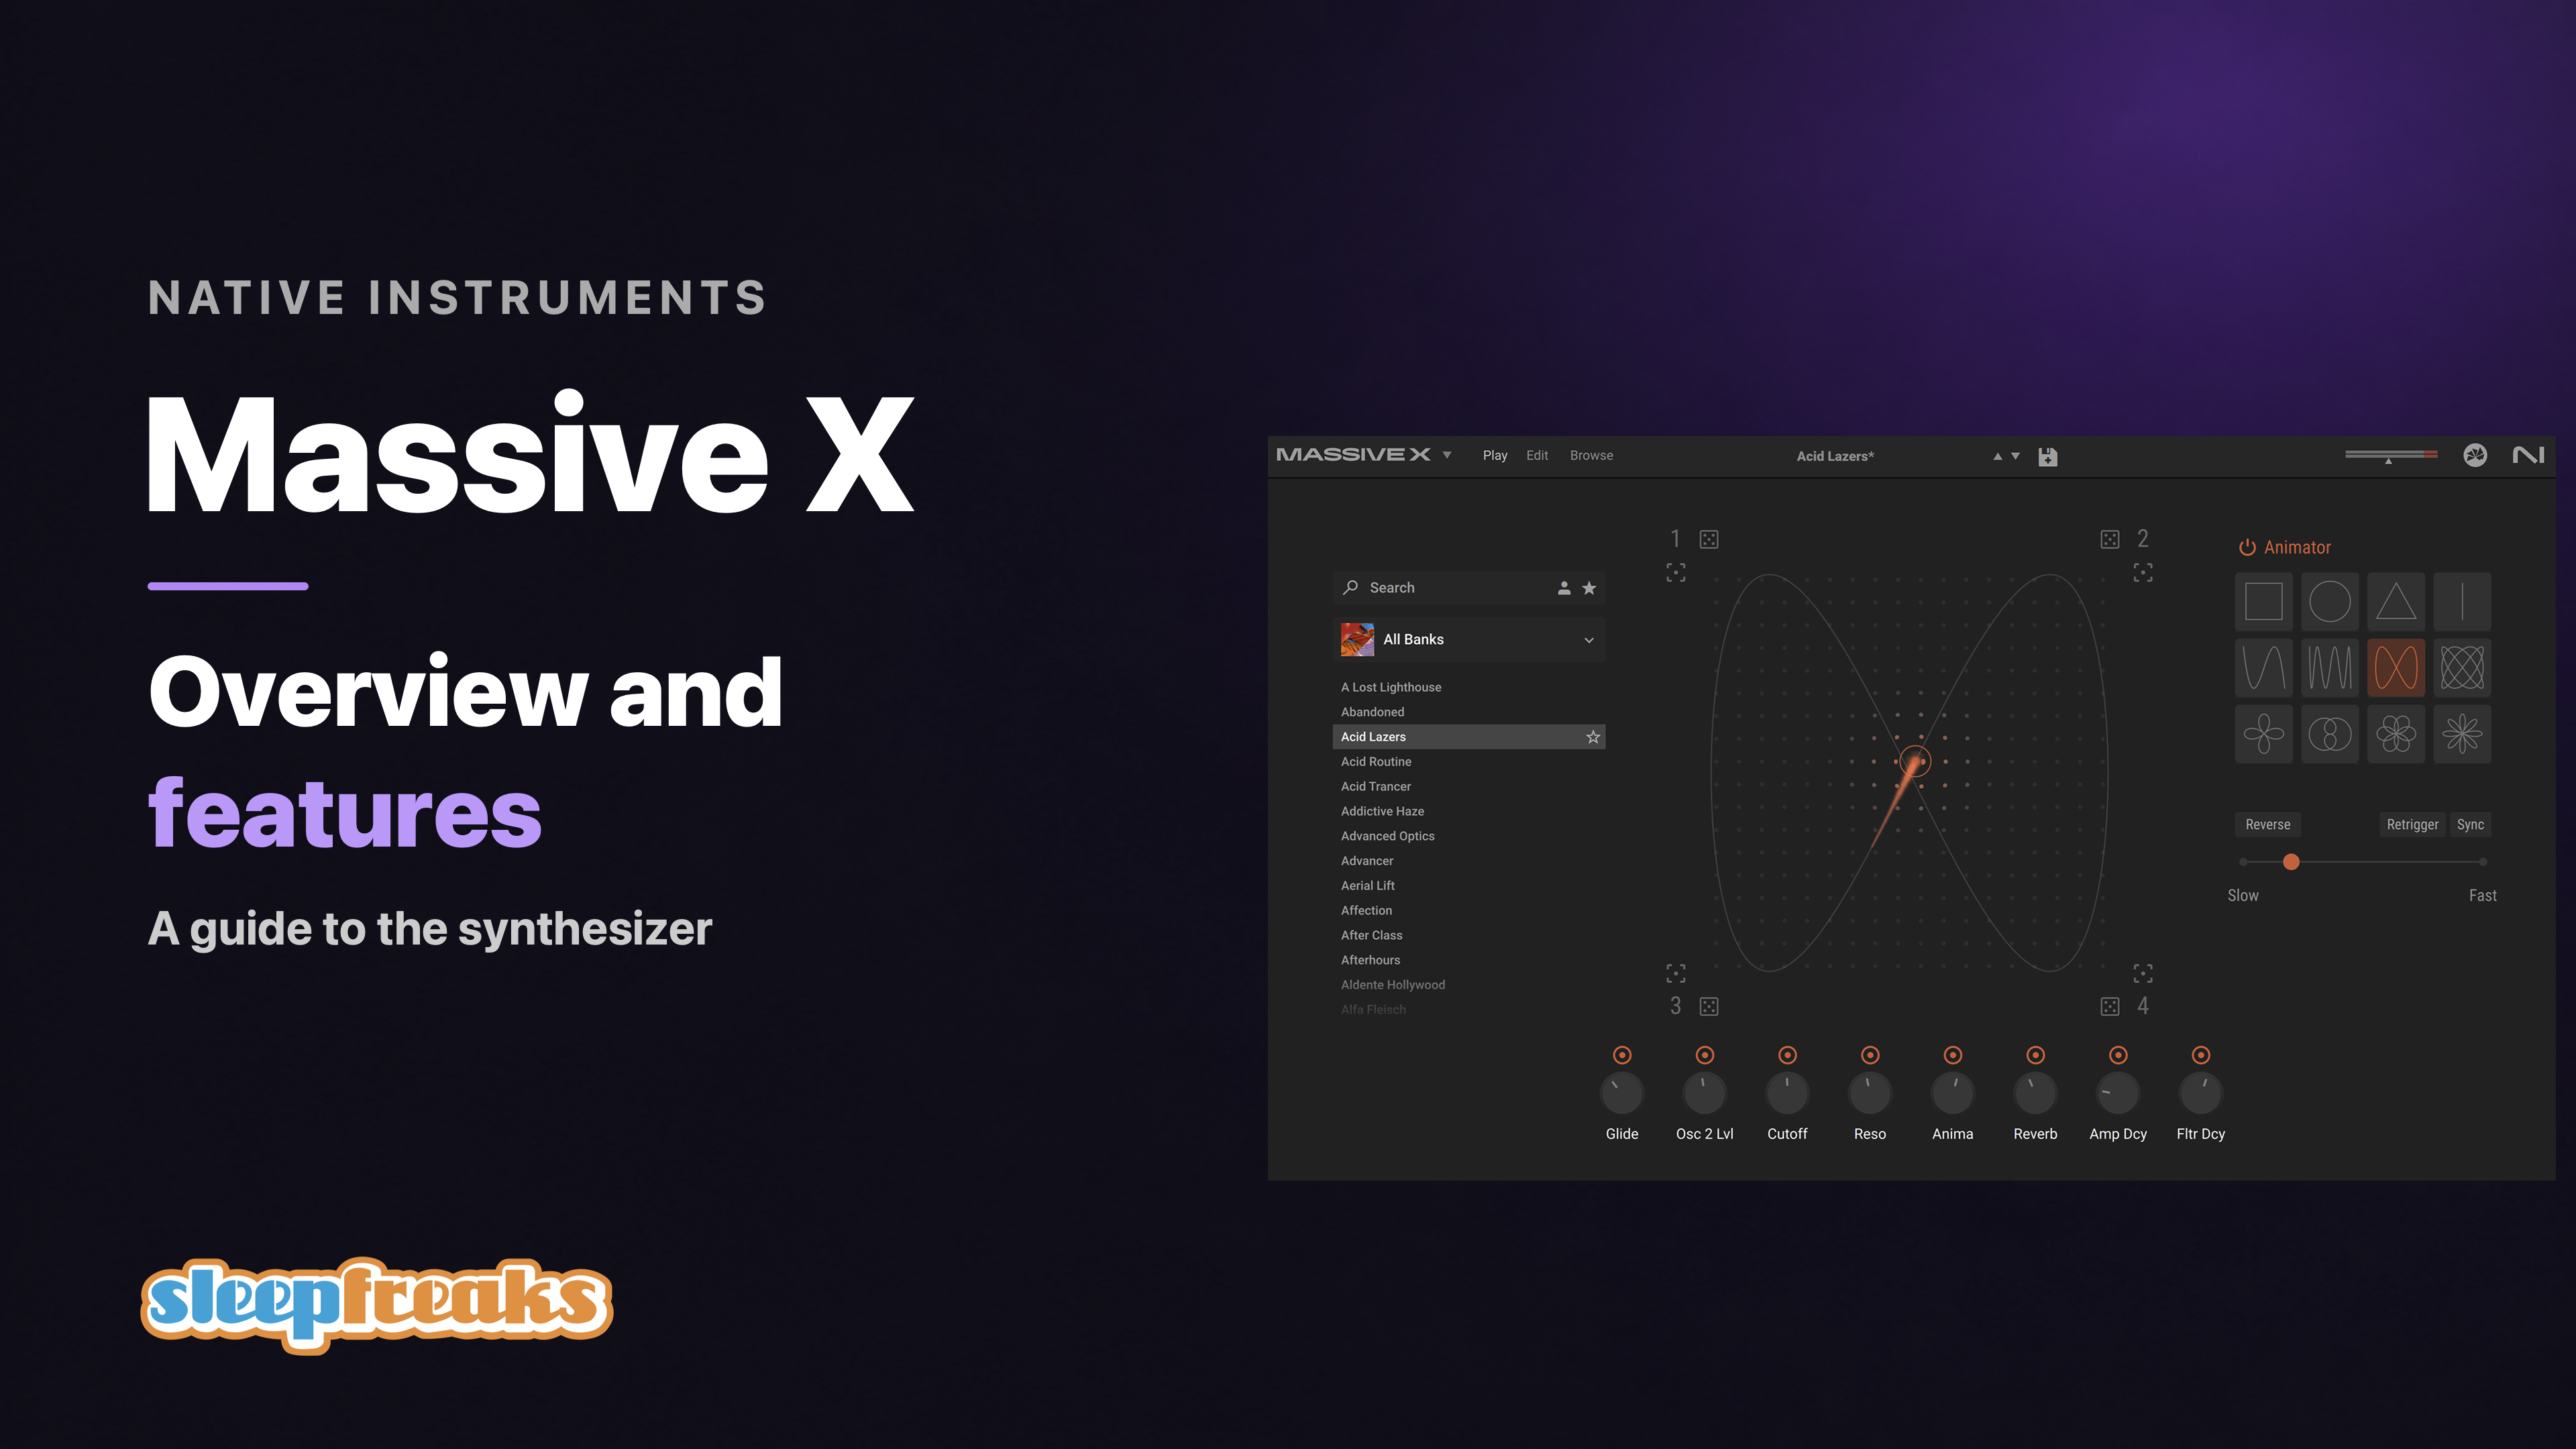
Here are four highlights of Massive XL:
- Generate: create a similar-sounding preset from audio
- Mutate: explore alternatives to the current sound using other presets as references
- Animator: give individual notes different character with the new Freeze mode
- Effects: Raum, Replika Shimmer, and Tape Wobble have been added
Video
Create sounds from audio with Generate
Generate uses imported audio as a reference to create a similar sound inside Massive XL.
Because it creates a synth sound rather than playing the original recording, you can play different phrases and adjust the sound.
First, import an audio file.
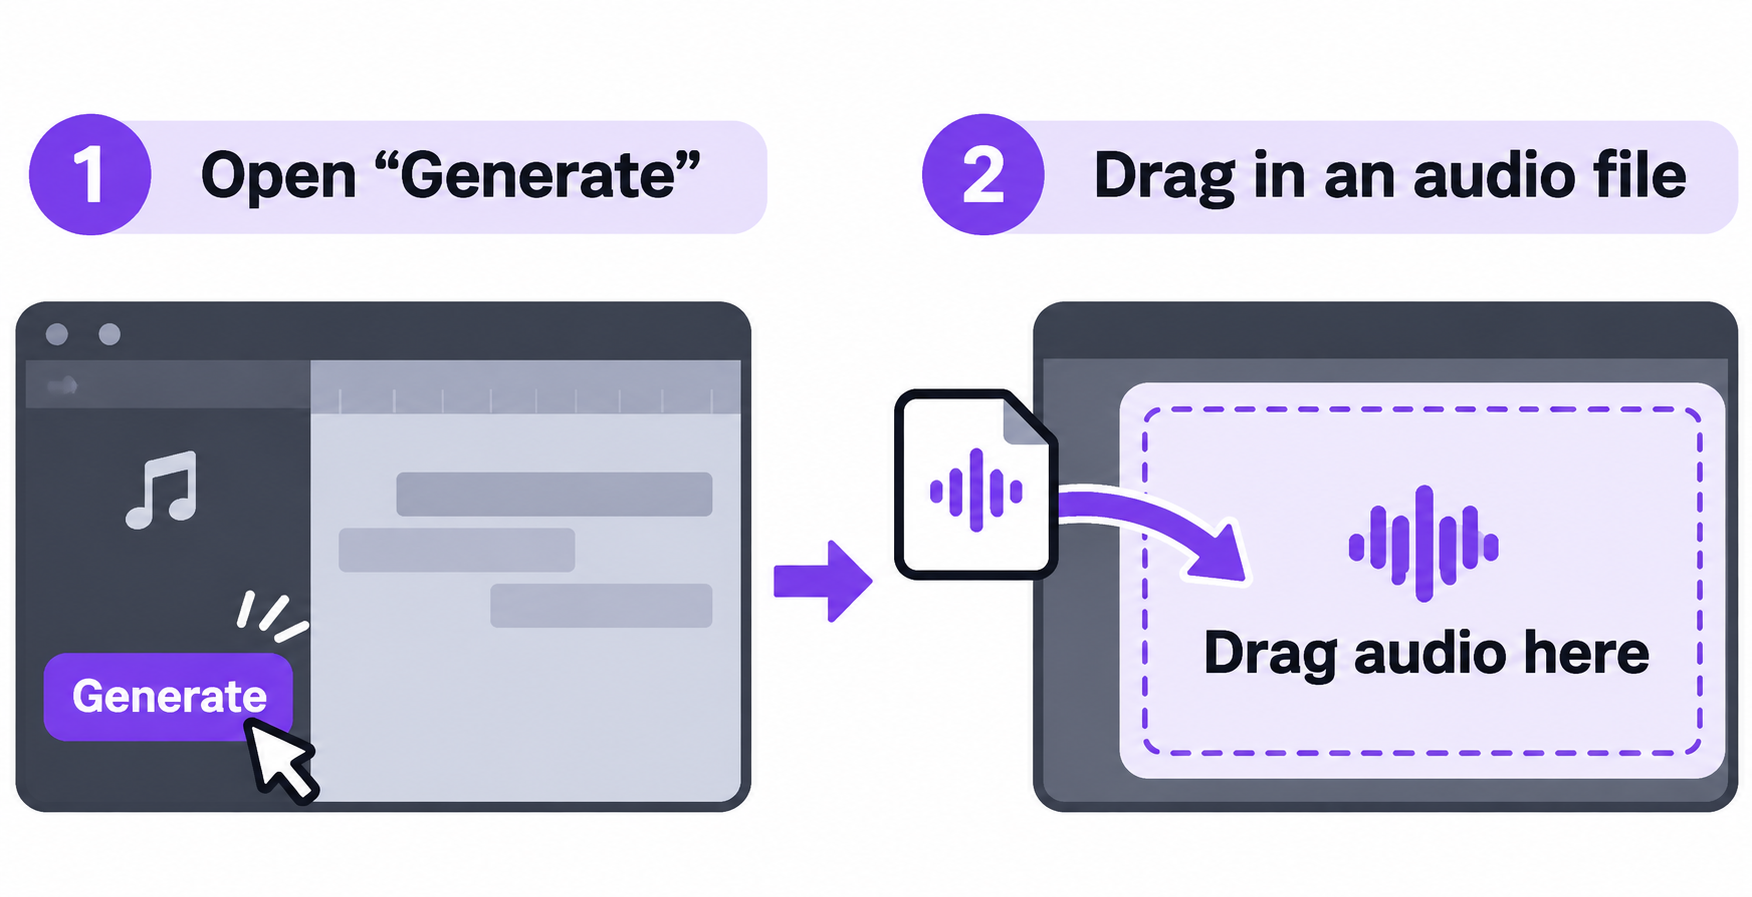
You can drag in files from your computer or audio regions from your DAW.
Audio up to 30 seconds long is supported in WAV, AIFF, MP3, or FLAC format.
Separate a part from a song
You can even import a complete song containing multiple instruments.
Use stem separation to extract the part you want to use as a reference.
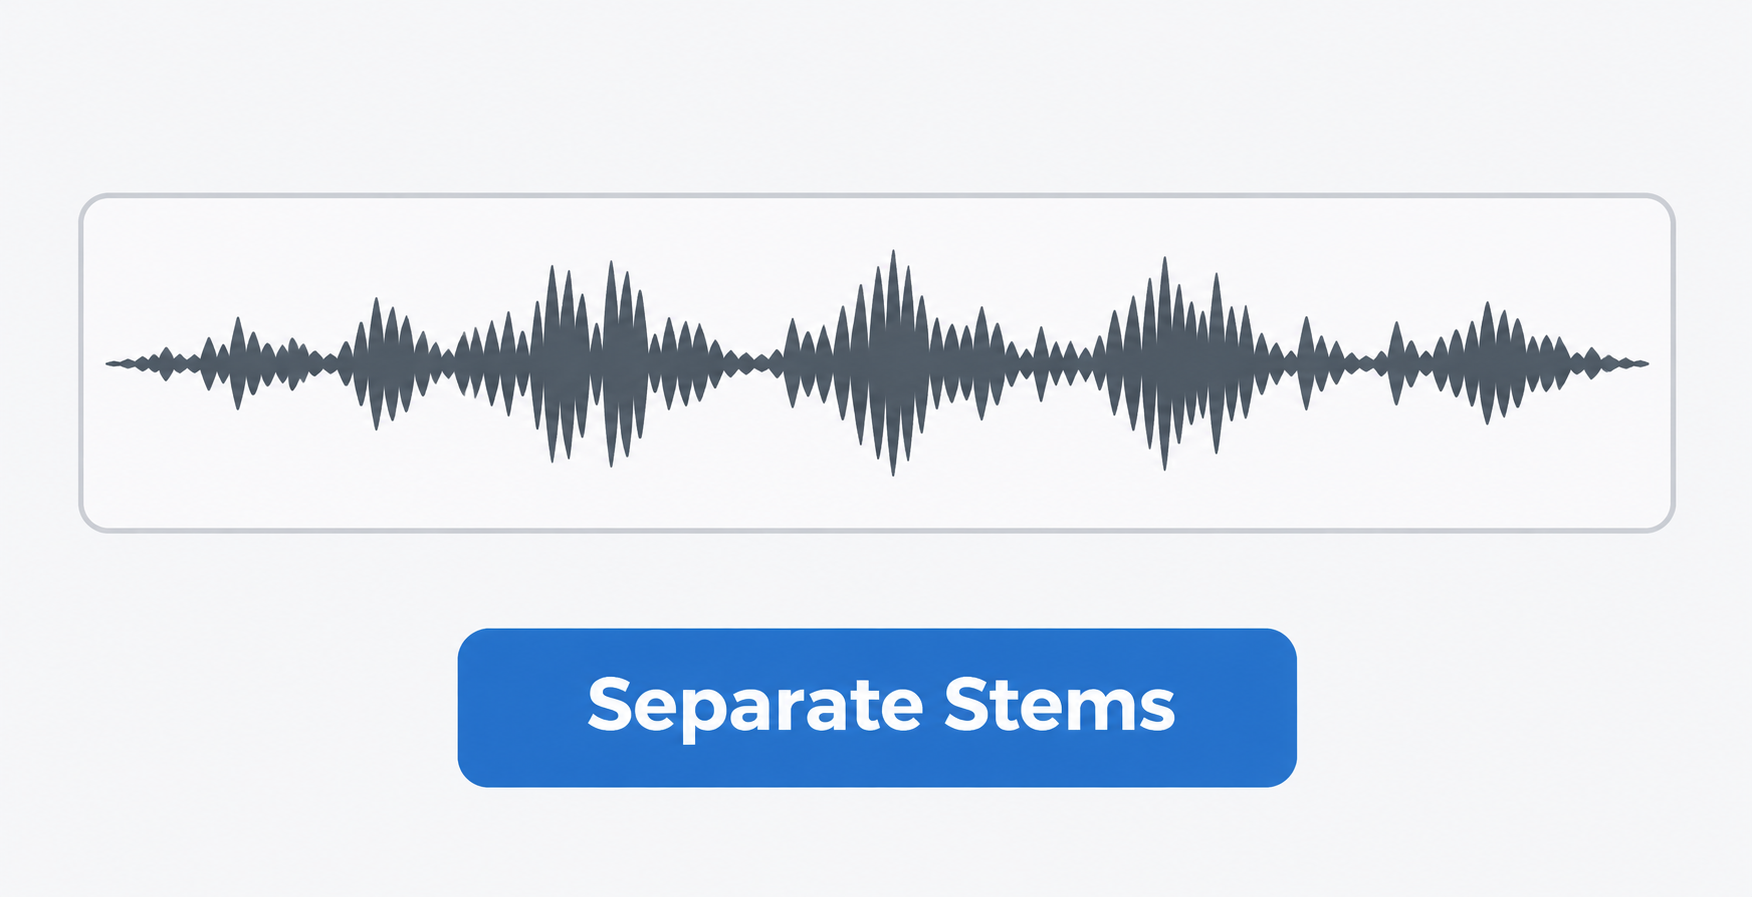
The audio is separated into four parts: Vocals, Bass, Drums, and Other.
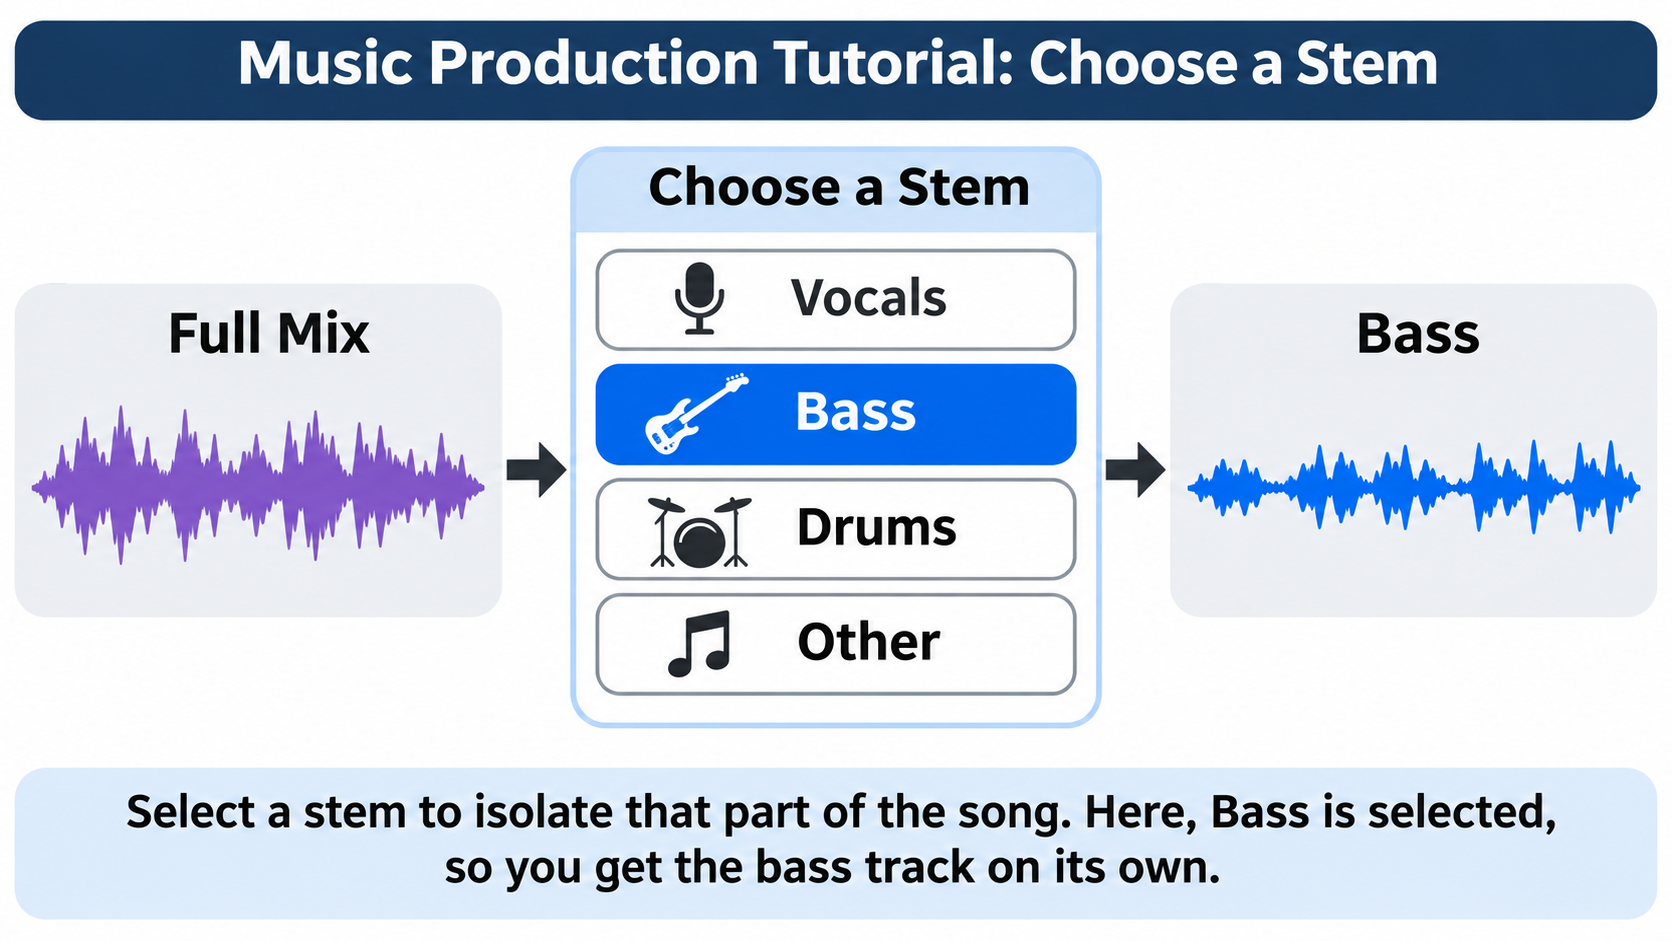
It is useful to have stem separation, like that found in a DAW, available directly inside the synthesizer.
You can listen to each separated part individually.
The quality of the separation and the similarity of the generated sound are separate considerations, so listen to both as you work.
For example, when editing an AI-generated song in your DAW, you could recreate a sound from the song in Massive XL and use that as a starting point for your own sound design.
If you can export a song as individual parts, importing the relevant part saves the separation step.
The four separation categories are Vocals, Bass, Drums, and Other. Synth leads, pads, and plucks are grouped under Other, so you cannot isolate one particular synth from that group. A song with only one synth sound, or material already separated into parts, makes it easier to target the sound you want.
Set the amount of similarity and generate presets
Before generating, use two sliders to decide how closely the results should resemble the source.
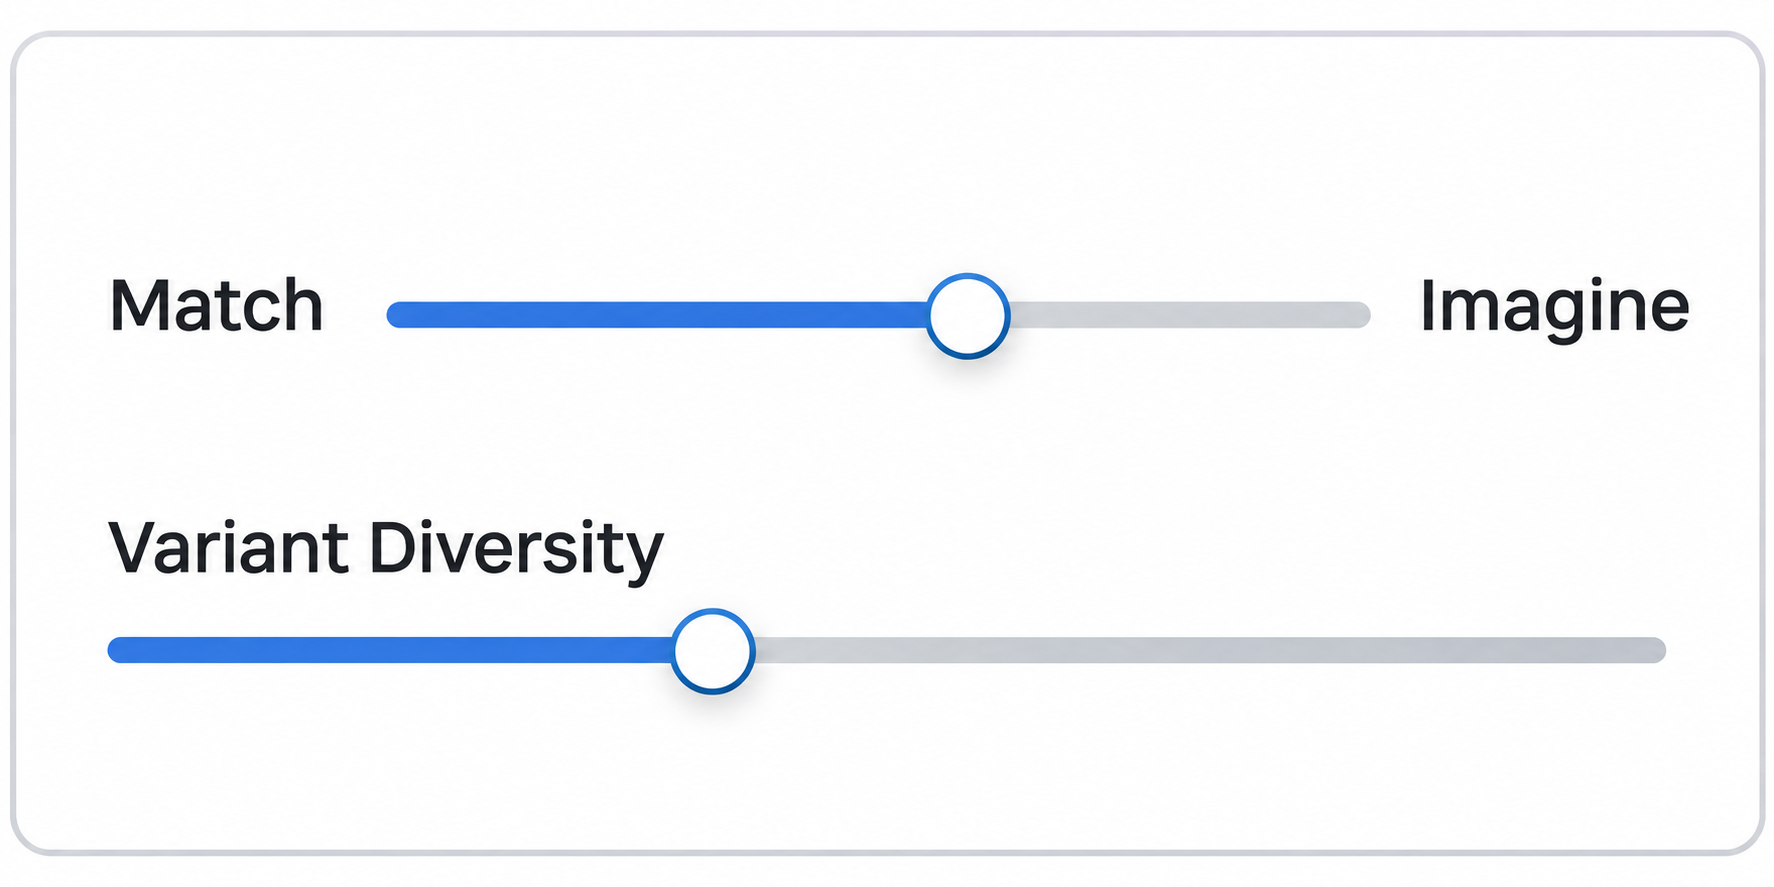
Move the upper slider toward Match for a closer result, or toward Imagine for sounds that move further away from the source.
The lower Variant Diversity slider determines how different the four generated candidates will be from one another.
At 0, all four sound similar; increasing it sends each candidate in a different direction.
To get close to the original, we recommend moving the slider fully toward Match and setting Variant Diversity to 0.
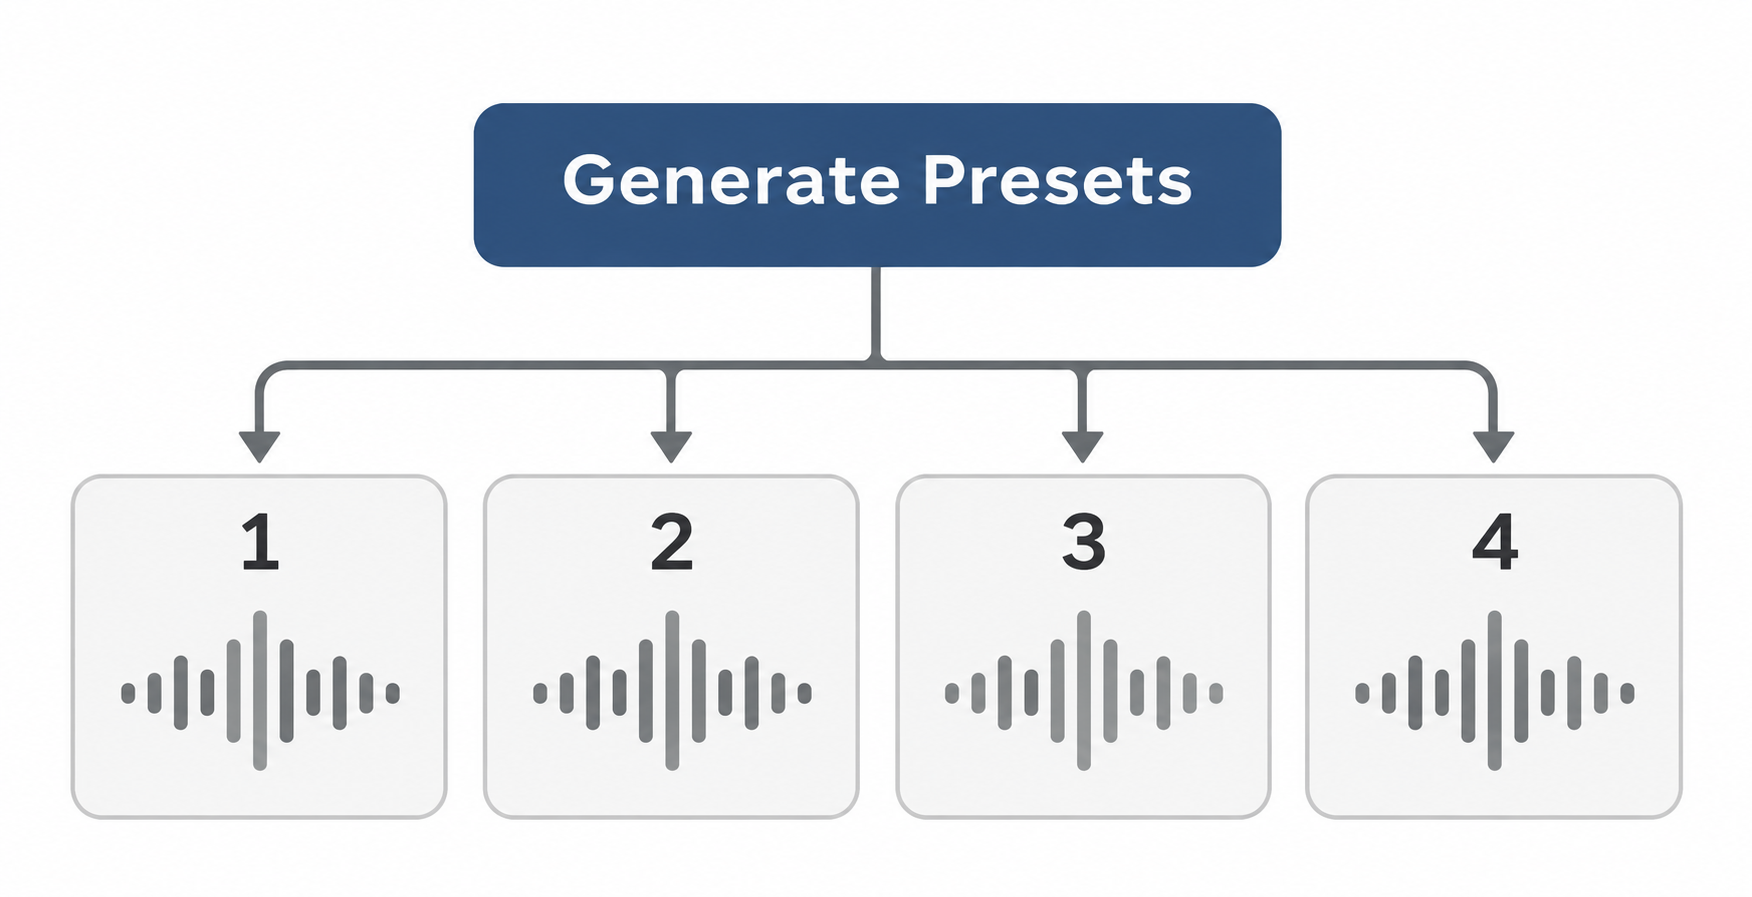
Four presets are created.
After generation, the button changes to Regenerate Presets; use it to create new candidates after changing the sliders.
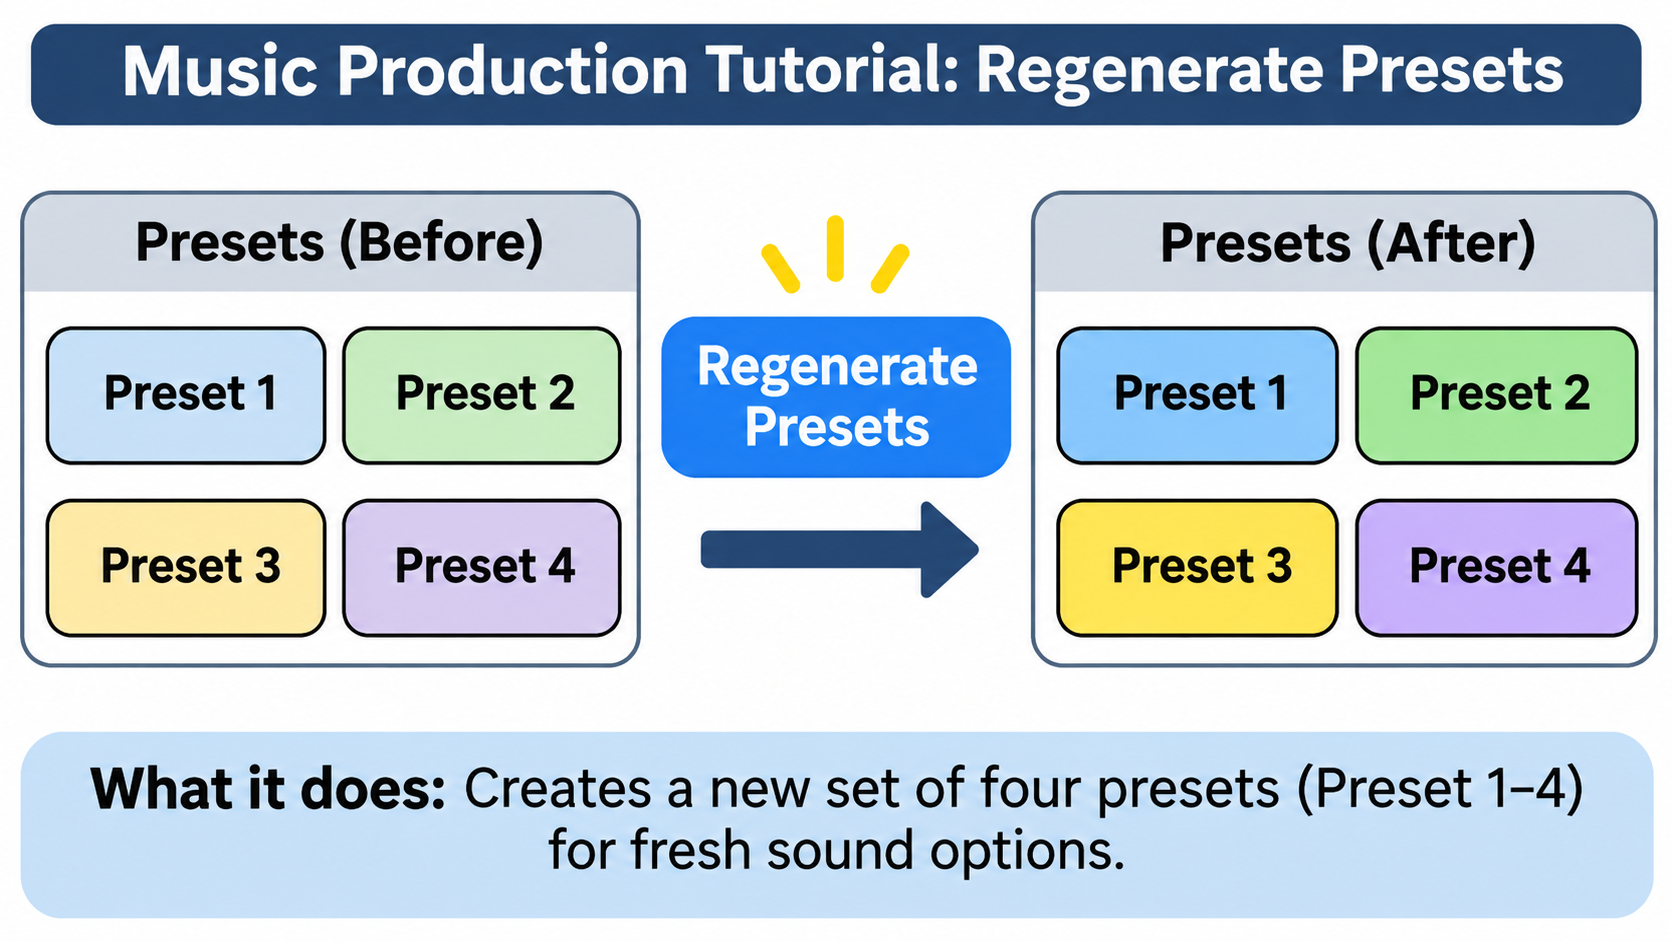
Play the same phrase with each candidate and choose the one closest to the source.
Because the result is a synth preset rather than a sample, you can freely adjust its parameters.
For example, if a bass sound lacks low end, you can layer oscillators to add it.
Adjust the character with knobs
Even if you are new to synthesizers, you can make the main adjustments with the knobs at the lower right.
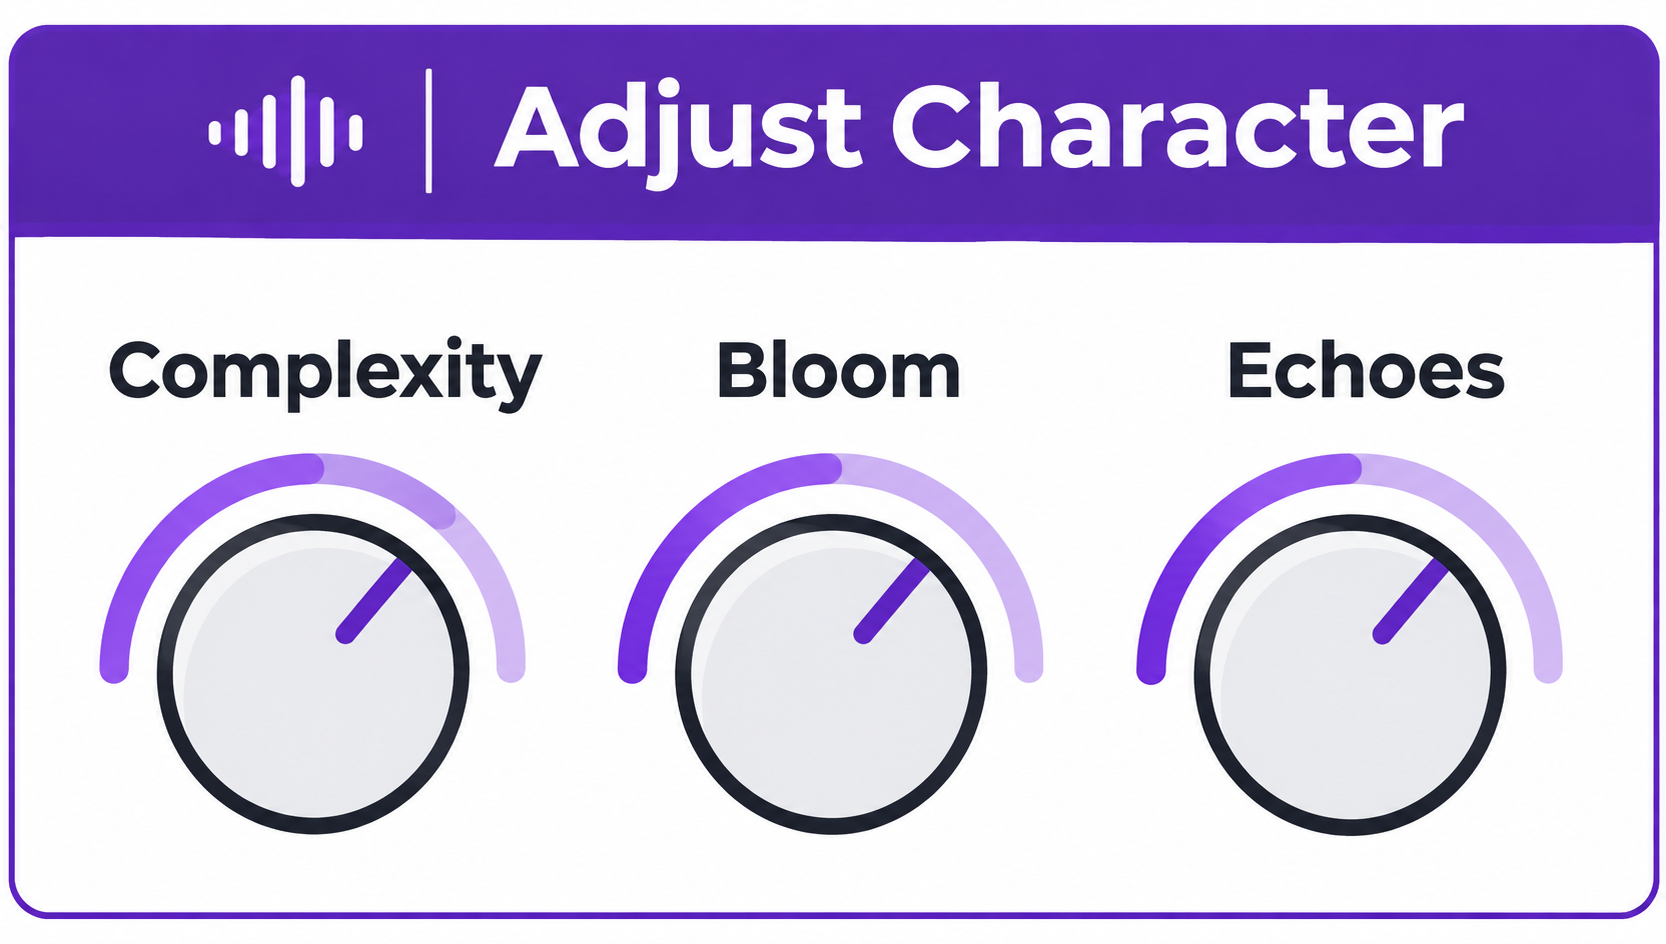
For example, Complexity deepens modulation for a more complex sound, Bloom adds reverb, and Echoes adds delay.
The available knobs differ between candidates; some, such as Crush, add distortion.
Move the knobs one at a time and listen to the changes as you shape a sound for your song.
Create sounds from samples
Generate is useful with sample material as well as complete songs.
It can help you develop an existing loop or play a different phrase with a similar sound.
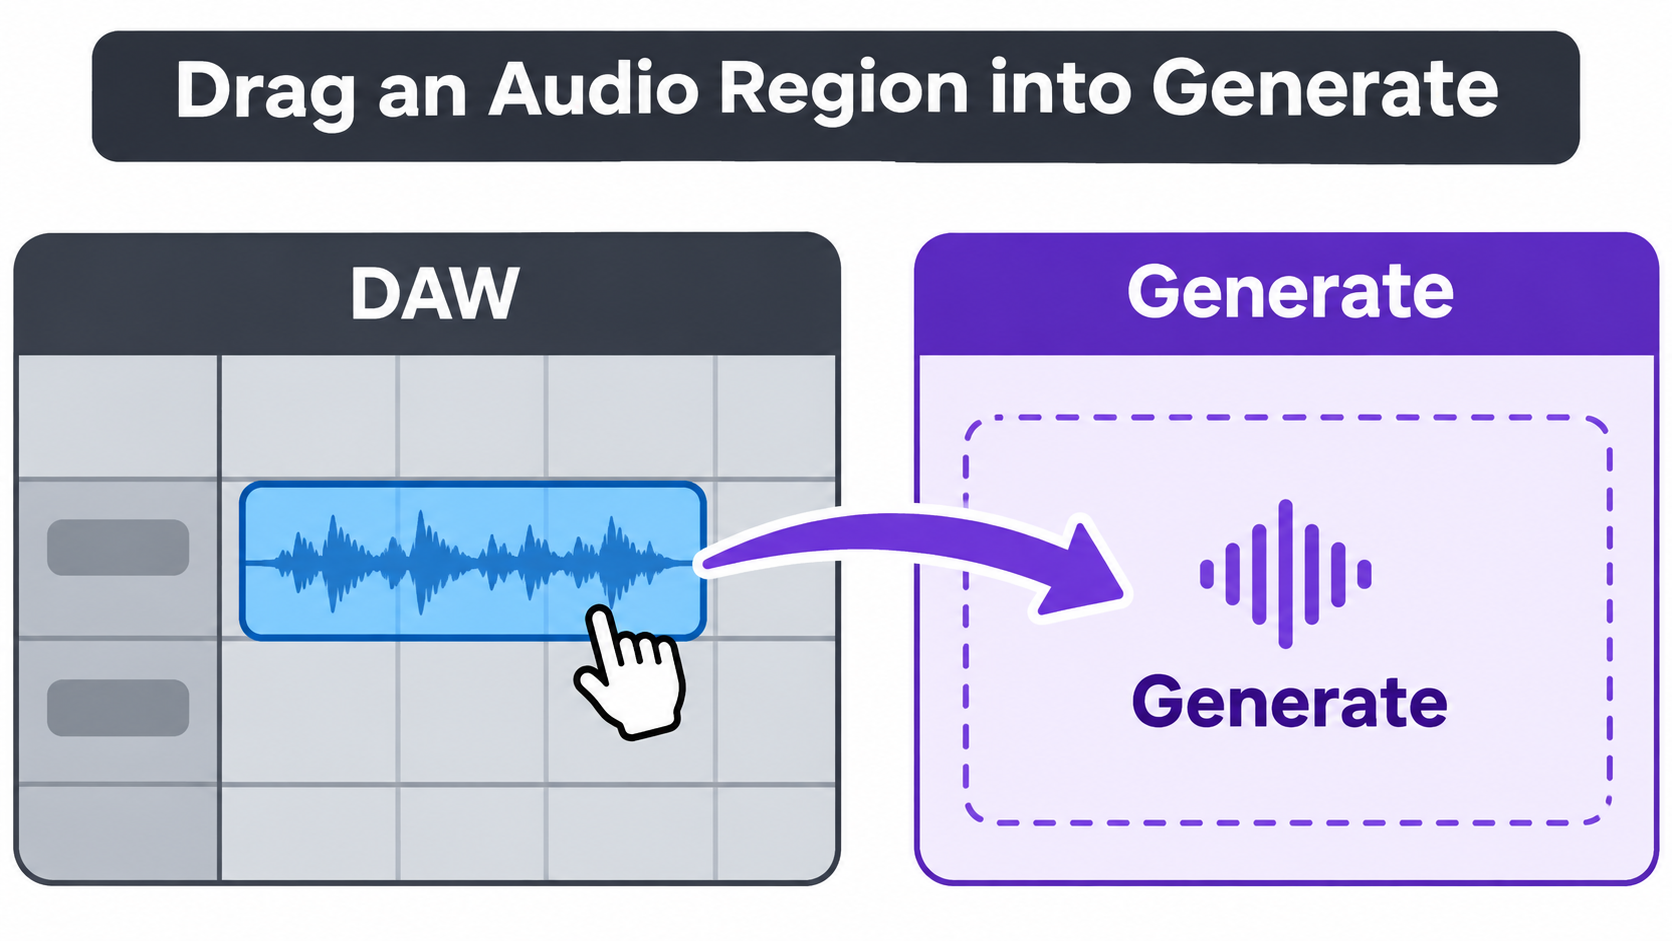
If you cannot drag directly from a sample-management app, place the audio on a DAW track first and import it from there.
Narrow the reference range
Using an entire loop can include changes over time, such as a filter opening.
You can select the range to use as the reference.
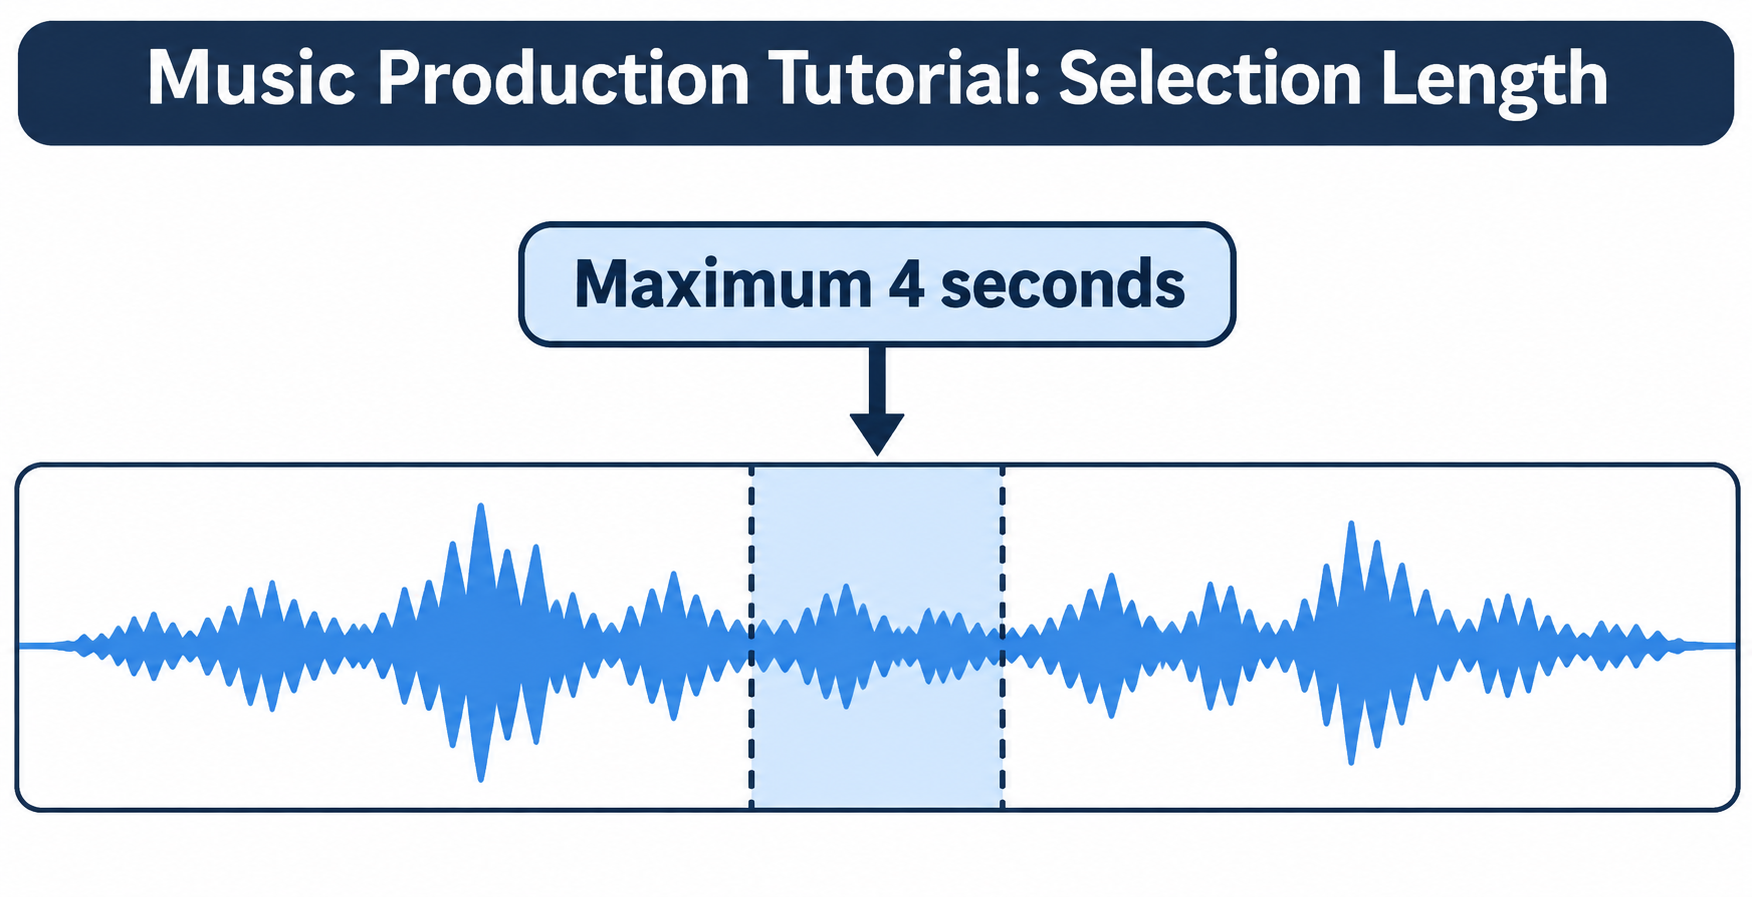
The reference range can be up to four seconds long.
In our tests, compared with a section that changes in complex ways, selecting one short note made it easier to get the intended result.
For example, select a single chord from a loop and generate toward Match; when you play the keyboard, the resulting sound can closely resemble the source.
Adjust the notes in a chord
When the source is a chord, the resulting sound can reproduce it as a chord from a single key press.
You can use it as-is, but adjusting the layered oscillators makes it more flexible for other phrases.
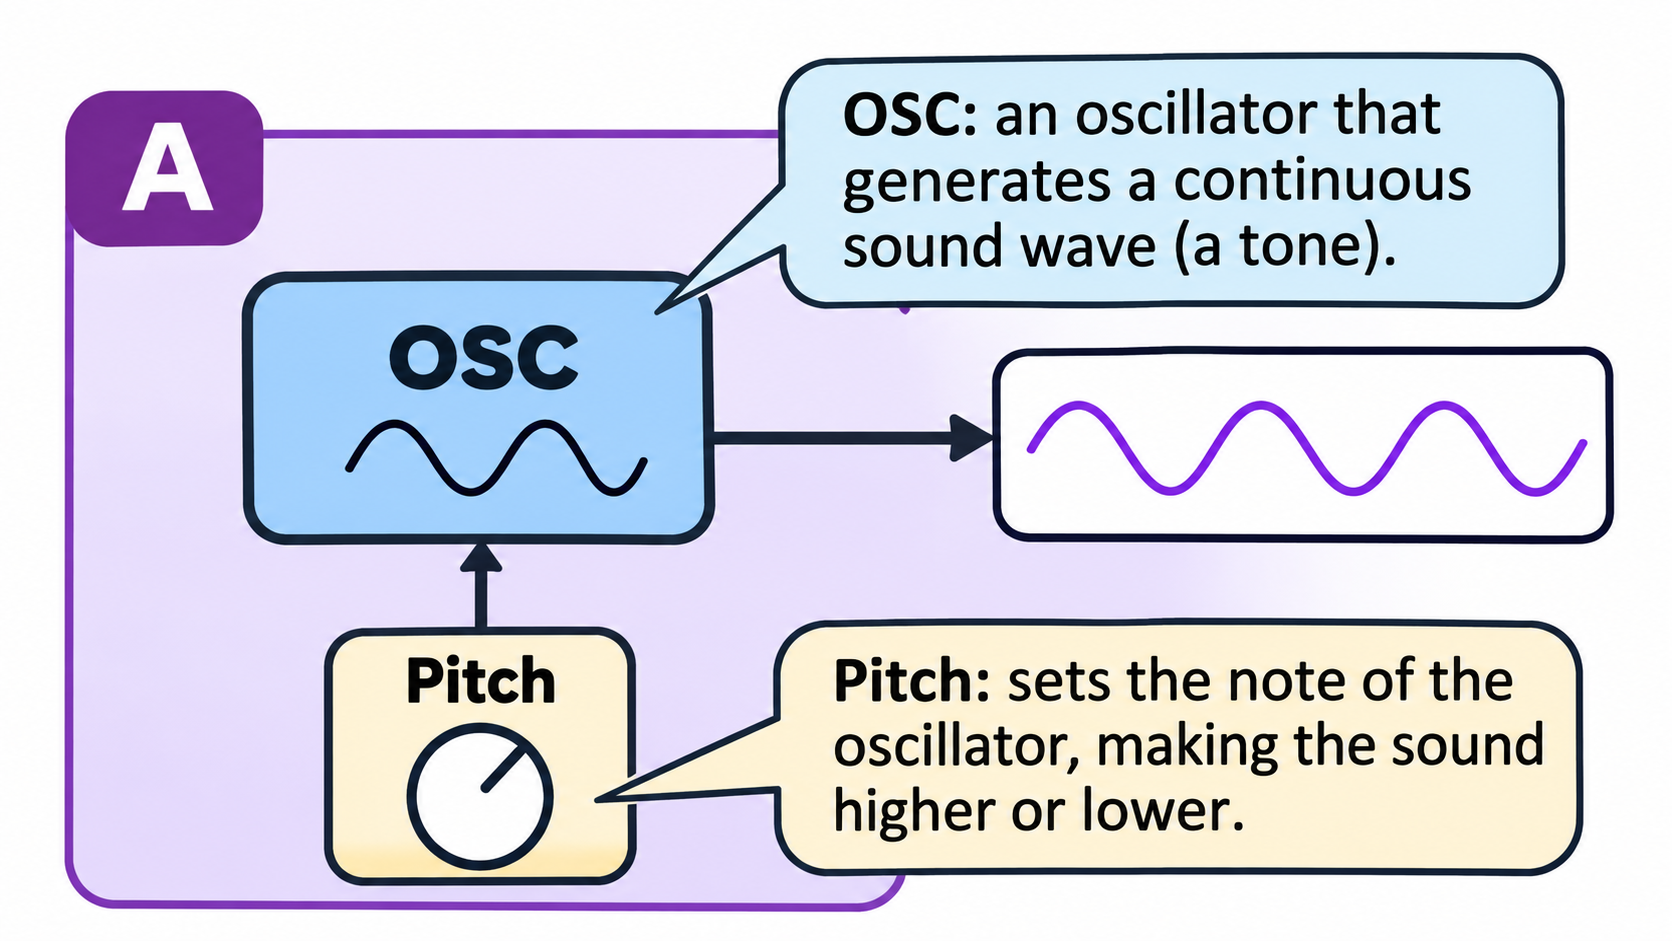
Turn off or change the pitch of the oscillators contributing to the chord to make the sound easier to use.
Switching oscillators on and off also helps you hear which ones create the defining character.
Create new sounds with Imagine
Moving the slider toward Imagine changes the goal to creating a new sound inspired by the source.
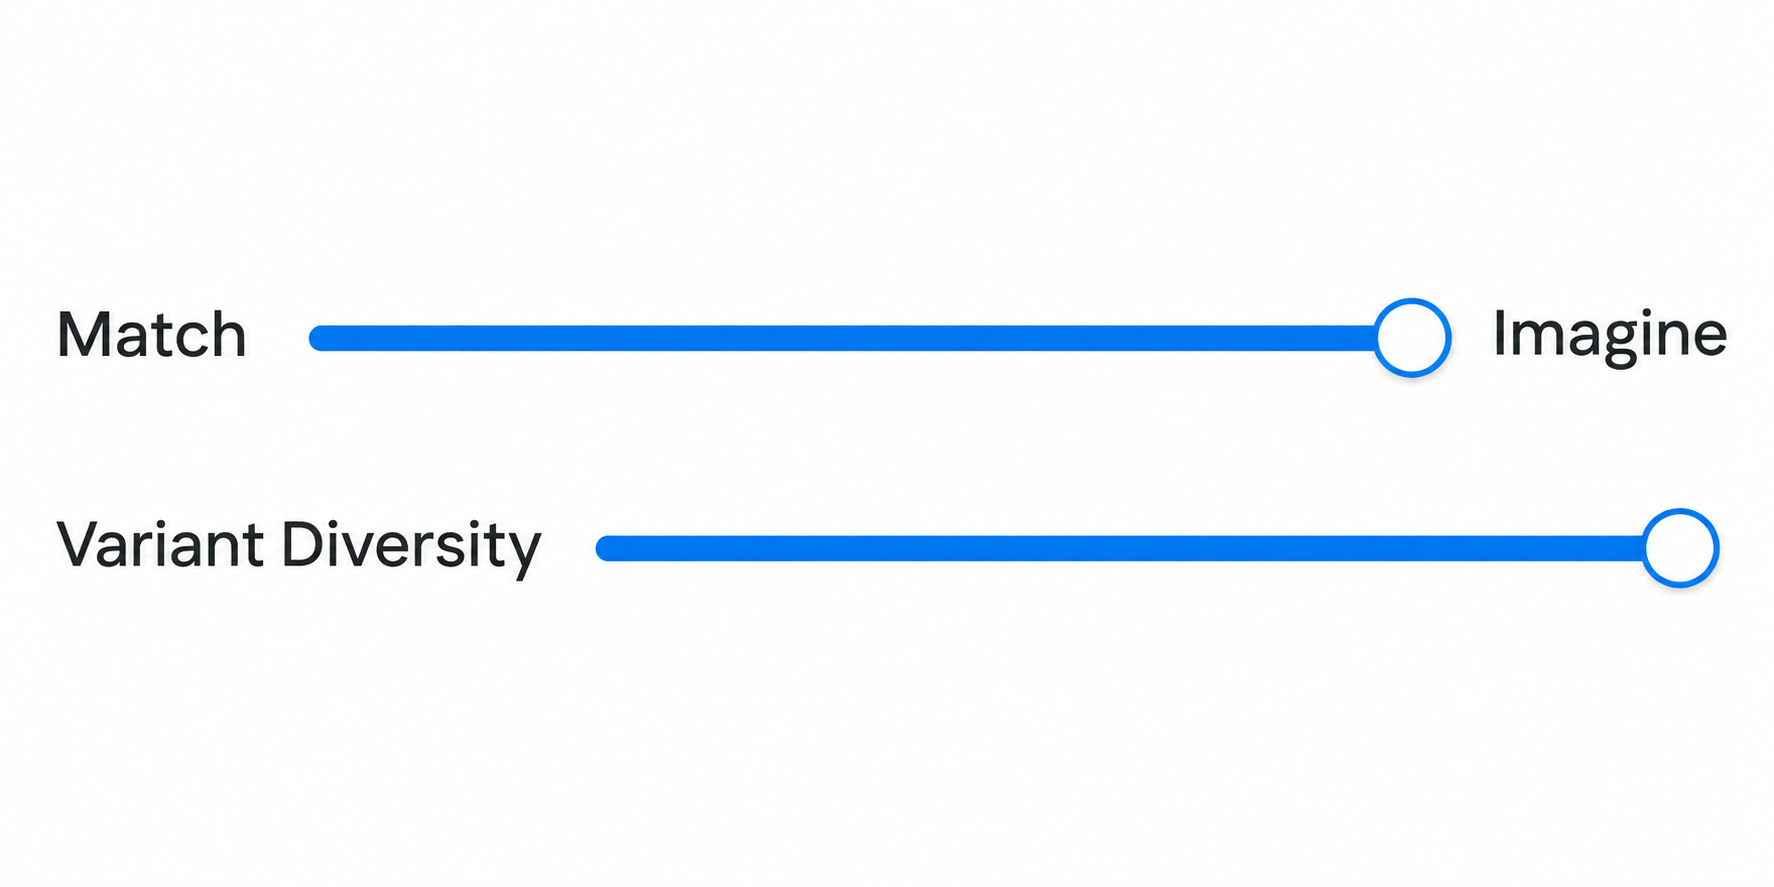
With both settings raised, the results retain some of the original character while becoming quite different sounds.
Even with substantial changes, the results tend to remain usable sounds.
Each result suggests its own possible use.
Explore alternatives with Mutate and Randomize
While Generate creates new sounds, Mutate explores alternatives to your current sound.
The same panel also offers Randomize, which changes parameter values.
Use other presets as references with Mutate
Mutate Presets changes the sound by bringing in module settings from other presets in the library.
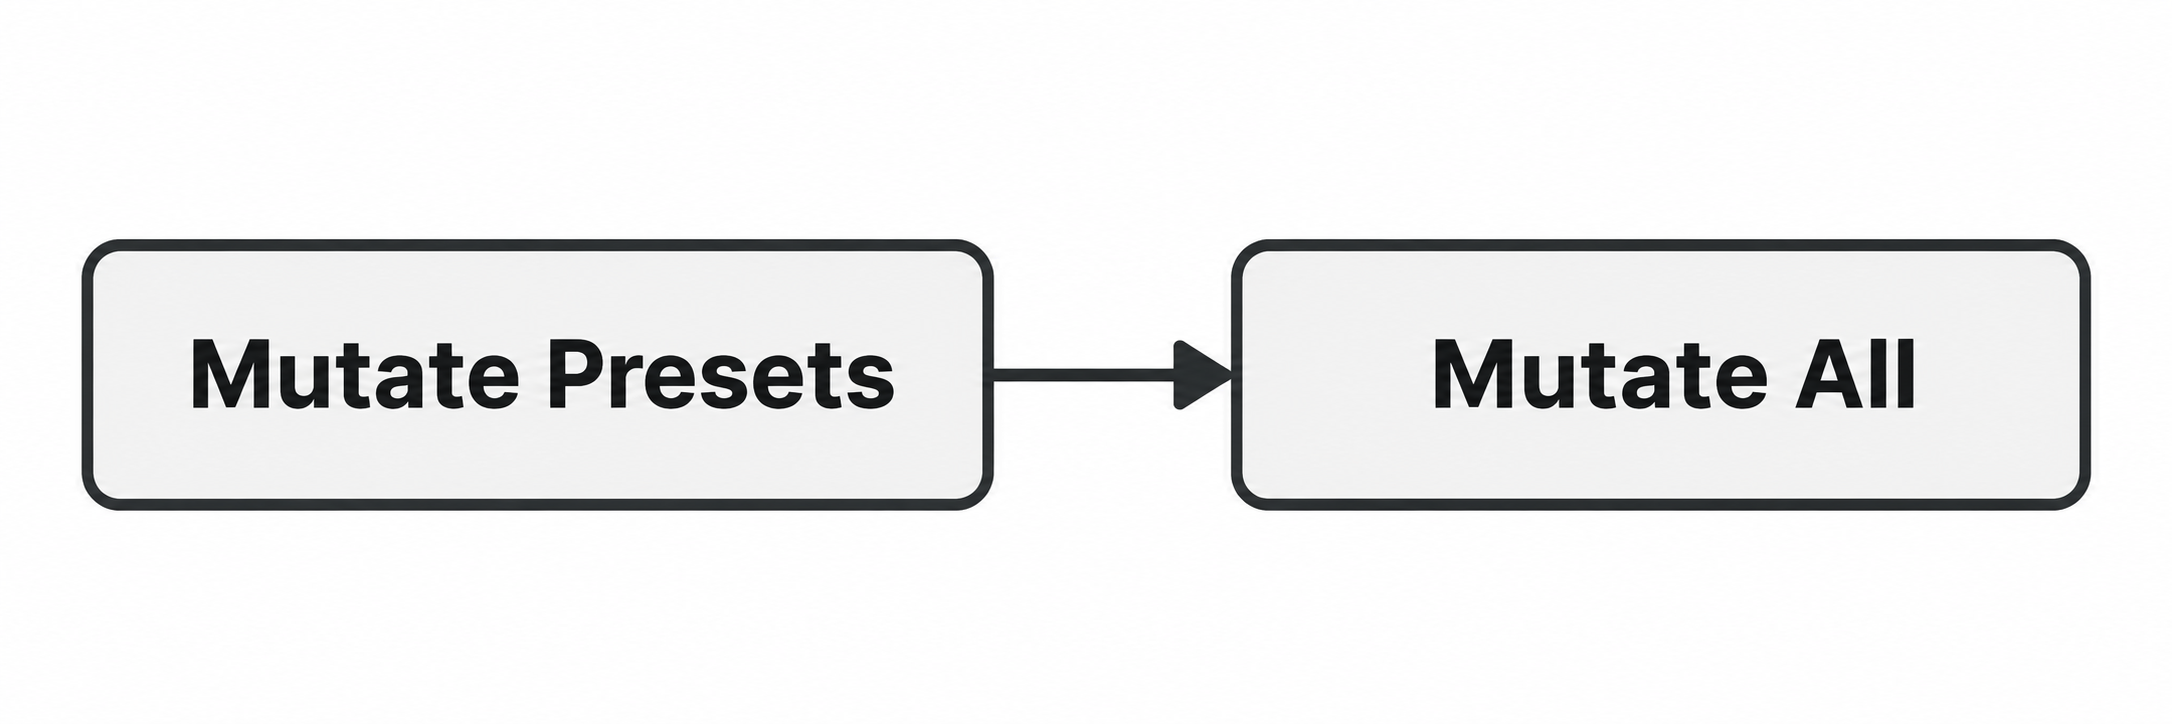
The imported settings can include the type of module itself, so, for example, the filter type may change.
The changes are not completely random. You cannot choose the reference preset, and each click produces a different result.
Use Divergence to control the amount of change.

The effect depends on the sound: even a low setting may make a large change in some presets, while others produce a closer variation.
Rather than judging from the setting alone, listen and choose the result you like.
Change values only with Randomize
Switching to Randomize Controls changes the values within modules while keeping their types.
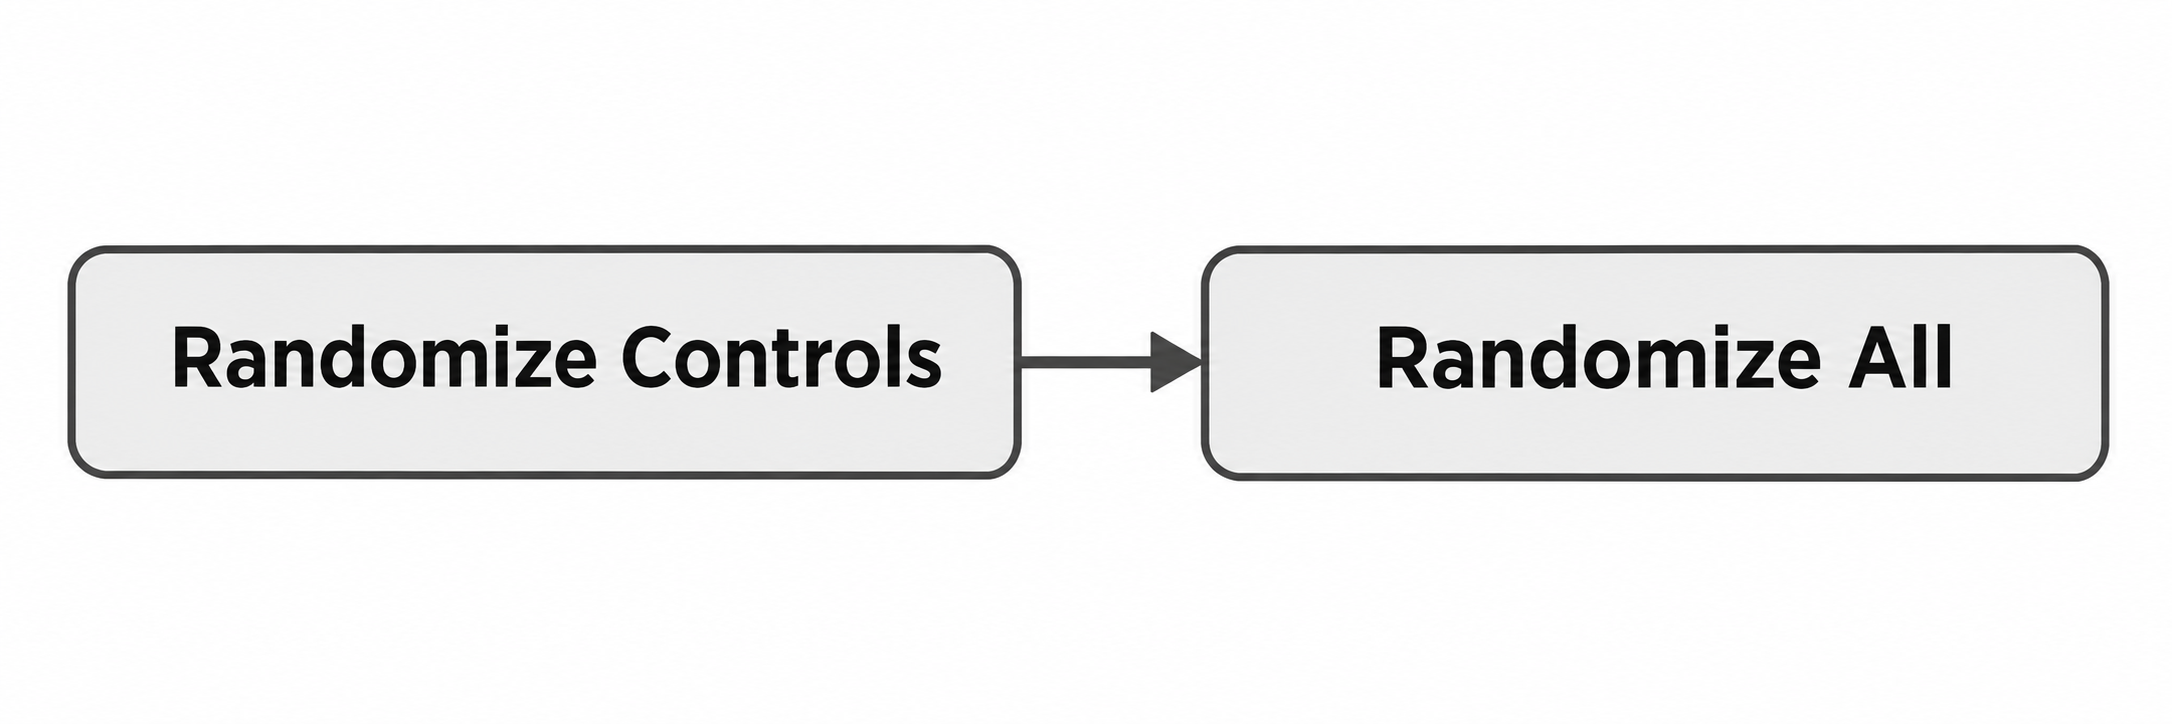
For a filter, Mutate can change the filter type itself, while Randomize keeps the type and changes values such as brightness.
Use Randomization to control the amount; a low setting can add subtle variation to the current sound.
Lock the parts you want to keep
Oscillator, noise, filter, insert, effect, and amp modules can each be locked using their lock icons.
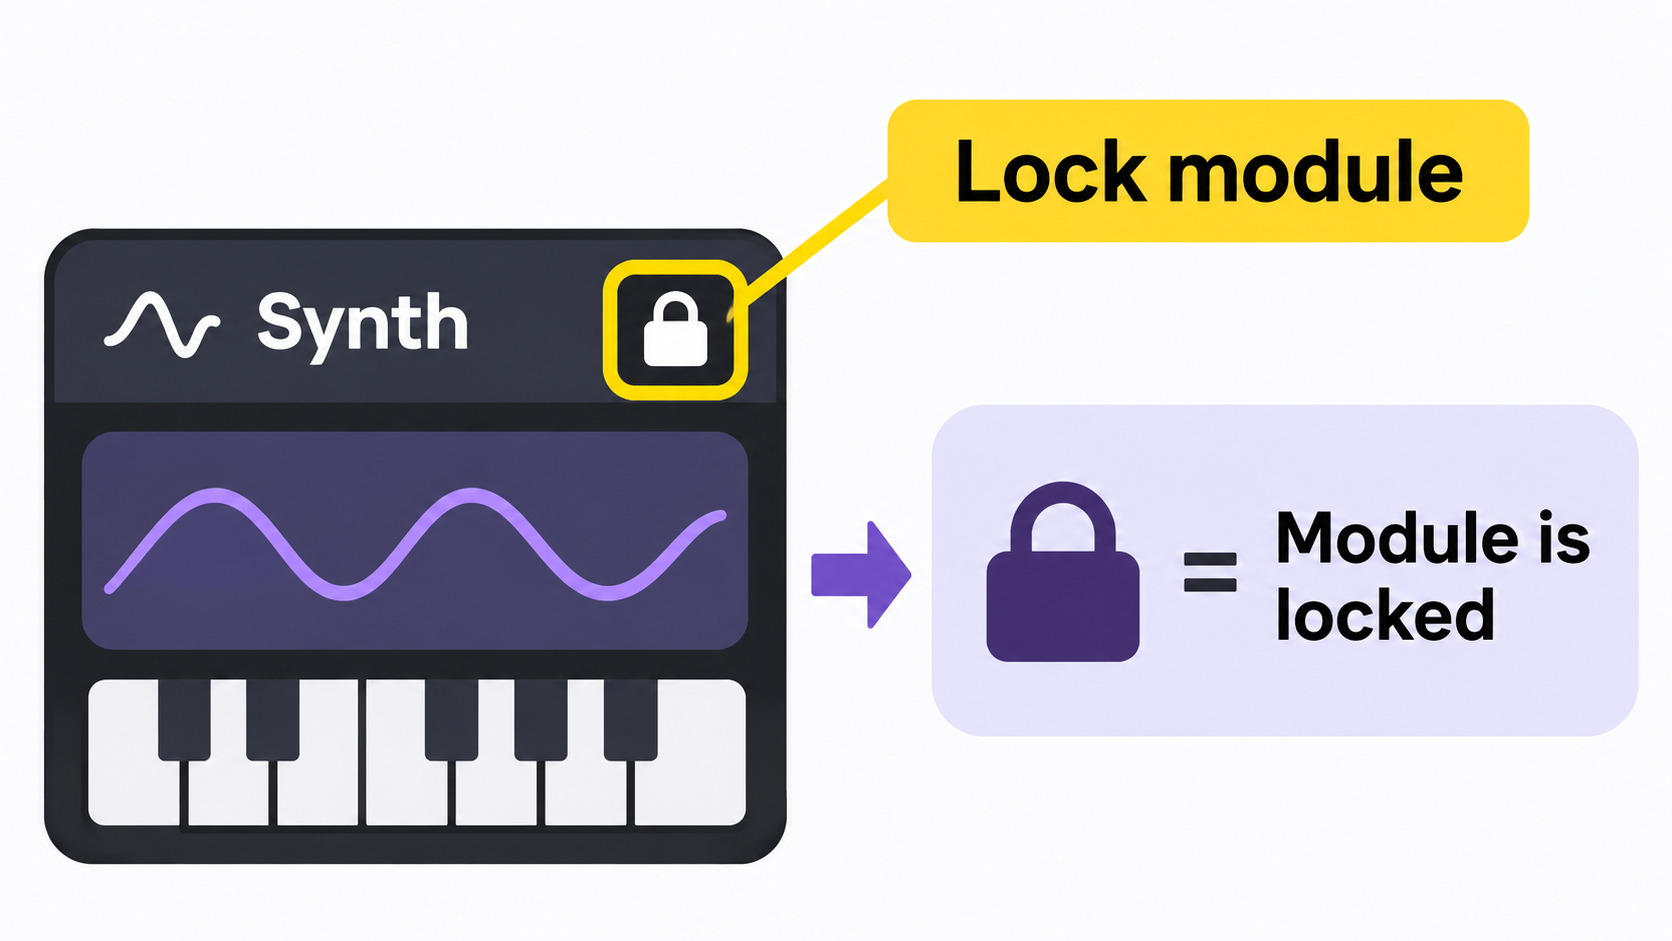
Locked sections do not change, so you can keep the elements you like while exploring alternatives.
Locking oscillators makes it easier to create variations close to the original sound.
To preserve an attack, lock the amp envelope; to avoid losing reverb, lock the effects.
Even when a movement shape such as an LFO remains, its destination or modulation depth may change.
If you like the movement in a sound, check it again after mutation.
Edits are recorded in the history, allowing you to step back or return to a specific earlier point.
Turn your own recordings into wavetables
Separate from Generate, there is a more direct way to use your own audio as synthesizer material.
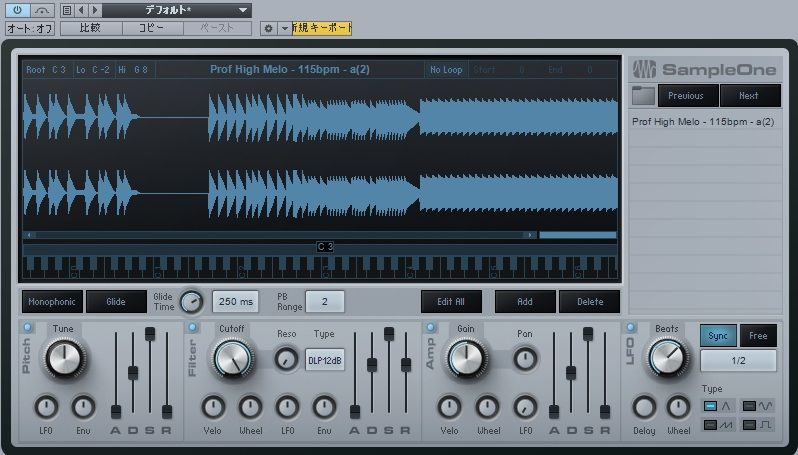
Import audio into an oscillator and use the recording itself as a wavetable, a collection of waveforms used as a sound source.
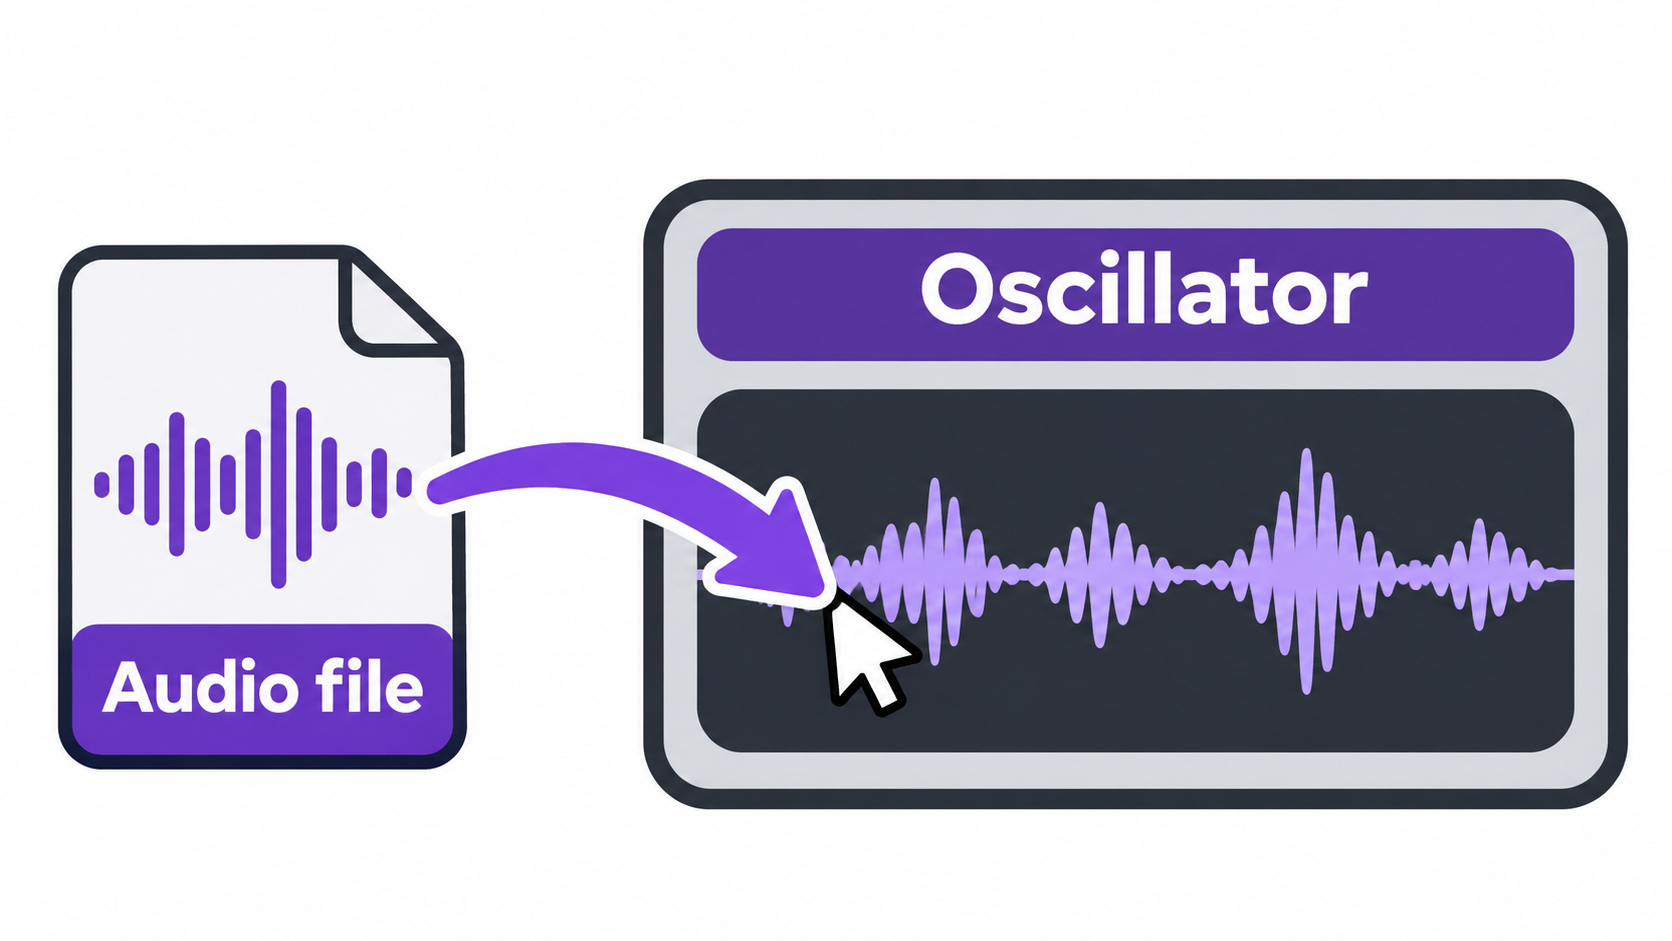
In a conventional sampler, the recording plays in time order.
A wavetable instead divides the recording into short segments of 2,048 samples and repeatedly plays one segment.
There can be up to 256 waveform segments; moving Position changes which waveform is used.
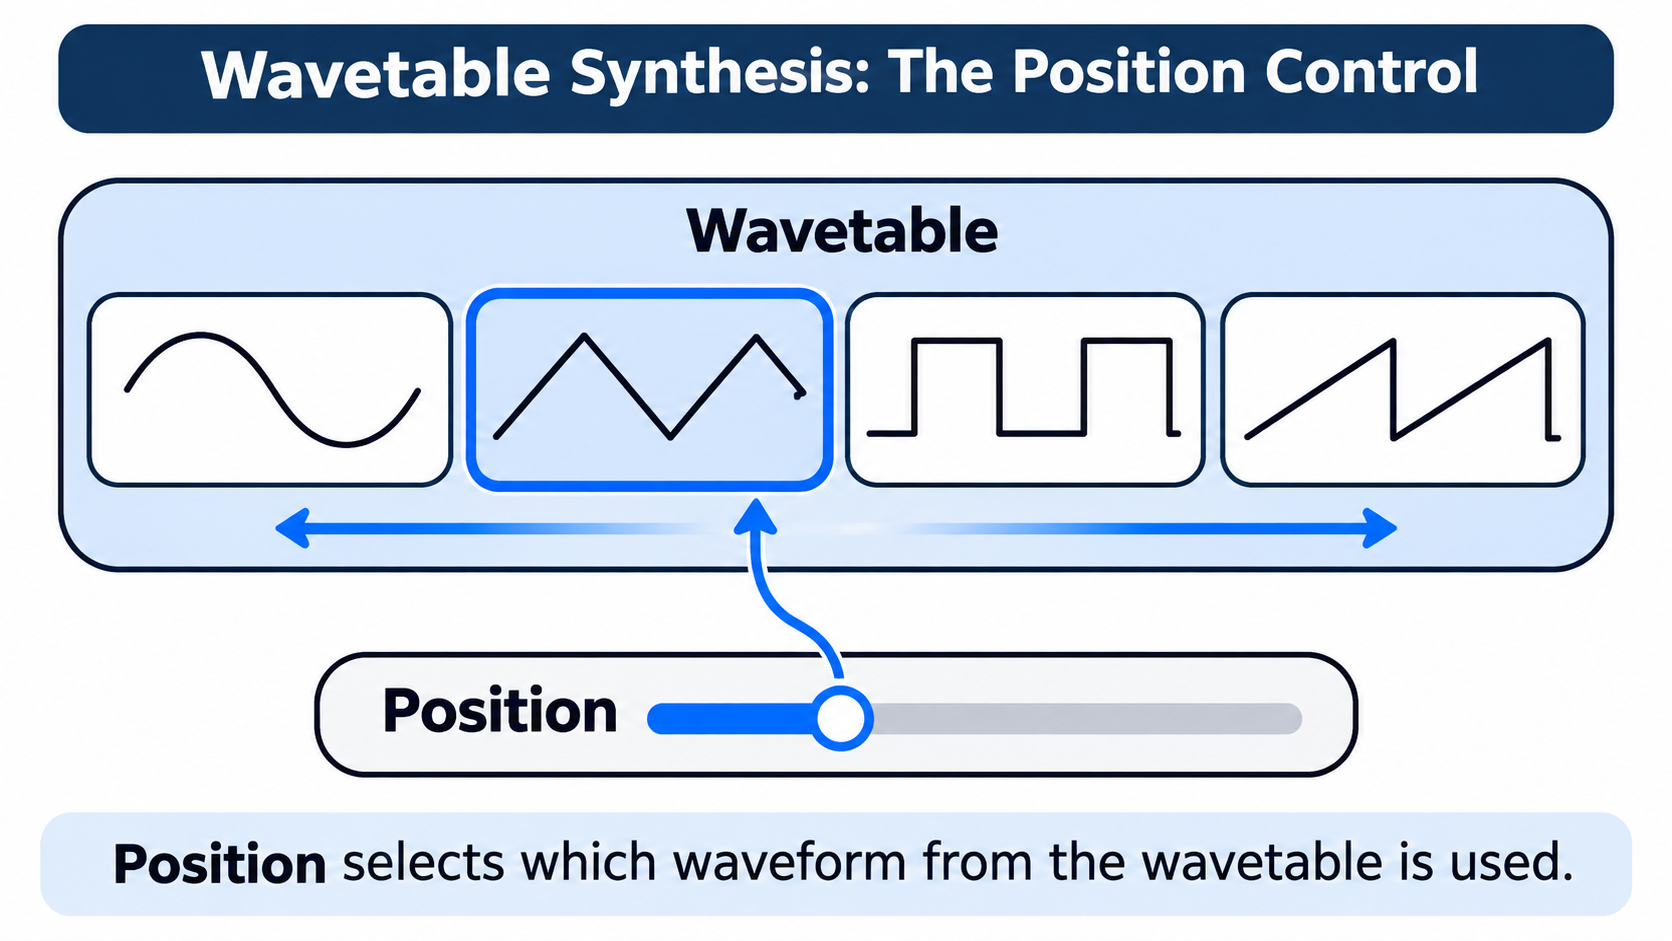
Rather than playing the recording unchanged, try using it as material to process further with the synthesizer.
You can also use recordings such as your own voice as waveform material.
Imported waveforms are not stored in the preset. Keep the imported audio file as well so you can open the preset in another environment.
Morpher, Animator, and the new Freeze mode
At the center of the Play page, you can move several controls together to make large changes to the sound.
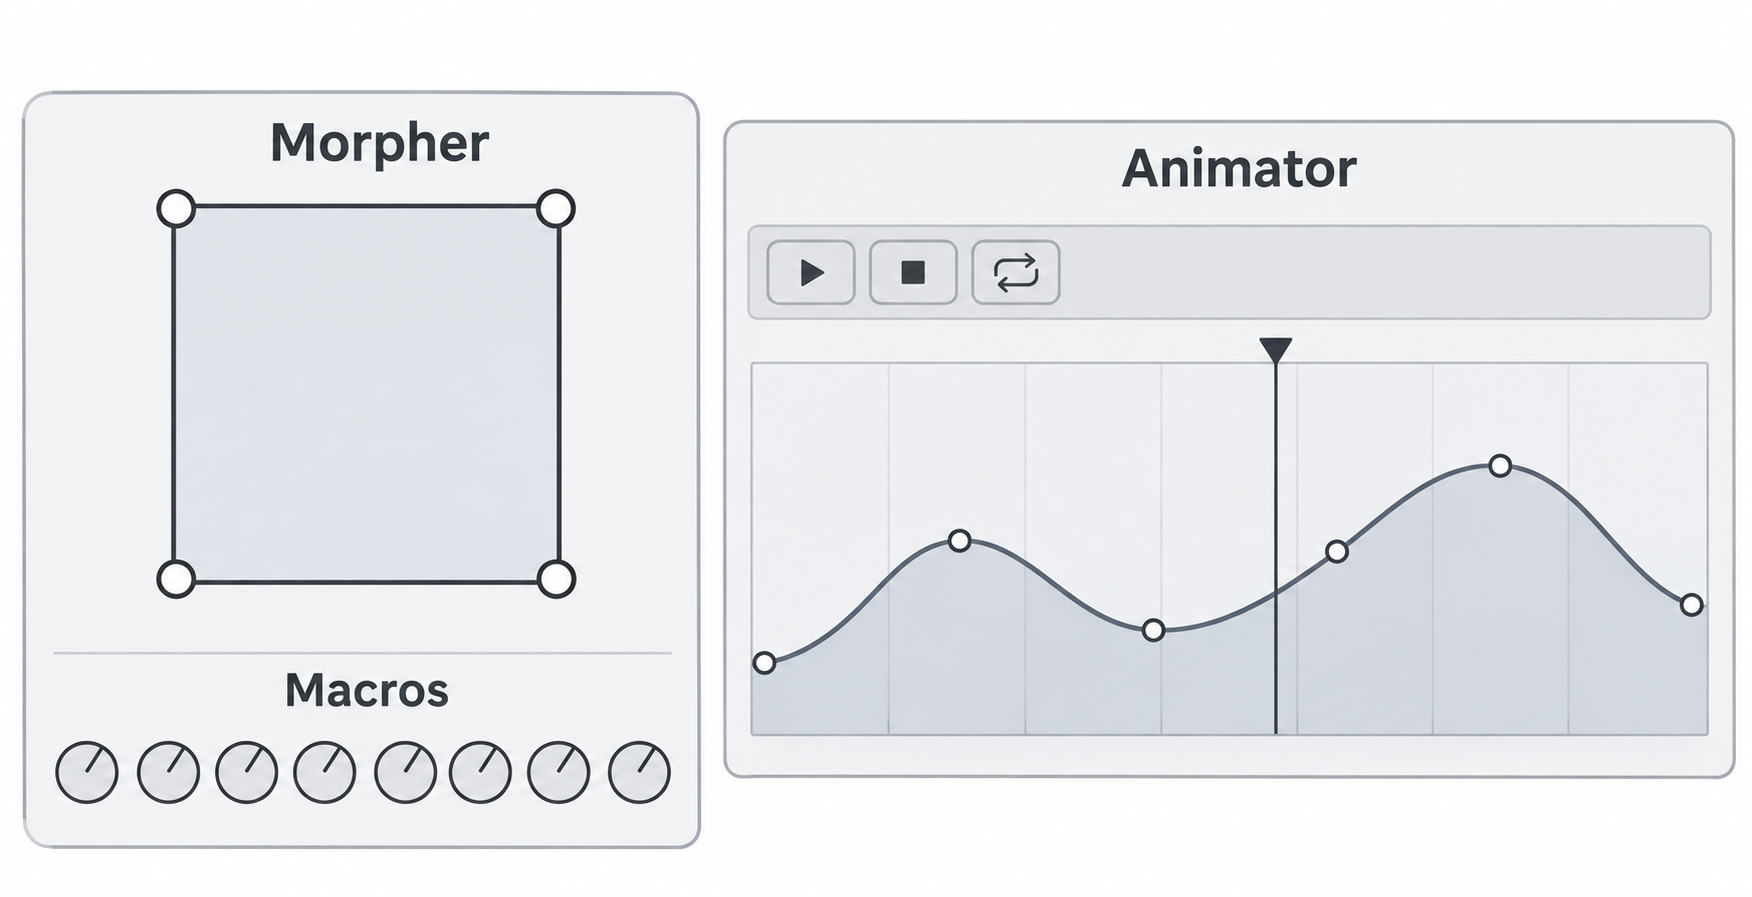
Each of the square’s four corners can store a state of the eight macros below it. These macros are sound-design controls prepared for the current sound.
Morpher blends those four states as you move the position within the square.
Instead of operating knobs one by one, you can control several changes together.
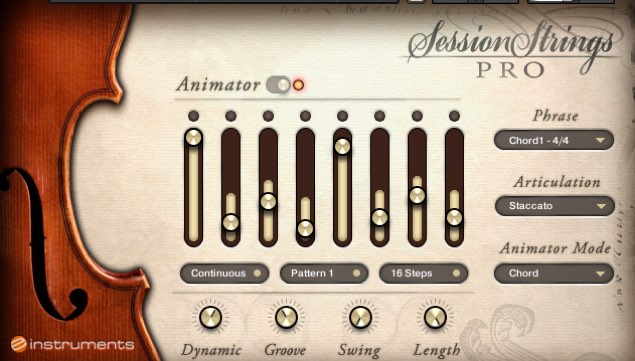
Animator moves this position automatically; choose its trajectory from the shapes on the right.
Morpher and Animator were already available in Massive X.
Massive XL adds a new movement mode called Freeze.
Change the character of each note with Freeze
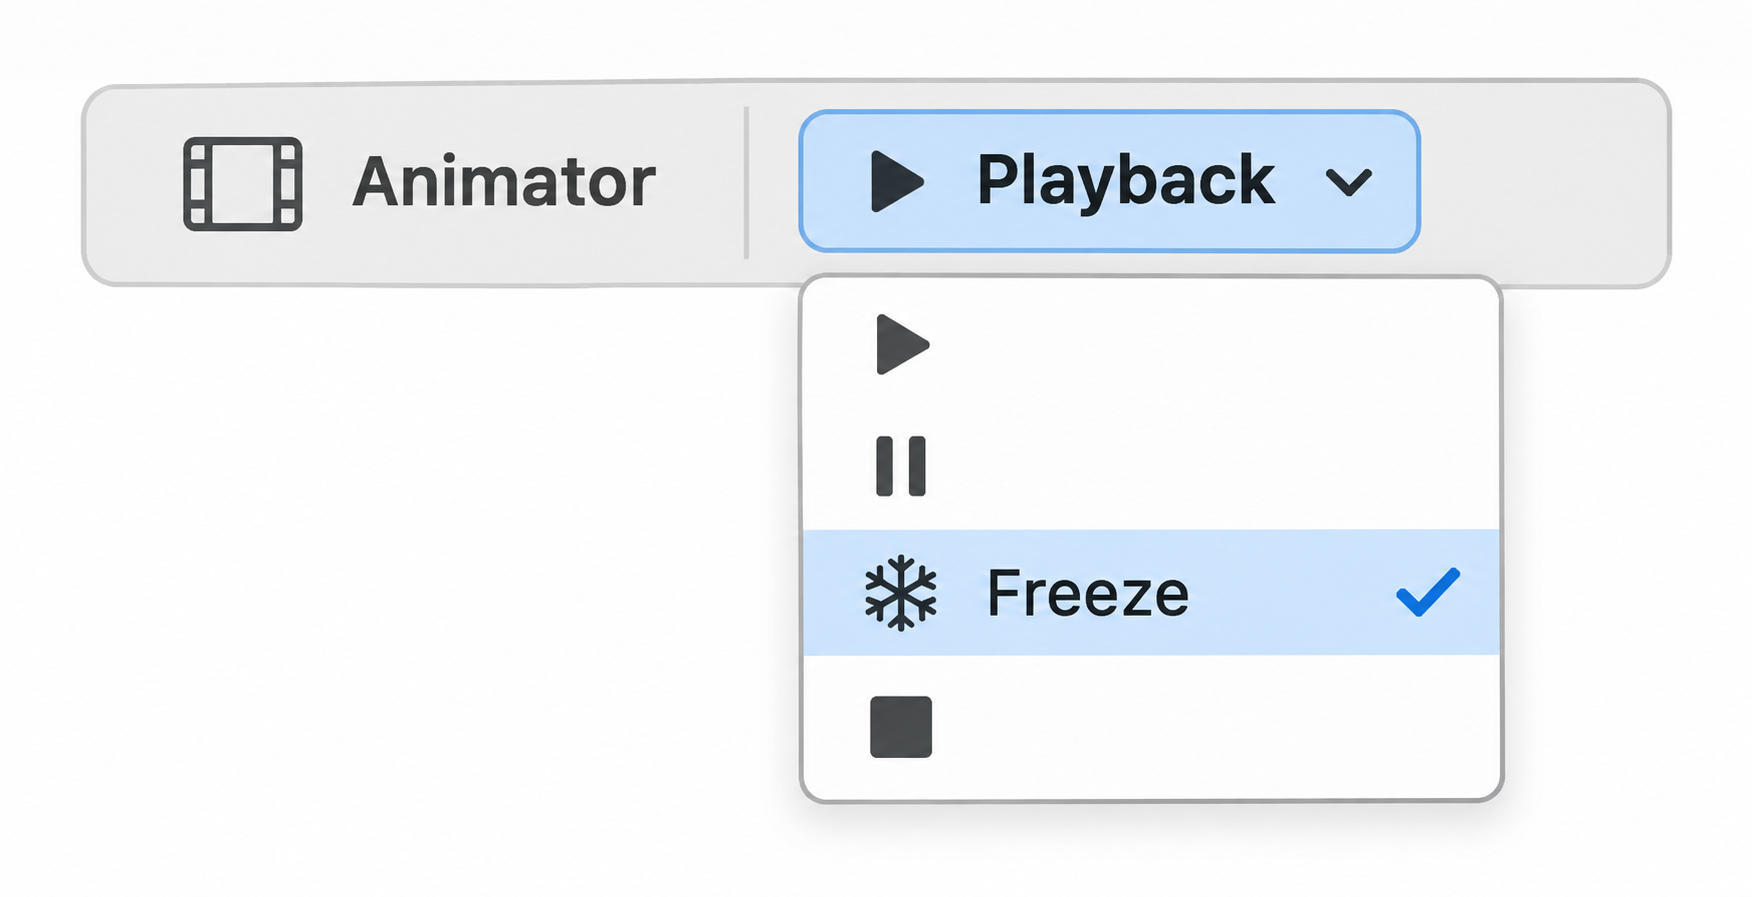
In the usual Follow mode, the sound continues to change while a note plays.
In Freeze mode, the position is captured when a note begins, and the macro state is held until the next note.
When the next note starts, the macros switch to the state at the new position.
This keeps the texture steady during a sustained note while changing it on the next one—for example, to add unexpected variations while playing a lead.
It is also useful for performance.
However, it does not stop movement within the sound itself, such as an LFO.
Freeze holds the macro state controlled by Morpher.
You can also use Animator with sounds created by Generate, making it easy to add movement to your own sounds.
New effects and saving settings
Three effects have been added for shaping space and texture.
Insert effects into the X, Y, and Z slots at the upper right of the Edit page.
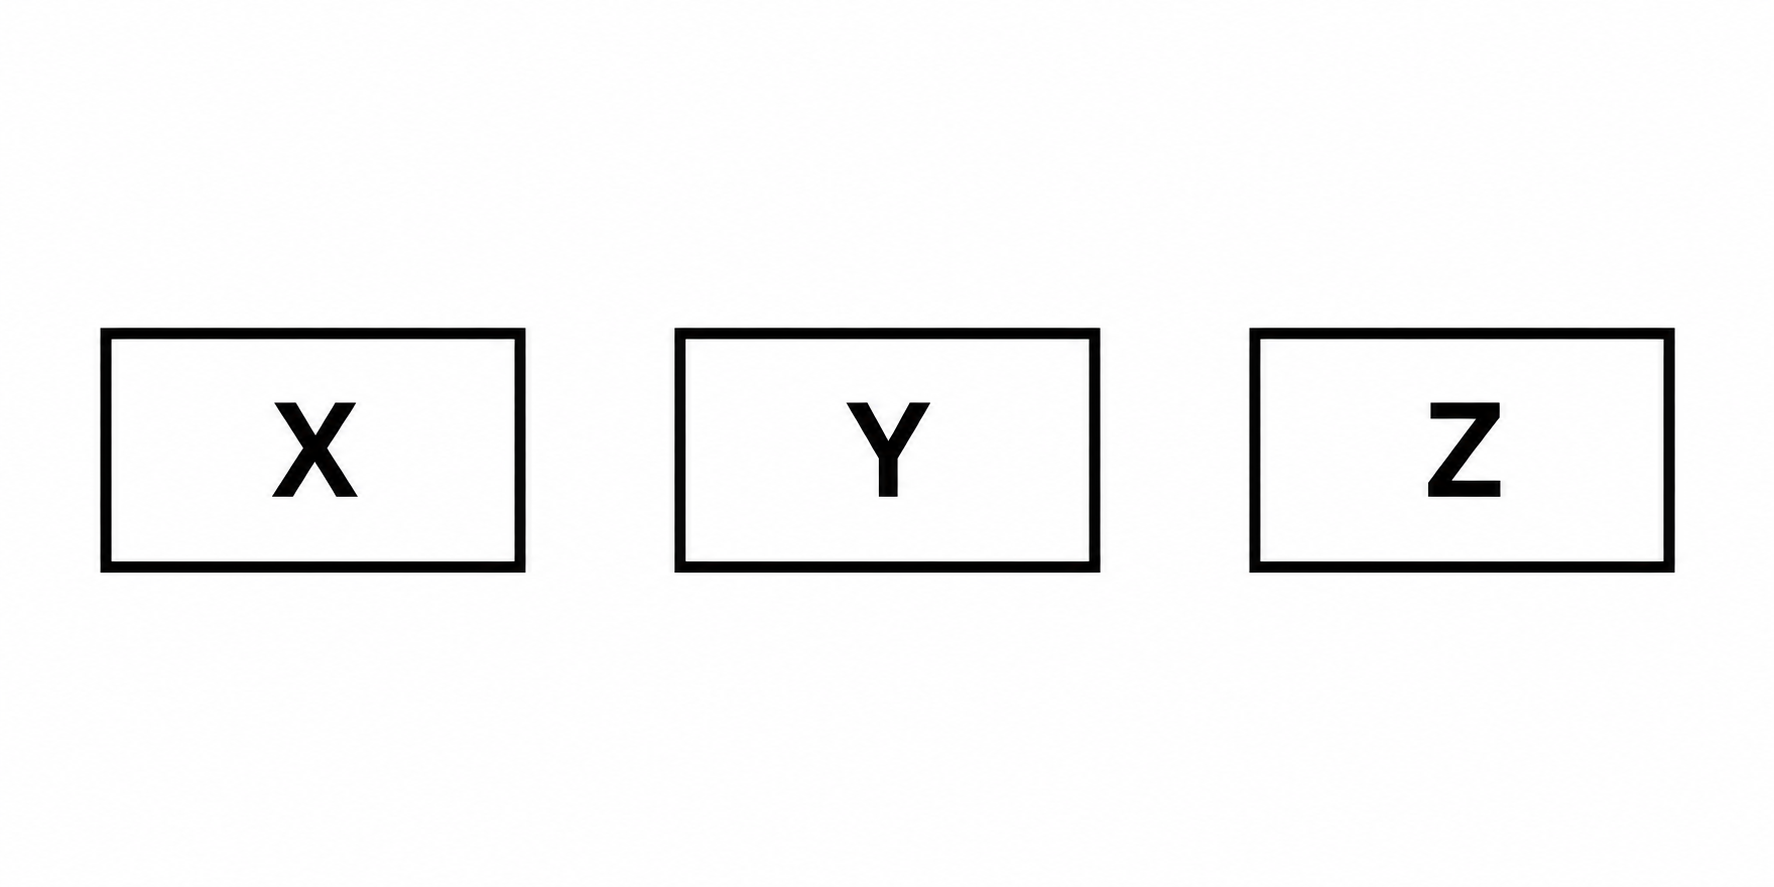
Click a slot’s name to choose an effect.
Raum
Native Instruments’ Raum reverb is now available inside Massive XL.
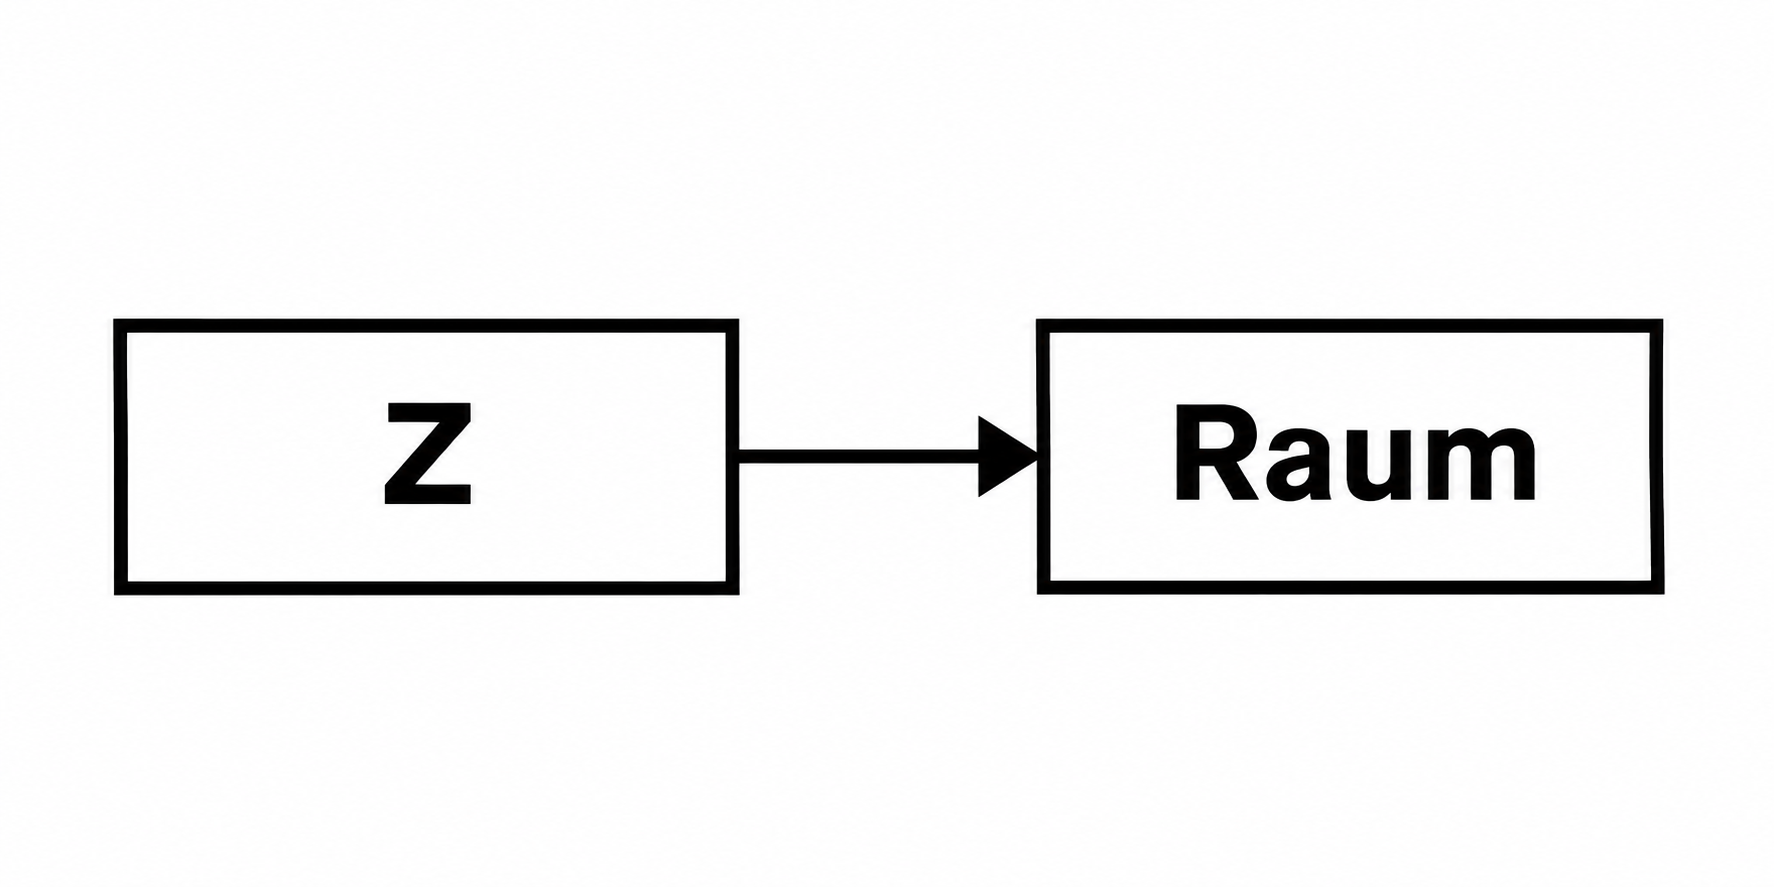
It is a spacious, powerful reverb with a clear, expansive character.
Choose from the available settings to create this kind of space within the synth sound.
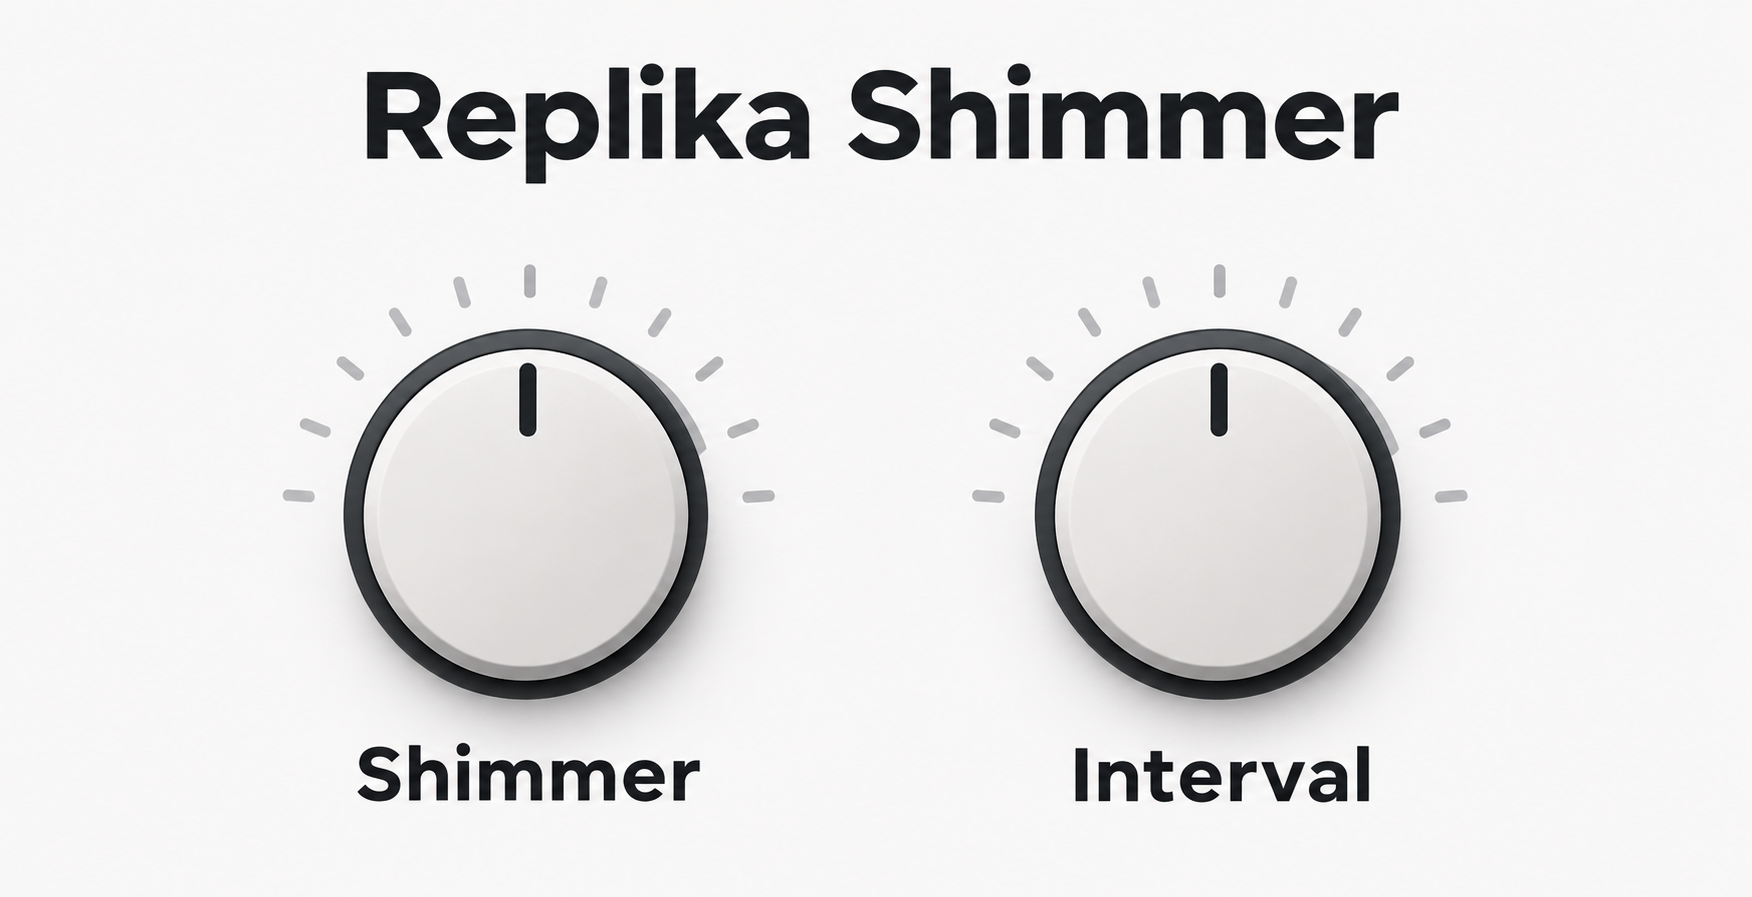
Replika Shimmer
Replika Shimmer is a shimmer delay that layers a sparkling ambience.
Tape Wobble
Tape Wobble changes the texture with tape-like movement and saturation.
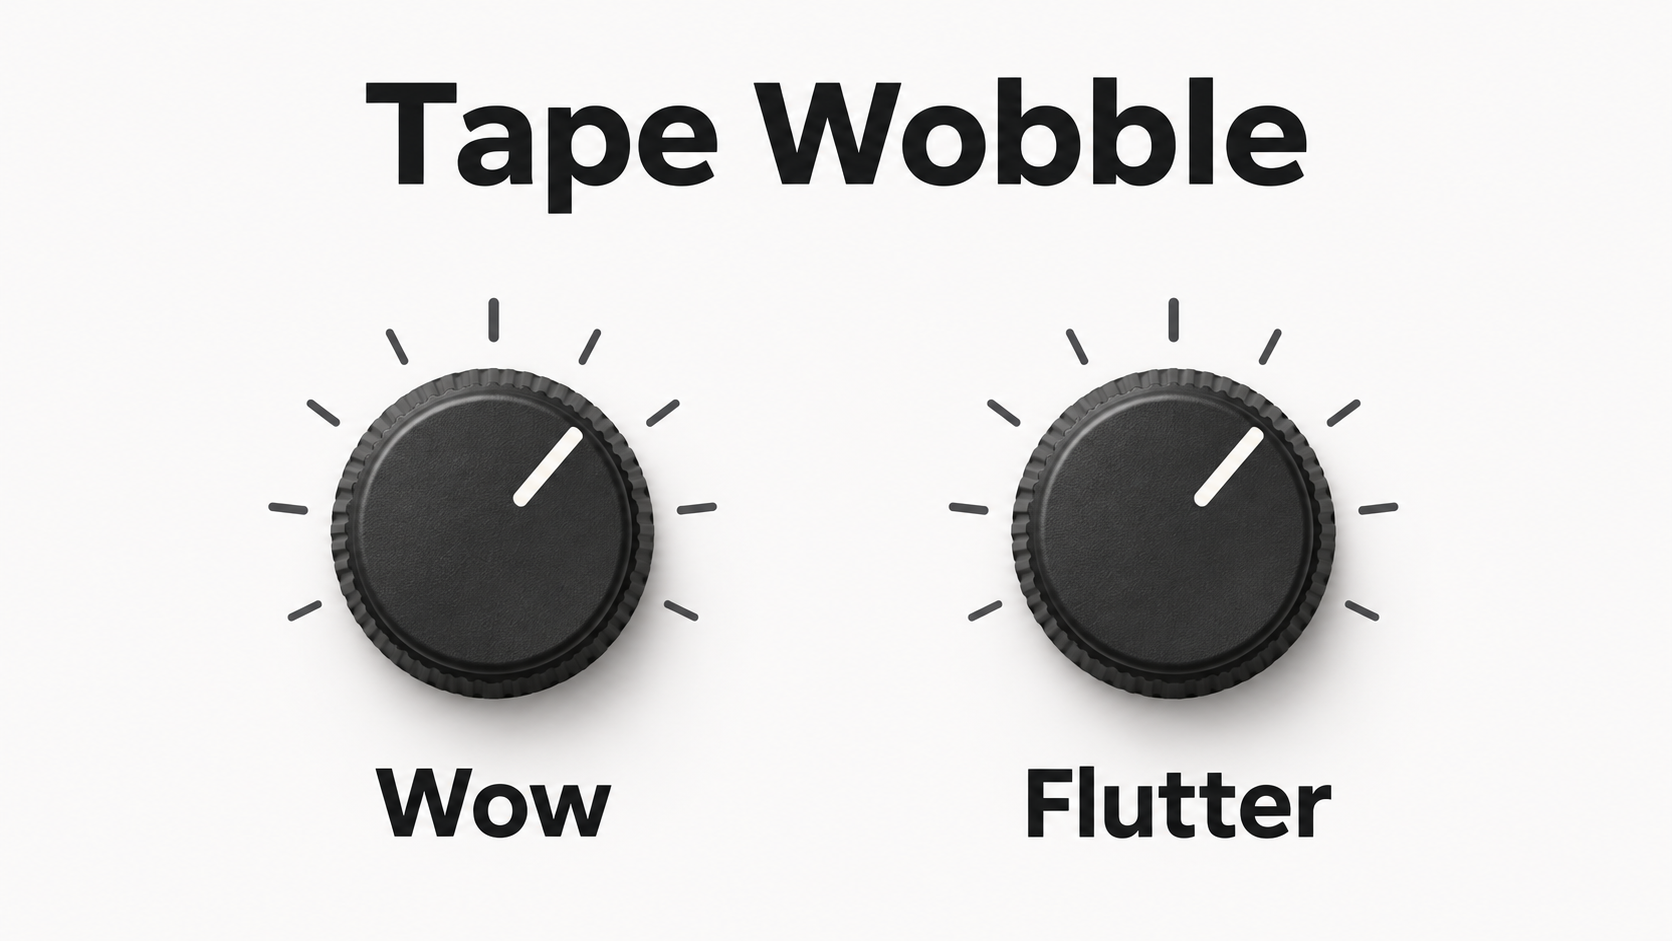
It is fun to apply it to an ordinary synth sound and immediately give it a lo-fi character.
You can shape space and texture inside the synth itself without inserting an external effect, giving you more sound-design options.
Save settings for individual modules
Favorite filter, effect, and other settings can be saved per module and brought into other sounds.
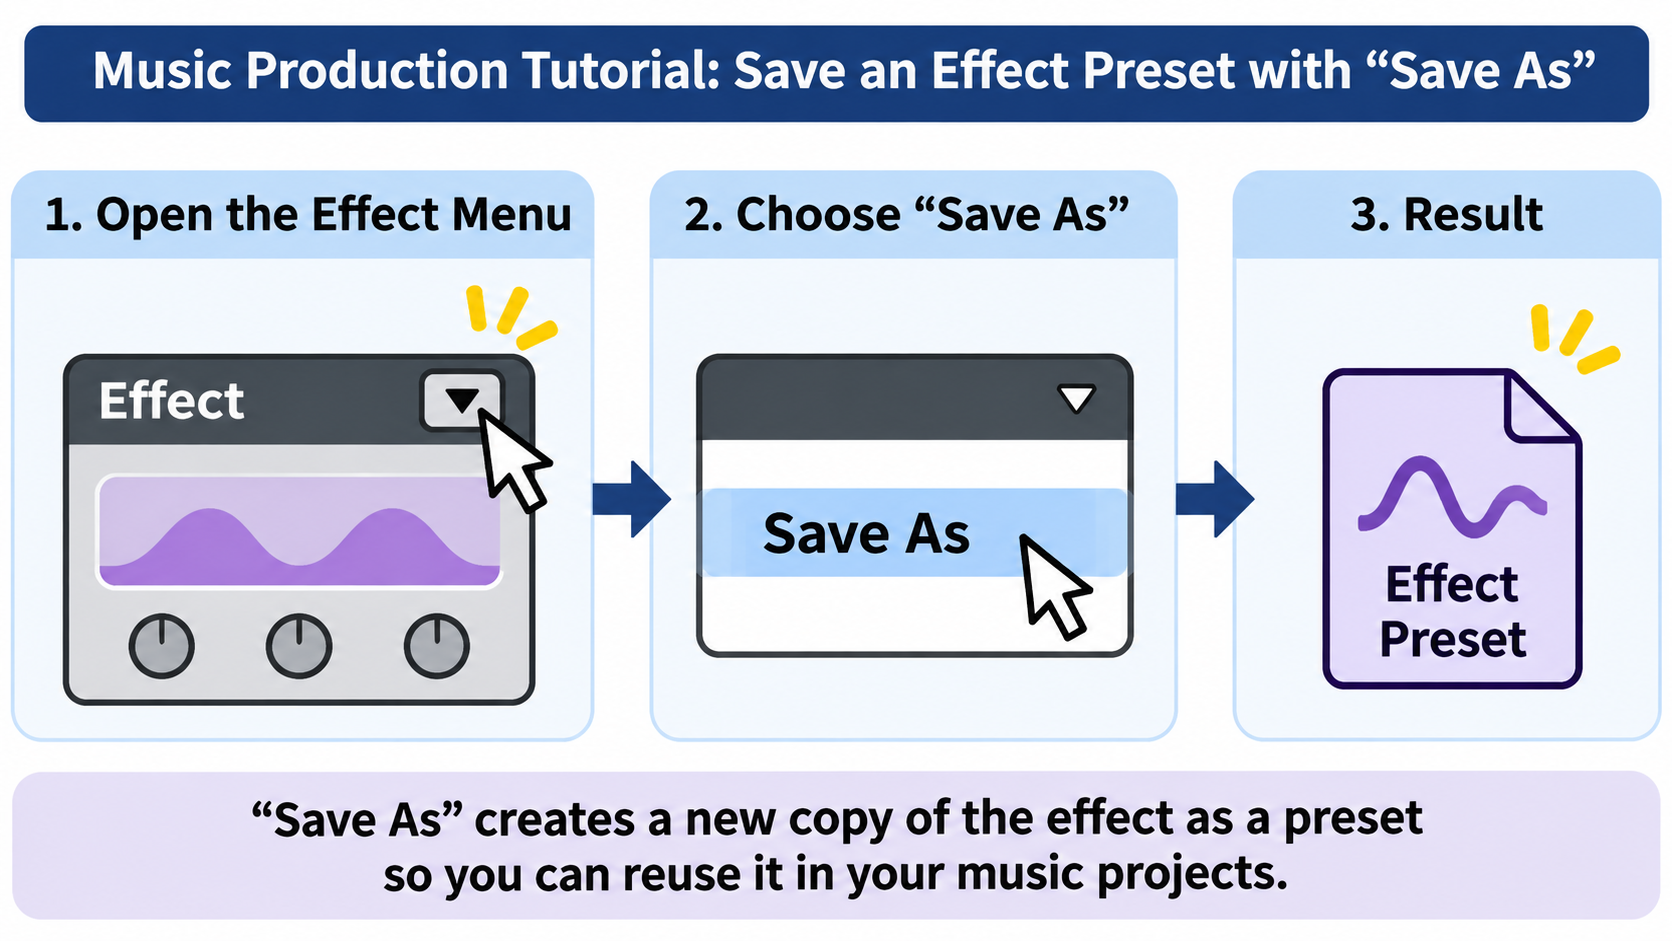
Saved settings can serve as starting points for your next sound.
It is convenient to carry over just the parts you like instead of an entire preset.
System requirements

Windows
OS: Windows 10 or 11, 64-bit, with the latest service pack
Formats: VST, VST3, and AAX, 64-bit only
Mac
OS: macOS 14, 15, or 26, with the latest update
Formats: VST, VST3, AU, and AAX, 64-bit only
Both platforms
CPU: Intel Core i5 or equivalent, or Apple silicon; Intel processors must support AVX
Memory: 4 GB, 6 GB recommended
Download size: 2.1 GB on Mac and 1.8 GB on Windows
Other: Internet access is required for installation and activation; offline use is possible afterward. There is no standalone version; use it as a plugin in a DAW or similar host.
Pricing
In Japan, Massive XL is offered at a regular price of ¥30,800 and a sale price of ¥15,300 (50% off).
Massive XL’s standout feature is its ability to load audio and create a similar-sounding preset.
You can choose a starting point that suits your goal: a reference sound, a variation of an existing sound, or your own recording.
It includes 1,000 presets and supports existing Massive X presets and Expansions, so you can also explore variations with Mutate based on those presets.
Find a sound that inspires you and give it a try.
Prices refer to Japan as of November 2026.
Check the seller’s site for current pricing.
NEW ARTICLES
Latest English Articles