Highlights of the first major update in three years
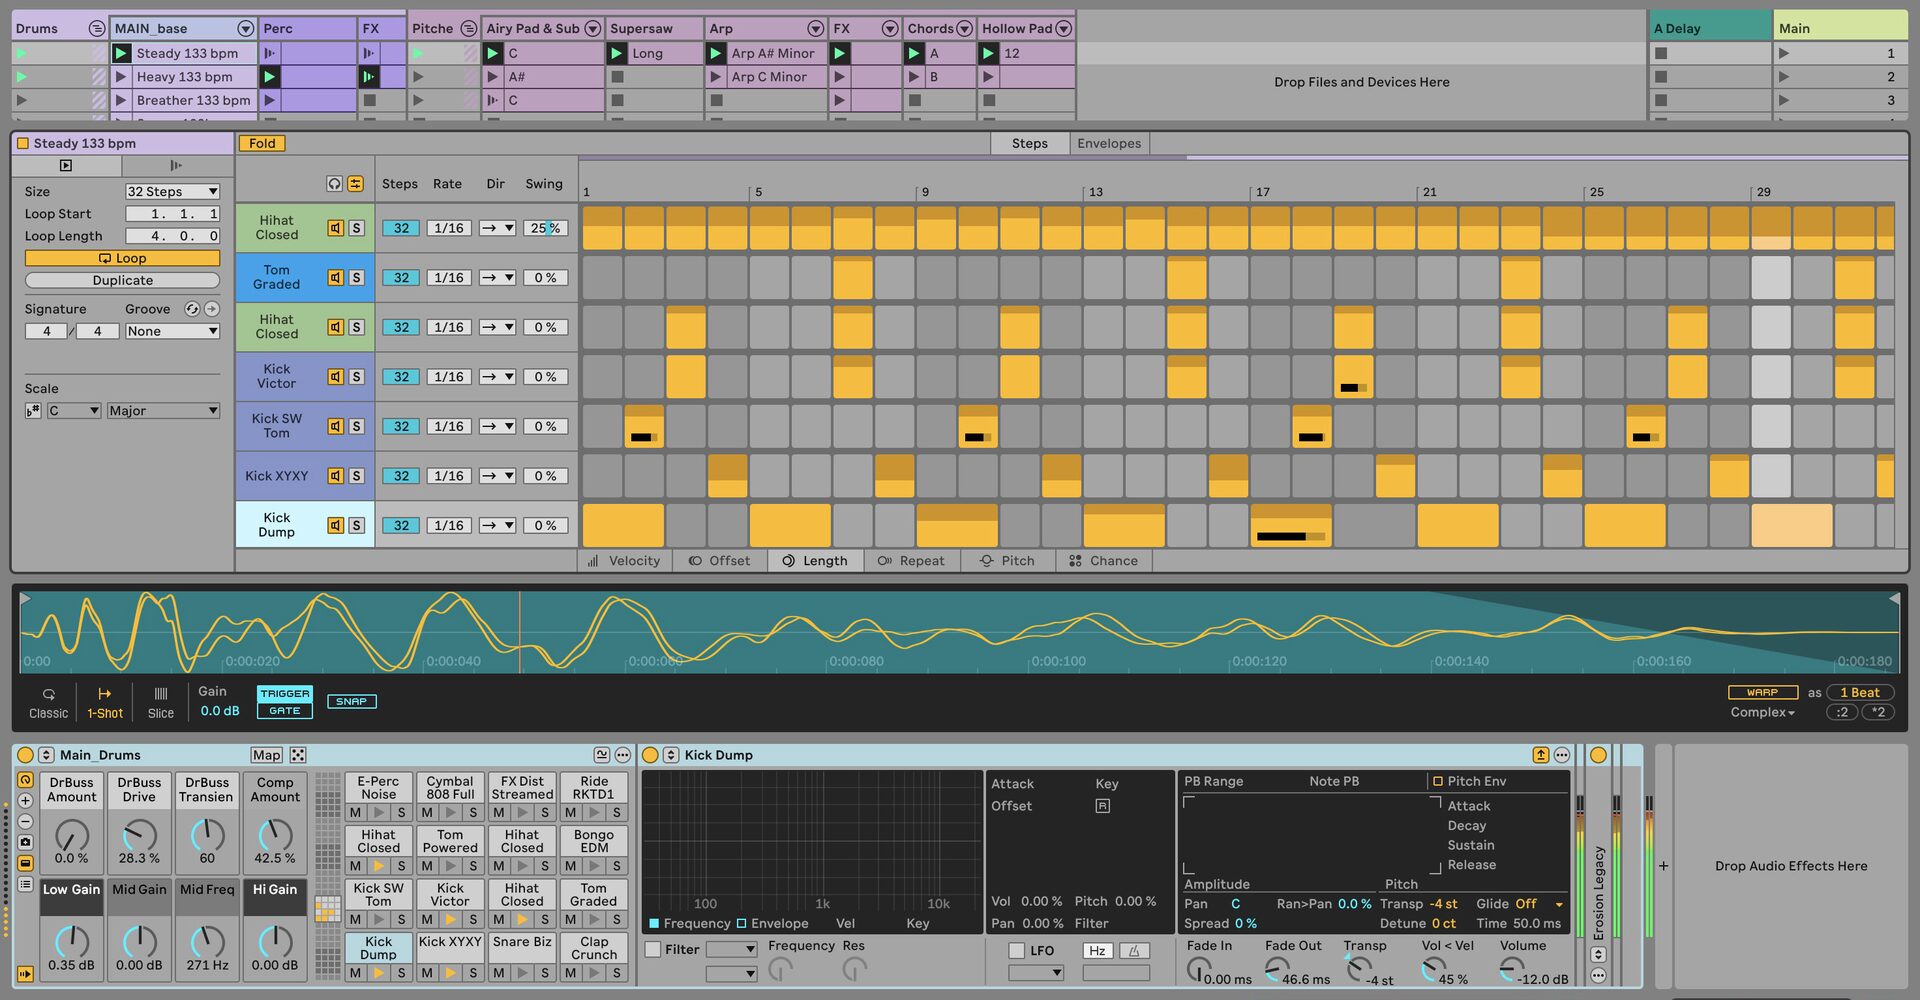
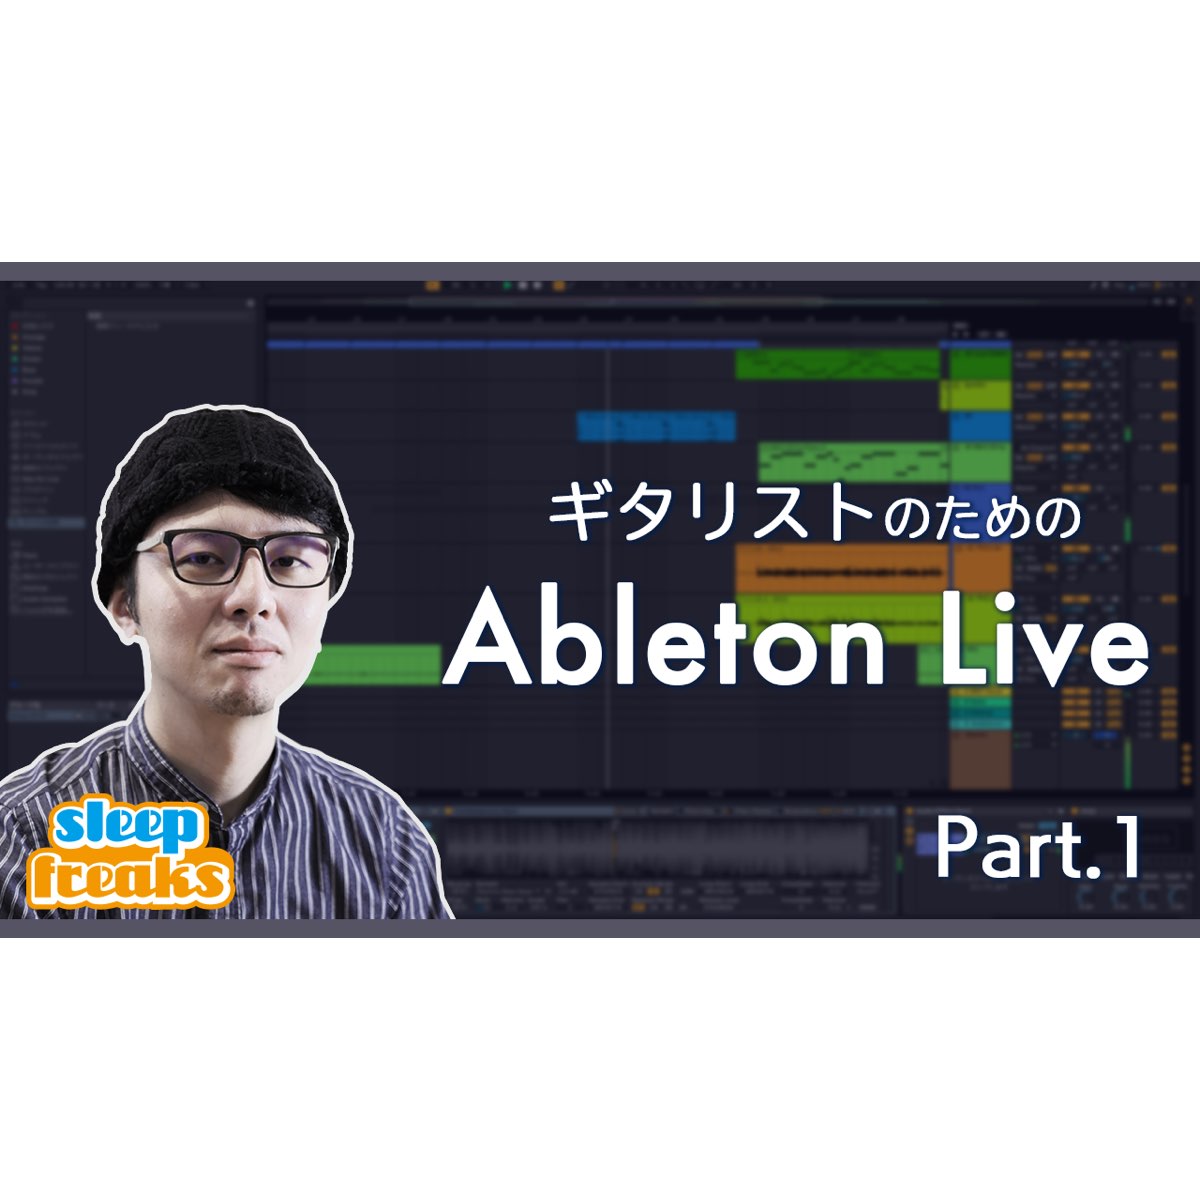
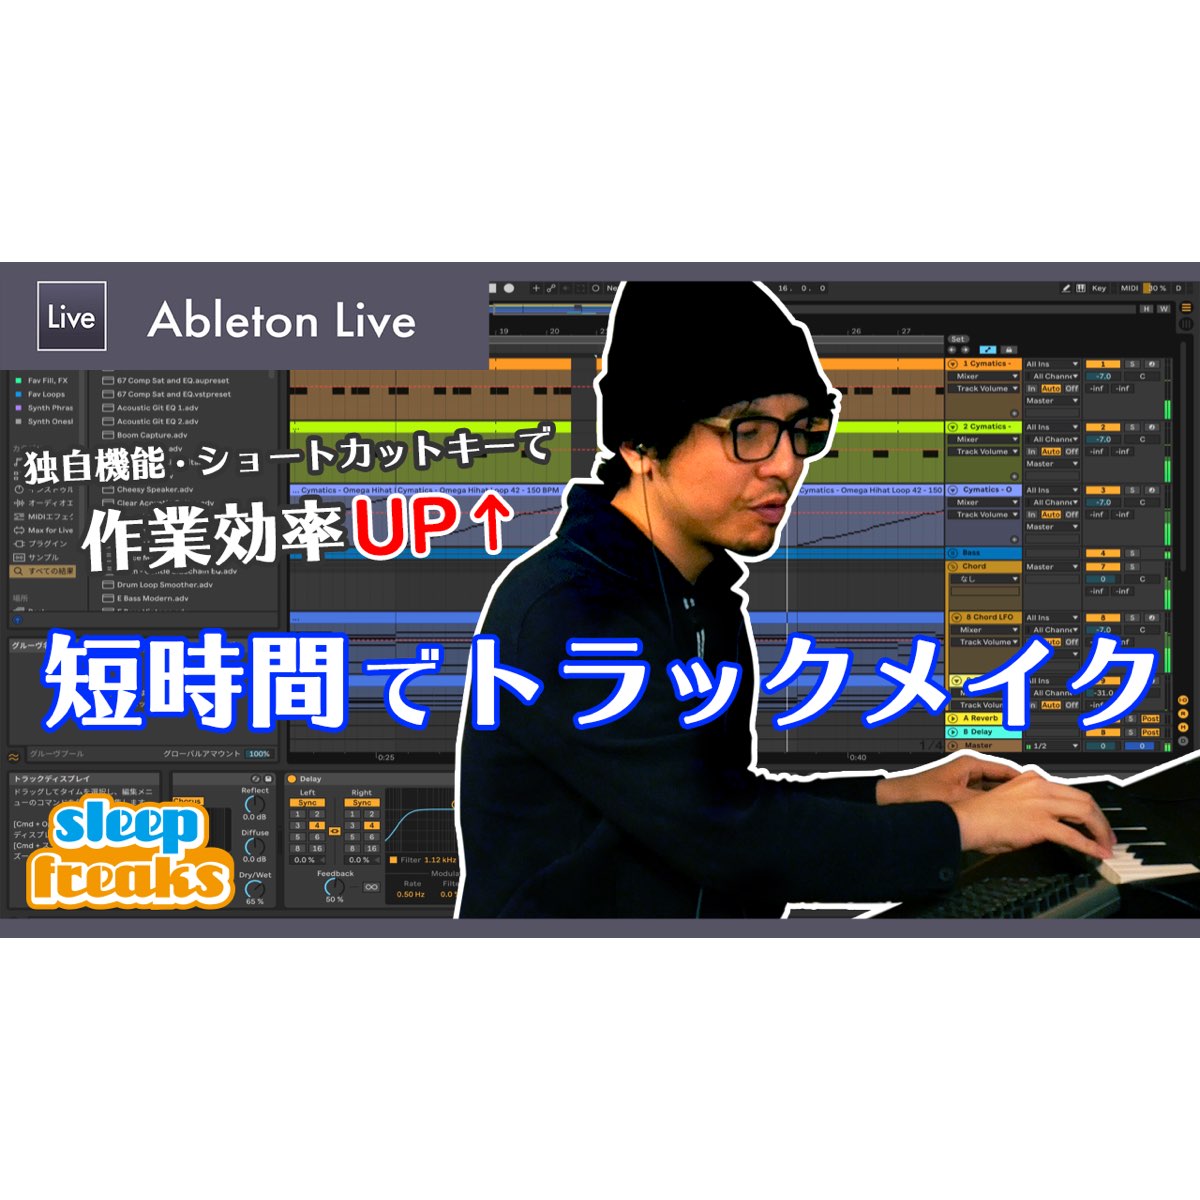
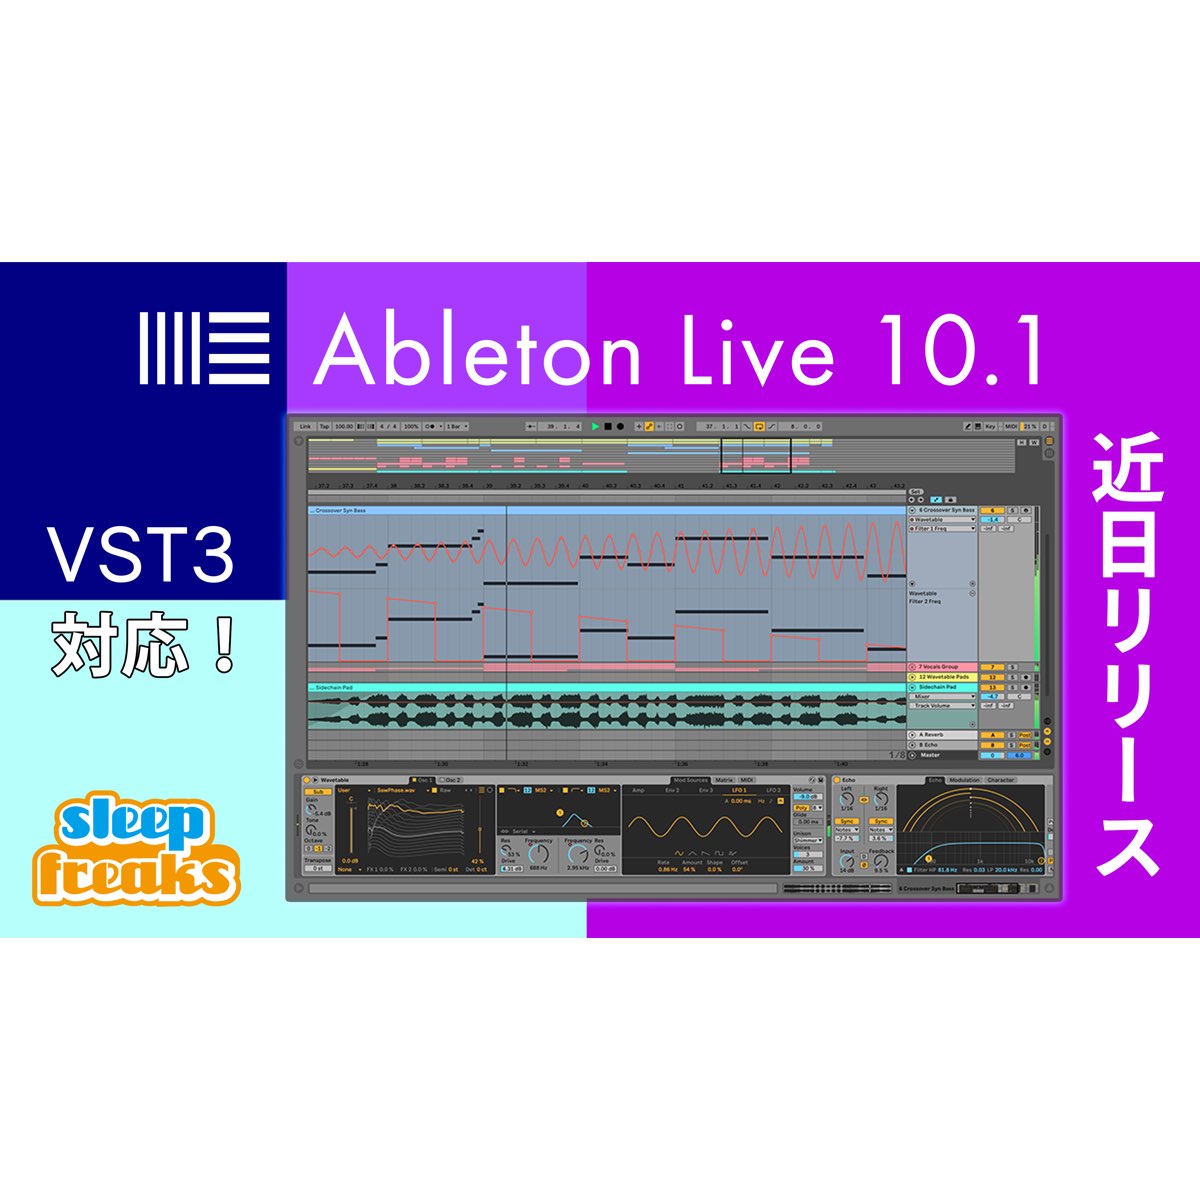
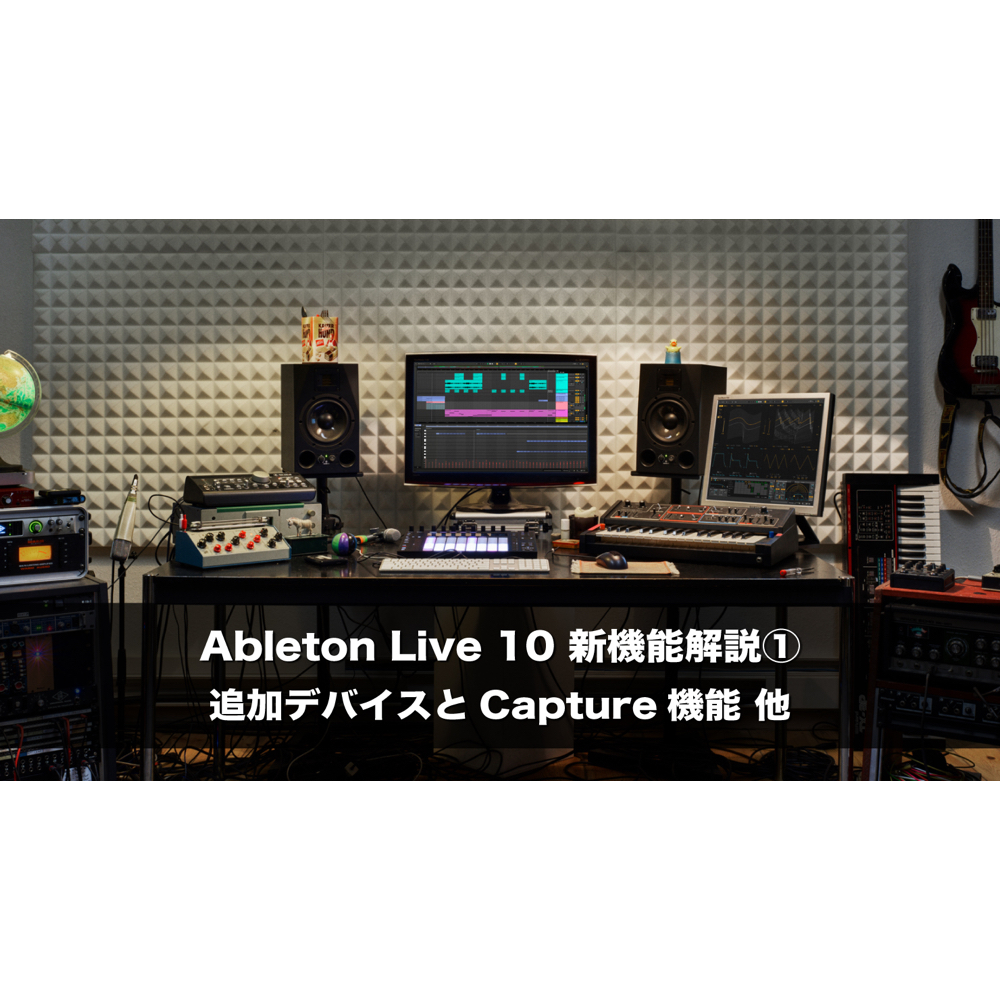
Ableton Live 13 marks the first major update to Live in three years.
It adds a long-awaited Step Sequencer, support for ARA plug-ins, new effect racks, and many other tools for musical expression.
Here are five key highlights of Live 13:
- Step Sequencer: Create patterns by clicking steps and set velocity and timing for each step.
- Drum Synth: Create a variety of drum sounds, from kicks to percussion, in one instrument.
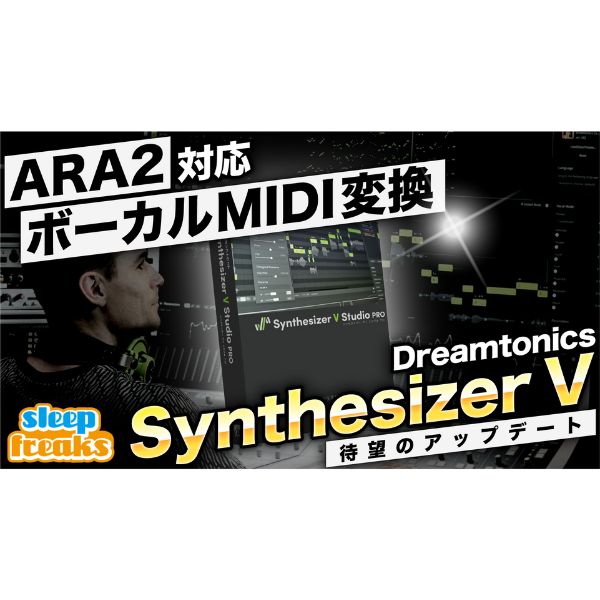
- ARA plug-in support: Work with Melodyne and Synthesizer V directly inside Live.
- Multiband Rack: Split sound into three frequency bands and apply different effects to each.
- Device Slots: See devices across all tracks in the mixer.
Video
A Step Sequencer for beatmaking
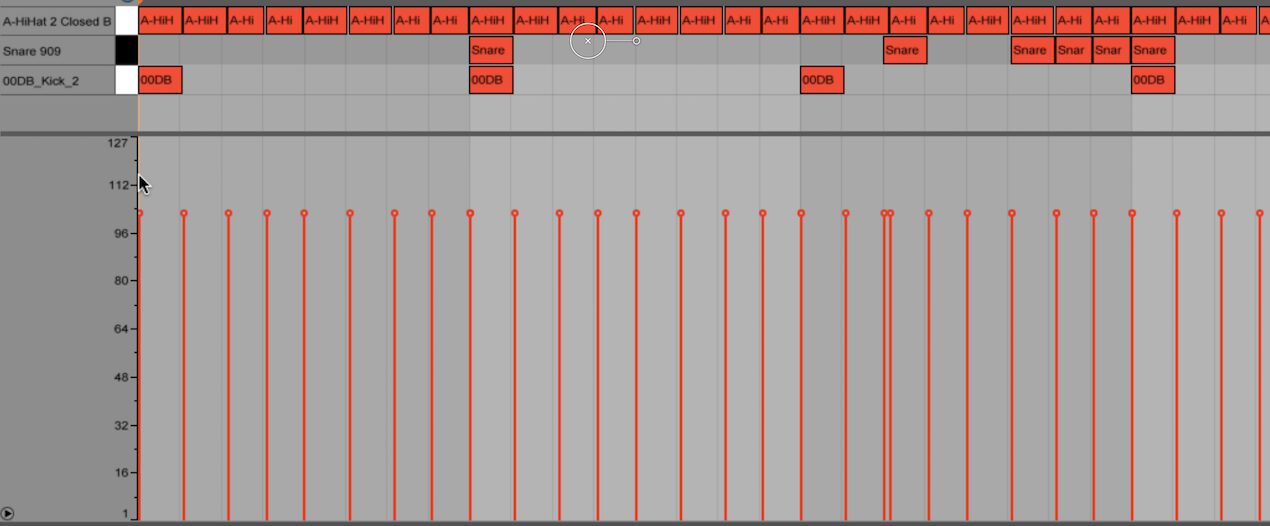
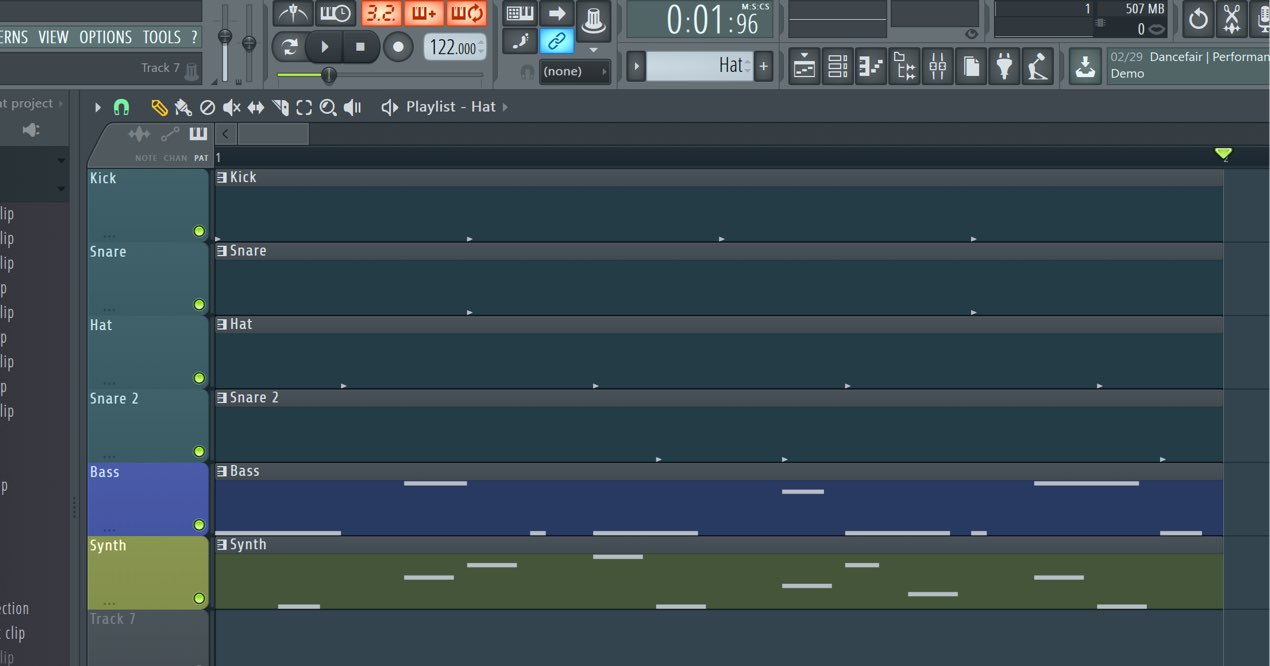
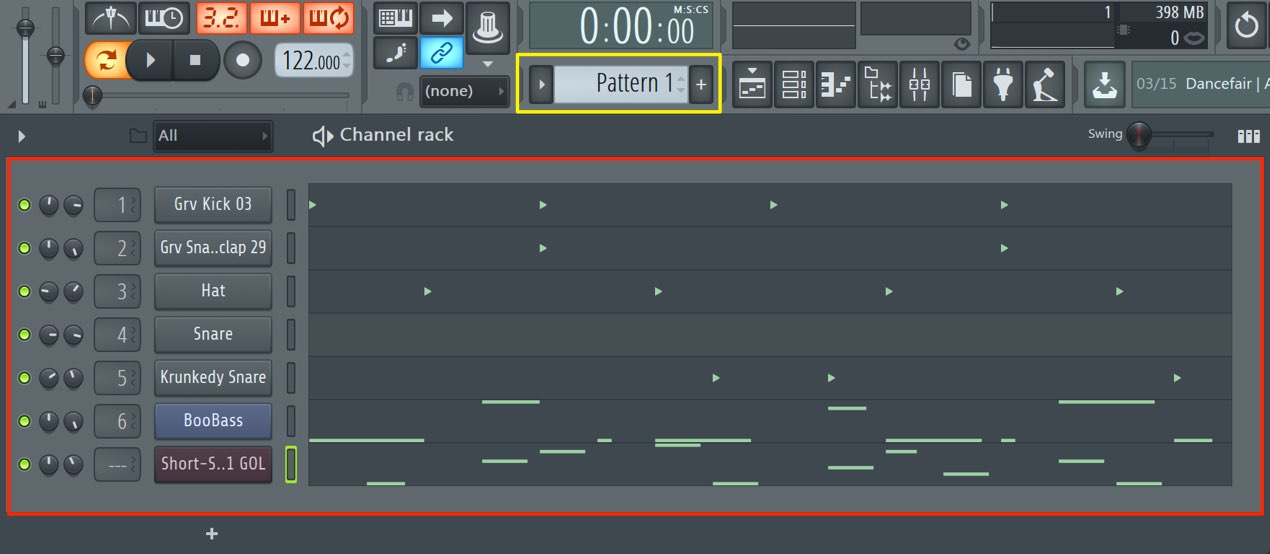
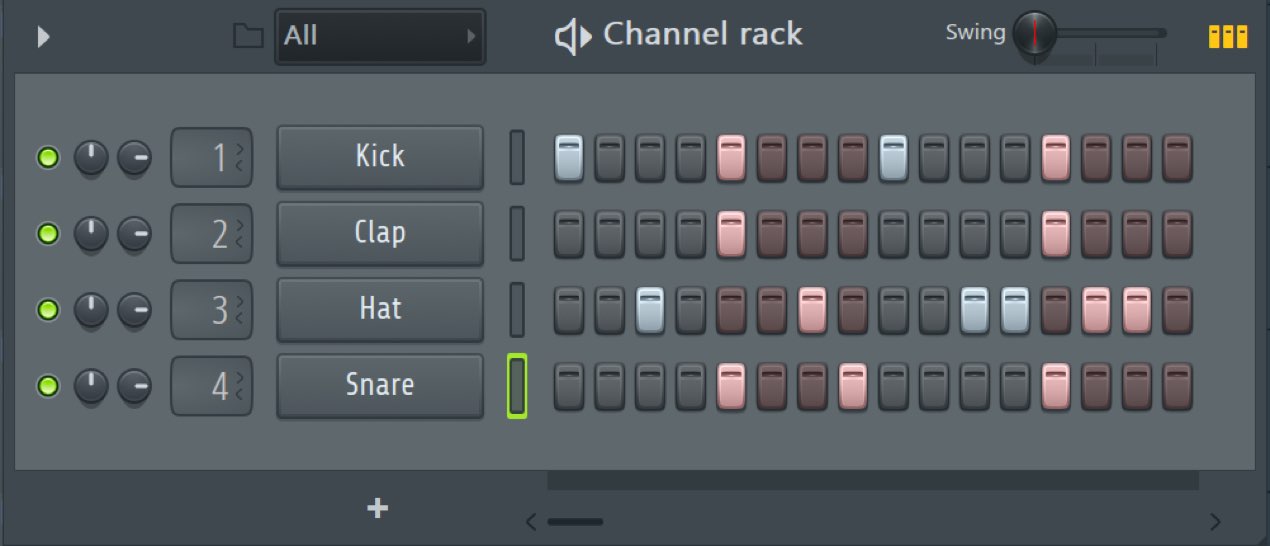
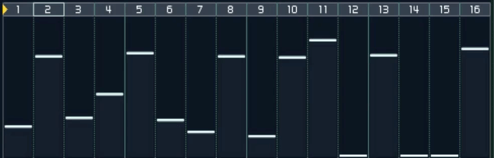
The new Step Sequencer is a useful tool for beatmaking.
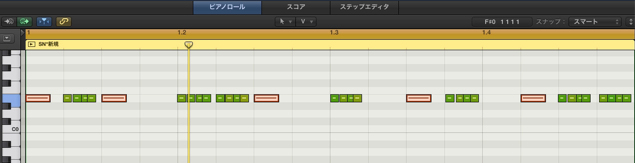
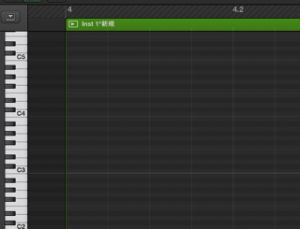
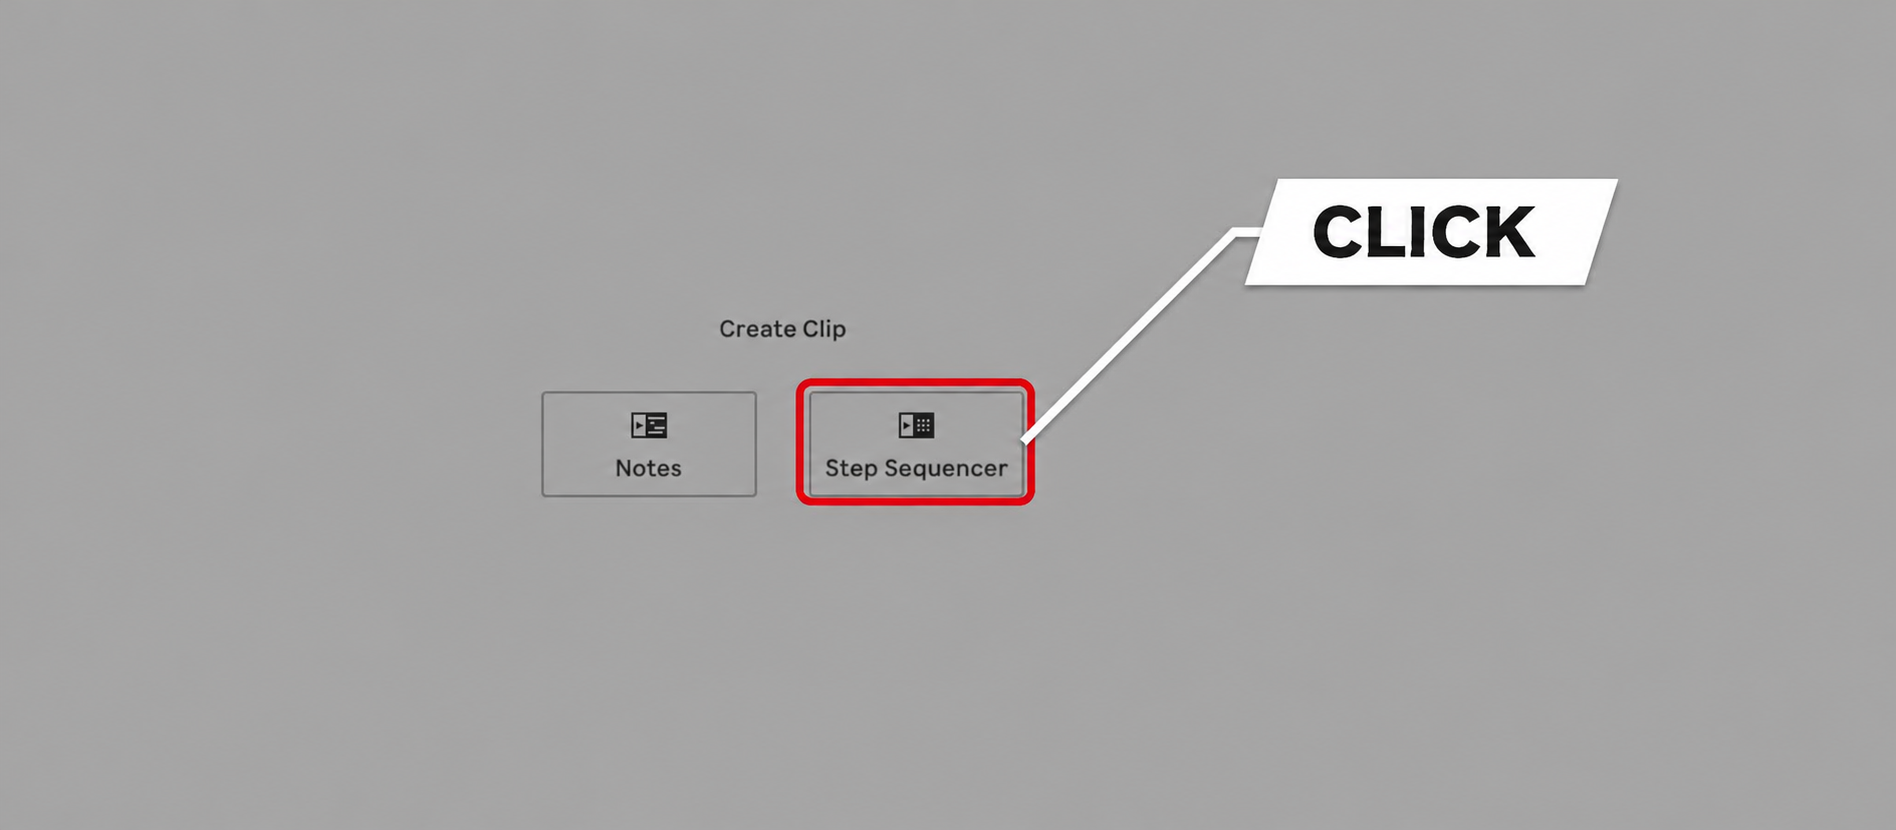
Create a Step Sequencer clip on a MIDI track to get started.
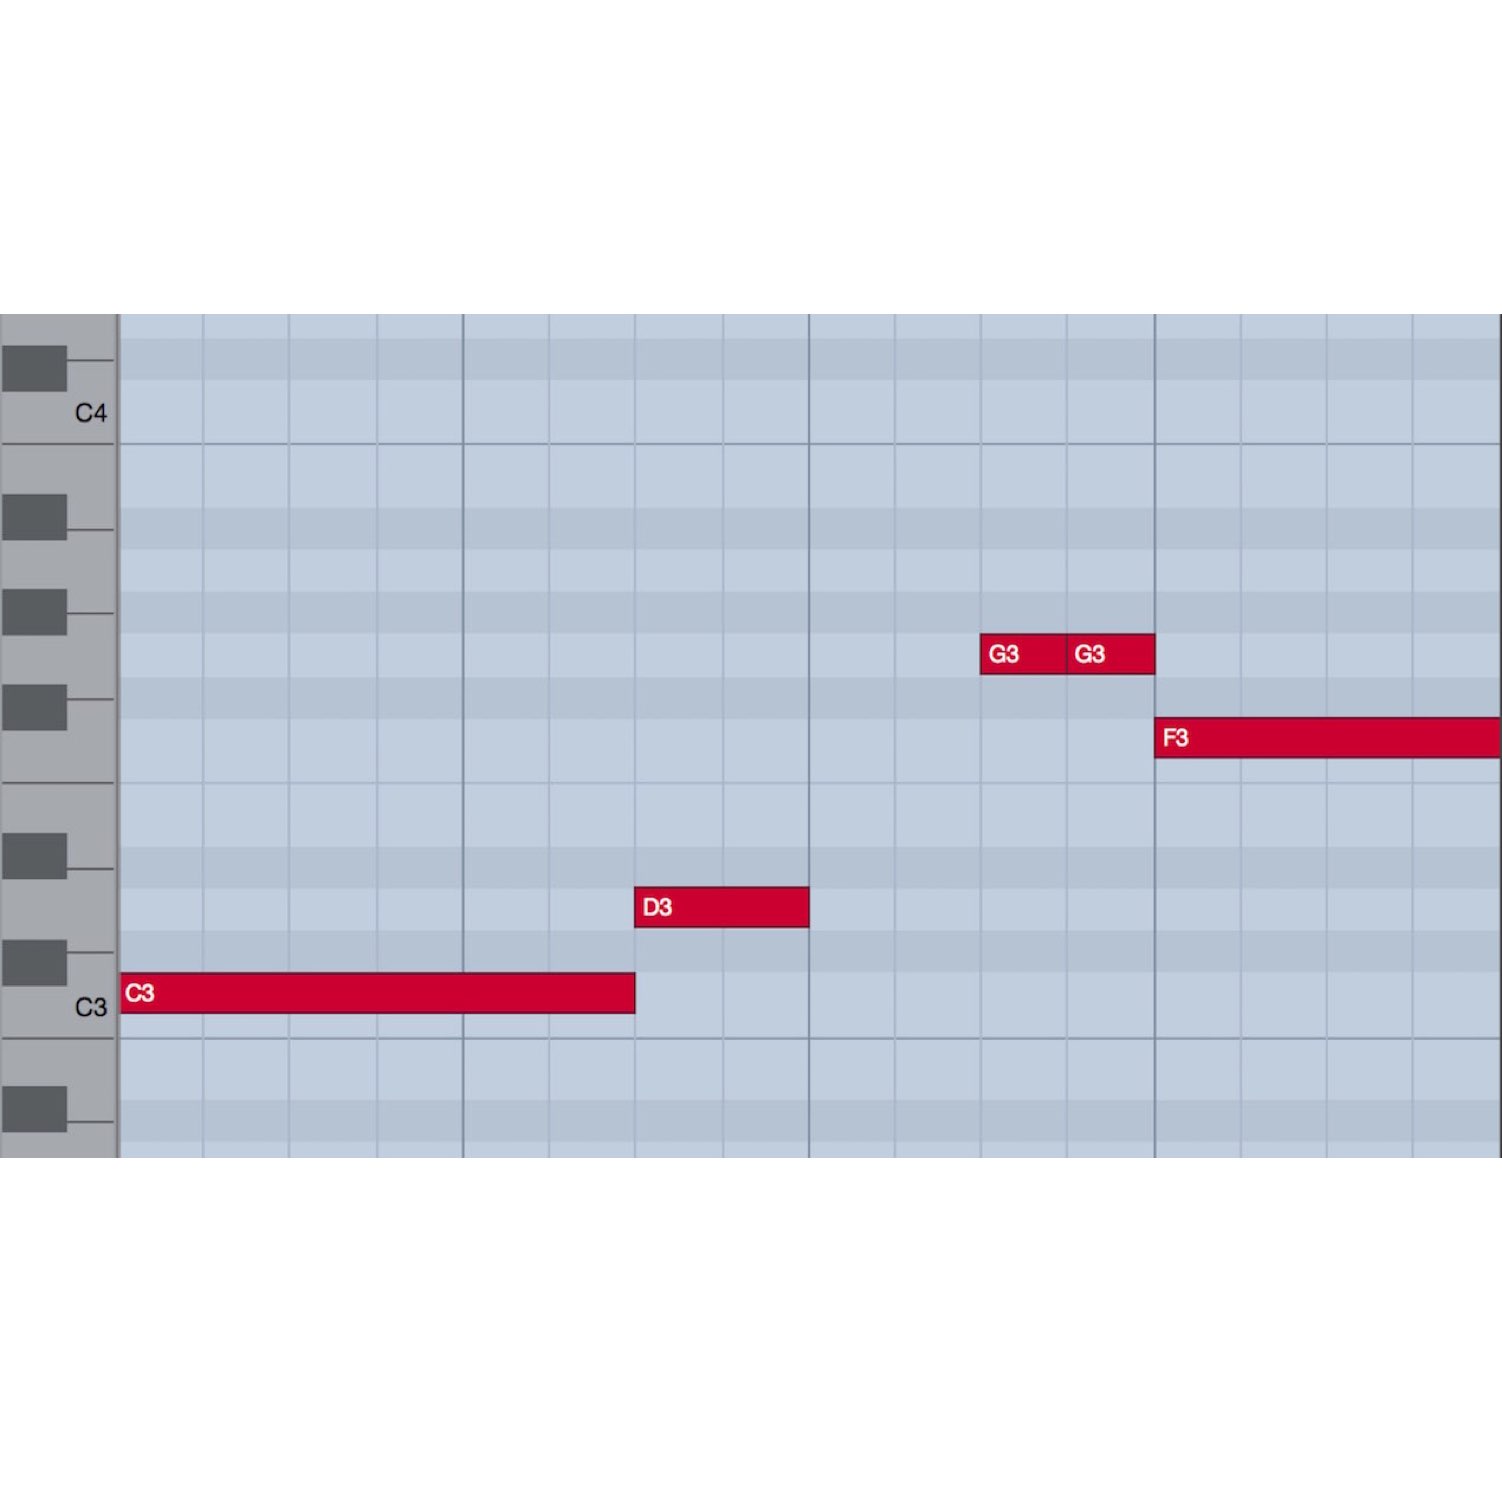
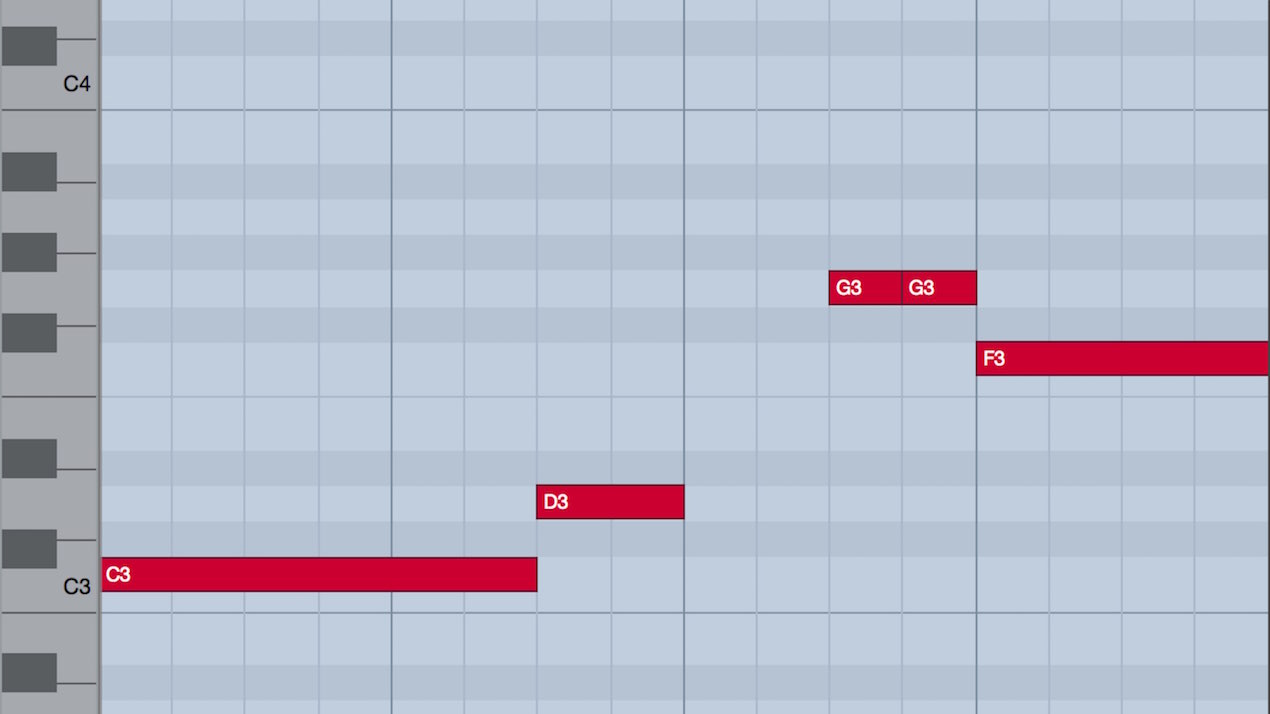
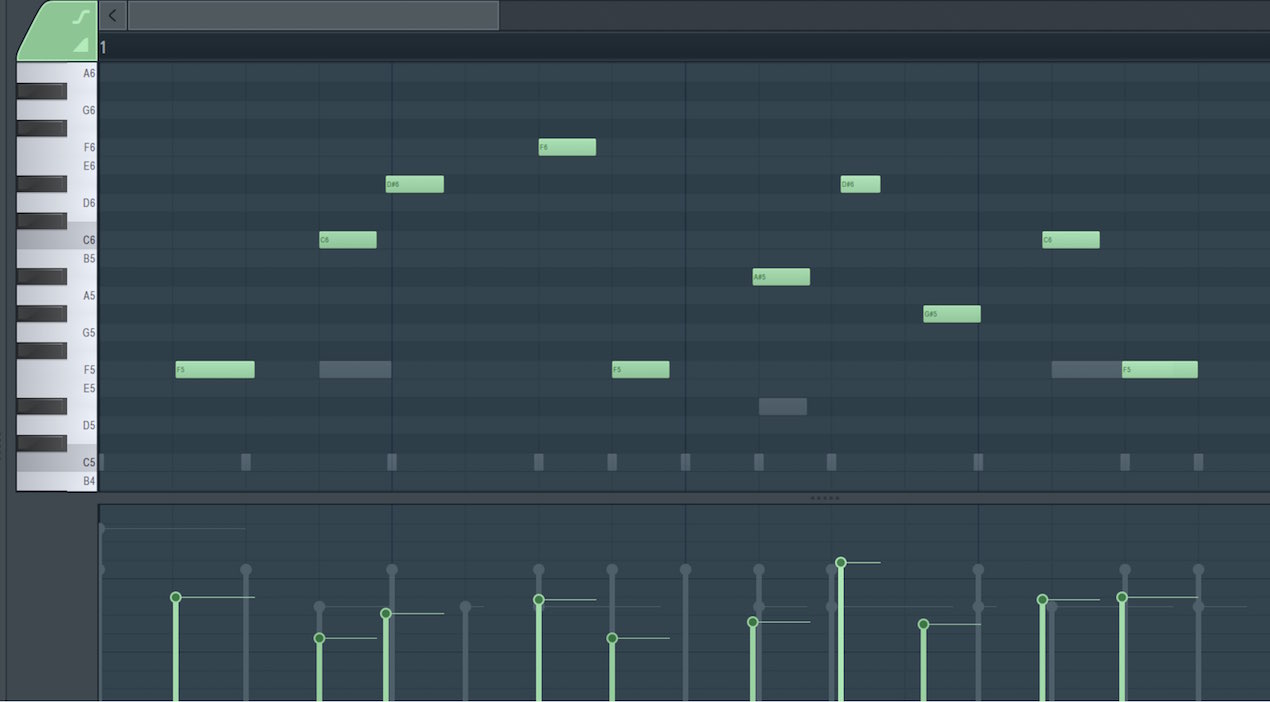
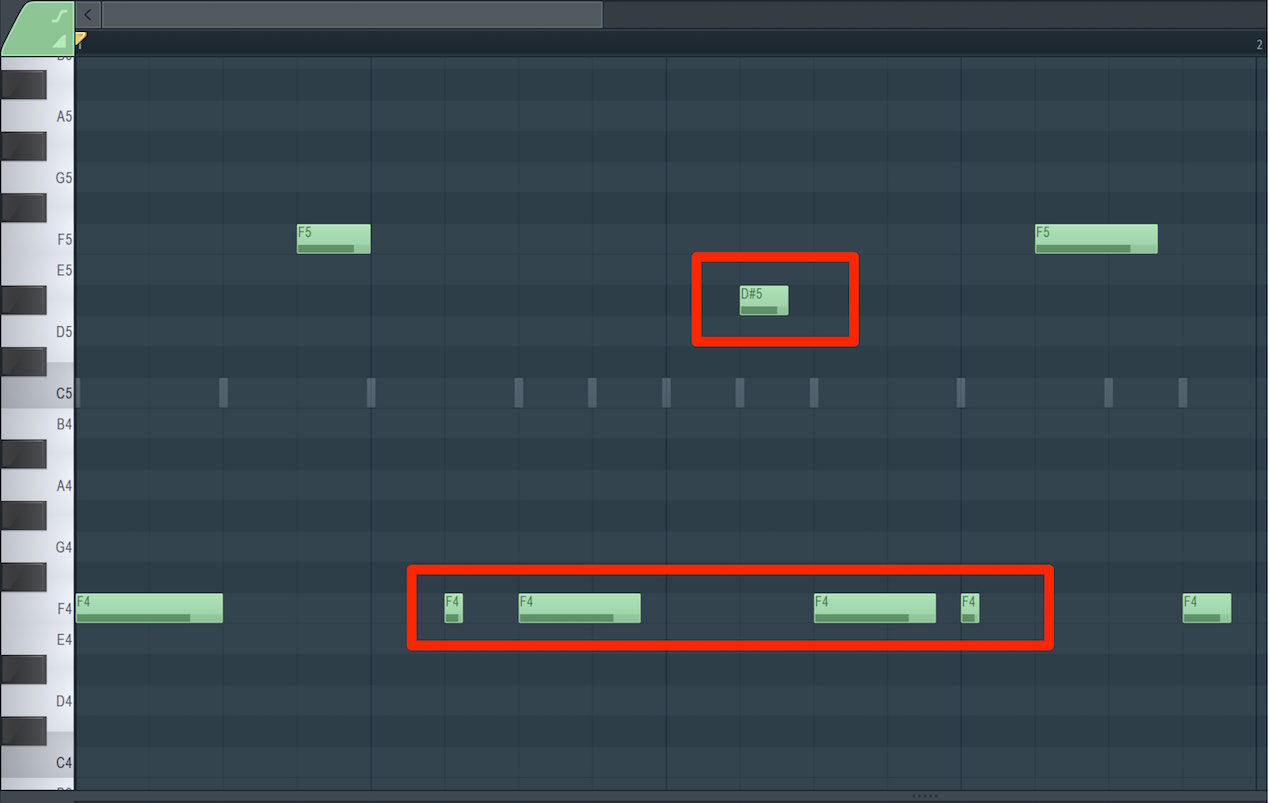
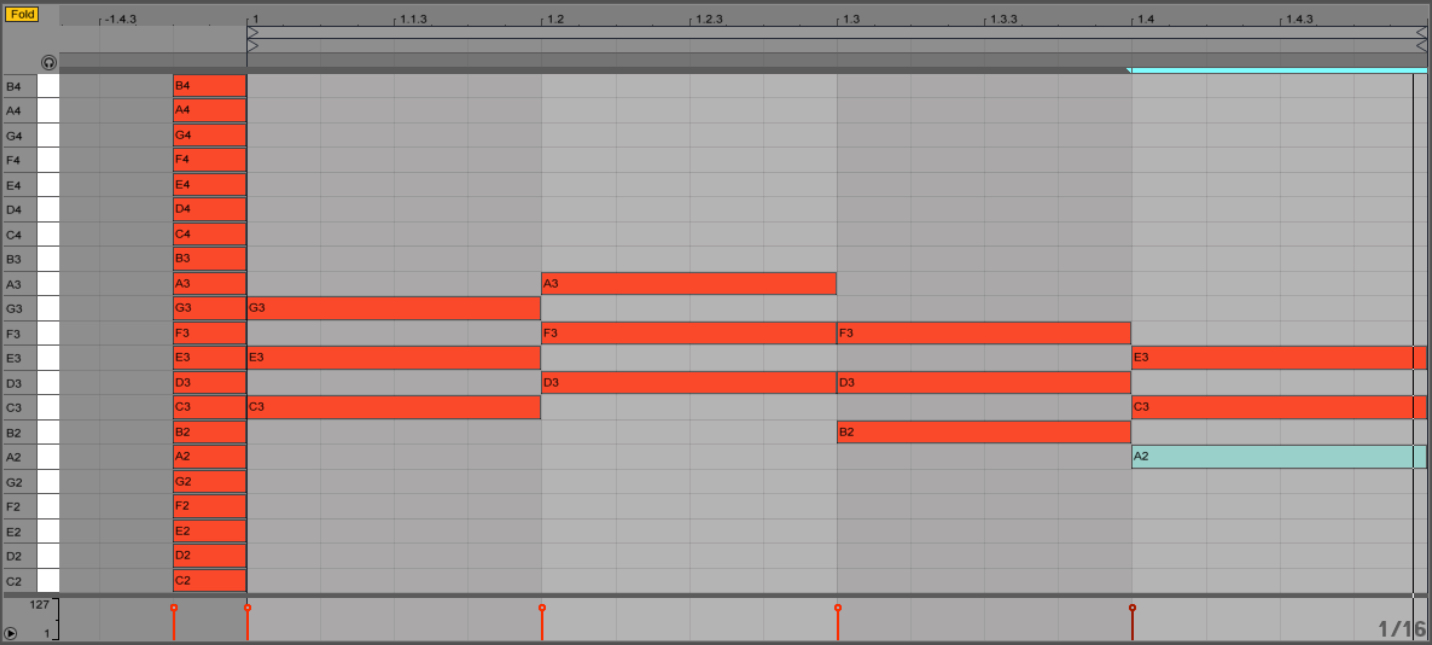
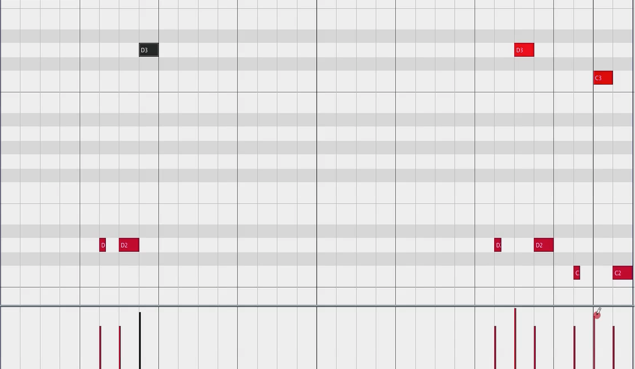
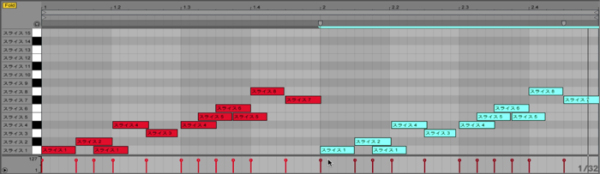
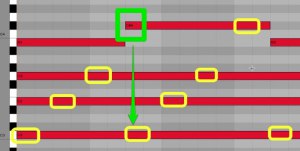
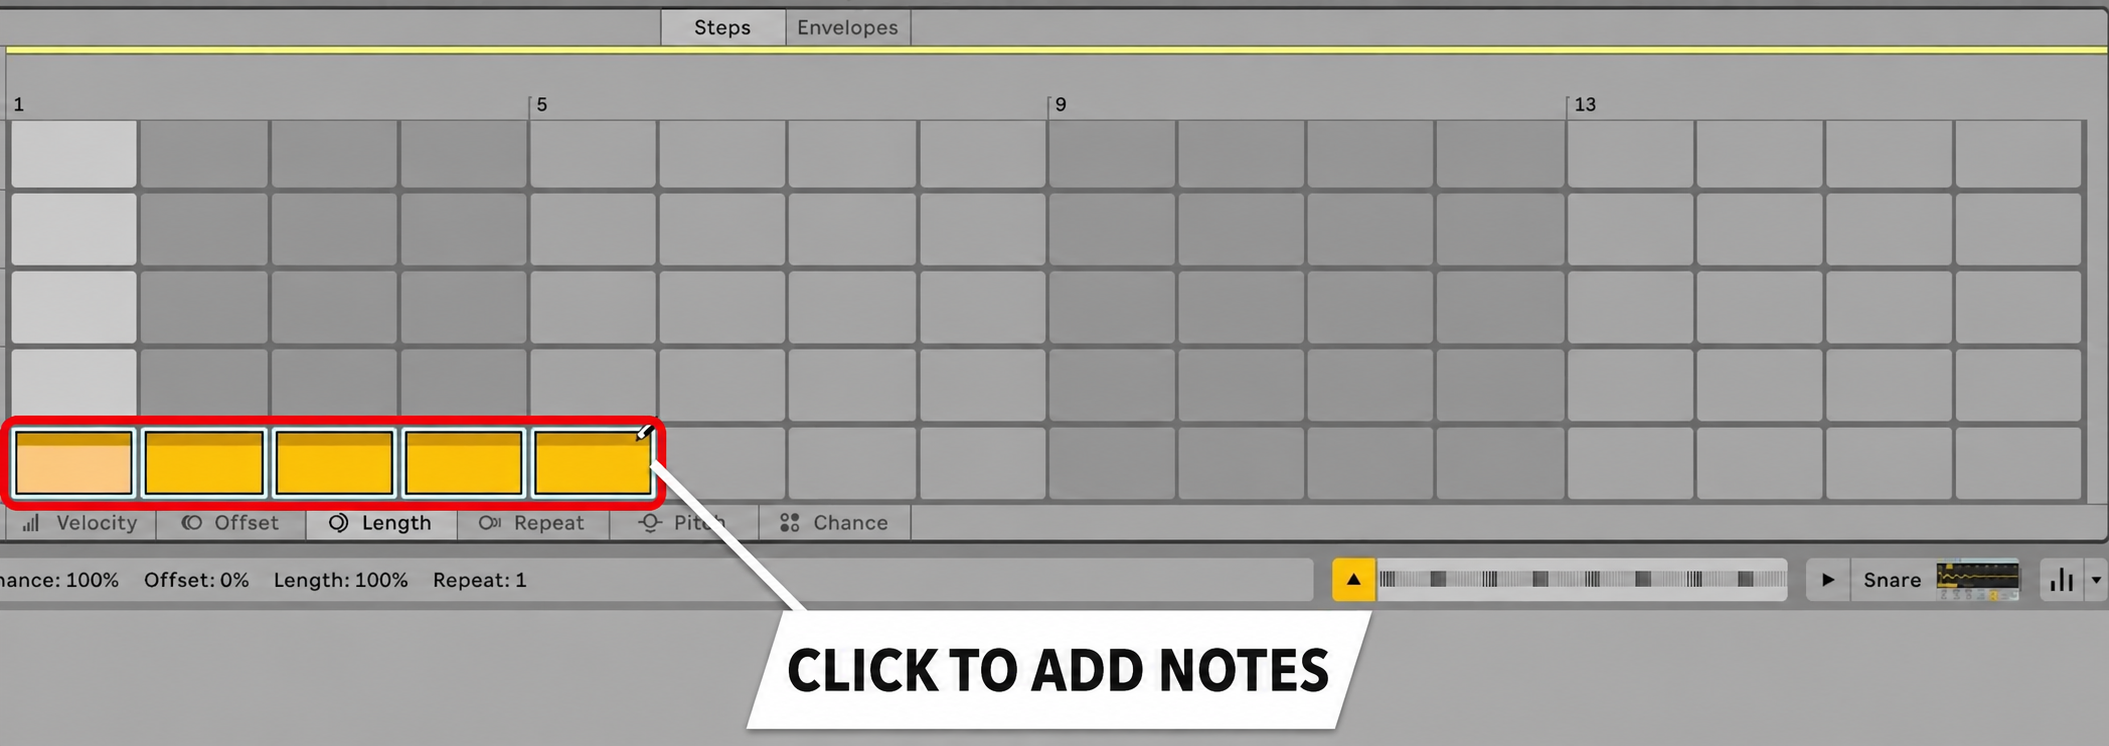
The vertical axis represents pitch and the horizontal axis represents time.
To add or remove notes, simply click a step.
You can adjust dynamics directly on the steps as well.
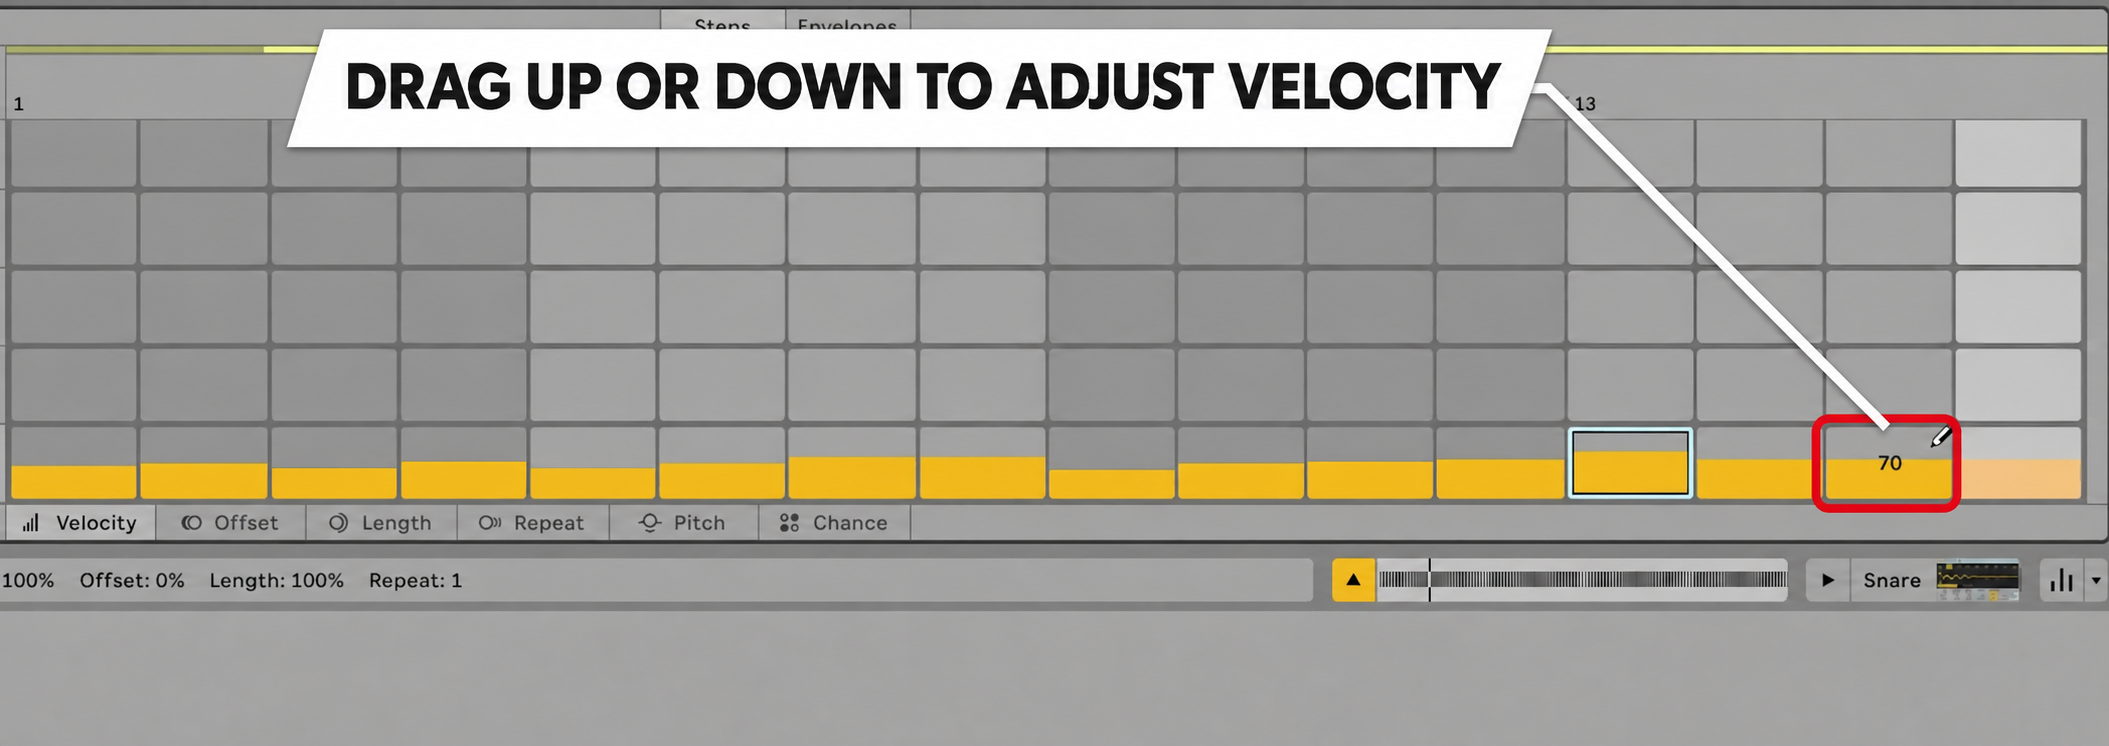
Compared with a conventional MIDI clip, it makes it easy to add subtle dynamic variation to a phrase.
Lanes for individual note settings
Along with dynamics, you can apply a range of settings to each note.
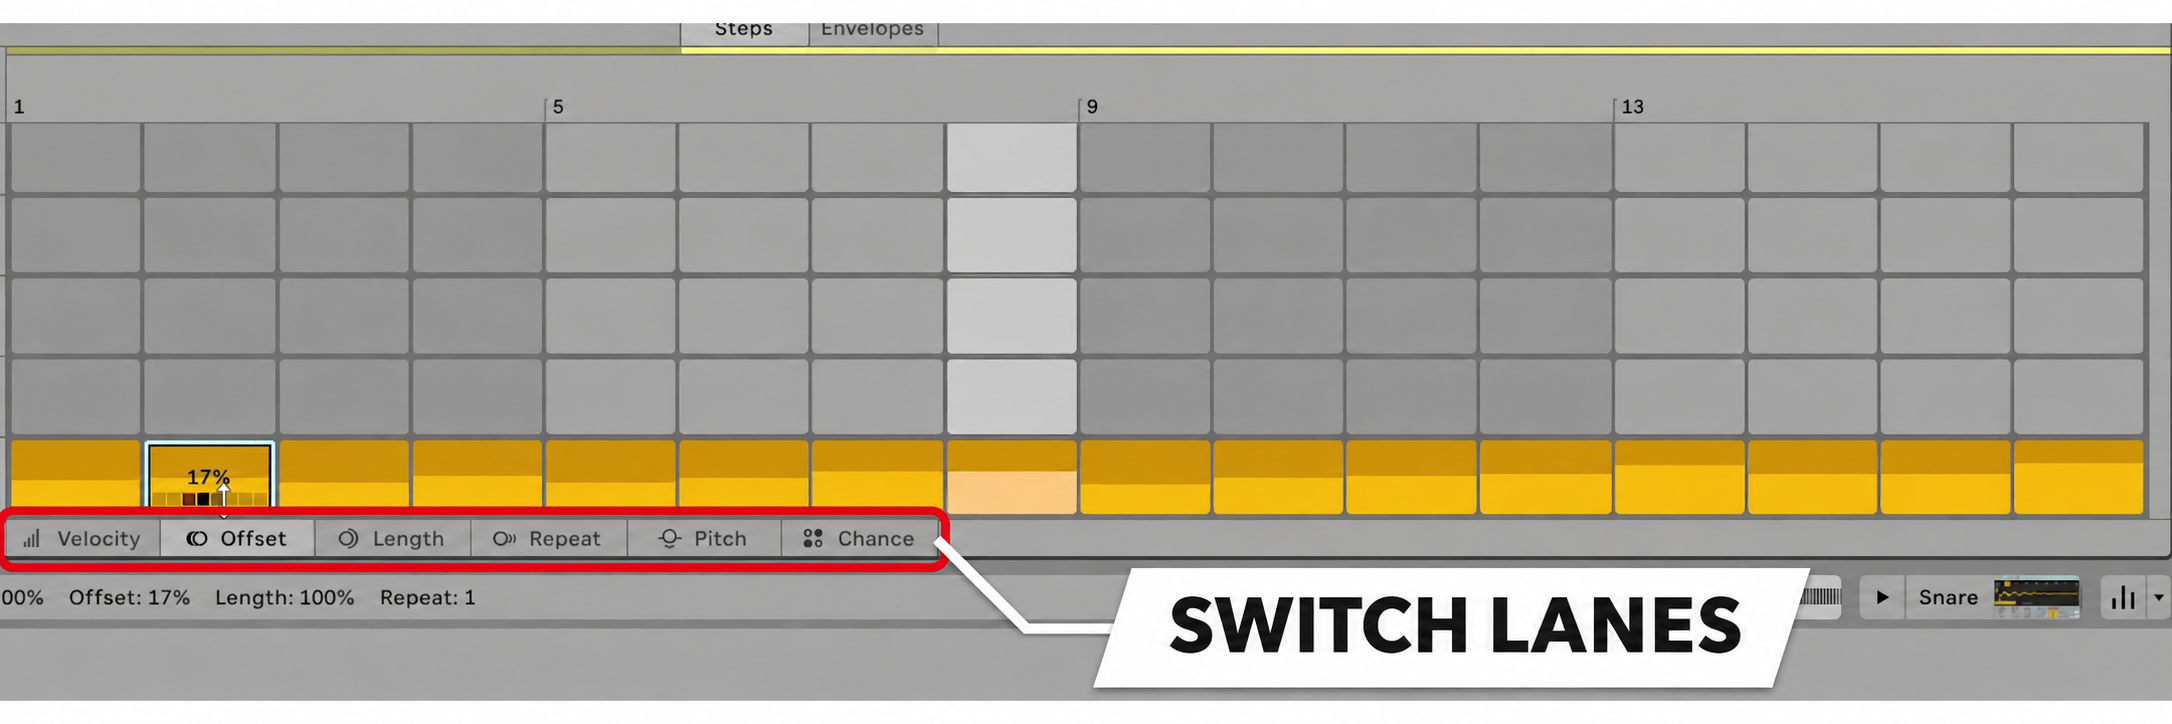
The available lanes are:
- Velocity: note dynamics
- Offset: timing displacement
- Length: note duration
- Repeat: subdivide a note into repeated hits
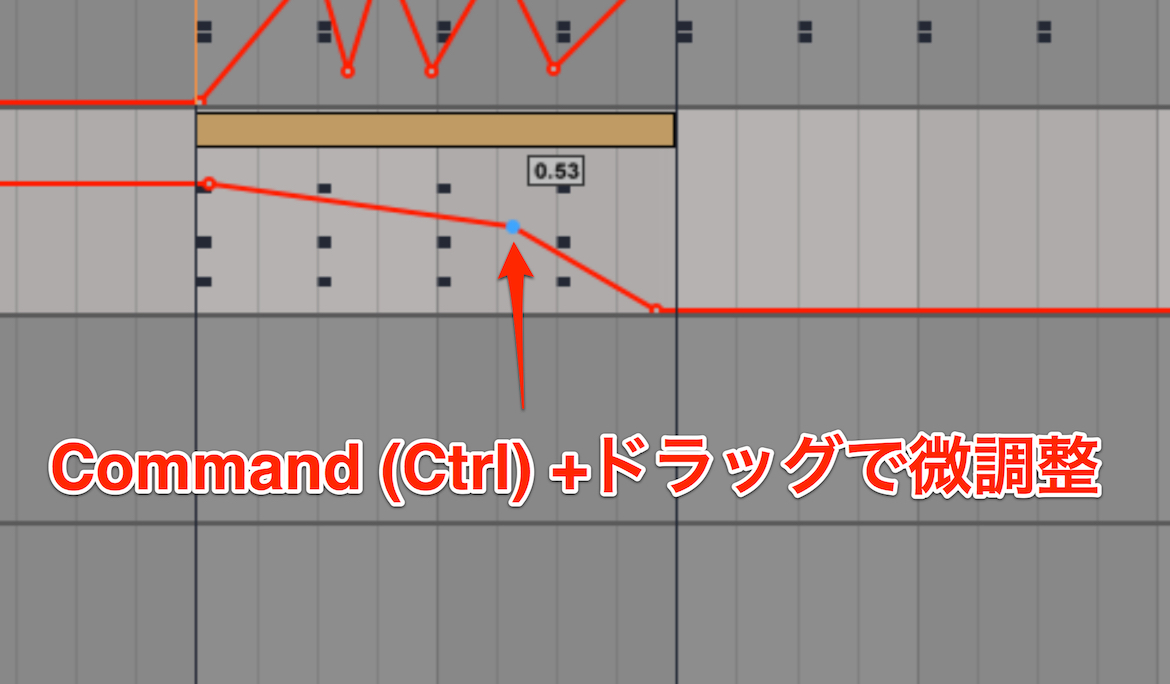
- Pitch: pitch bend for each step
- Chance: probability that a note will play
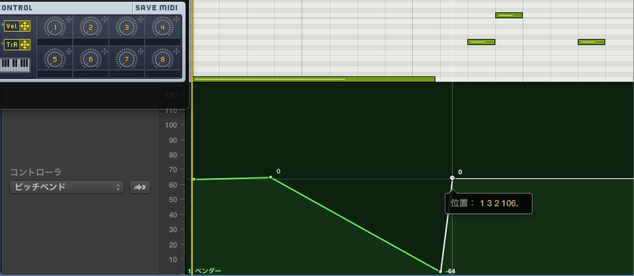
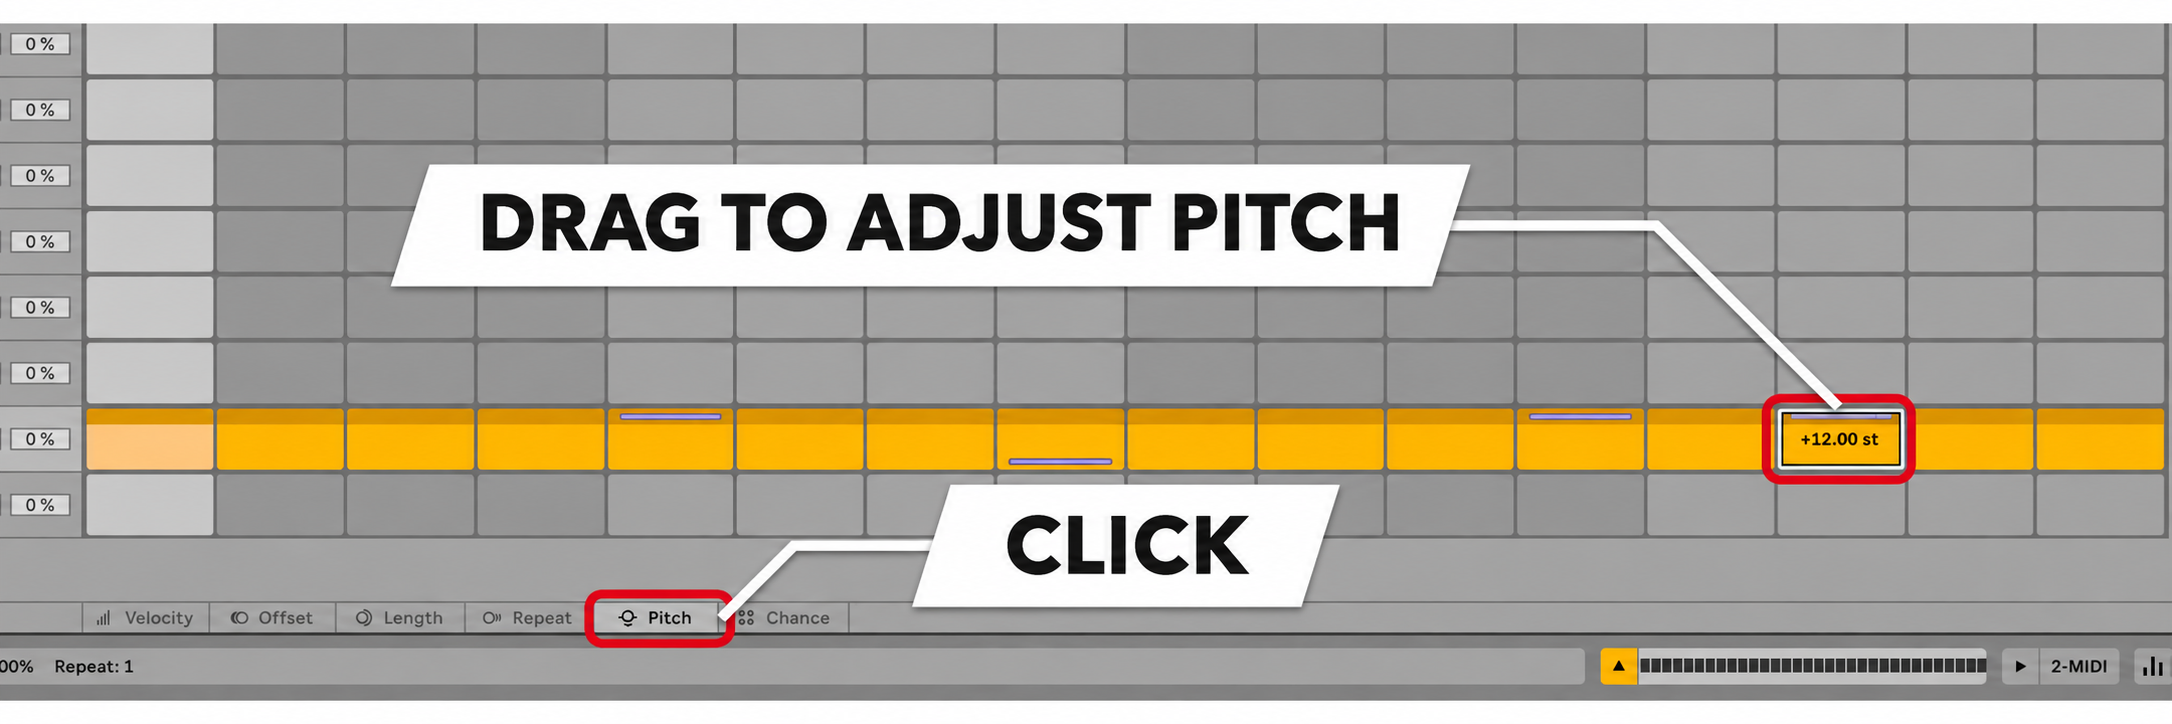
First, let’s look at the Pitch lane.
You can bend the pitch of individual steps.
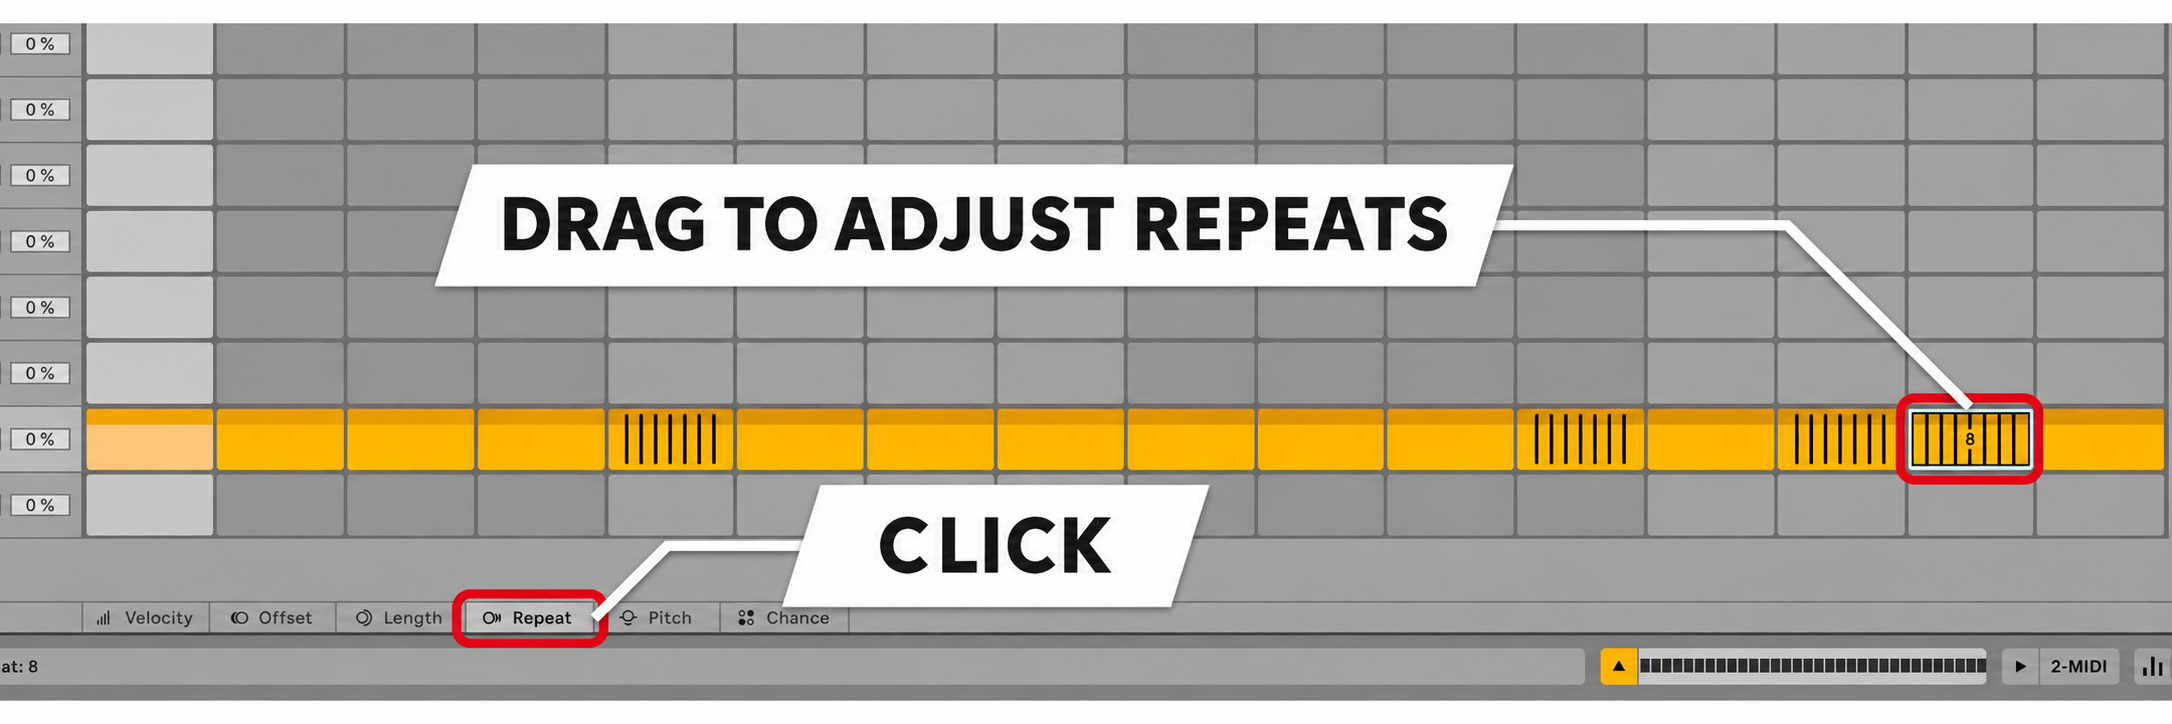
Repeat and Chance are adjusted in the same way.
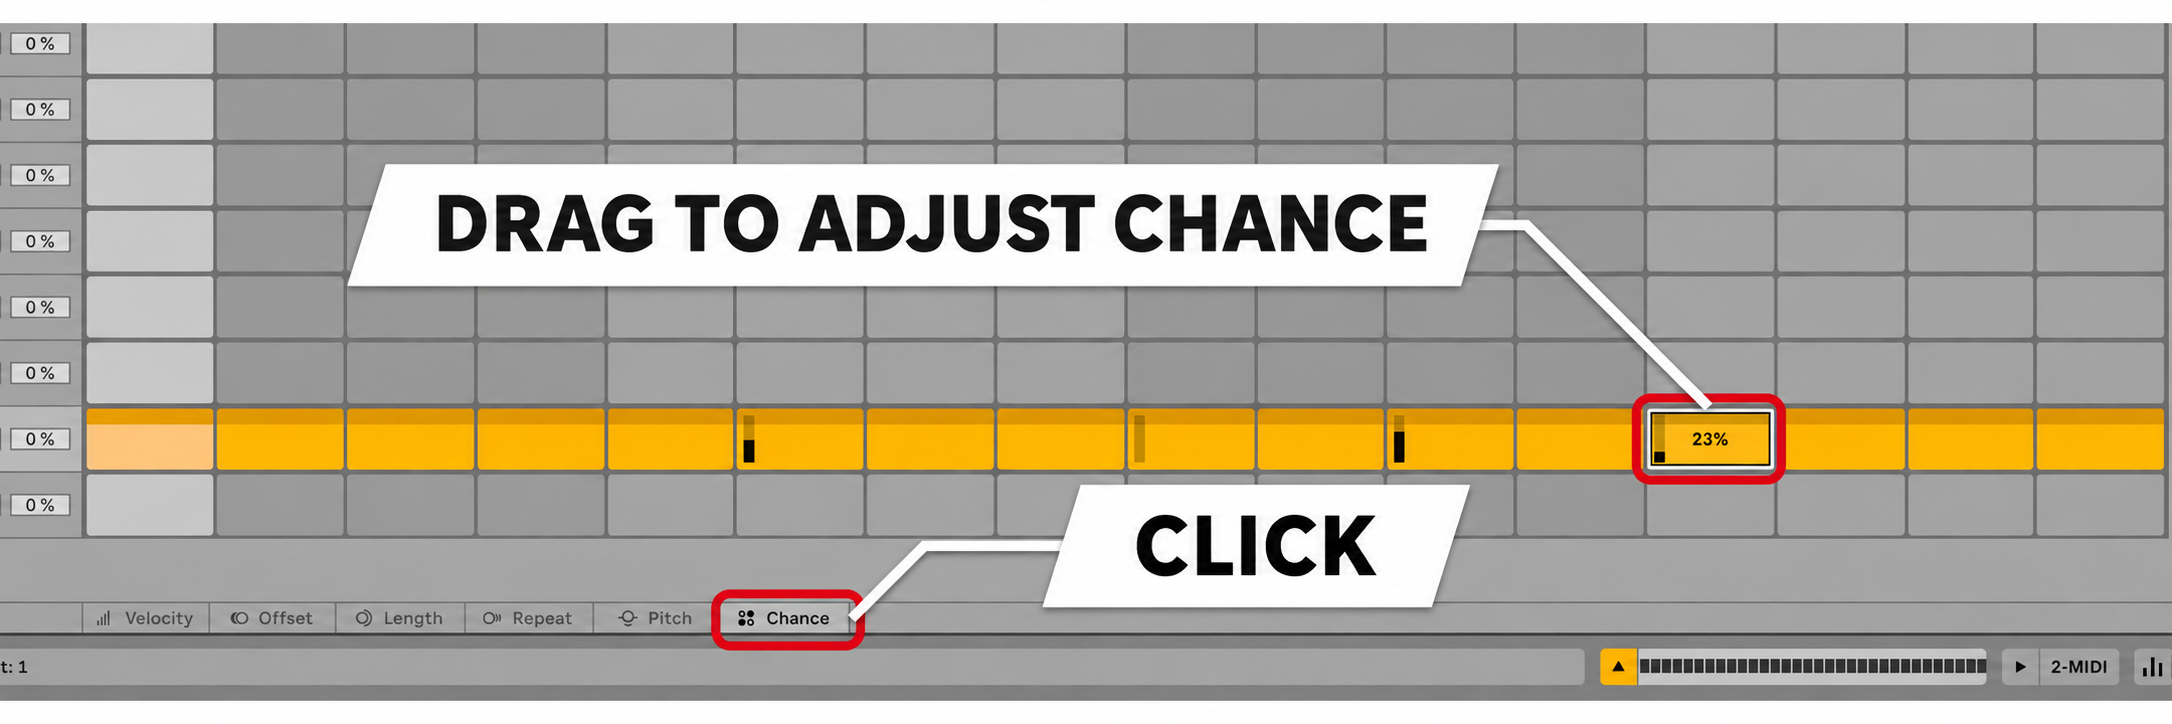
Lowering a step’s Chance means it will not play every time.
Offset lets you shift the timing of individual steps.
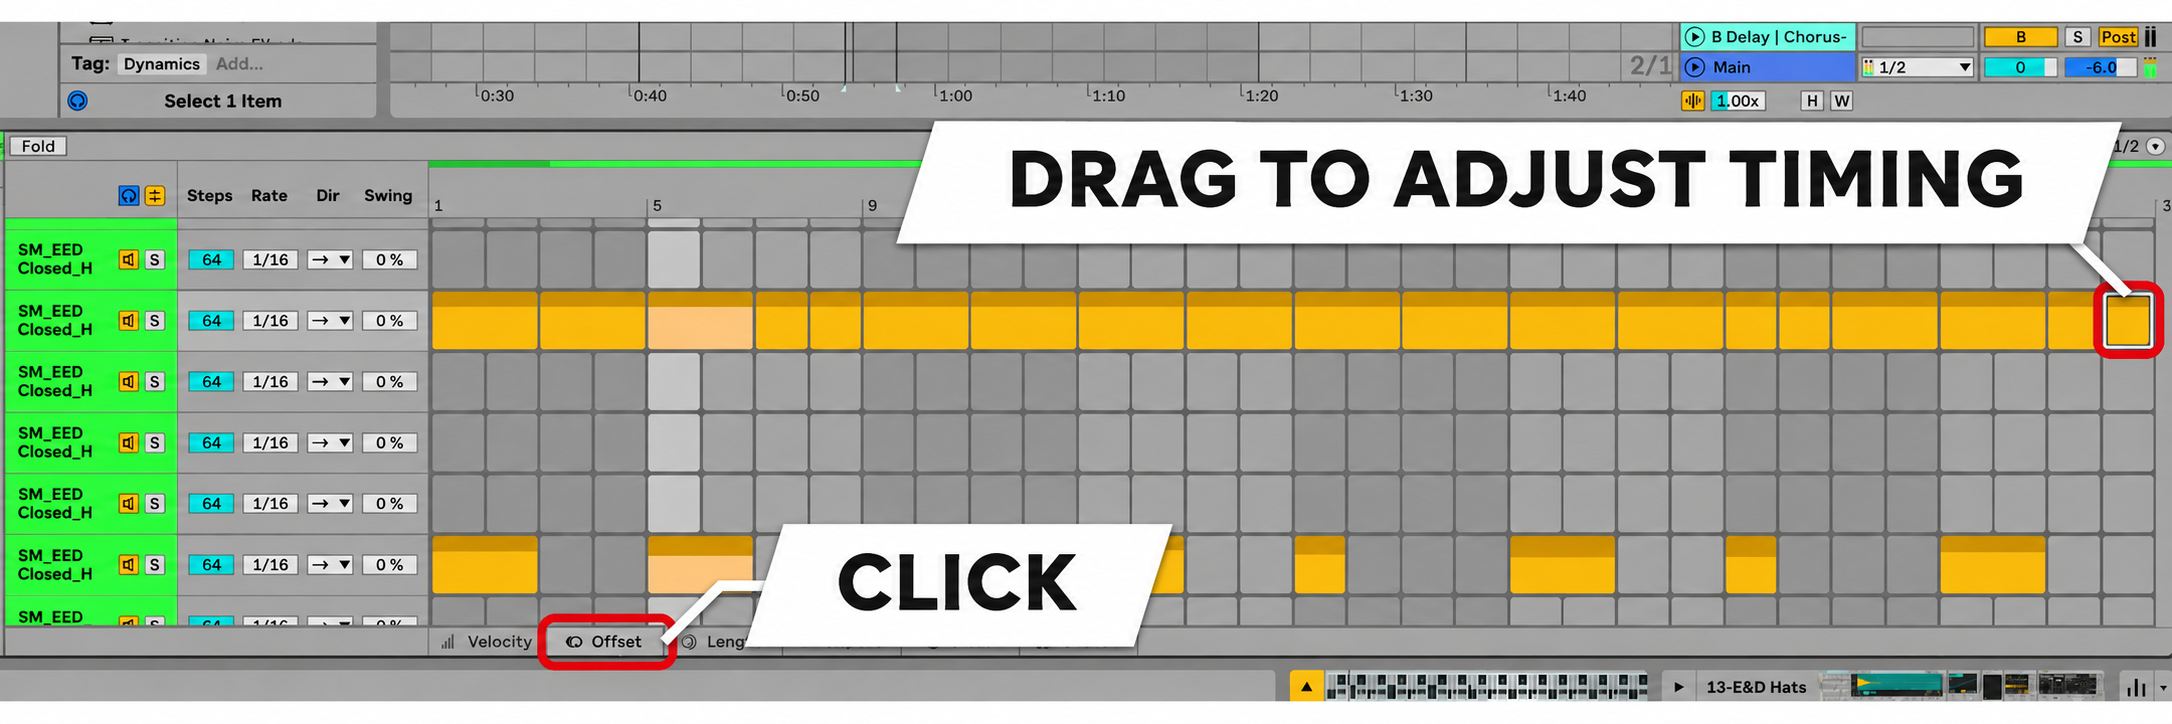
By varying timing and dynamics with Offset and Velocity, you can give a mechanical rhythm more groove.
Convert between MIDI and Step Sequencer clips
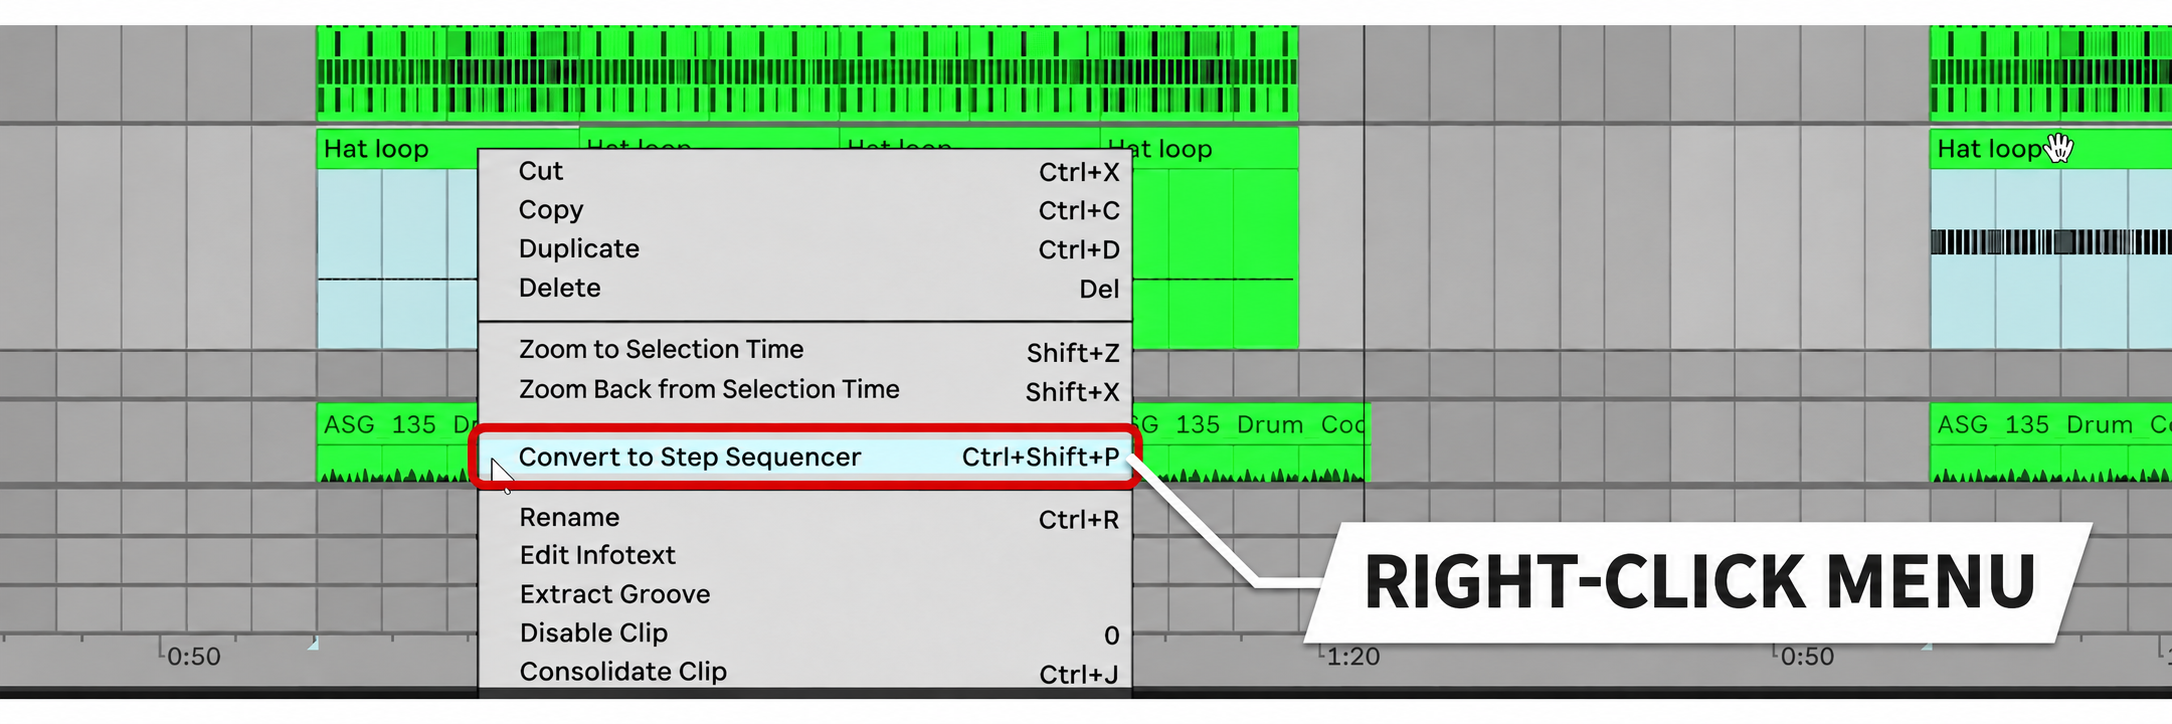
You can convert an existing MIDI clip into a Step Sequencer clip.
You can also convert a Step Sequencer clip back into a MIDI clip.
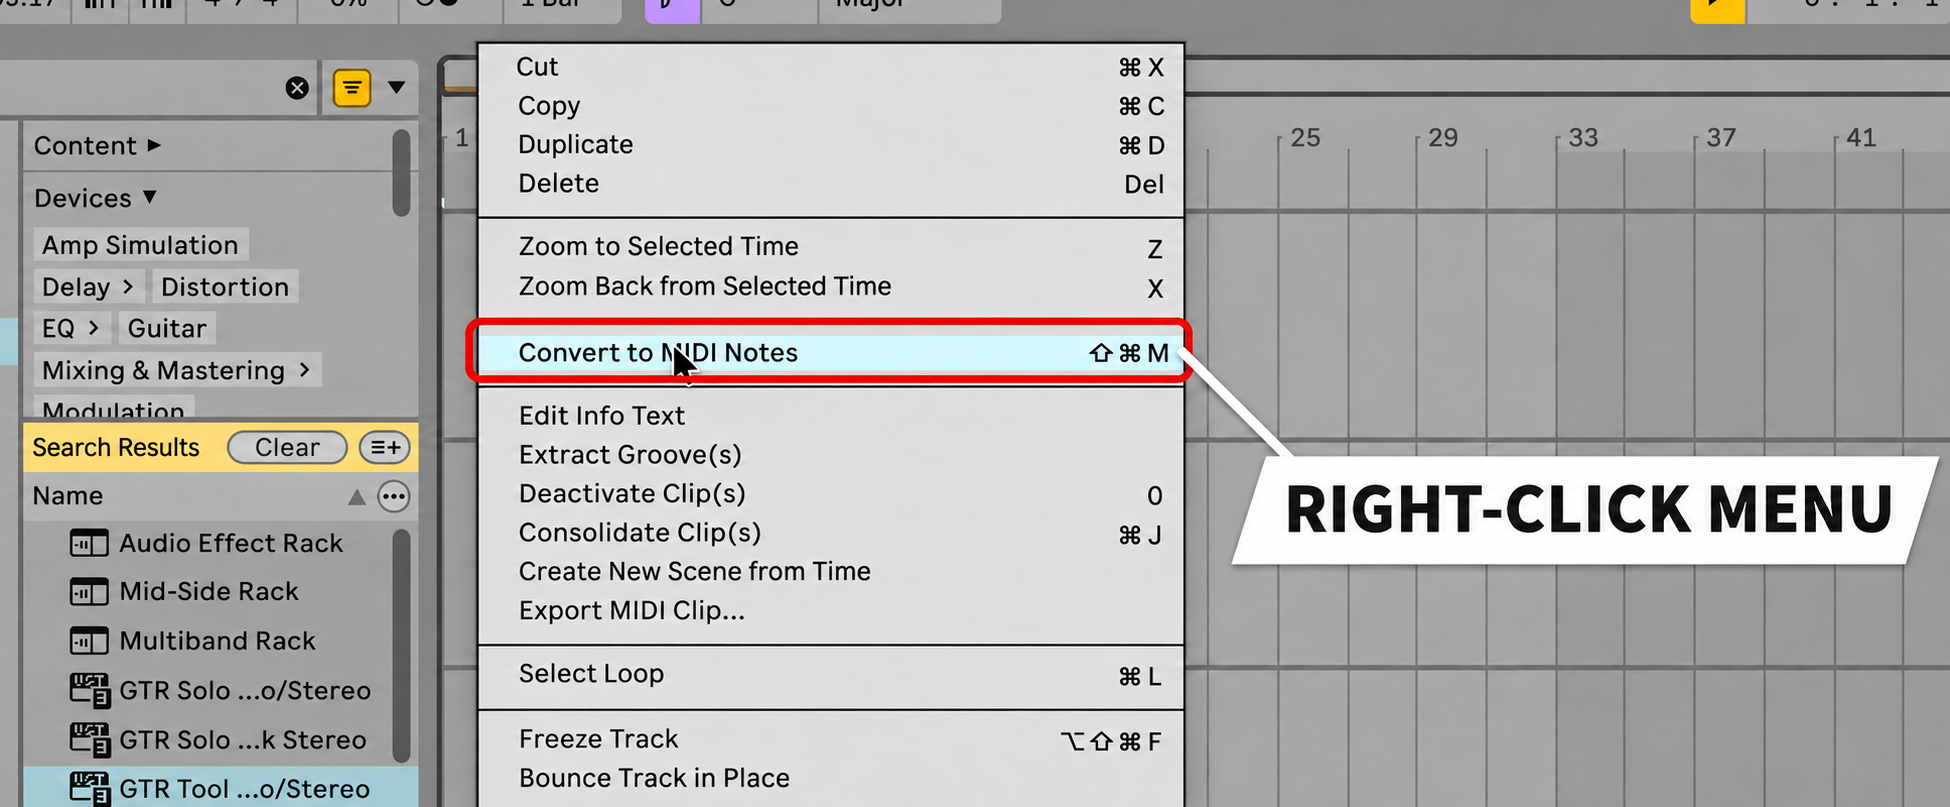
This lets you take advantage of both clip types as you work, choosing the one that suits the situation.
Drum Synth: a range of drum sounds in one instrument
Drum Synth combines multiple drum parts in one instrument.
It can create kicks, snares, hi-hats, percussion, and more.
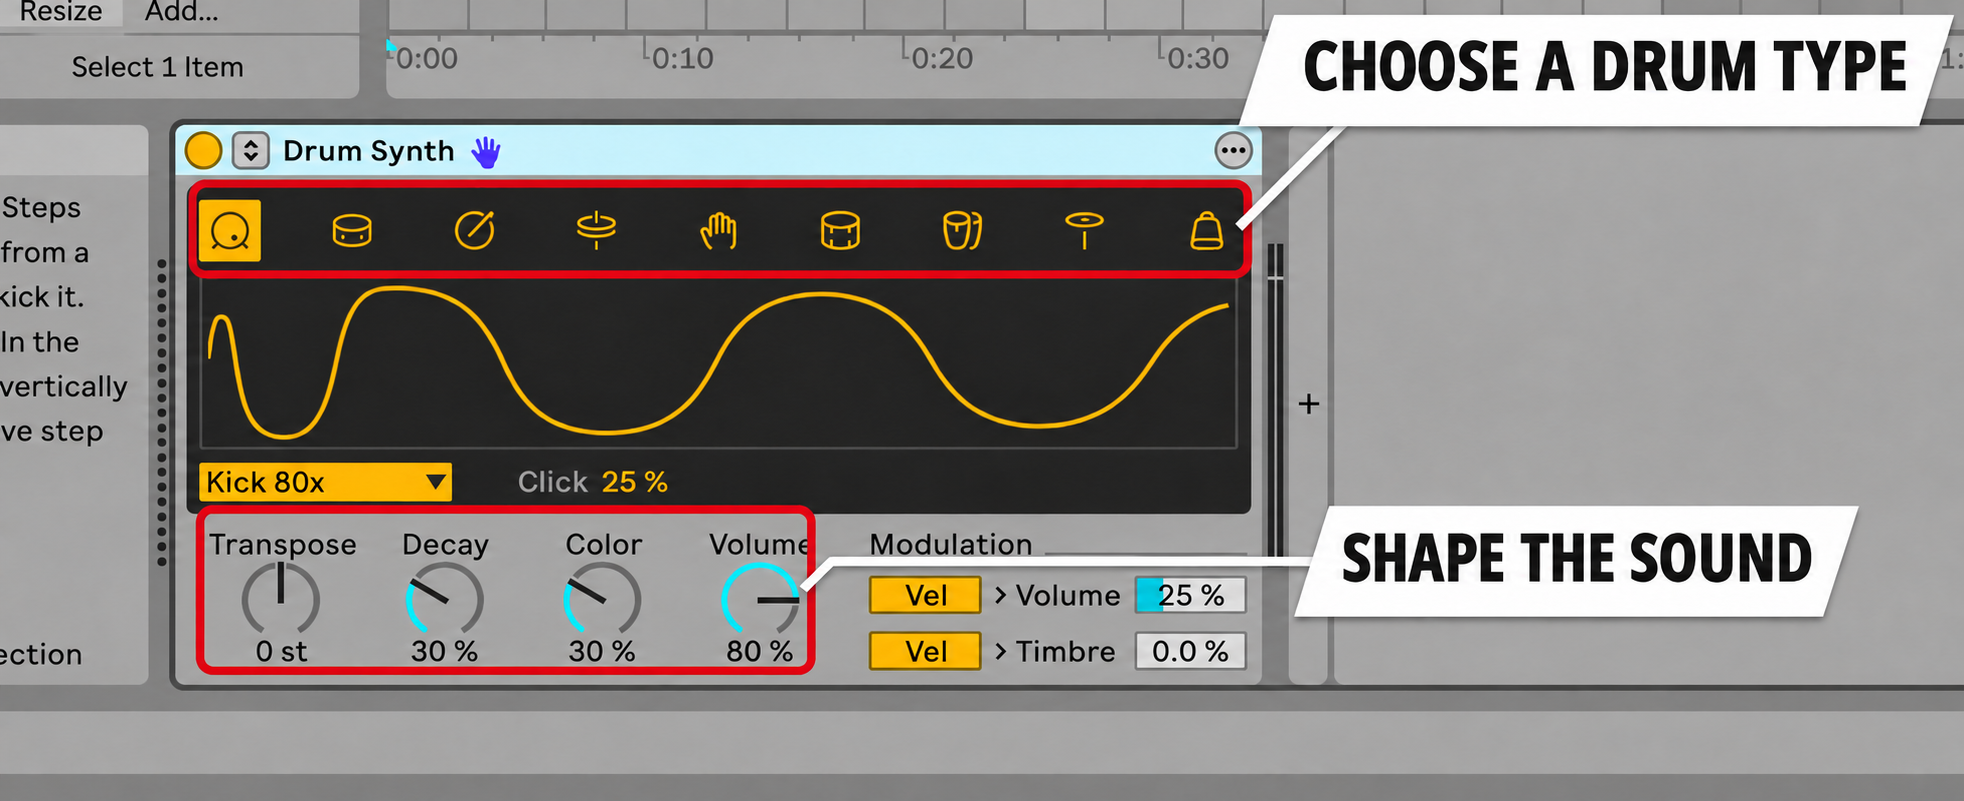
Its simple parameters make sound design intuitive.
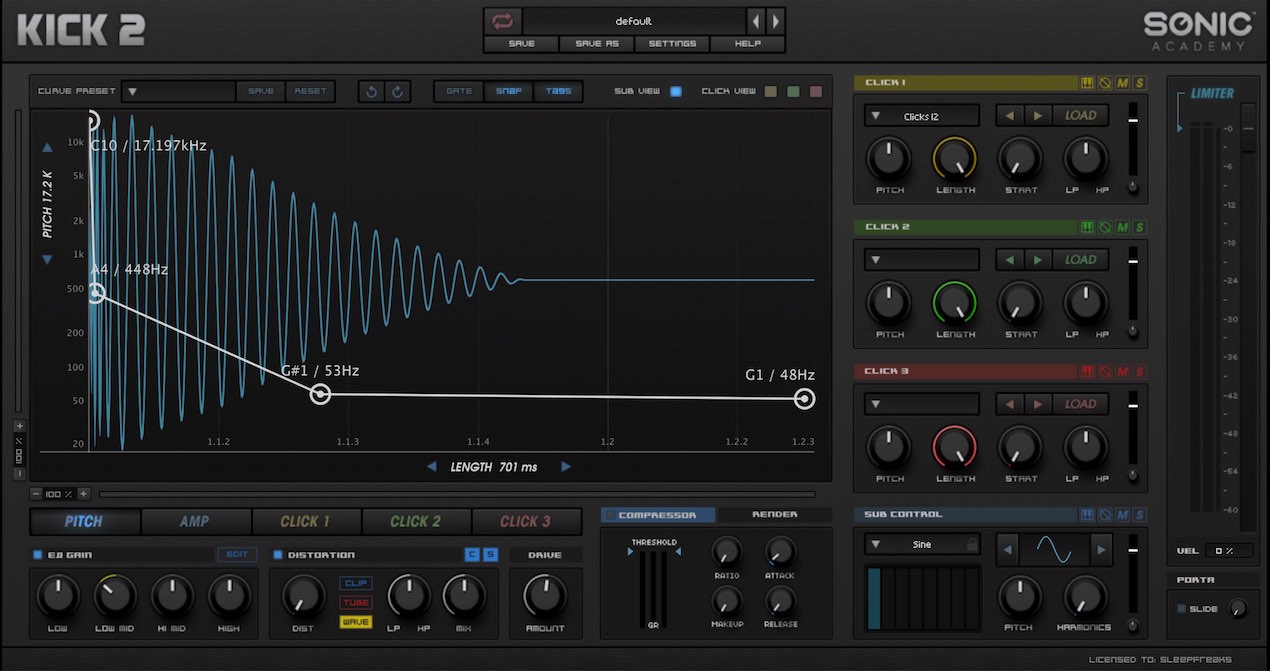
The waveform changes in real time as you adjust the settings, so you can refine the sound while watching it.
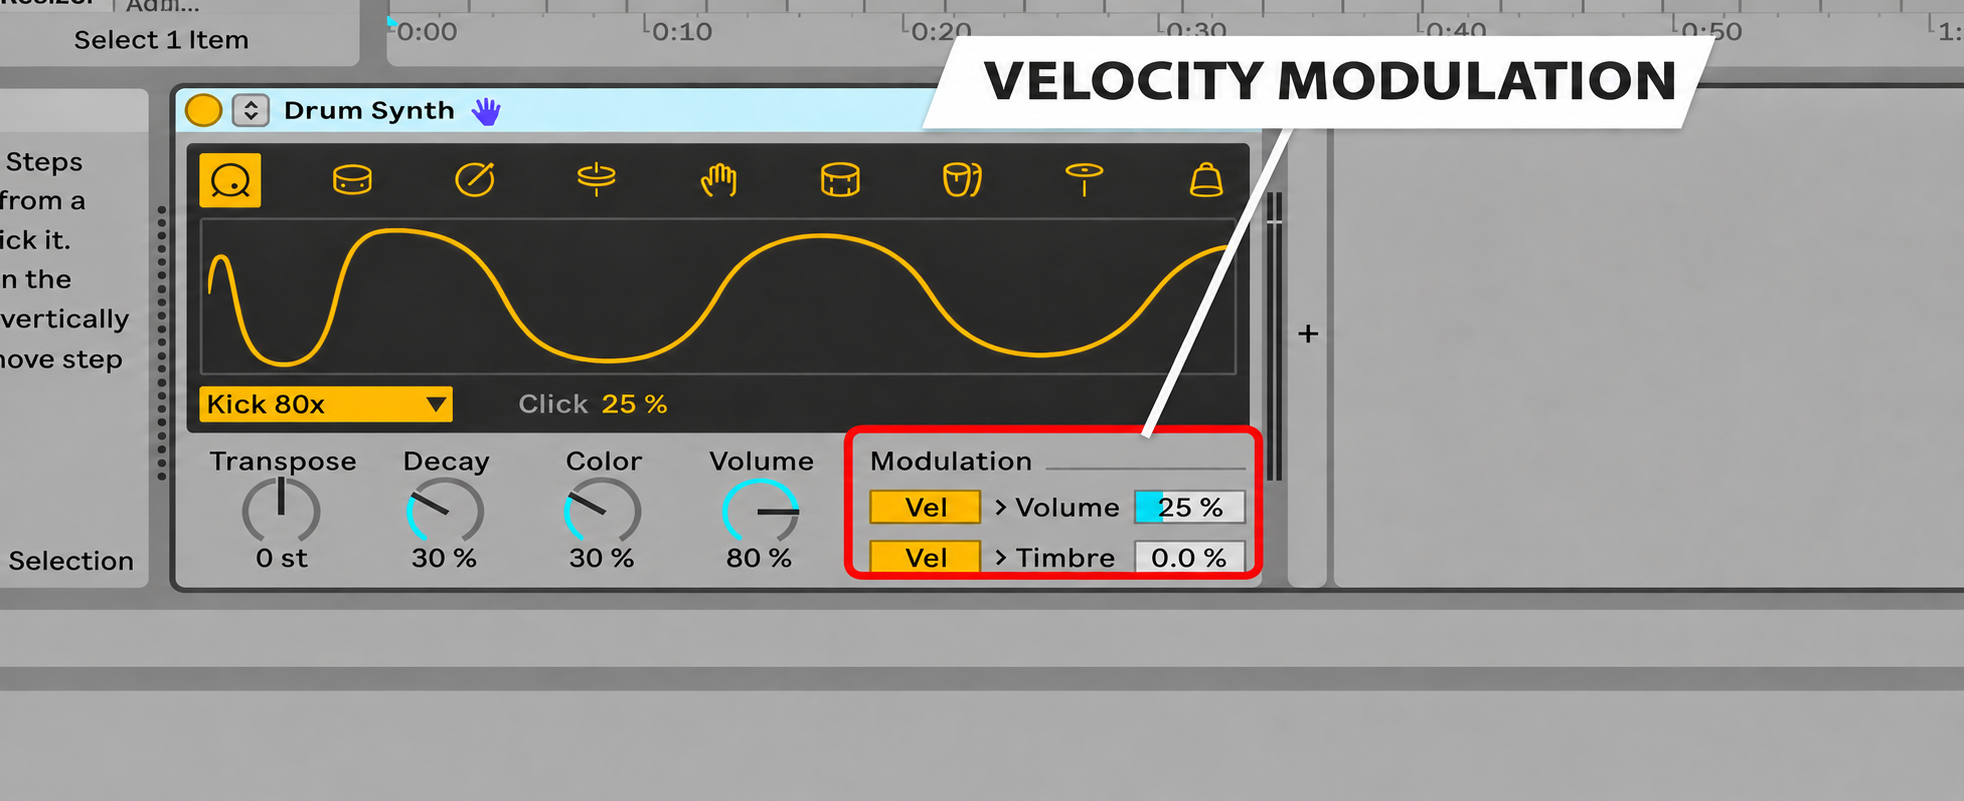
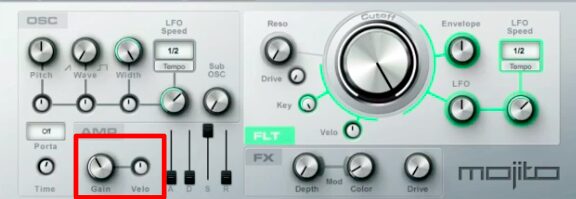
Velocity can change both the volume and the character of the sound.
This makes it easier to add natural dynamics and expression to programmed parts.
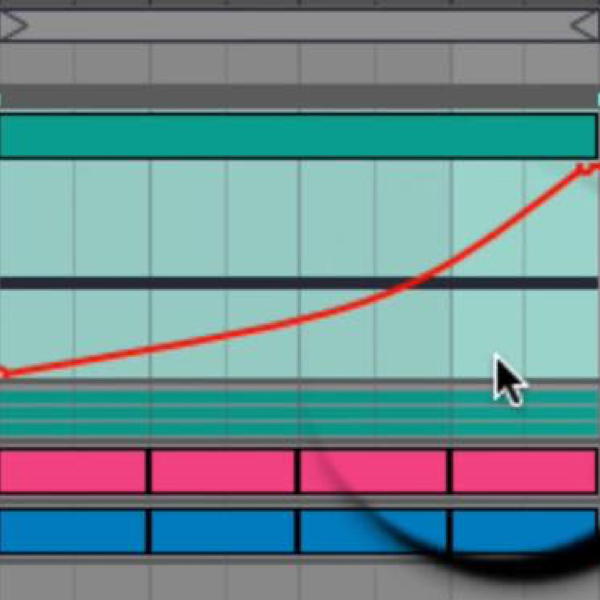
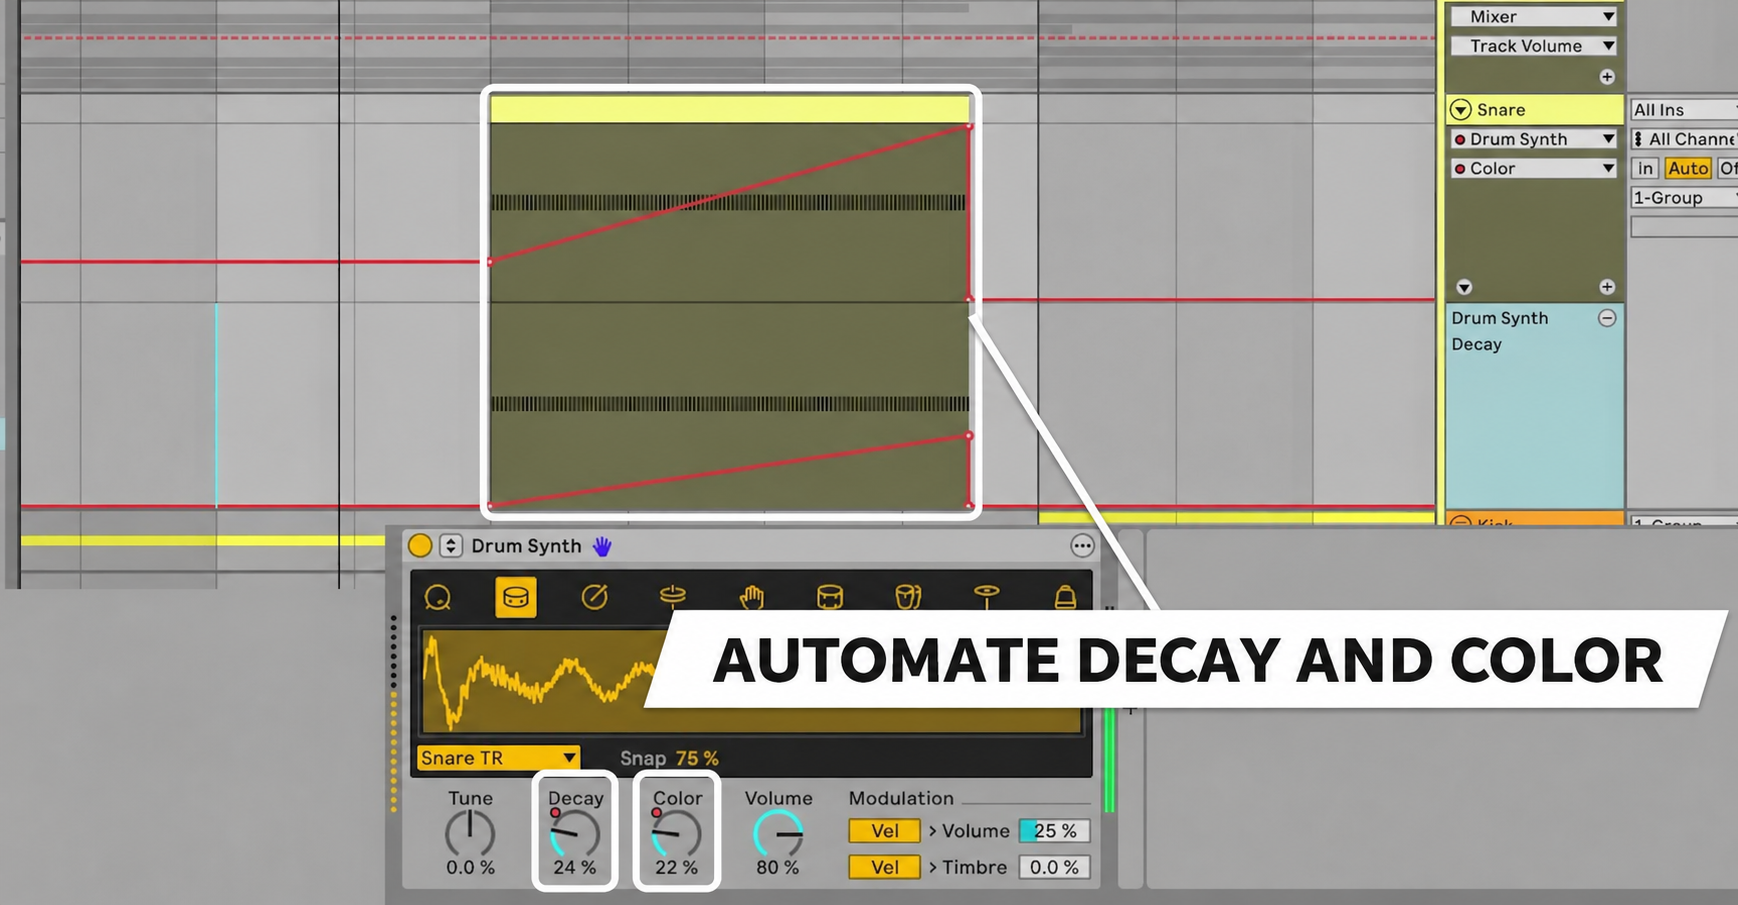
You can also automate the parameters in real time.
Capture Automation: record knob movements after the fact
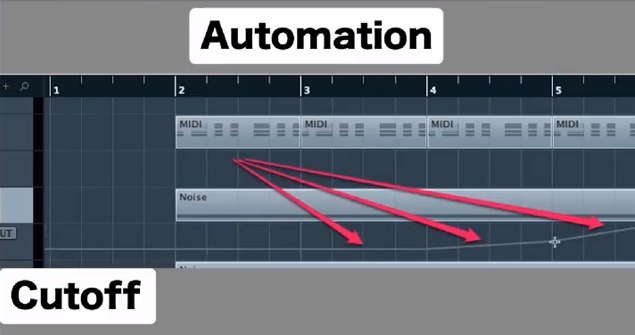
Capture Automation is a new way to record automation.
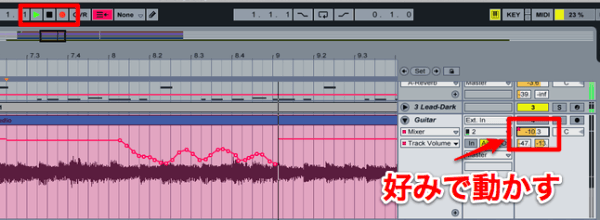
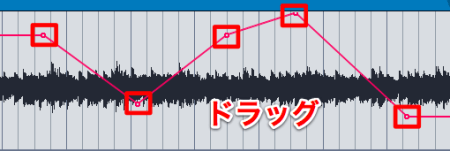
Previously, you had to draw it with the mouse or pencil tool, or record knob movements in real time.
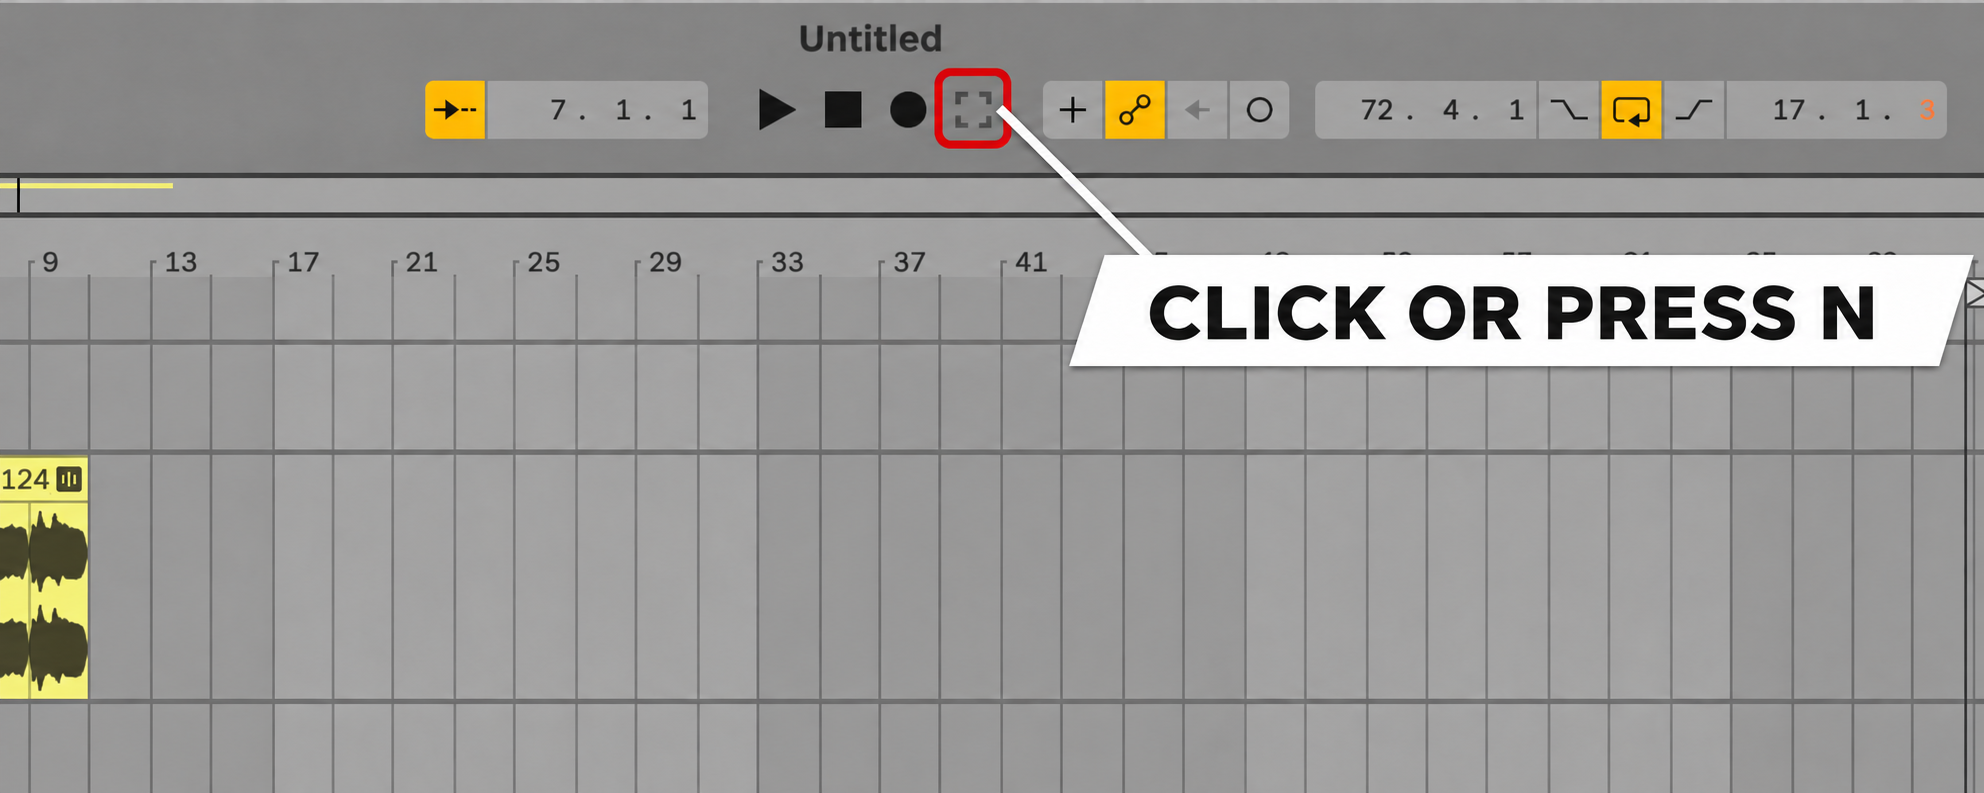
The knob movements you just made are recorded as automation.
If you happen upon a movement you like, you do not have to recreate it before putting it to use in your track.
Long-awaited ARA plug-in support
Live now integrates with vocal synthesis and pitch-correction plug-ins so you can work without switching between applications.
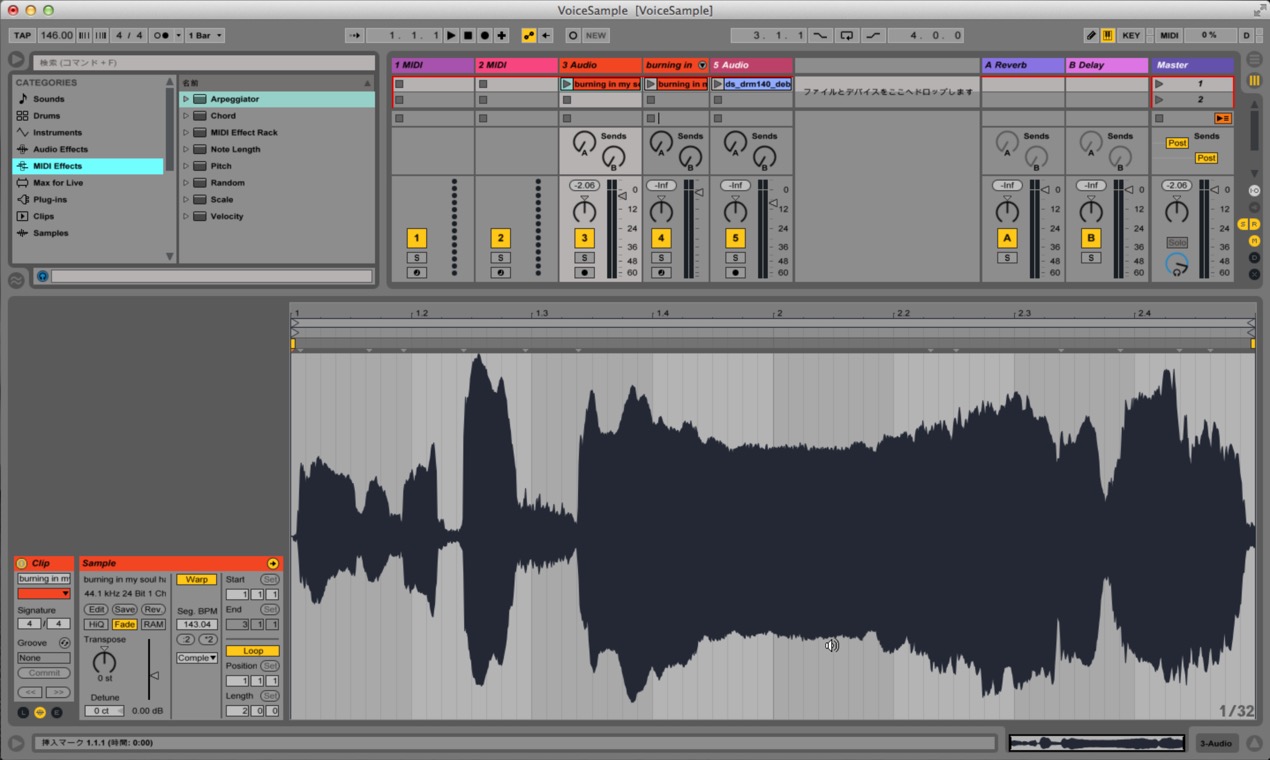
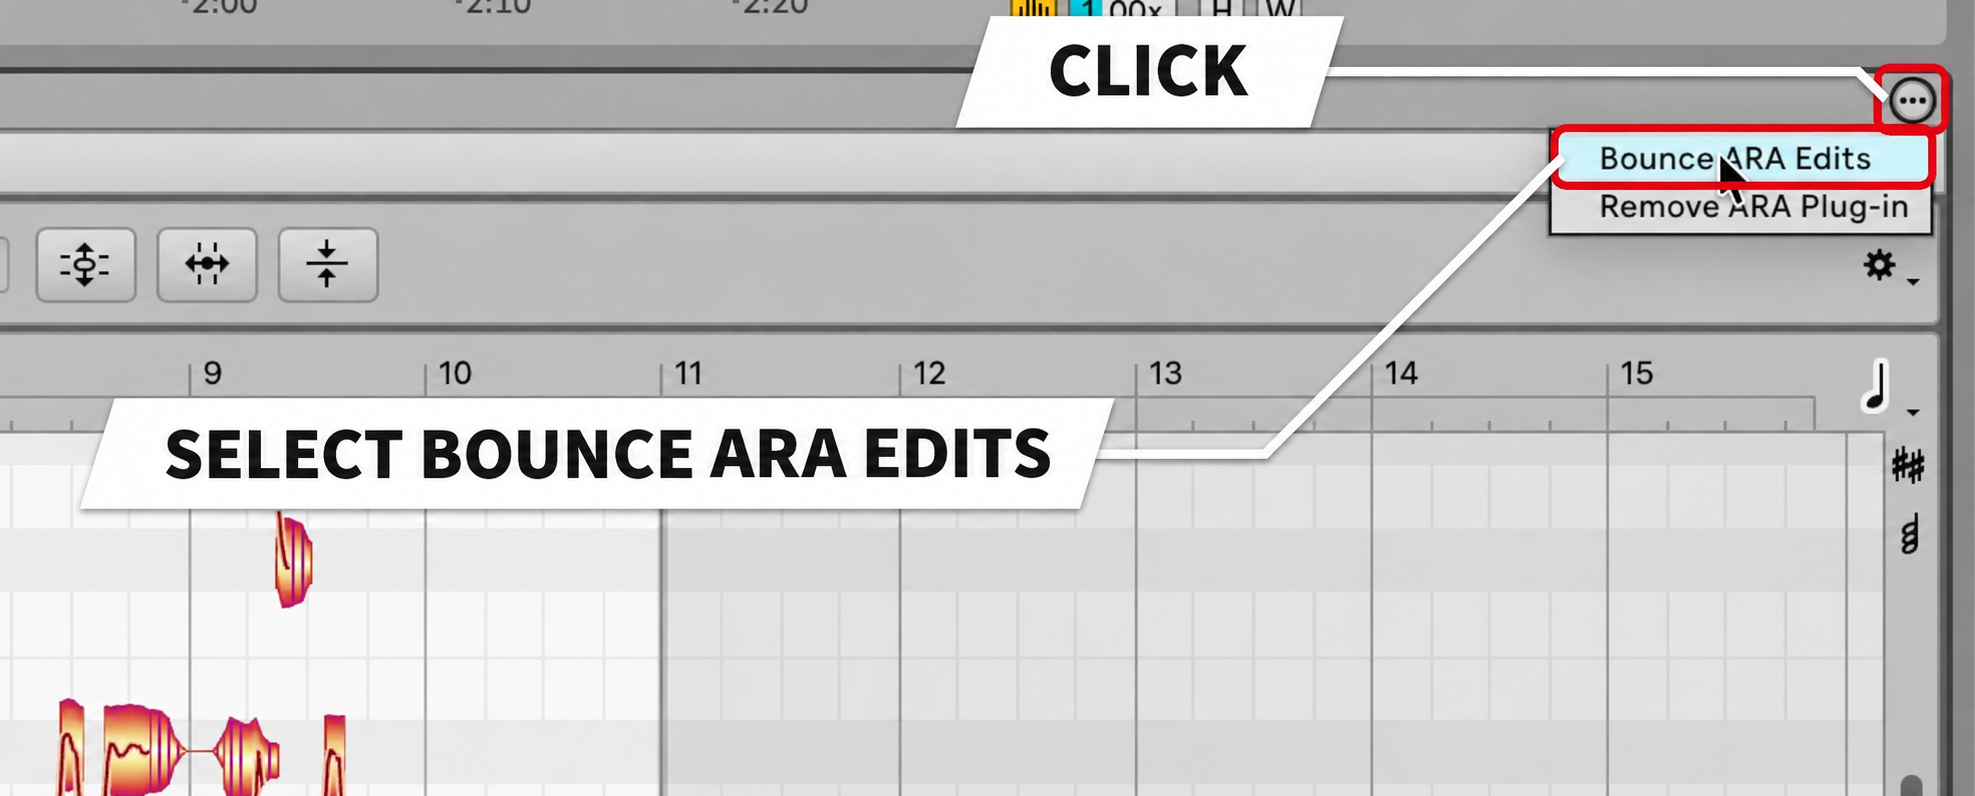
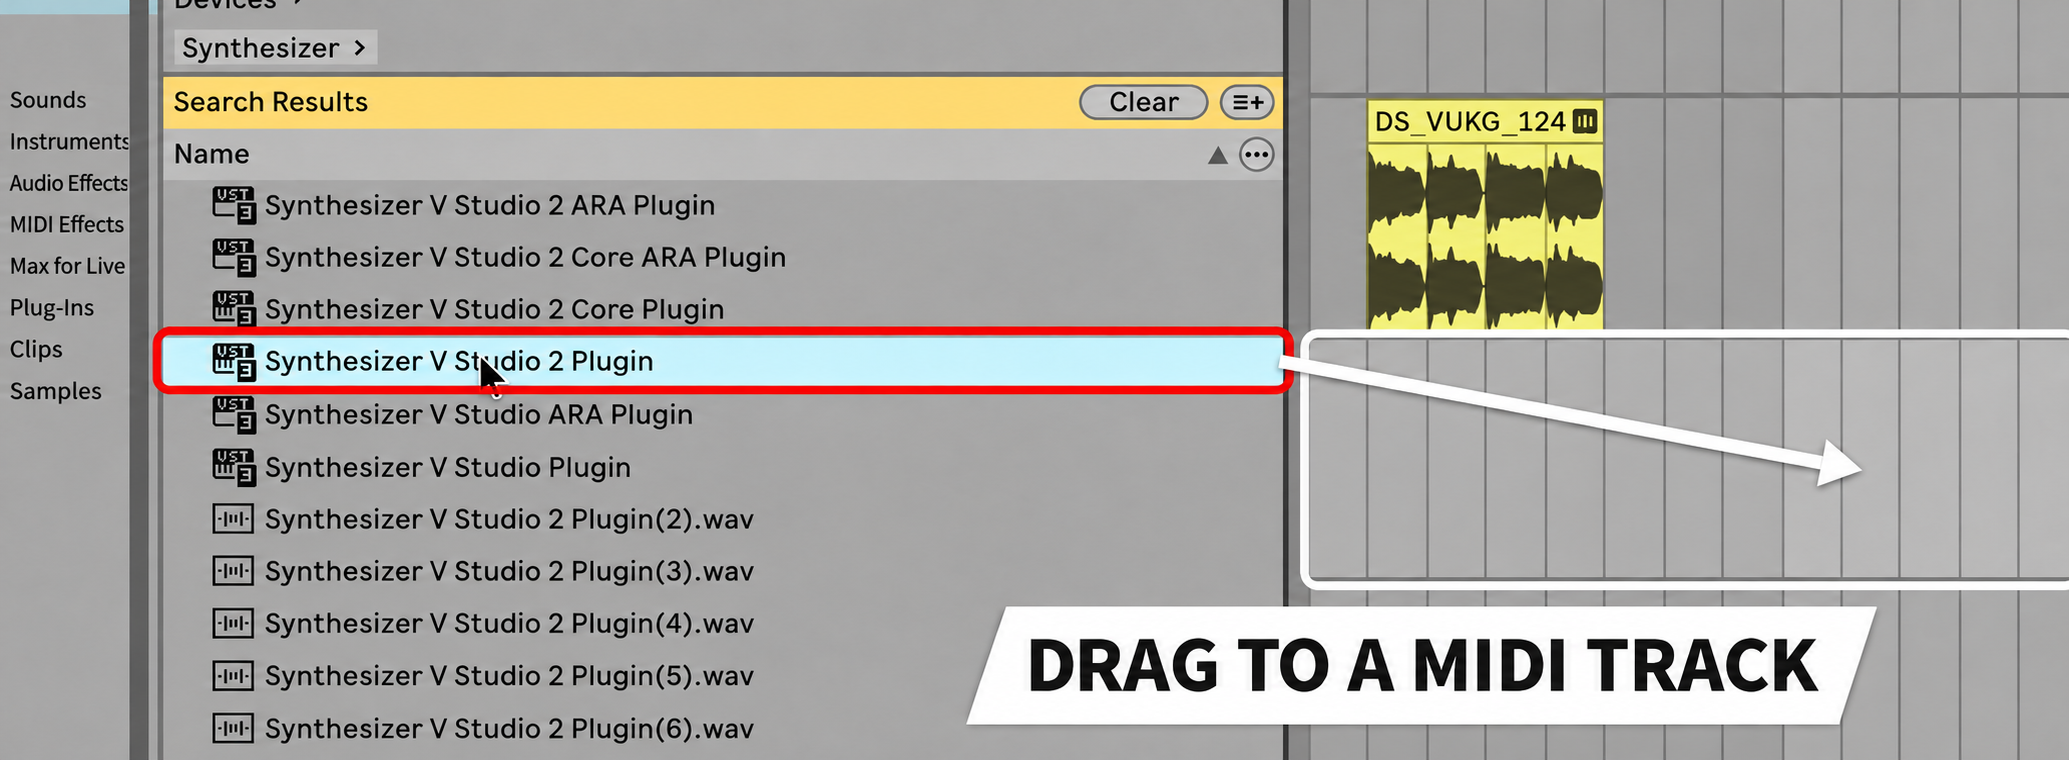
Instead of inserting an ARA plug-in on a track, you load it directly onto an audio clip.
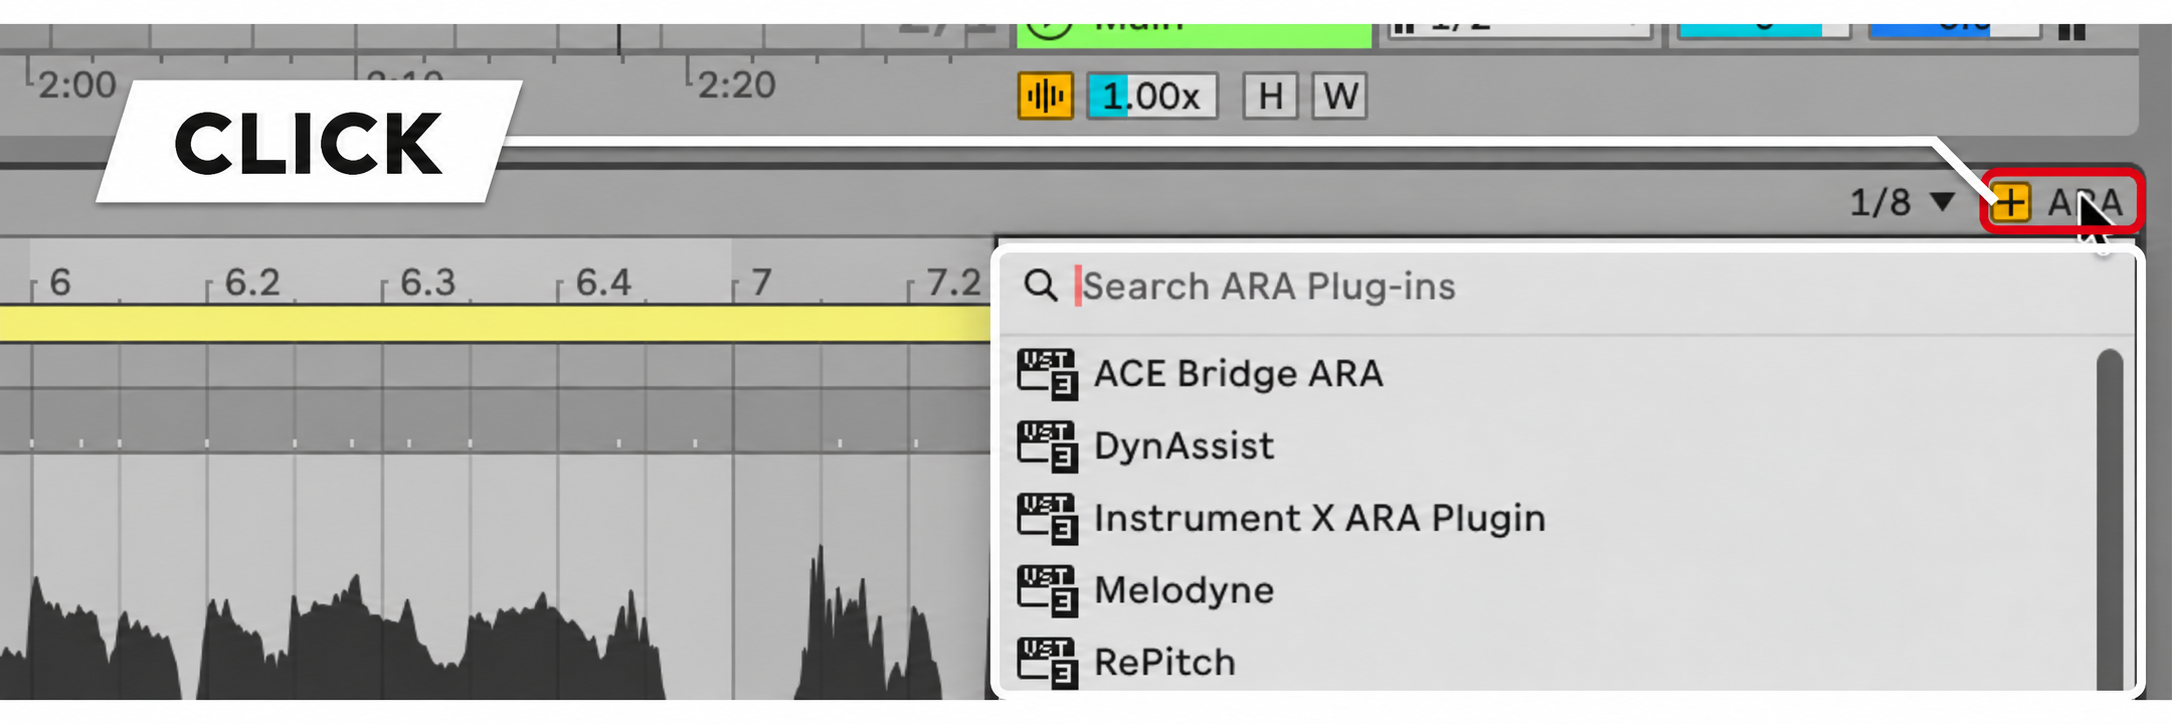
The selection screen shows only compatible plug-ins, making it easy to see what you can use.
You can also load a plug-in onto multiple clips or clips in take lanes at once.
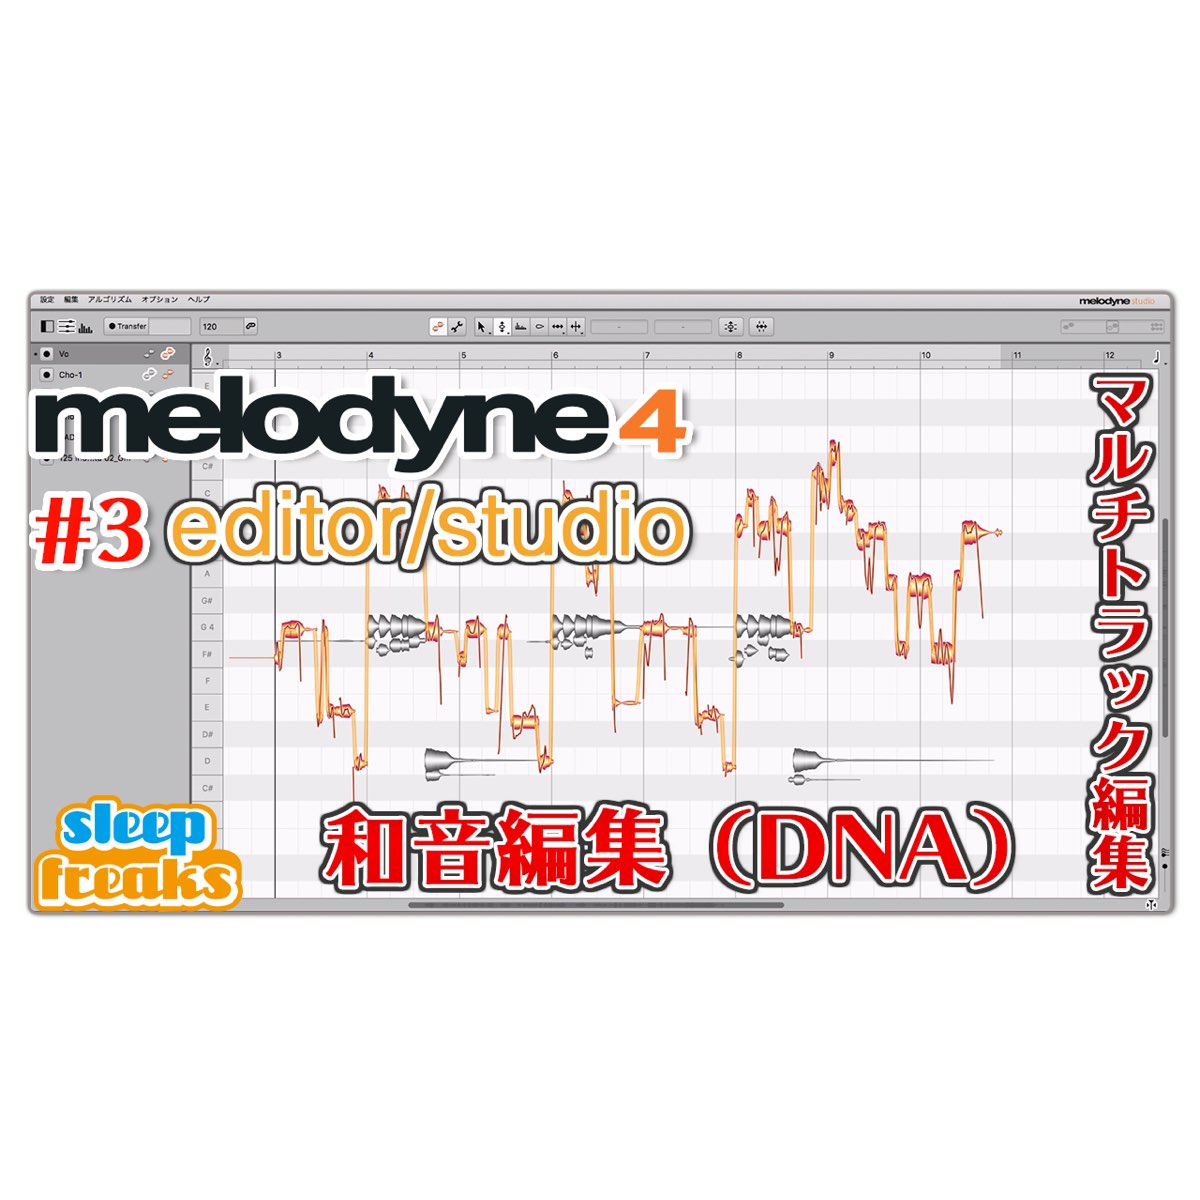
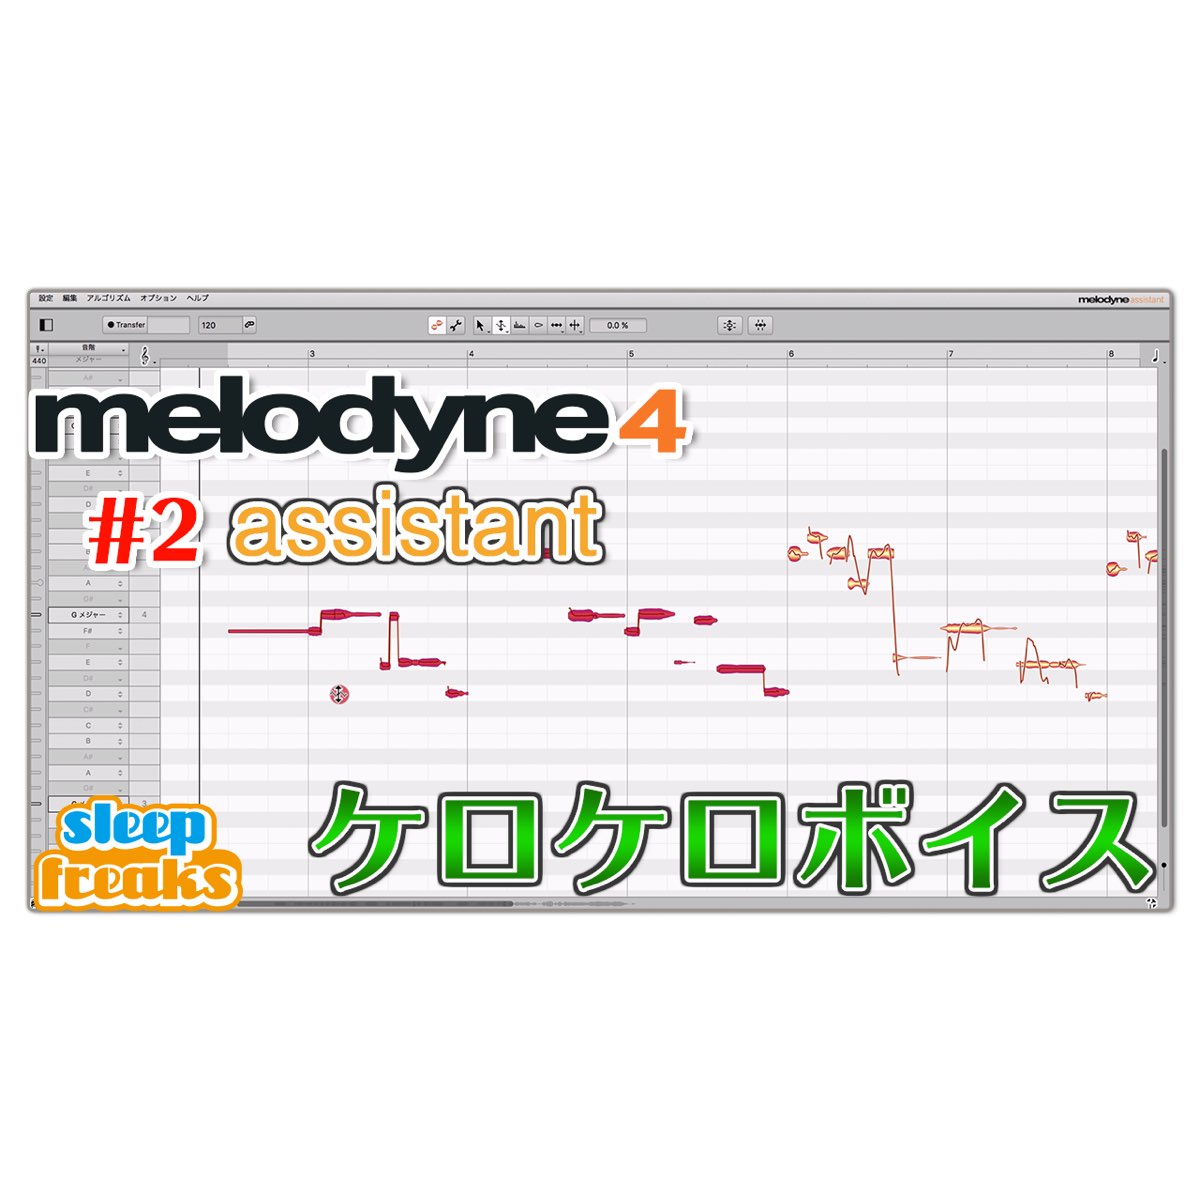
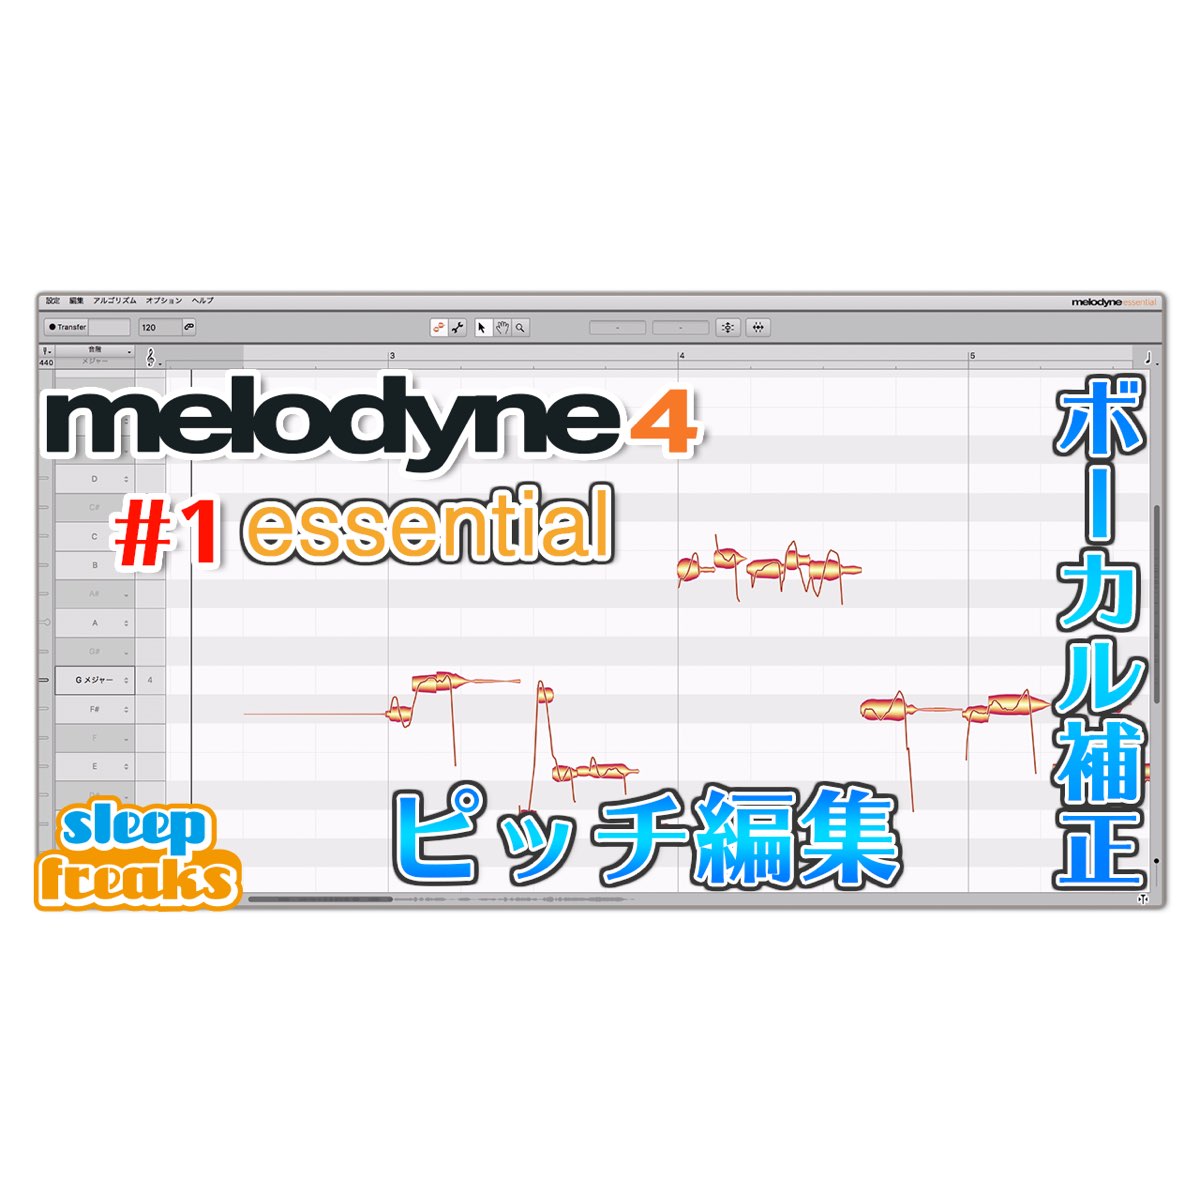
Melodyne
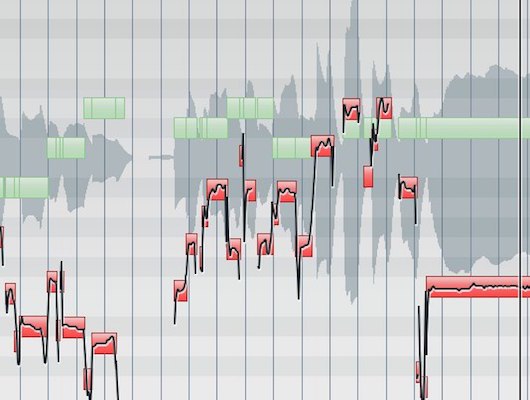
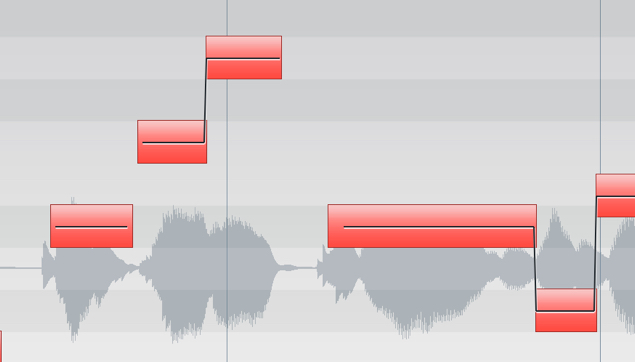
With the ARA-compatible pitch-correction software Melodyne, you can complete vocal pitch correction inside Live.
Live 13 Suite includes Melodyne Essential.
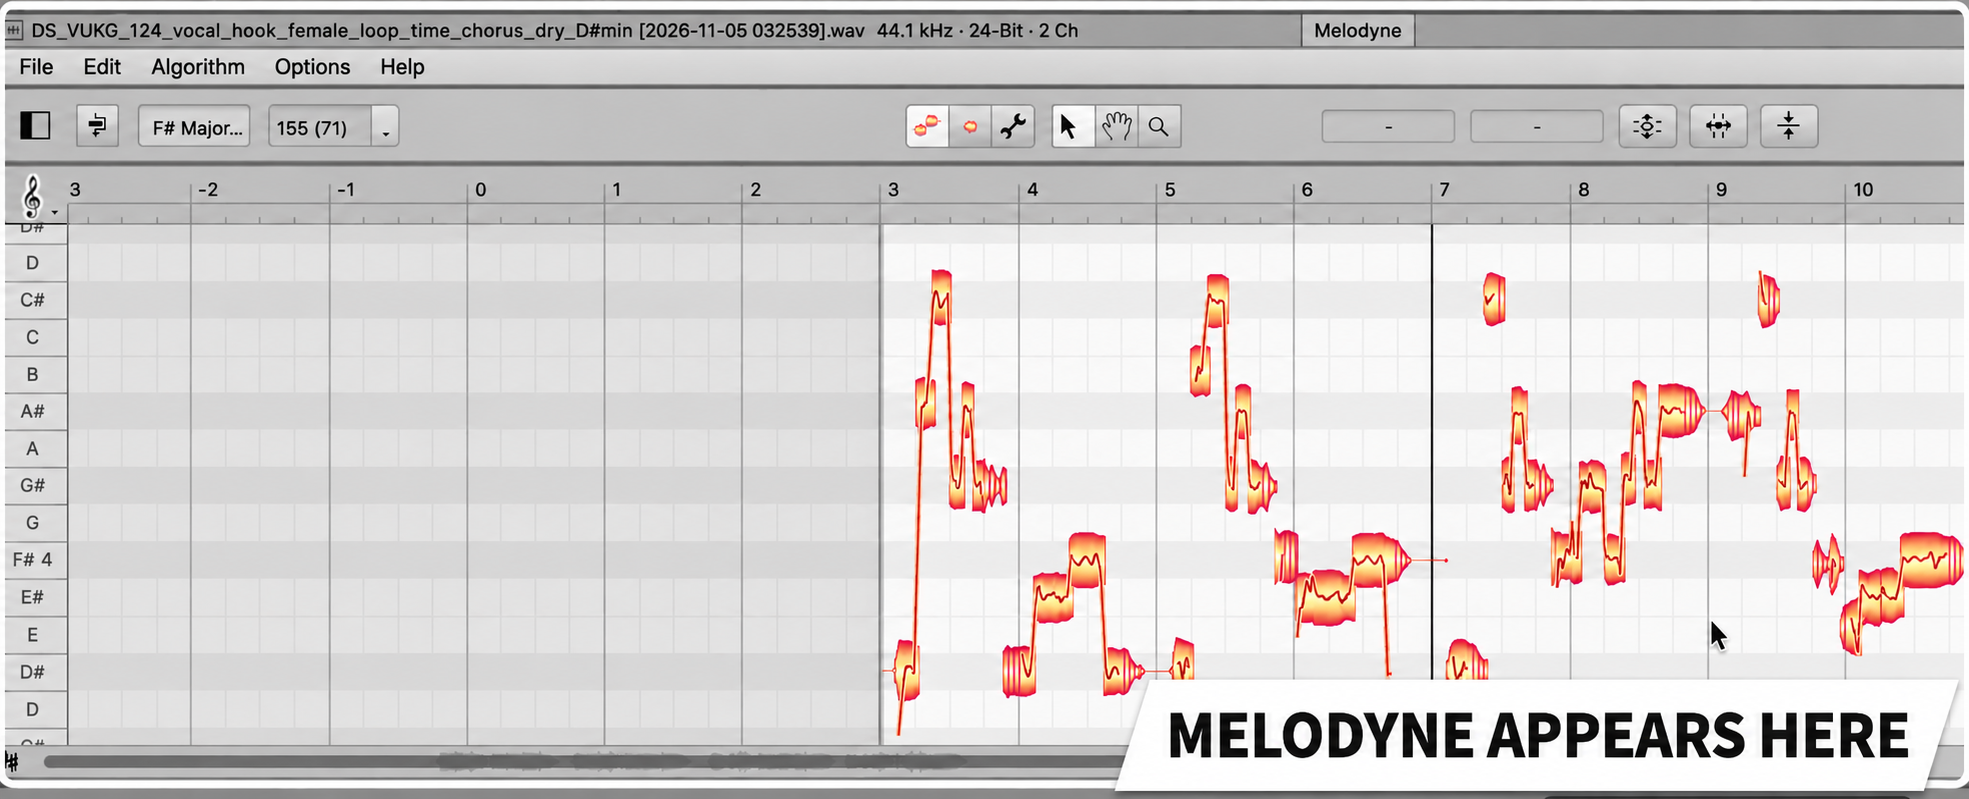
You no longer have to transfer audio into Melodyne by playing the song first.
When editing is complete, apply the result to the clip.
Synthesizer V
For the Synthesizer V vocal-synthesis software, load it into the clip via ARA and also load the plug-in onto a MIDI track.
You can control Live’s playback and stop functions from the plug-in.
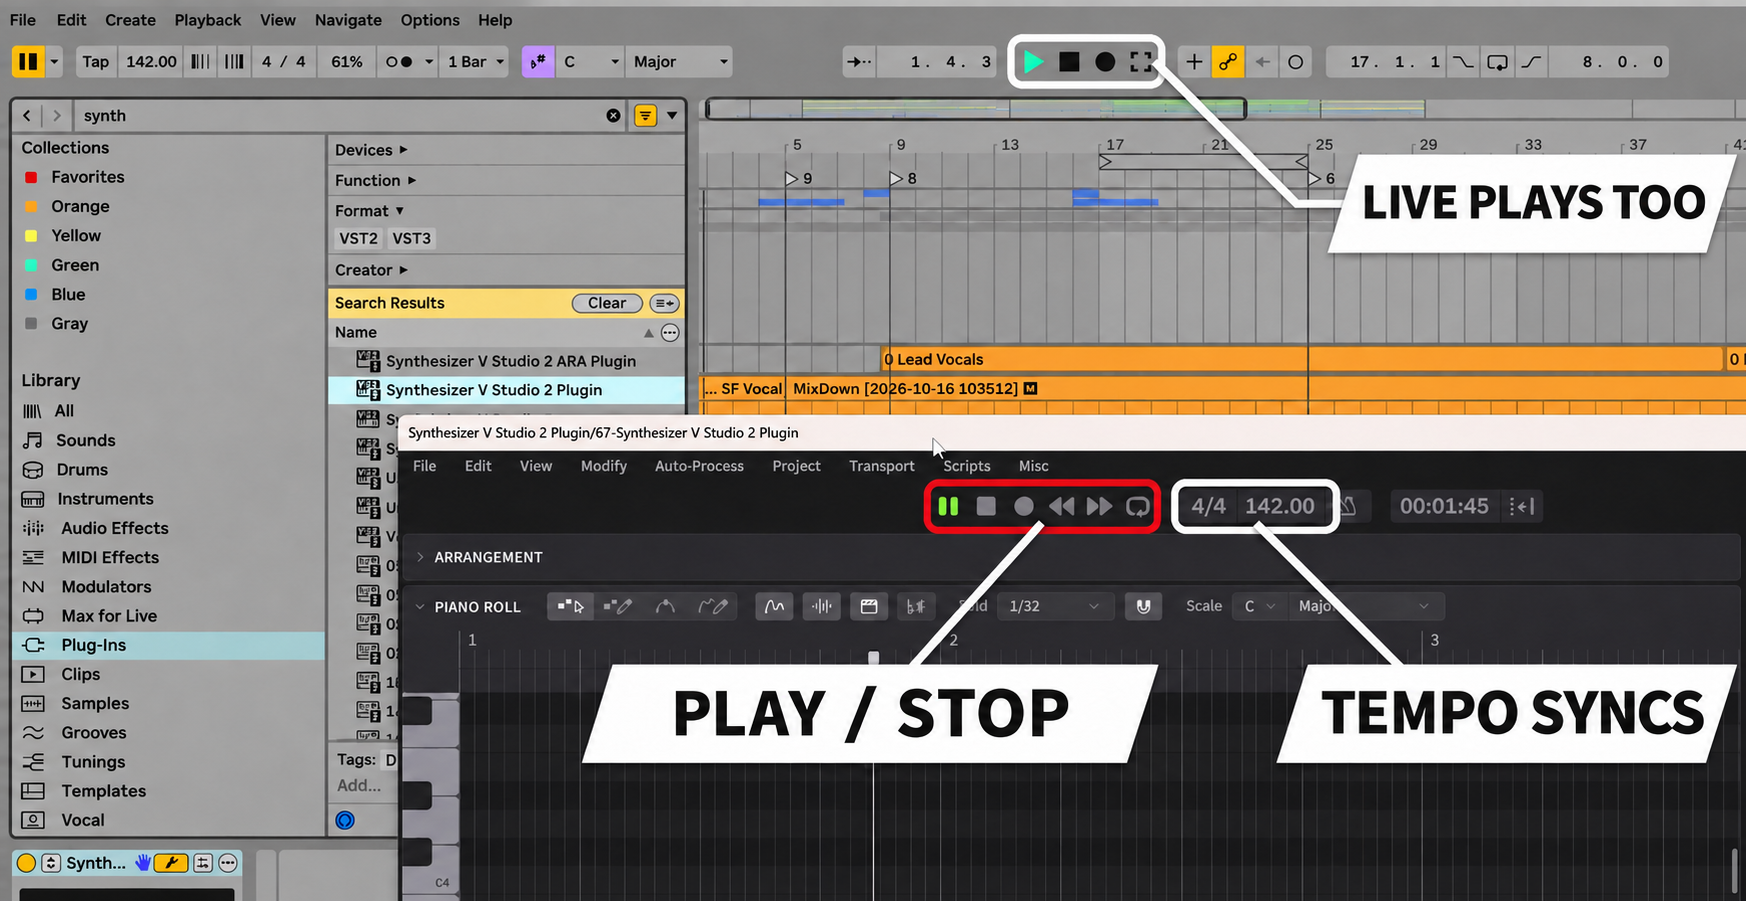
Editing without switching between the plug-in and Live greatly improves workflow efficiency.
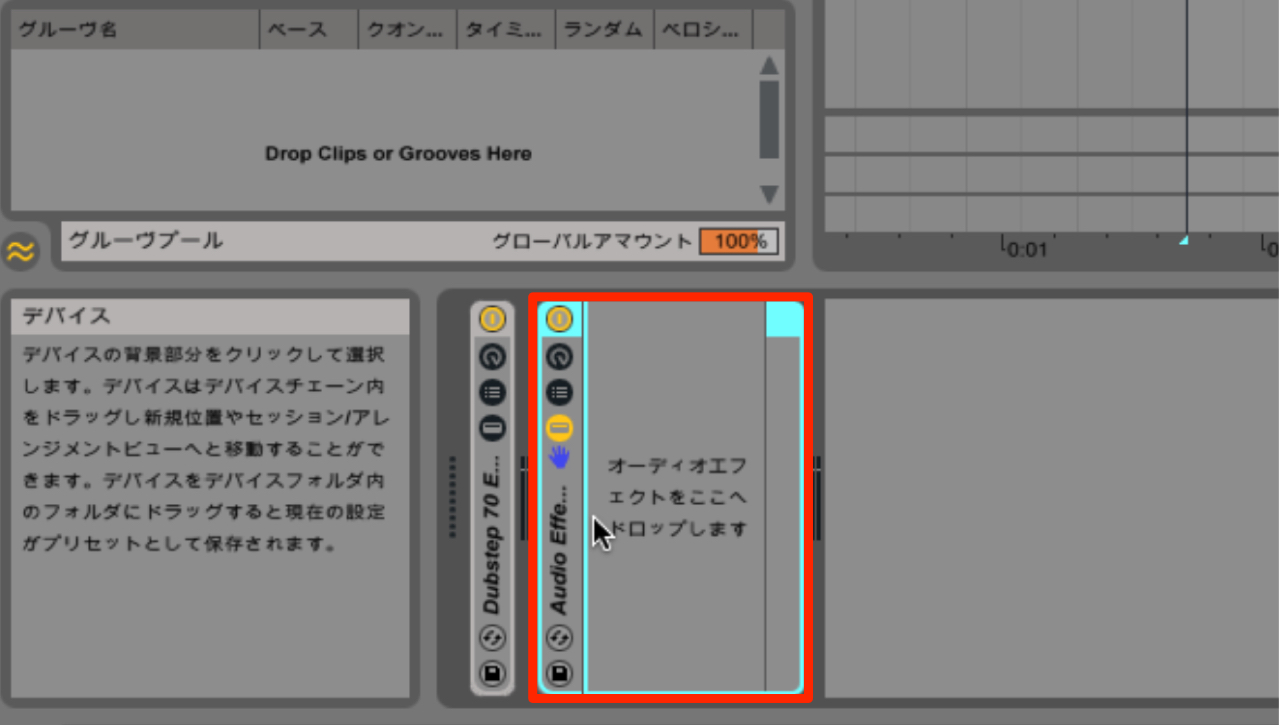
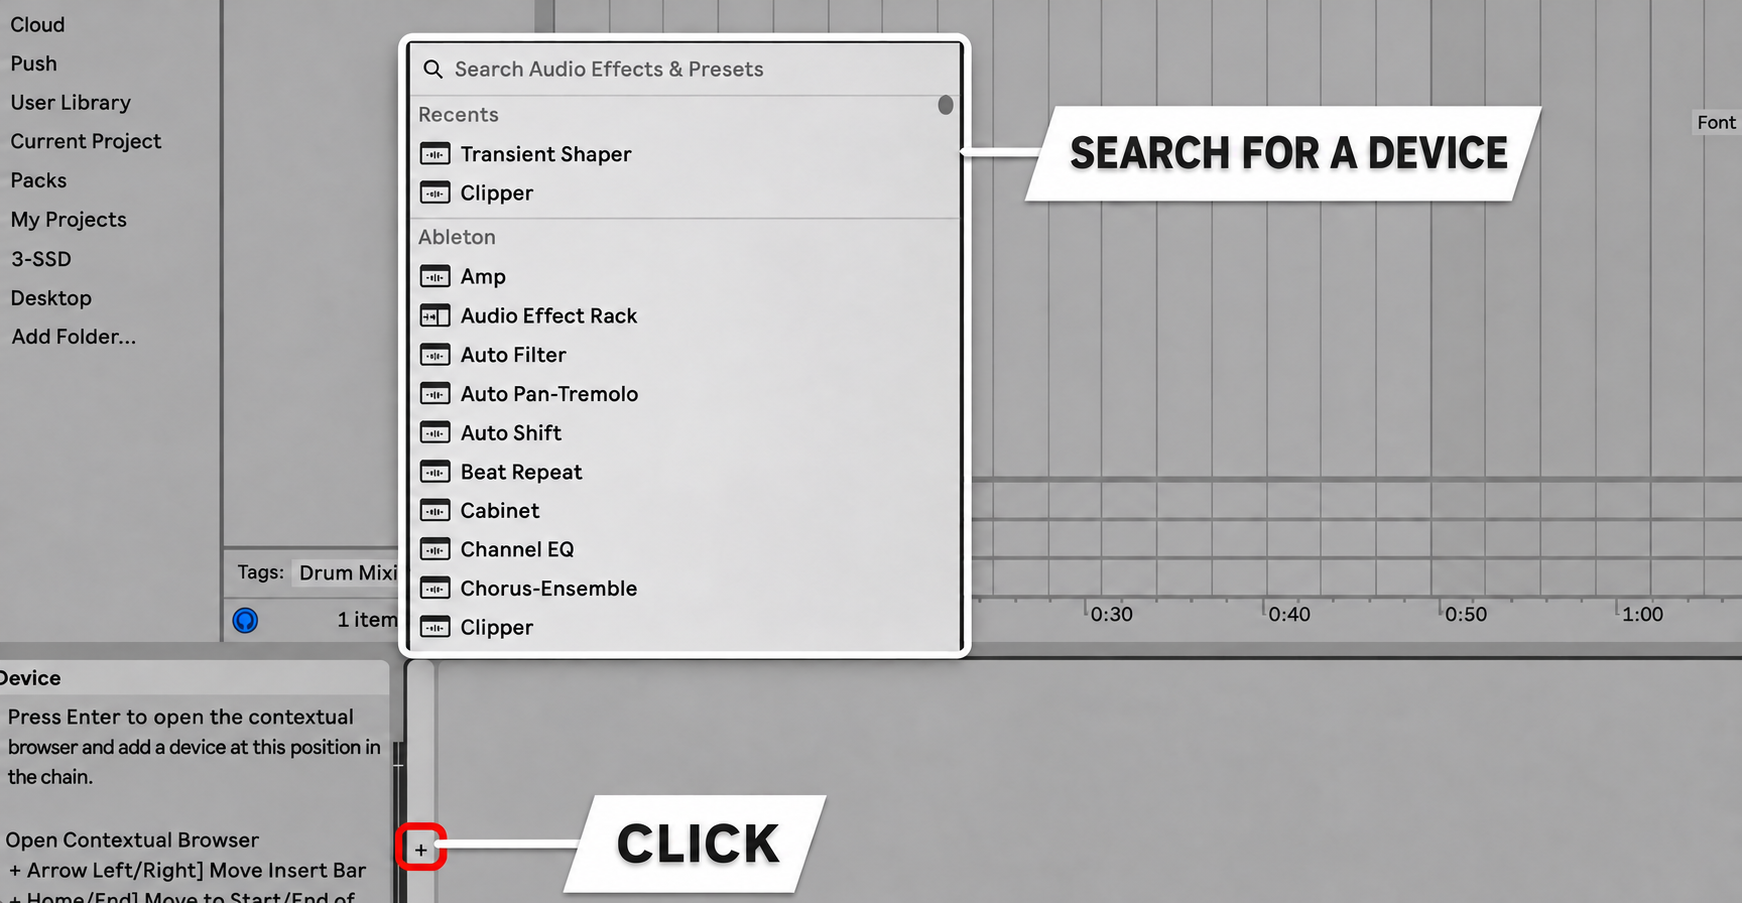
Add devices without opening the browser
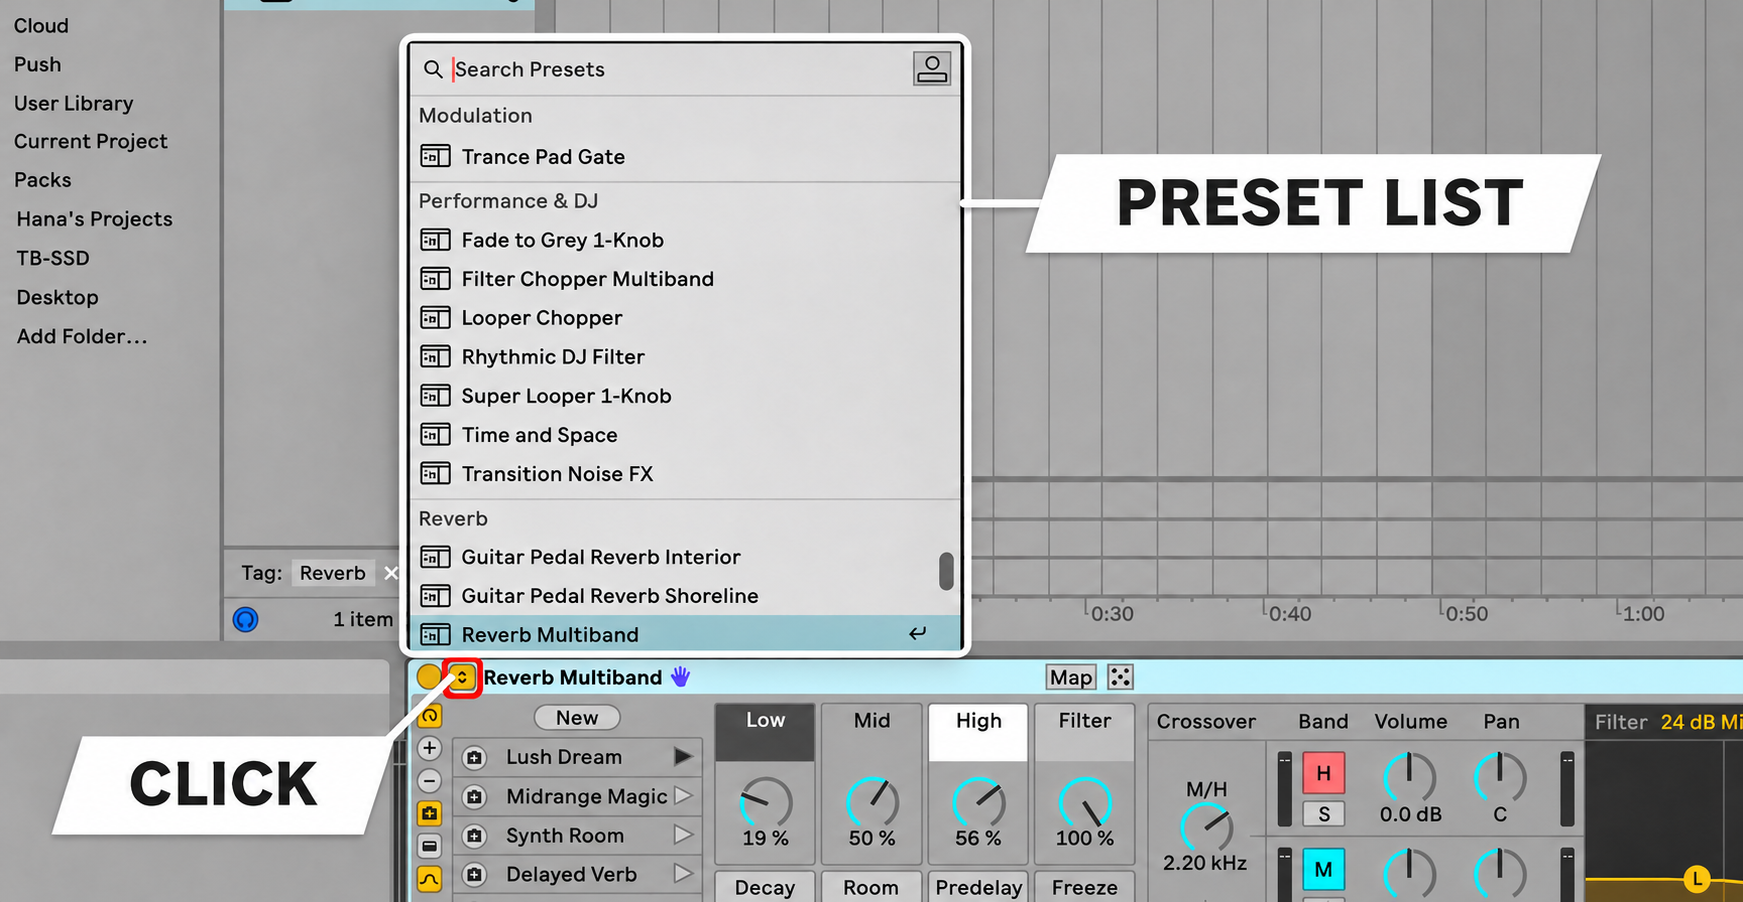
You can now add devices and recall presets from within the device chain.
Search for and add a device in place without opening the browser.
You can also switch presets for a loaded effect in place.
Multiband Rack: apply effects to individual frequency bands
The new Multiband Rack divides sound into low, mid, and high bands, letting you apply different effects to each band.
For example, adding reverb or chorus to widen a bass sound can blur the low end and weaken its foundation.
With Multiband Rack, you can use spatial or distortion effects without muddying the low end.
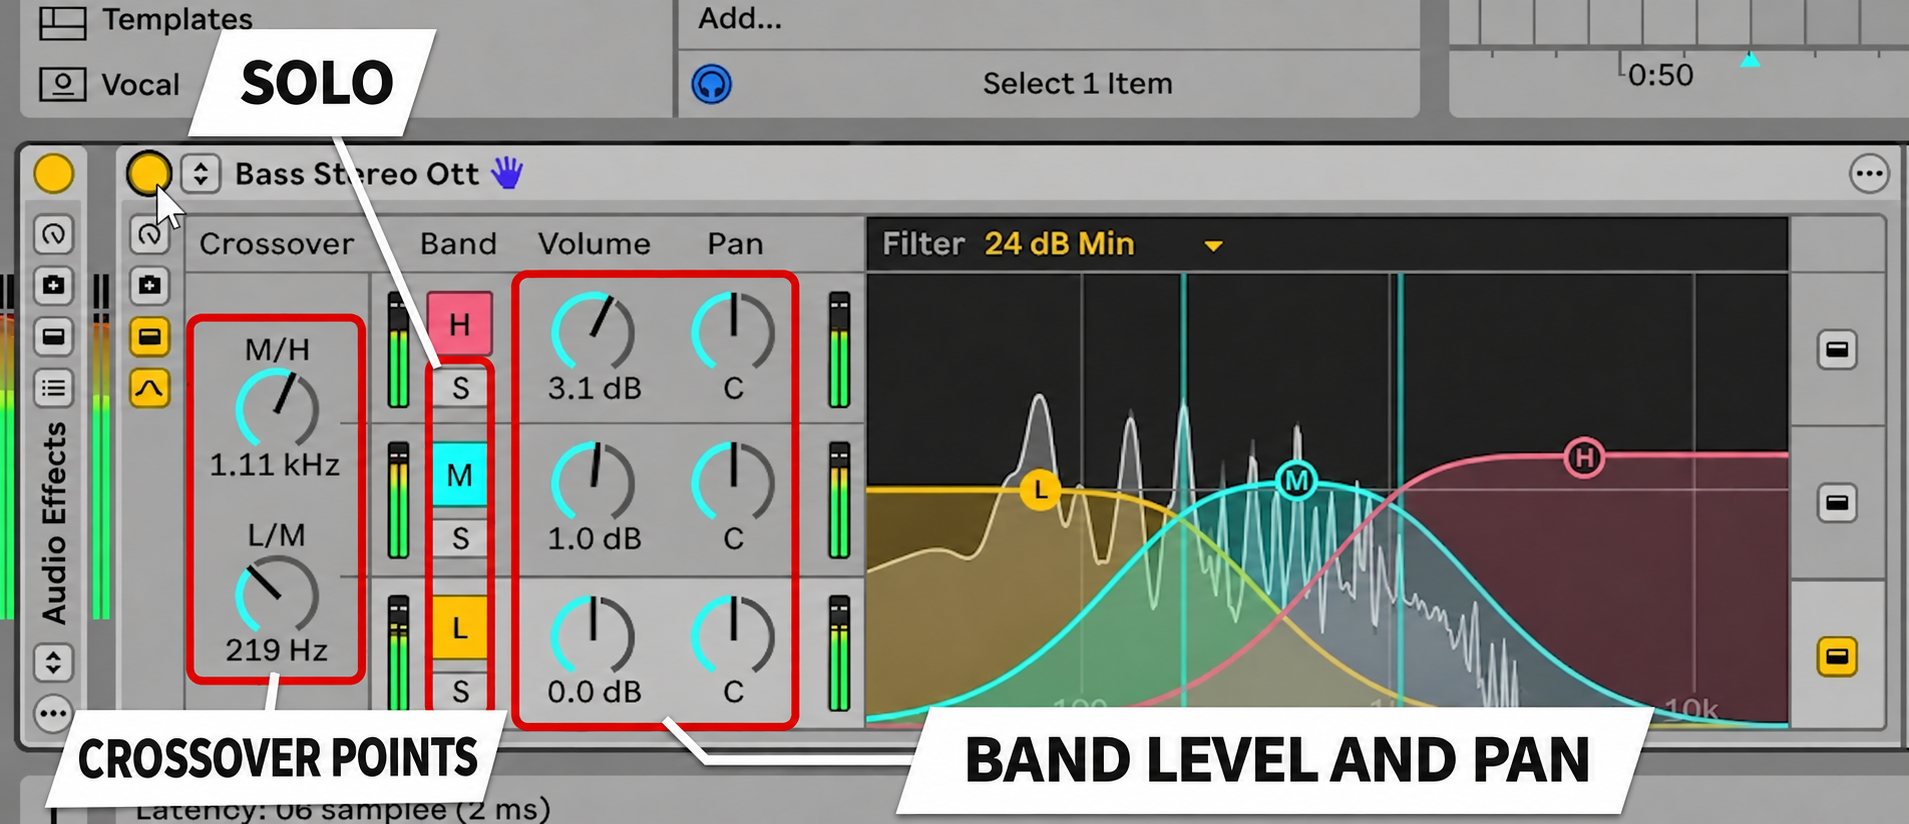
You can also use the S button to solo a band.
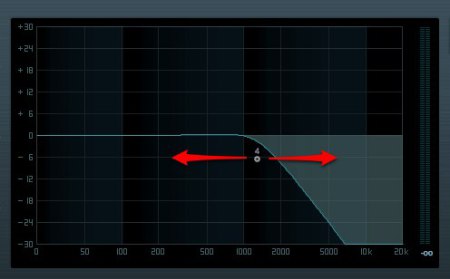
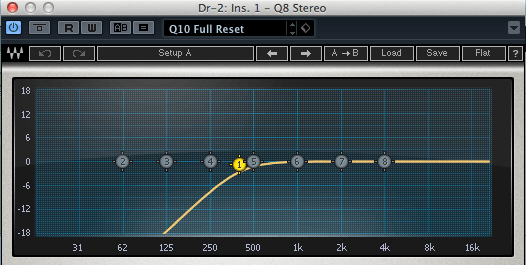
The graph lets you adjust crossover points and levels together.
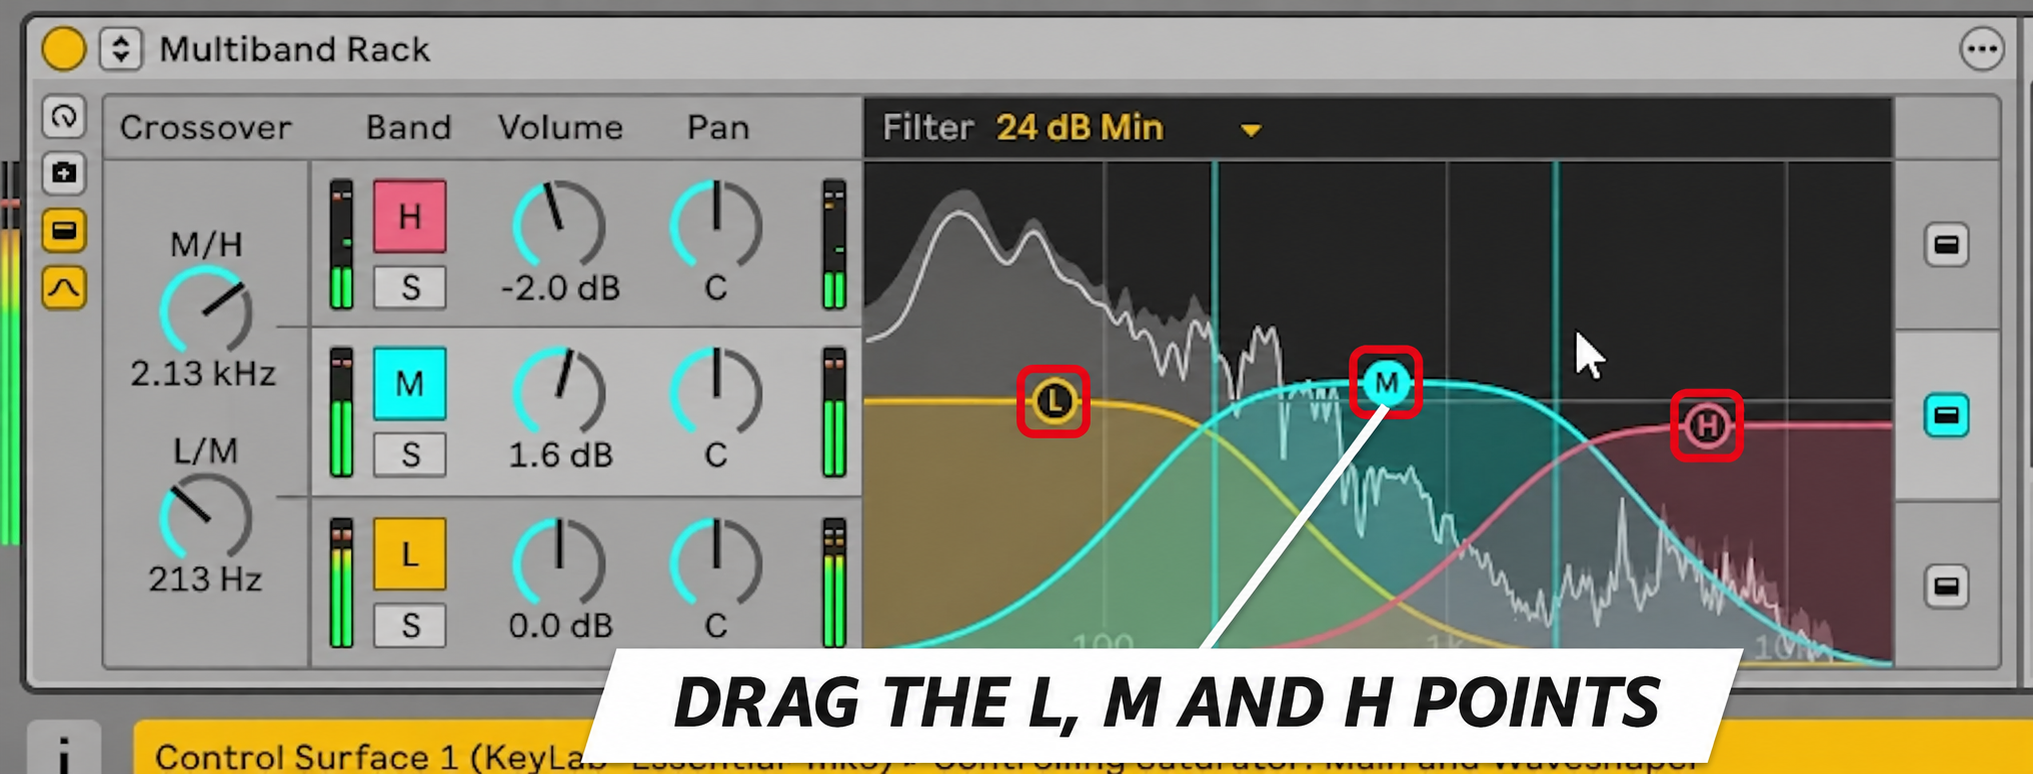
This is also useful when you want to add reverb only to the high frequencies of a vocal.
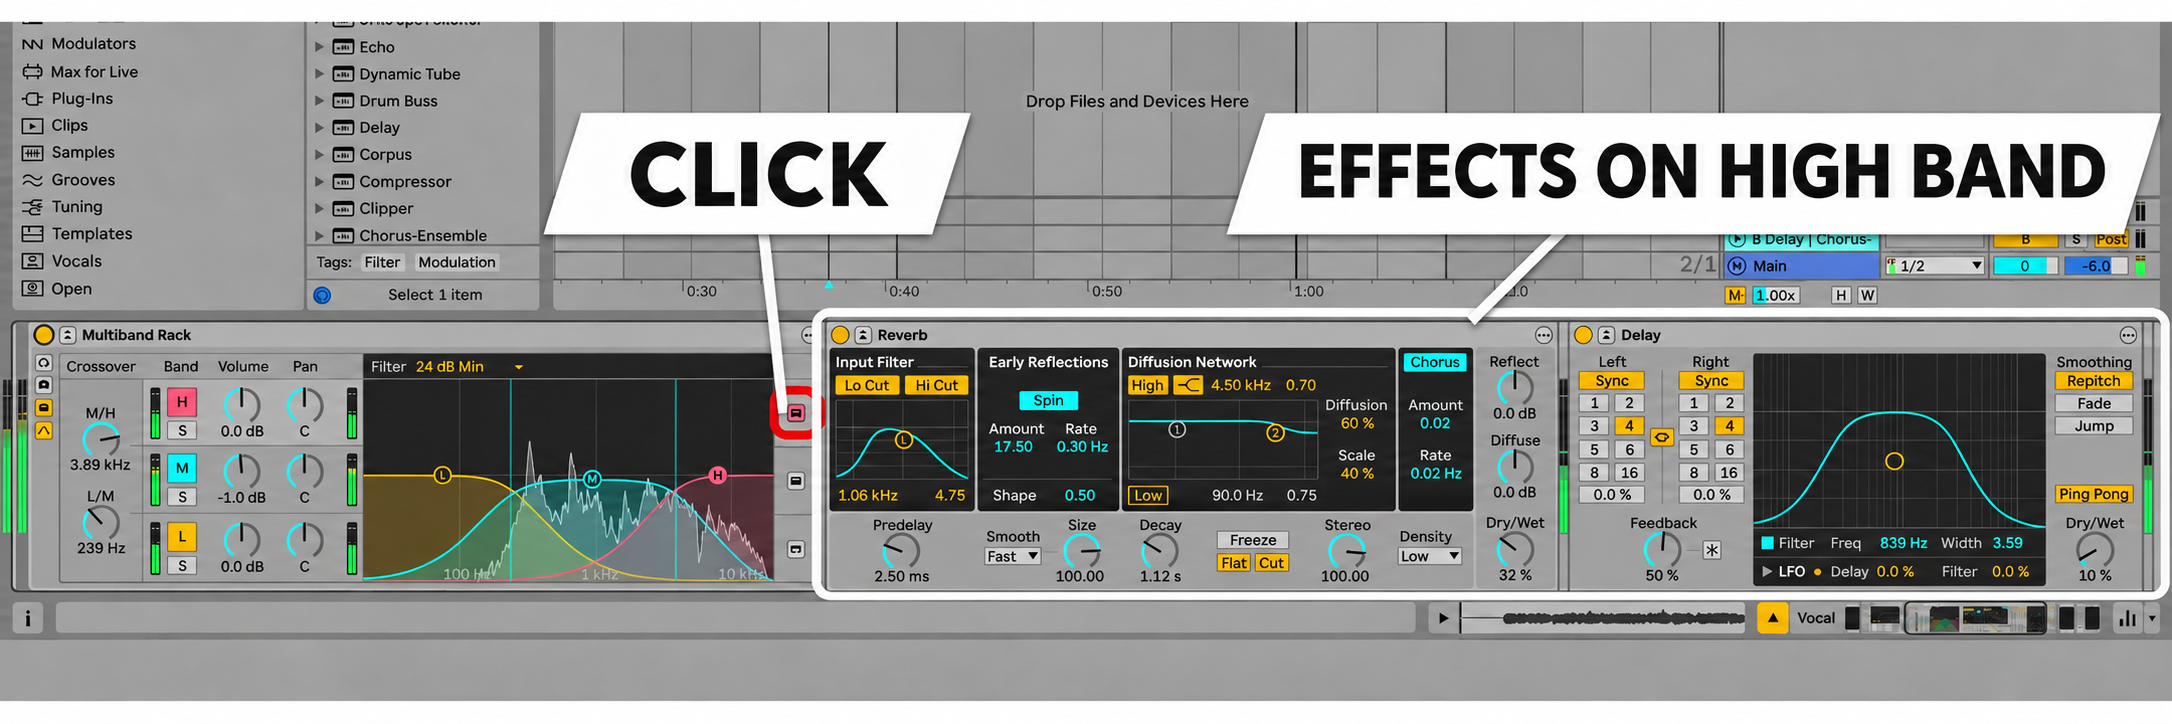
Many people have previously used a send track with a low-cut EQ and reverb for this kind of processing, but now you can do it all on one track without a send.
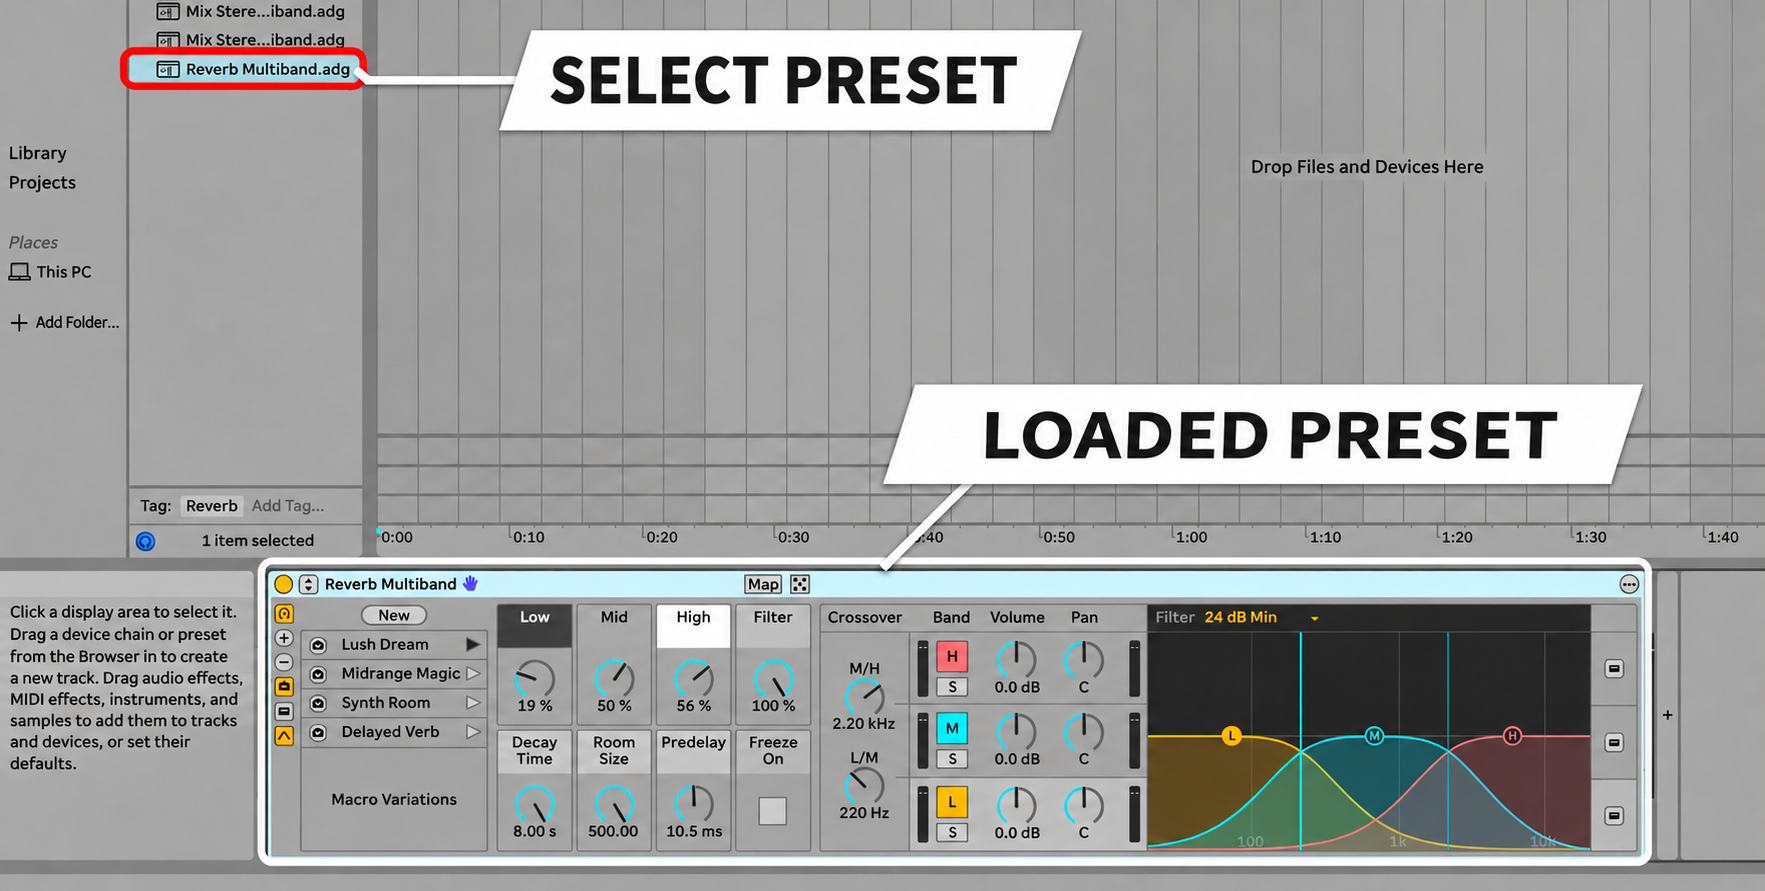
Presets such as “Reverb Multiband” are also included.
You can convert an existing Audio Effect Rack into a Multiband Rack too.
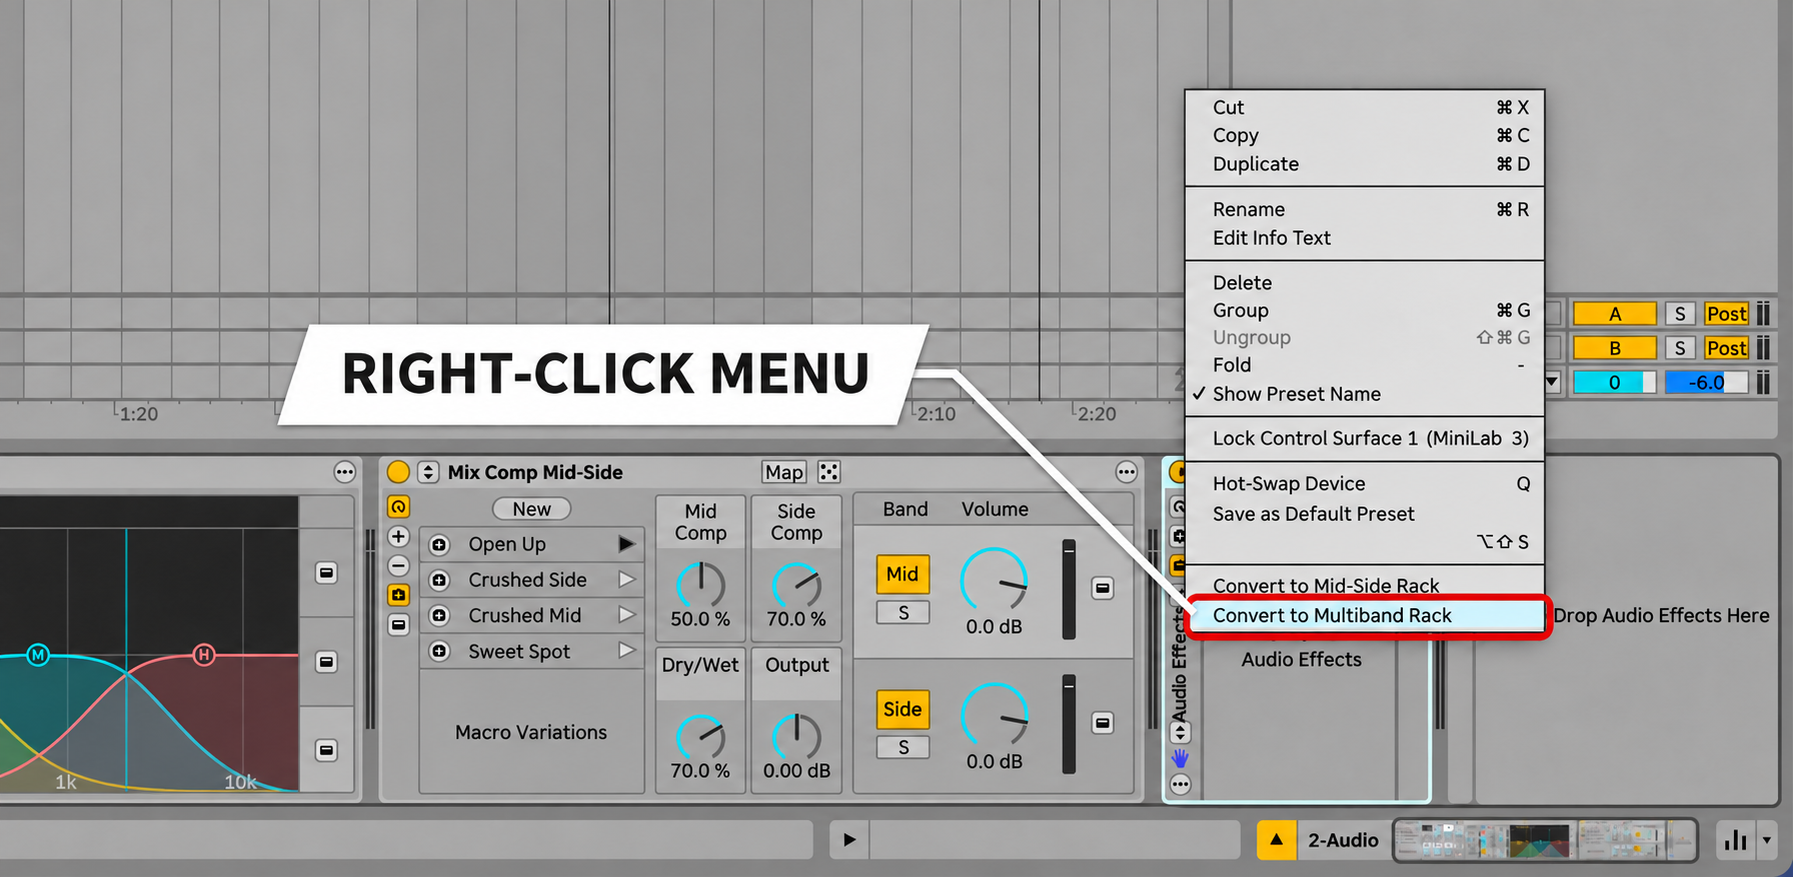
This makes it easy to try the new rack with effects you already use.
Mid-Side Rack
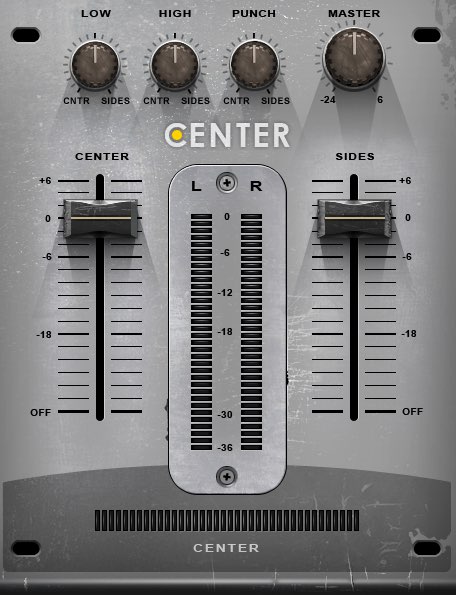
The new Mid-Side Rack lets you process the center and sides of a stereo signal separately.
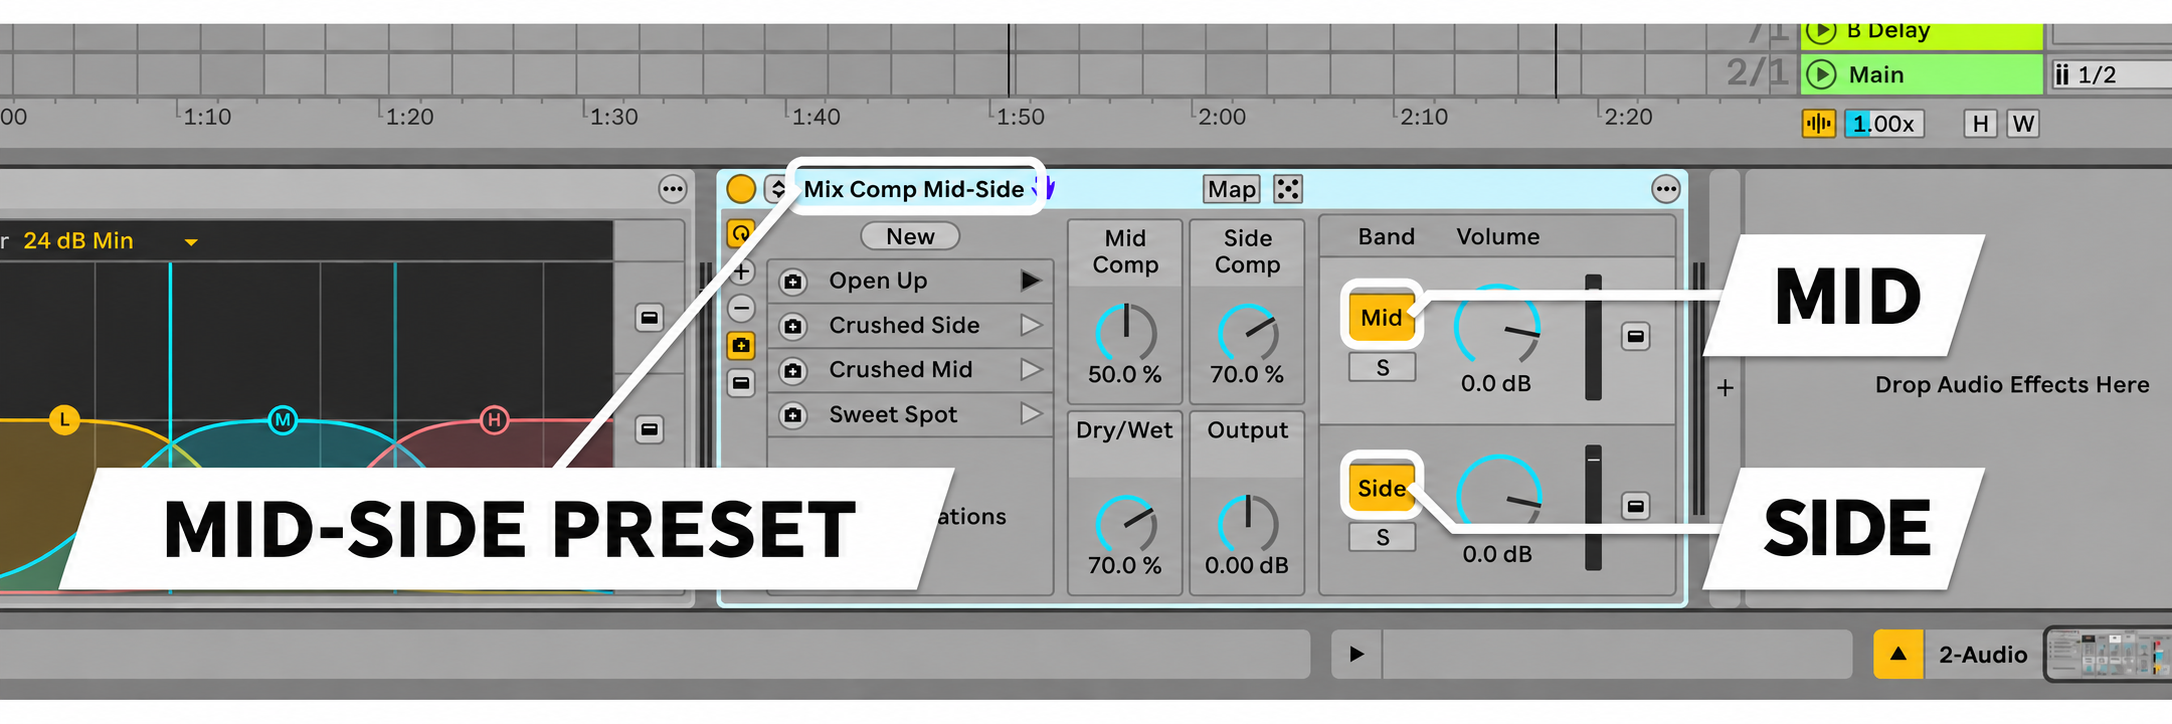
Presets are included here too, making it easy to adjust stereo character.
The same right-click menu also offers “Convert to Mid-Side Rack.”
Clipper and Transient Shaper for level and attack
Live 13 Suite adds Clipper and Transient Shaper for shaping the level and attack of sounds such as drums.
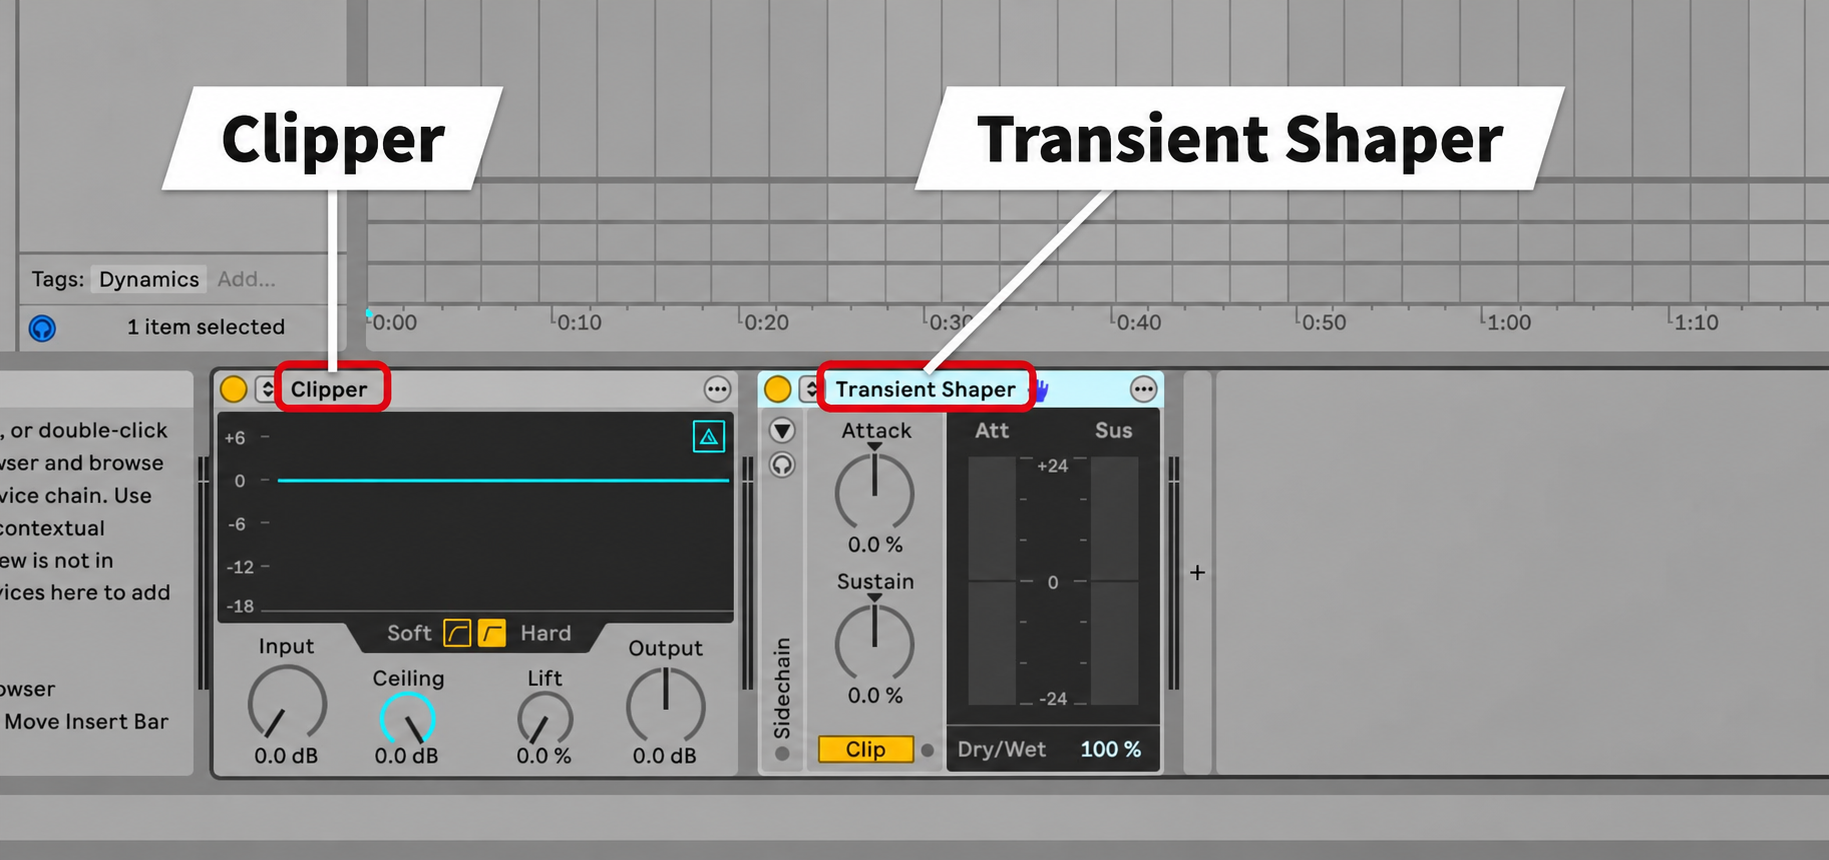
Clipper trims peaks to raise perceived loudness.
Unlike a limiter, it does not continually raise and lower the level, so attacks are less likely to be flattened.
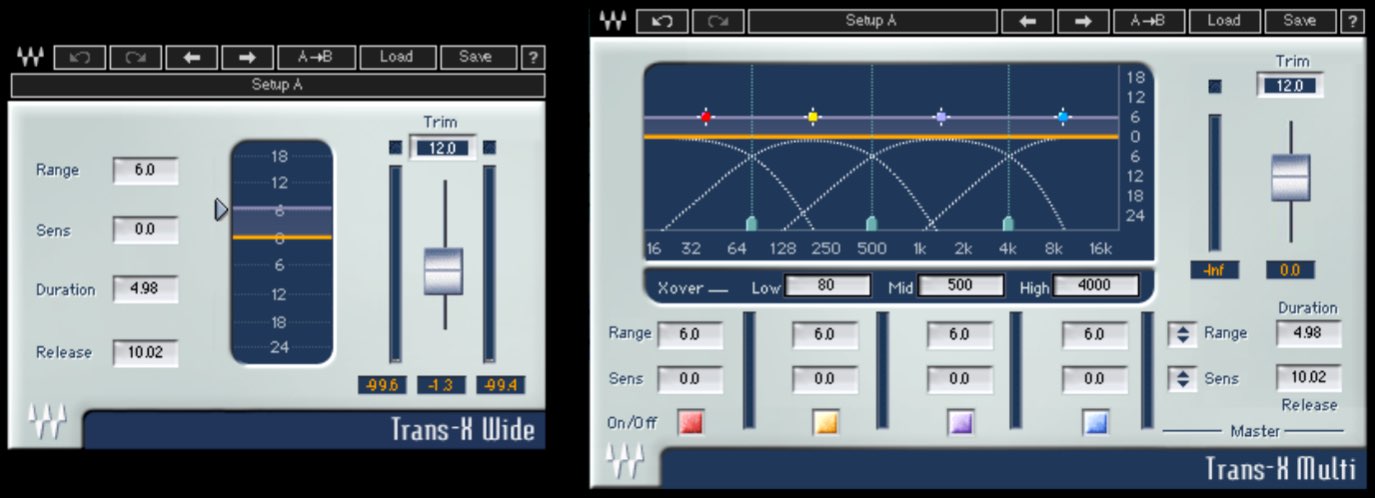
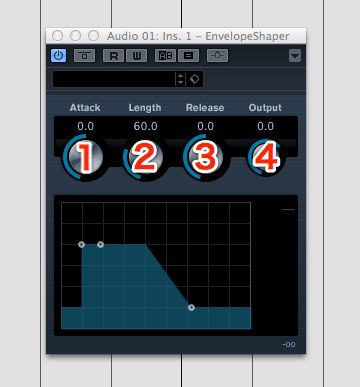
Transient Shaper adjusts the onset and sustain of a sound to change its attack.
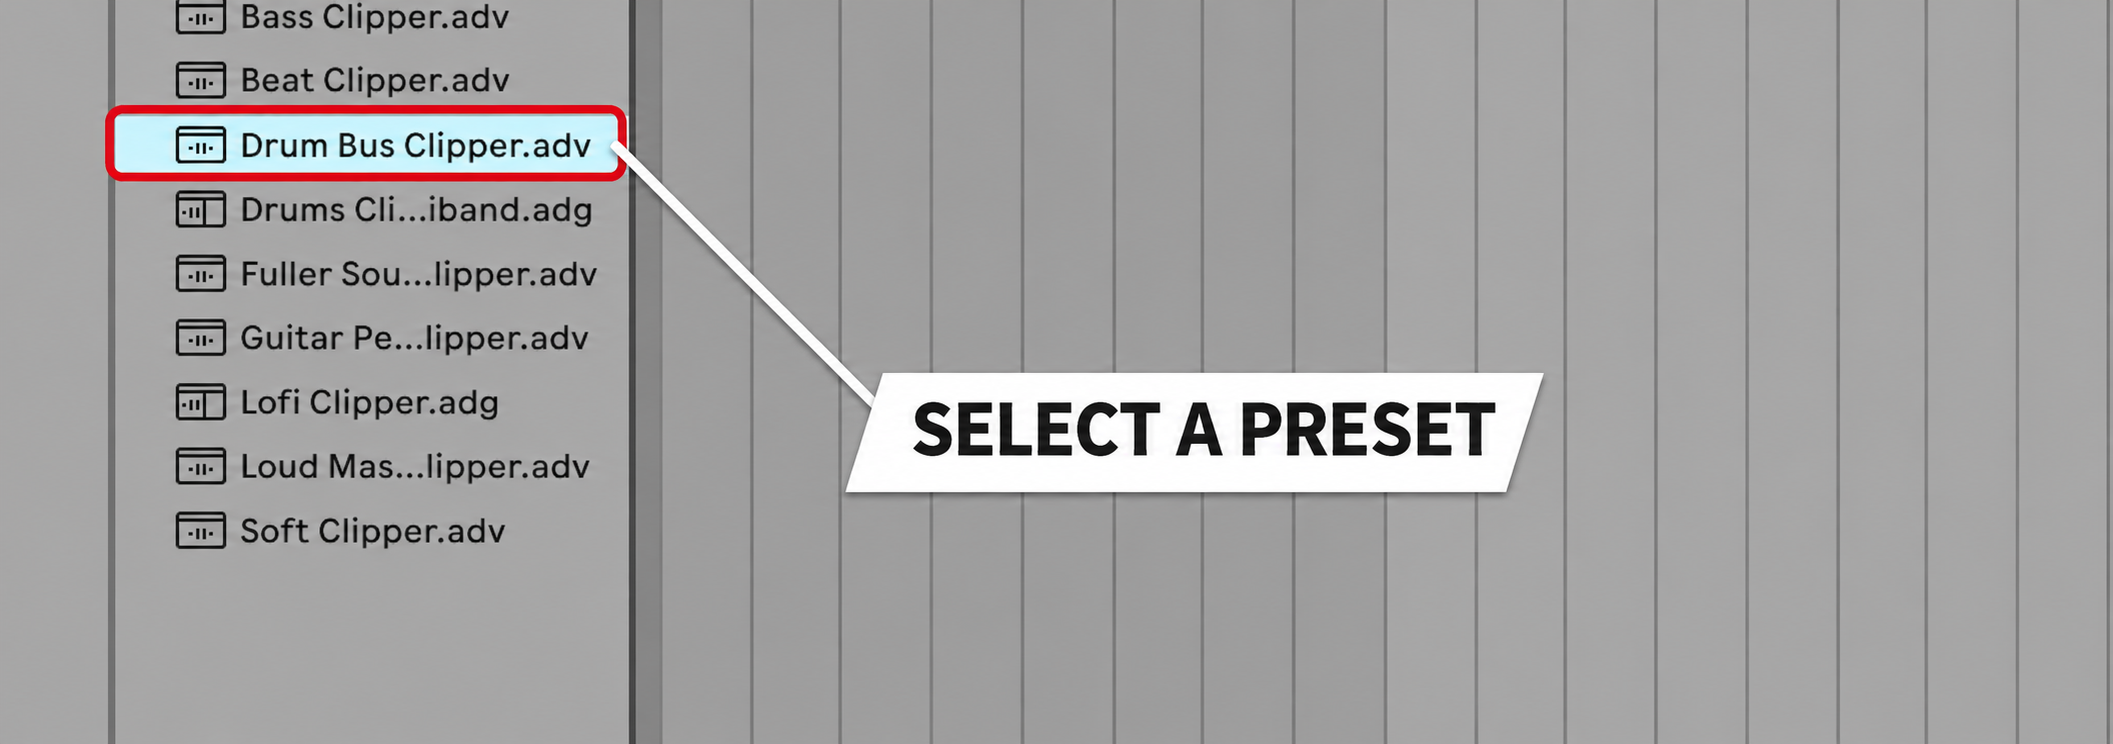
Presets are included, so trying one first is a good place to start.
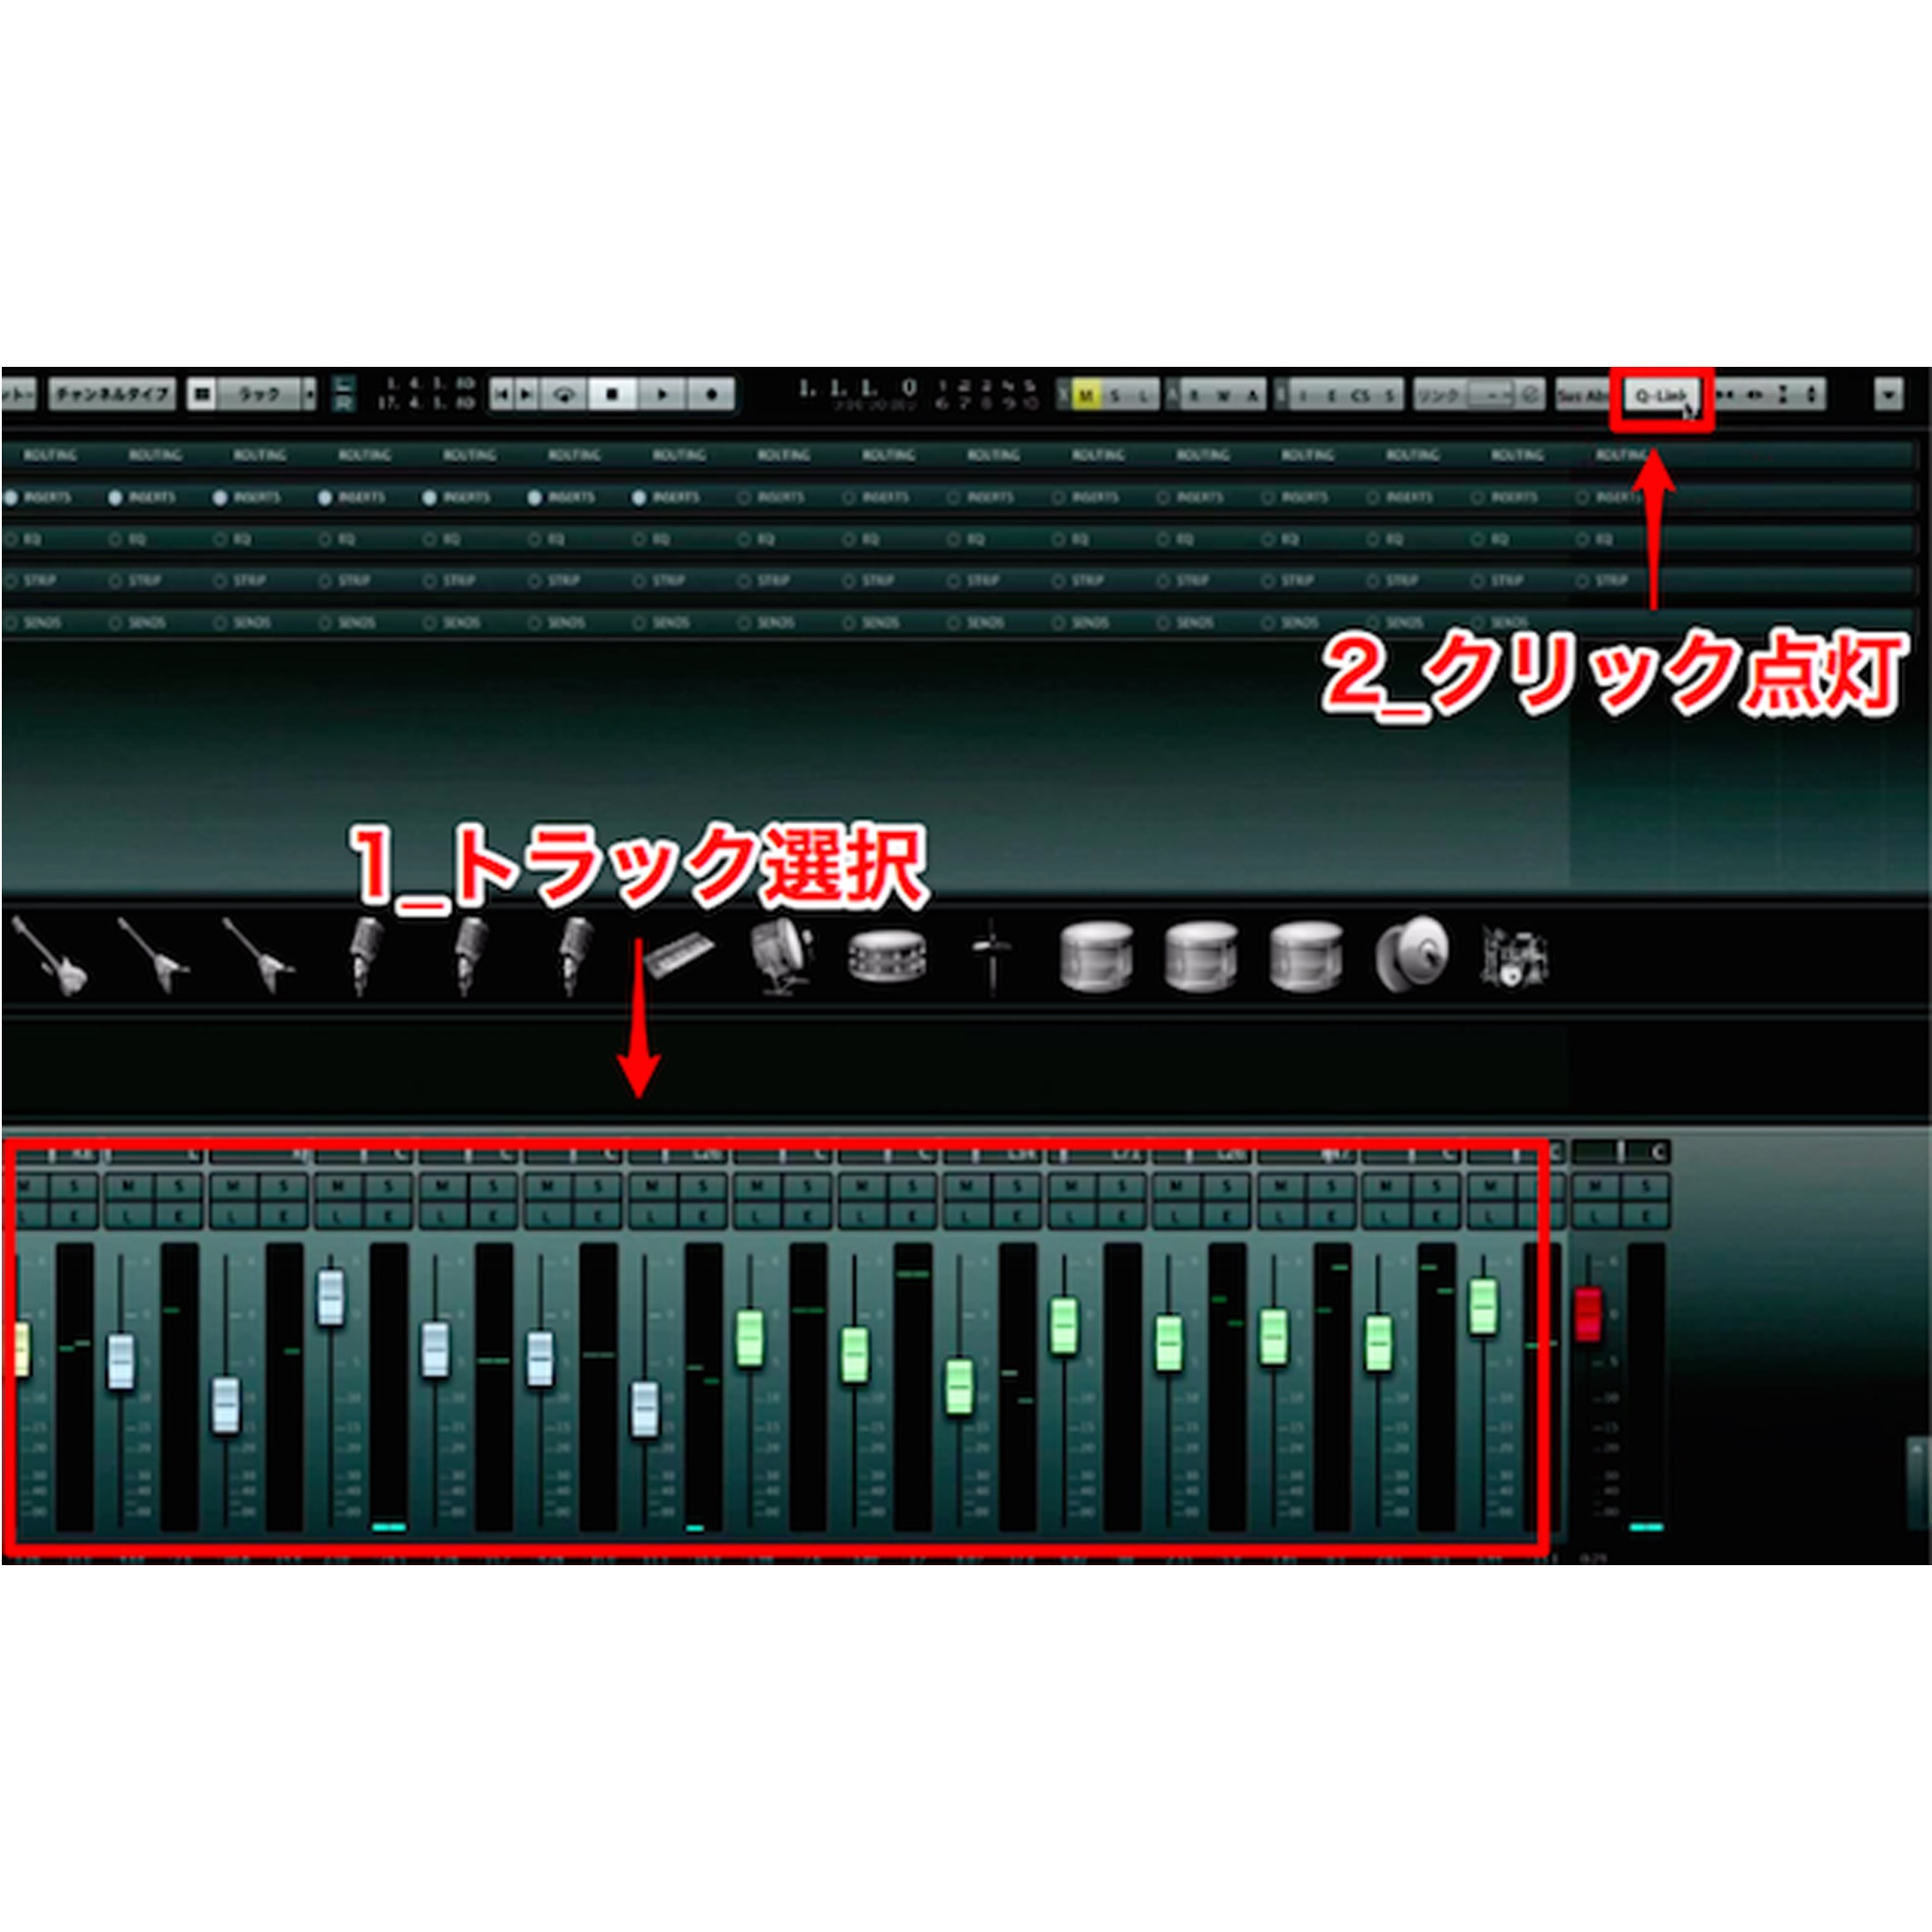
Device Slots: see every device in the mixer
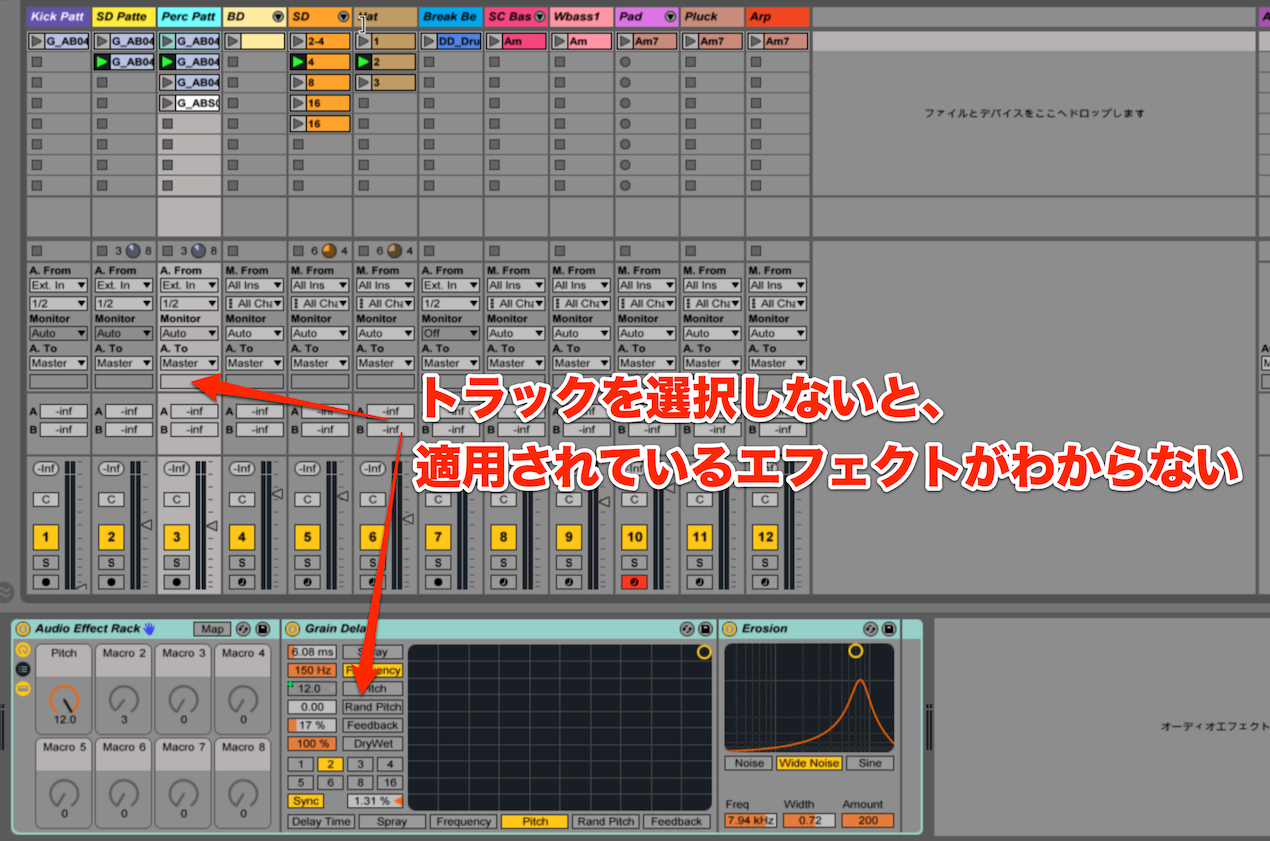
As the number of tracks grows, it can become difficult to remember what is inserted where.
Device Slots helps by displaying devices across all tracks in the mixer.
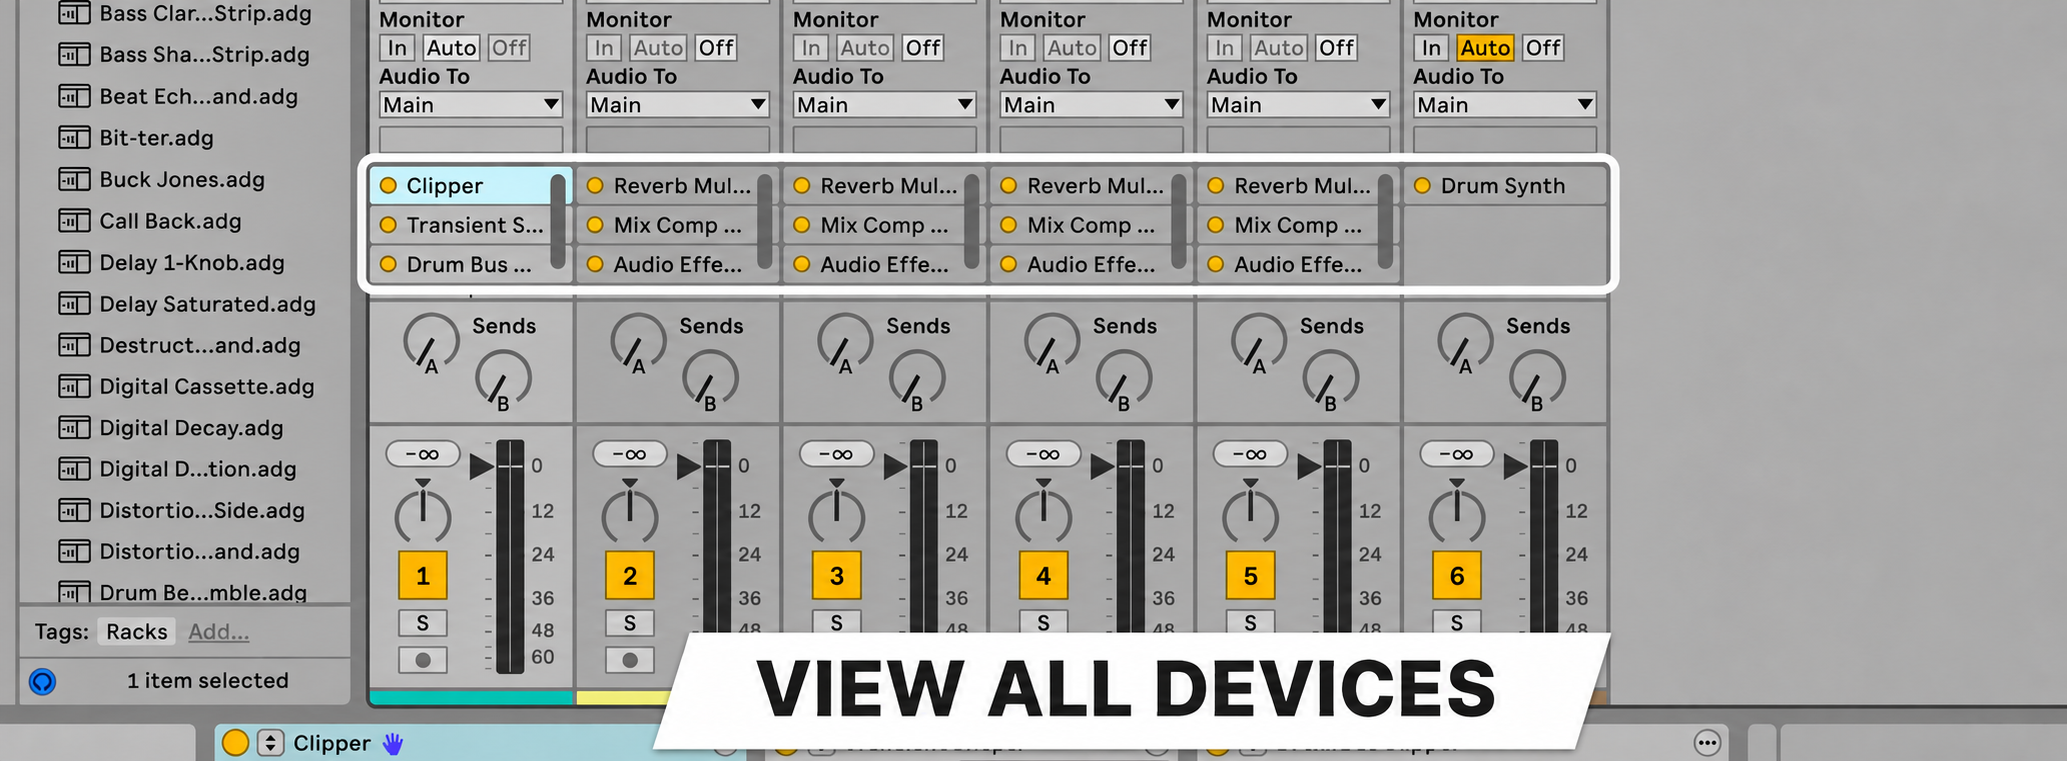
You can see at a glance which devices are on each track.
You can also turn devices on and off directly from here.
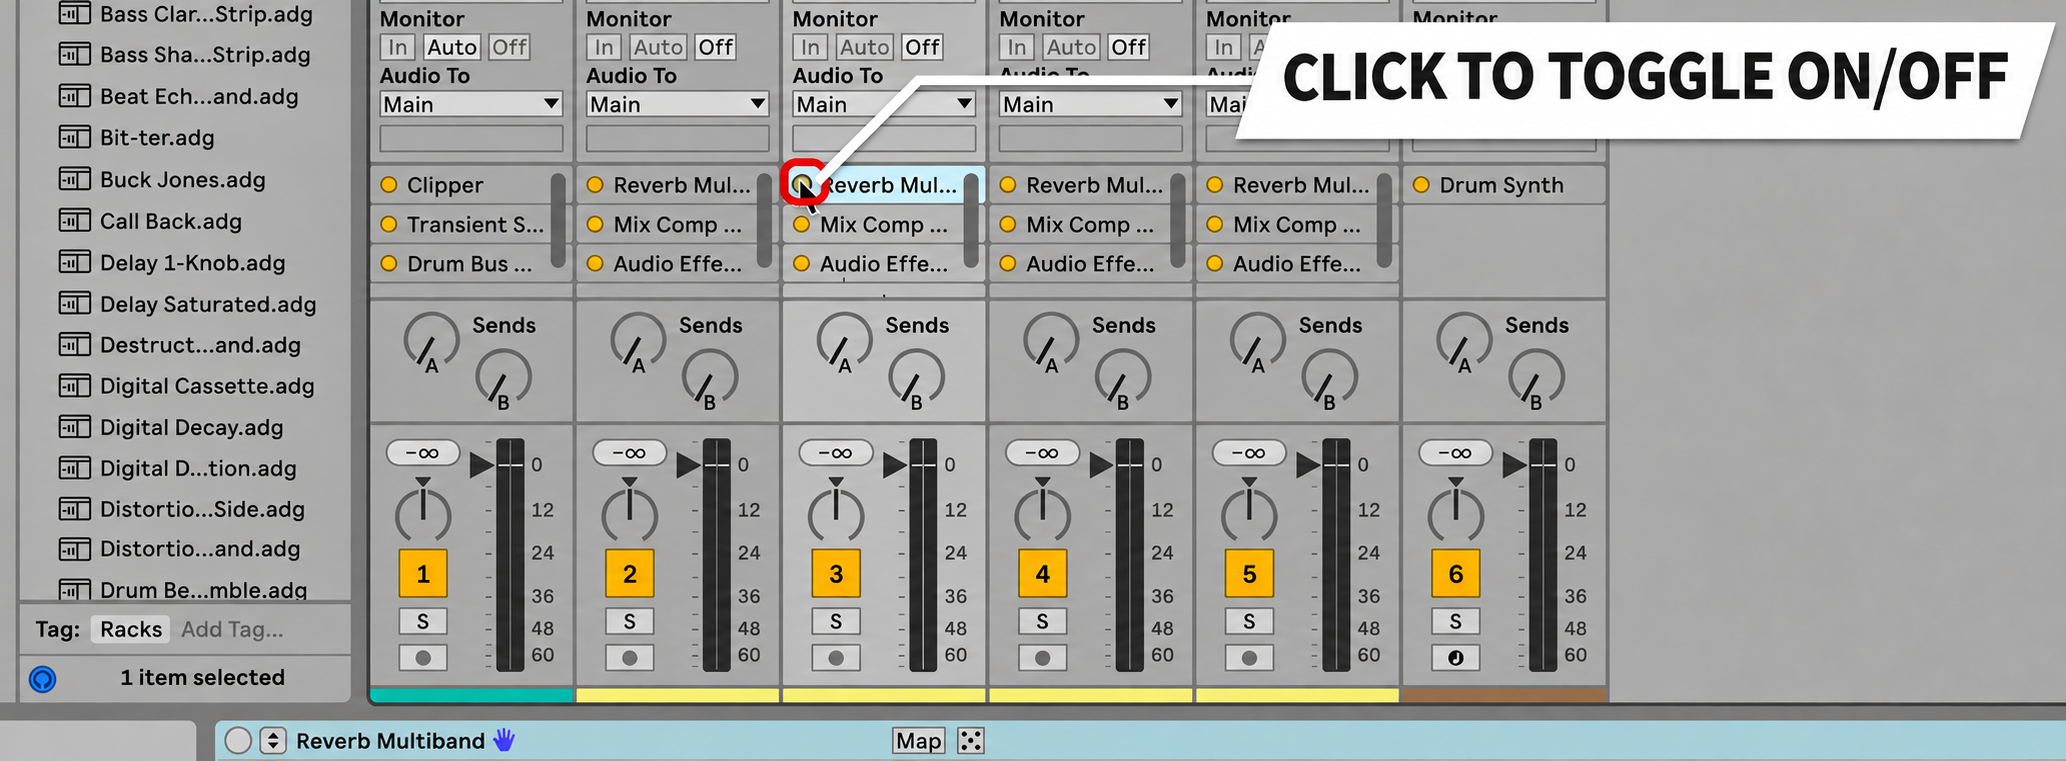
Inserted devices can also be moved to another track.
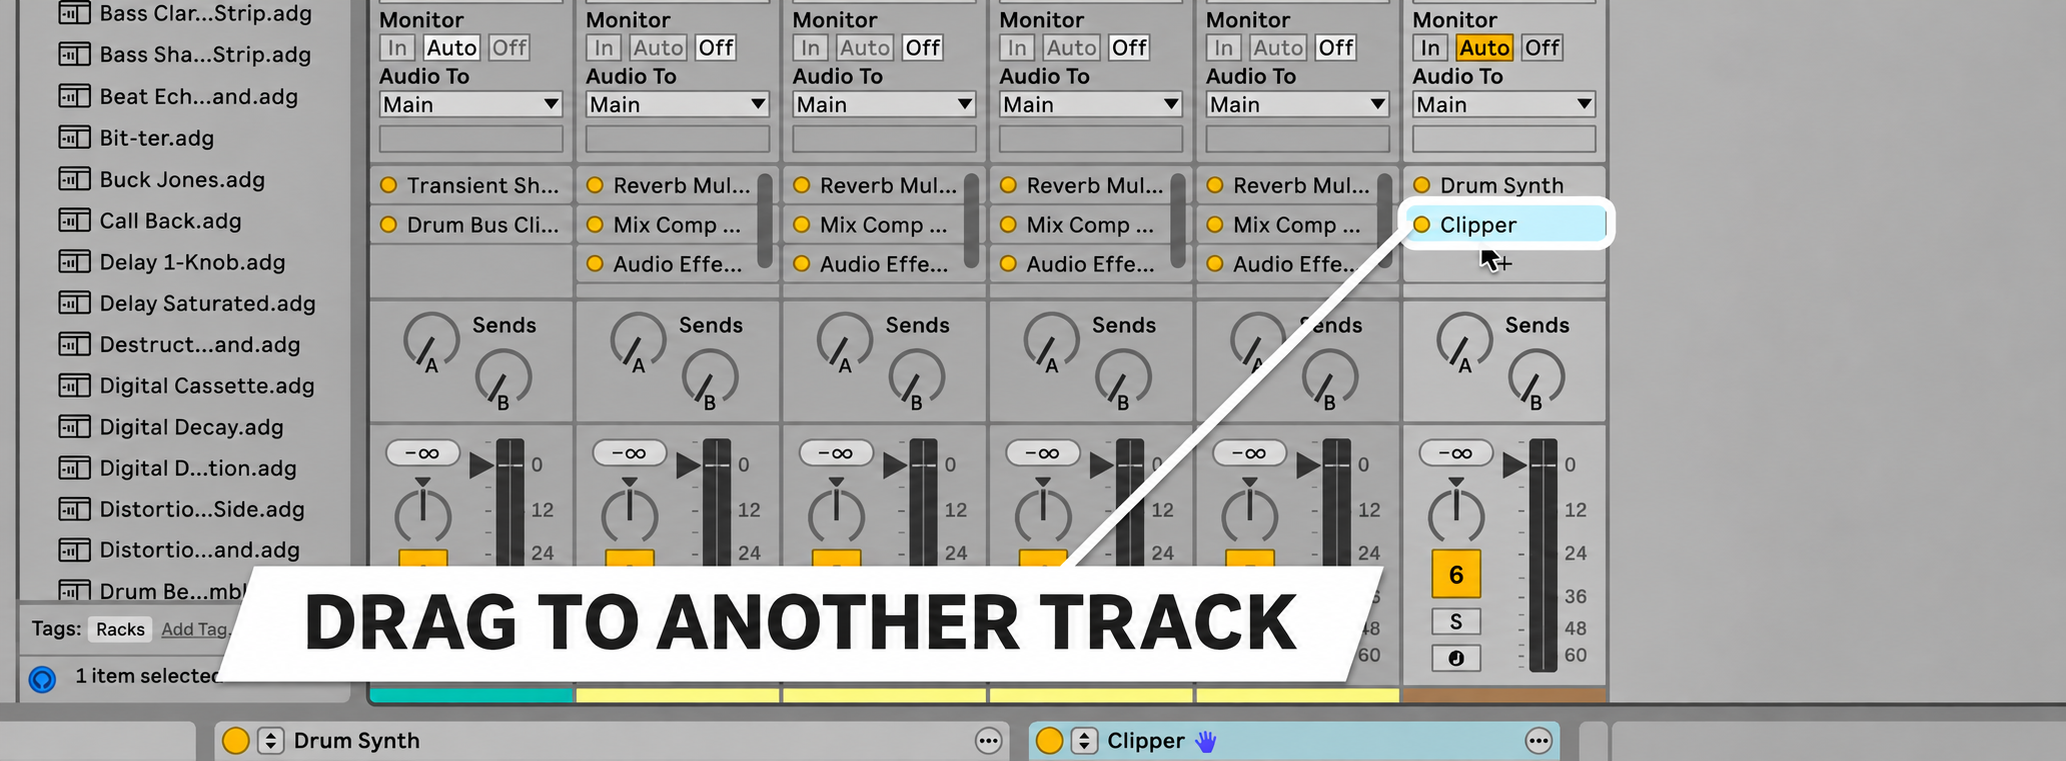
You can add new devices from the mixer as well.
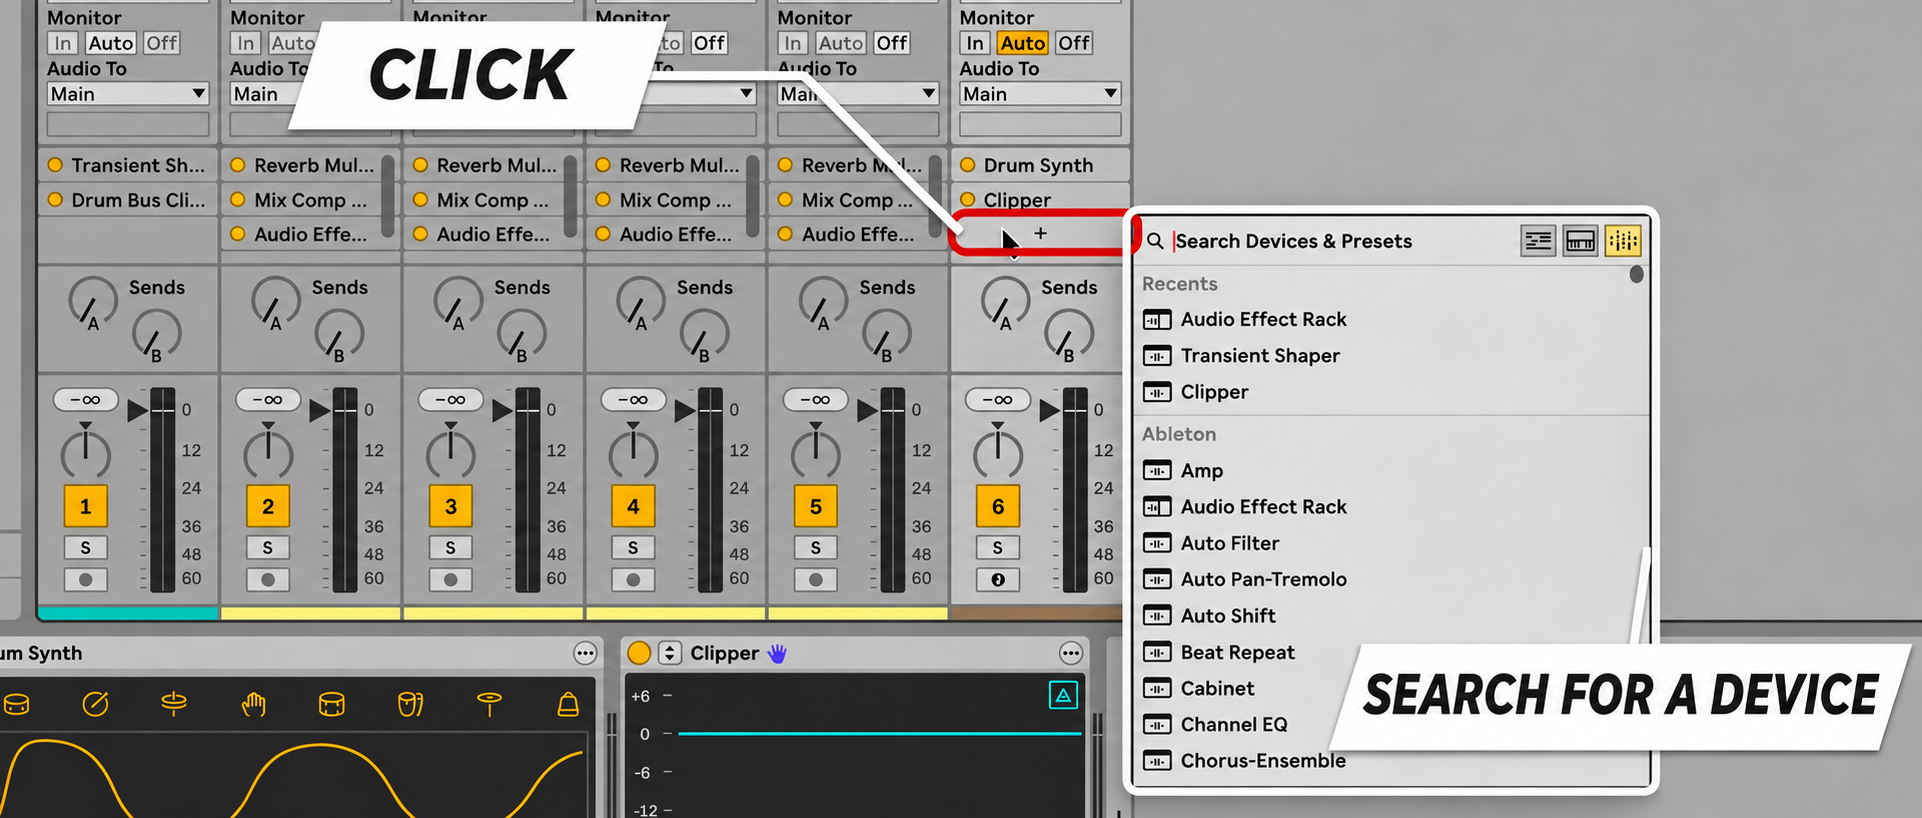
This lets you shape your mix while keeping an overview of the whole project, without leaving the mixer.
Other new features
Live 13 includes more new features beyond those covered above; here are three of them.
Envelope Clips
Envelope Clips let you add automation or modulation to effects on return tracks.
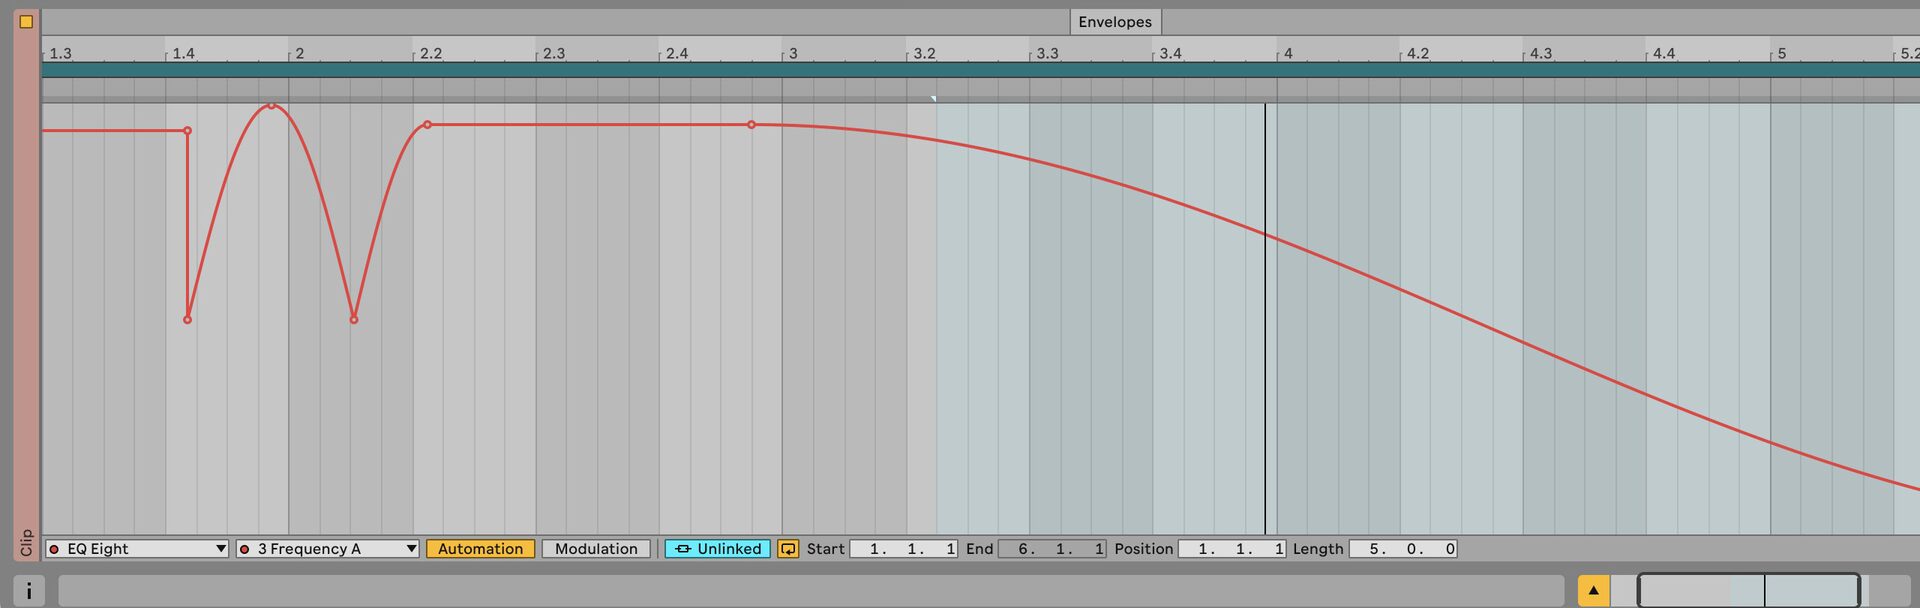
You can set different device parameters for each scene, making it possible to switch effects instantly in Session View.
You can also use looping clips to move effect parameters, or combine them with Follow Actions and envelopes that run independently of clips to create unpredictable changes.
Looplet
Looplet is a device that uses four playheads to layer or loop different parts of a single sample.
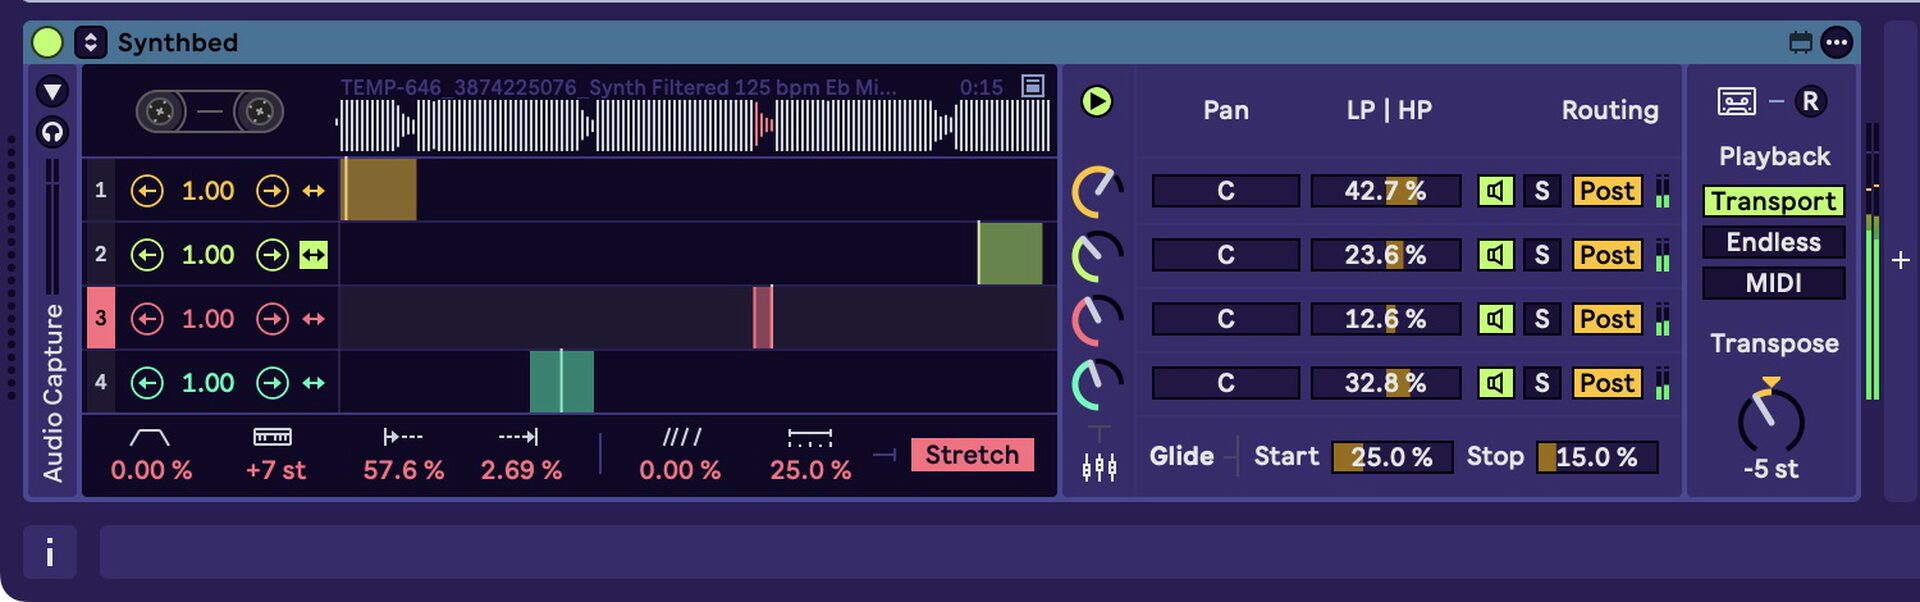
Capture audio directly into Looplet to create ambient textures, tape-like fluctuations, granular glitches, sustained sounds, and more.
You can freely perform and transform sounds without being constrained to the grid.
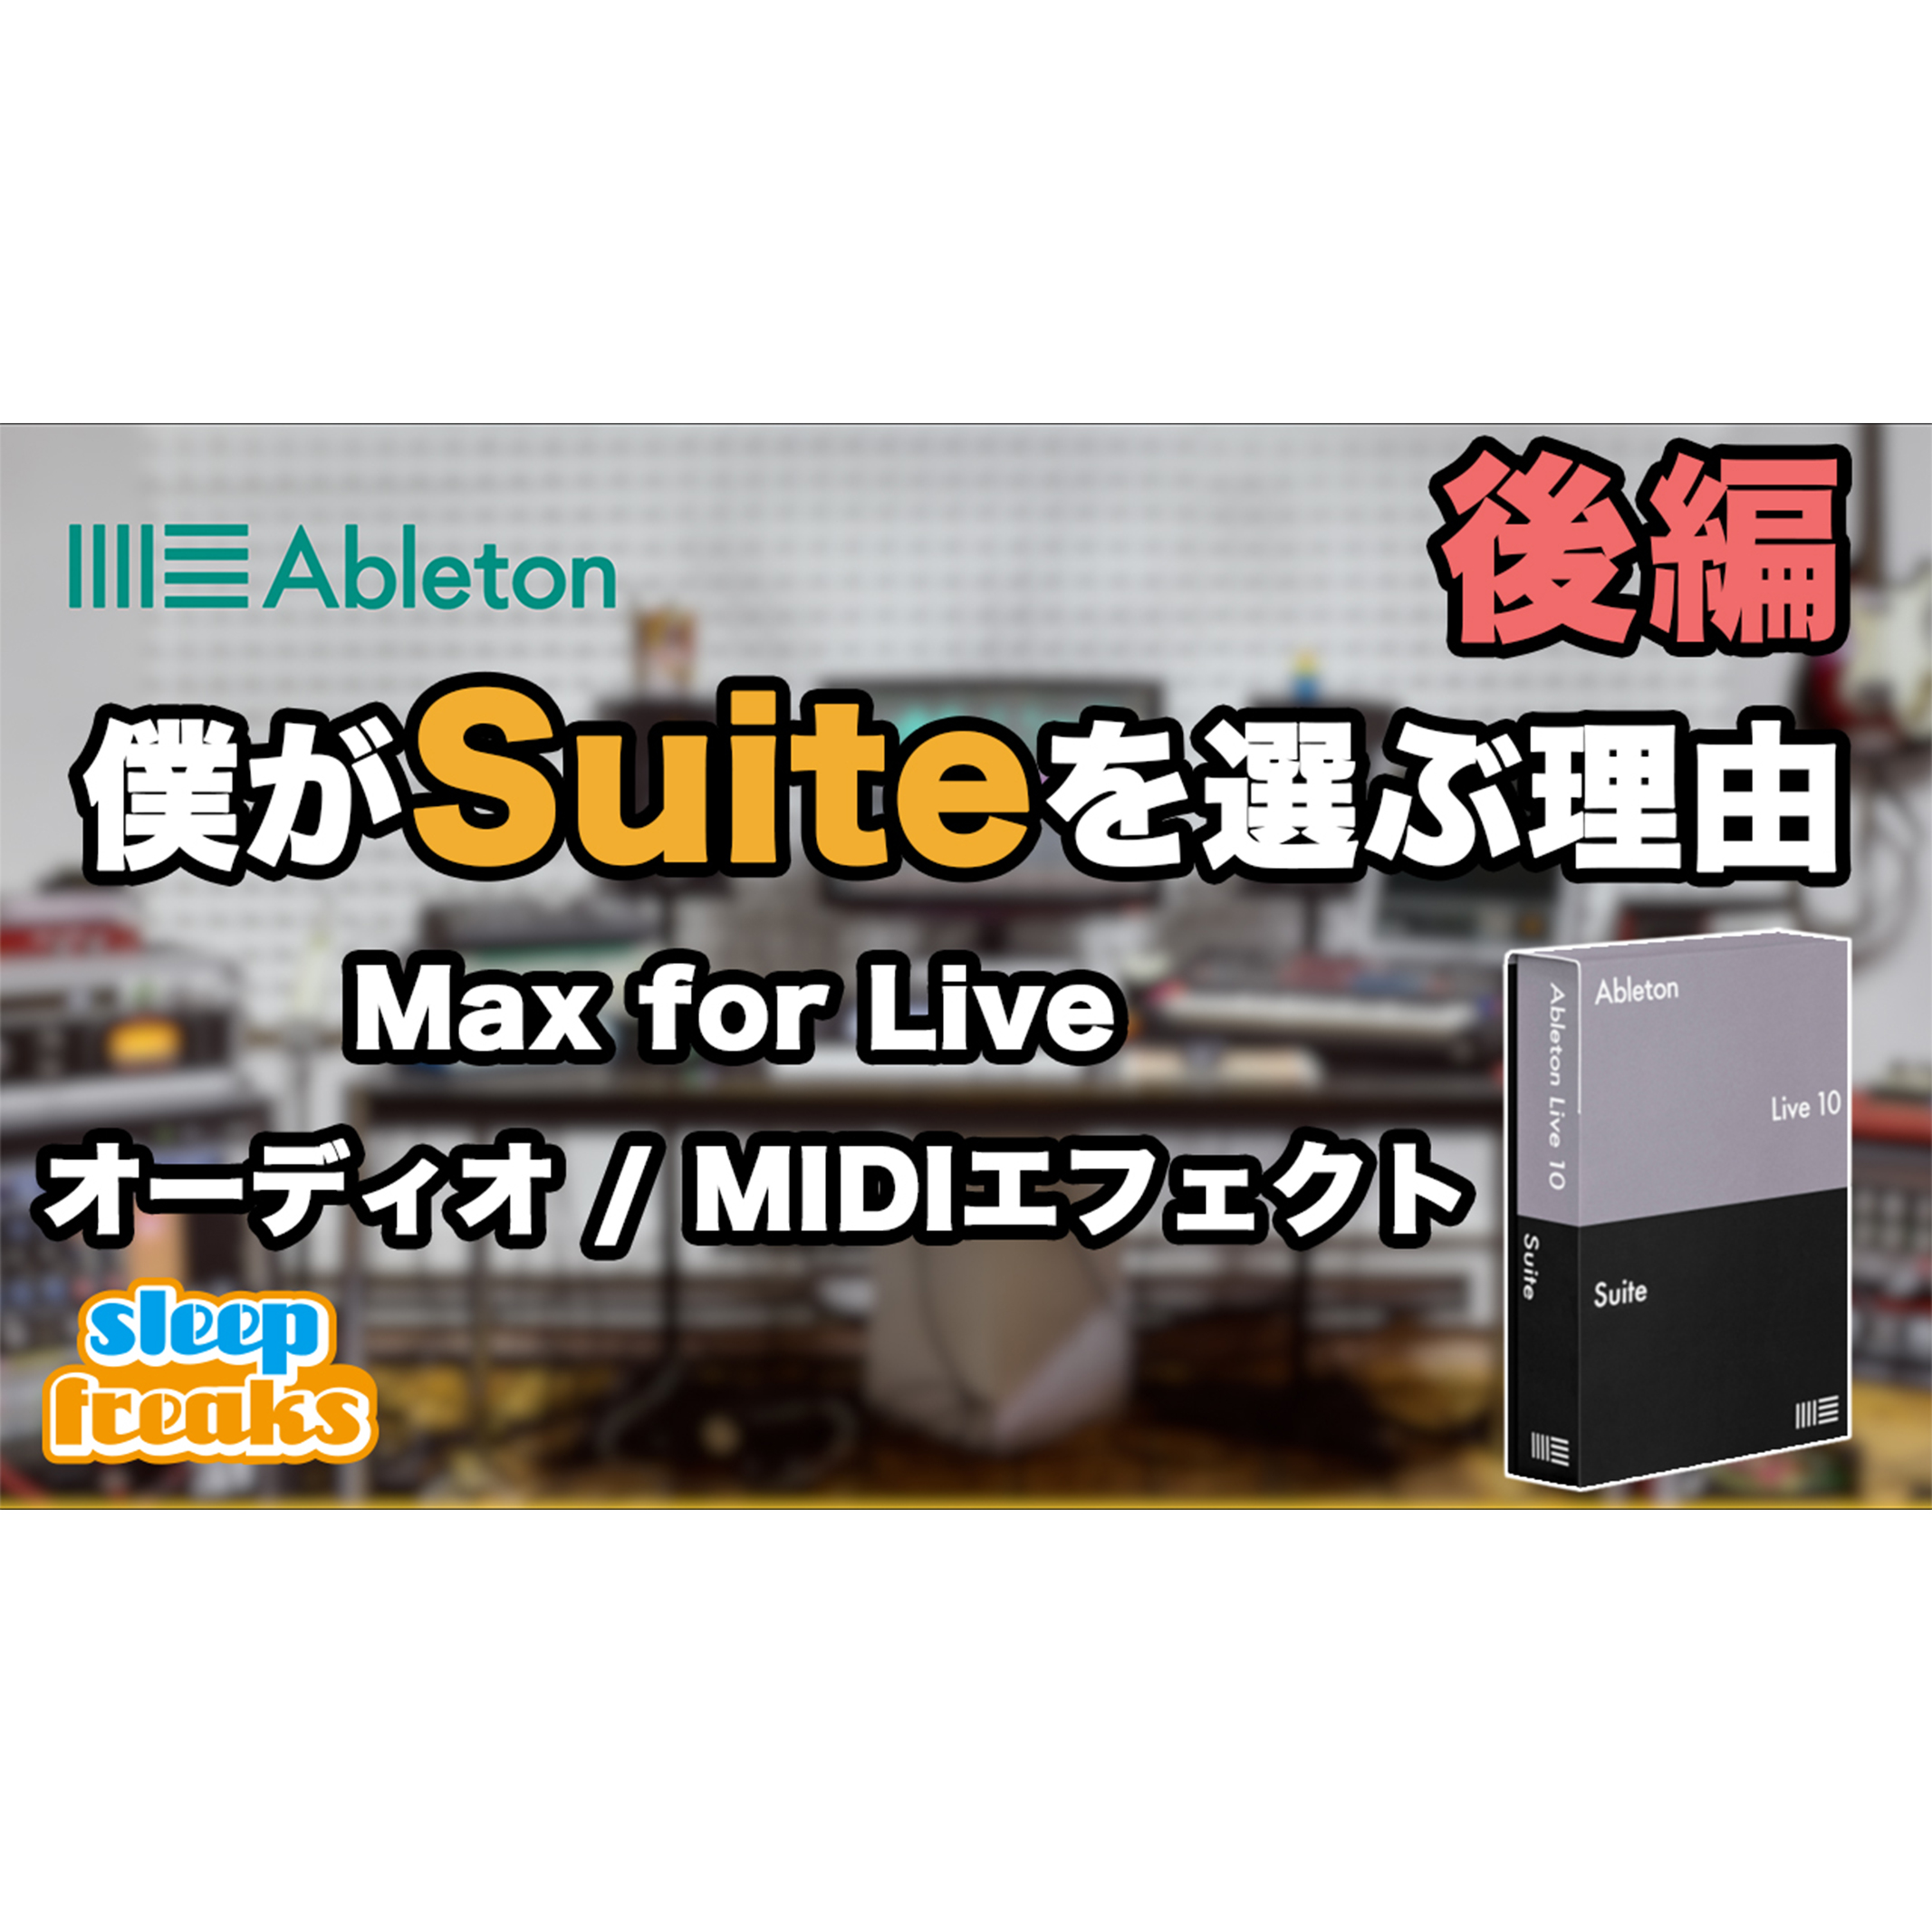
It is a Max for Live device for Live 13 Suite.
Classic Dynamics & EQ Packs by Softube
These packs contain five audio effects modeled by Softube on popular studio hardware.
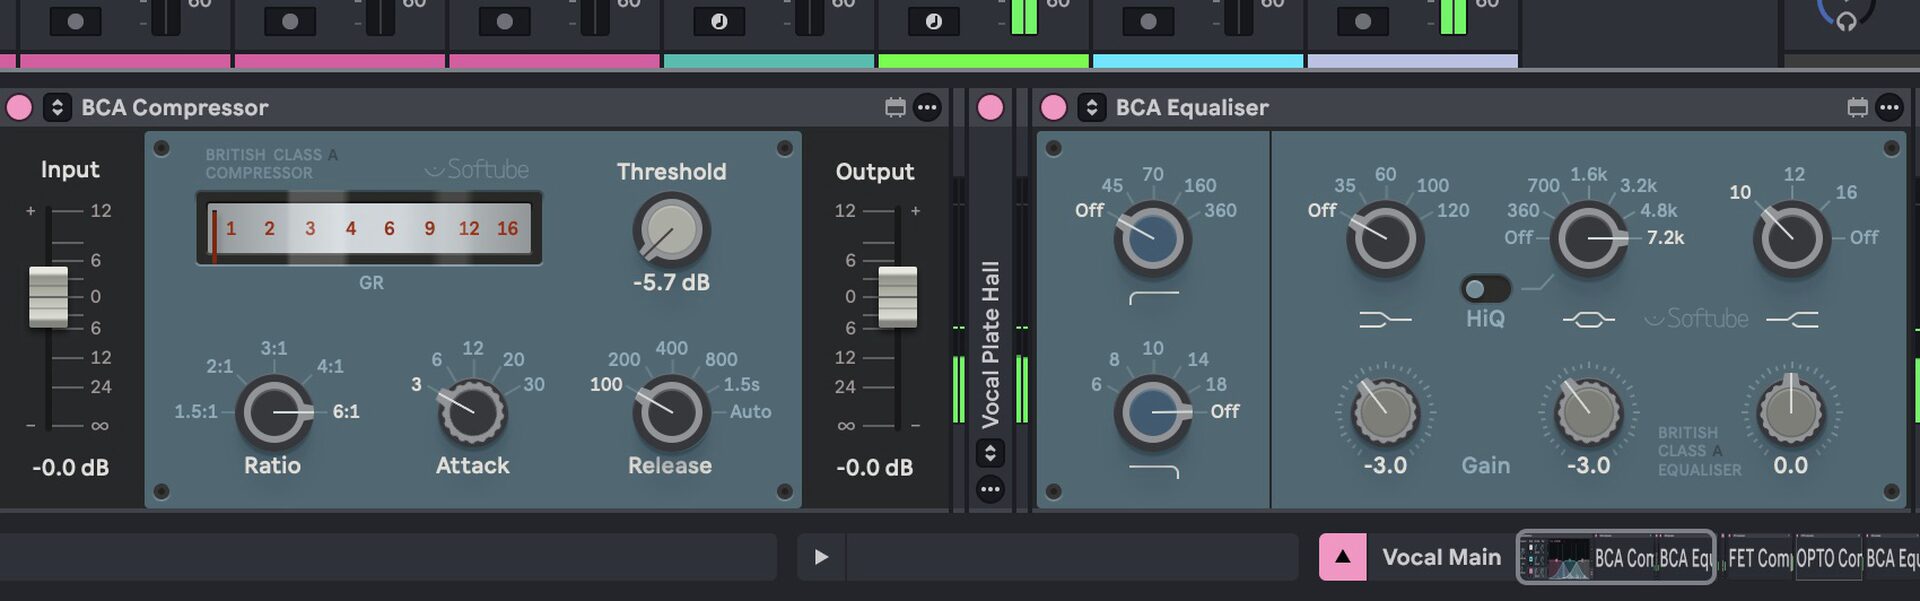
Use FET and optical compression, EQ and compression modeled on a British console, and analog-style drive to shape dynamics or add warmth.
These Max for Live audio effects are for Live 13 Suite and can also be controlled directly from Push.
A refreshed Core Library
The Core Library of included presets and samples has also been refreshed.
Existing Live users can enjoy making music with new sounds as well.
From beatmaking with the Step Sequencer and Drum Synth to vocal production with ARA plug-ins and sound design with Multiband Rack, this update offers tools you can put to work immediately.
There are many more new features beyond those covered here, so give the updated Live 13 a try.
NEW ARTICLES
Latest English Articles