ボーカルレコーディング虎の巻
宅録でも良質なボーカルレコーディングを行うために
最近ではオーディオインターフェースやマイク、DAWソフト等も非常に安価で手に入るようになり、
多くの方が宅録でのボーカルレコーディングにトライされていることと思います。
ただし、その分「このやり方で本当に合っているのか?」「思うようにうまく録れない」
といった声も多数聞こえてくるようになりました。
というわけで今回は、ビギナーの方はもちろん、経験者の方も改めてご確認いただきたいポイントを
解説していきたいと思います。
ボーカルレコーディングに必要なもの
ボーカルレコーディングを行うにあたっては、必須のものと、出来ればあった方がよいものが
数点あります。名称も含めて確認しておきましょう。
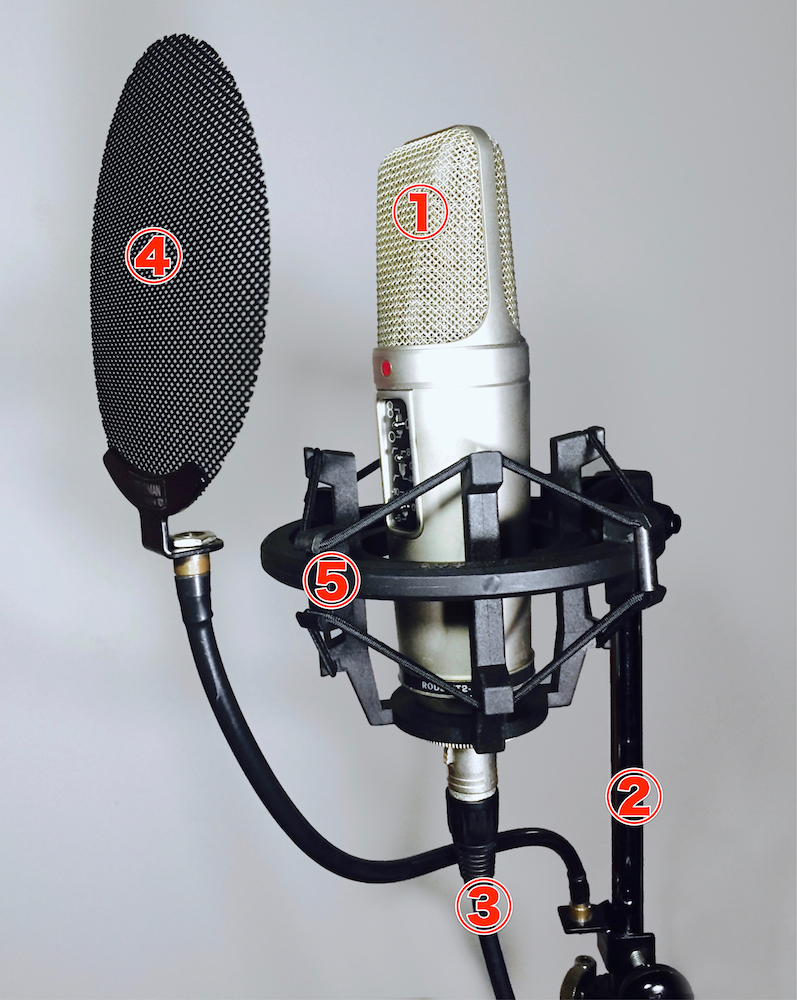
①マイク(もちろん必須)
代表的な種別にコンデンサーマイクとダイナミックマイクがあります。各特徴は後述します。
②マイクスタンド(必須)
一般的なマイクスタンドでOKです。角度を変えられるブームタイプが便利でしょう。
③ケーブル(必須)
XLR(キャノン)コネクタのバランスケーブルと呼ばれるものを使います。
④ポップガード(コンデンサーマイクの場合必須)
吹かれ(「ボフッ」という強い息によるノイズ)を防いだり、唾による湿気を防ぎます。
⑤ショックマウント(コンデンサーマイクの場合できればあった方がよい)
振動でノイズを拾わないようにマイクを宙吊りの状態にしてくれるホルダーです。
(「サスペンションホルダー」とも呼びます)
あと、当然オーディオインターフェイスも必要ですね。こちらも後に詳しく触れます。
マイクの選び方
上記の通り、ボーカルレコーディングに使われるマイクには大きく分けて2つのタイプがあります。
多くの場合コンデンサーマイクの使用をお勧めしますが、場合によっては
ダイナミックマイクが活躍するシーンもあるでしょう。
コンデンサーマイク
非常に感度が高く、ボーカルの繊細なニュアンスや息づかいまでも
リアルに収録してくれるのが特徴。
反面、環境ノイズを拾いやすいので様々な対策が必要です。
また強い衝撃や湿気に弱いので、取り扱いも丁重に行いましょう。
保管時は、密閉できる容器にシリカゲルを一緒に入れておくと
簡易デジケーター代わりになります。
原理的に電気を必要とするので、オーディオインターフェイスや
マイクプリアンプから電源を供給する必要があります。
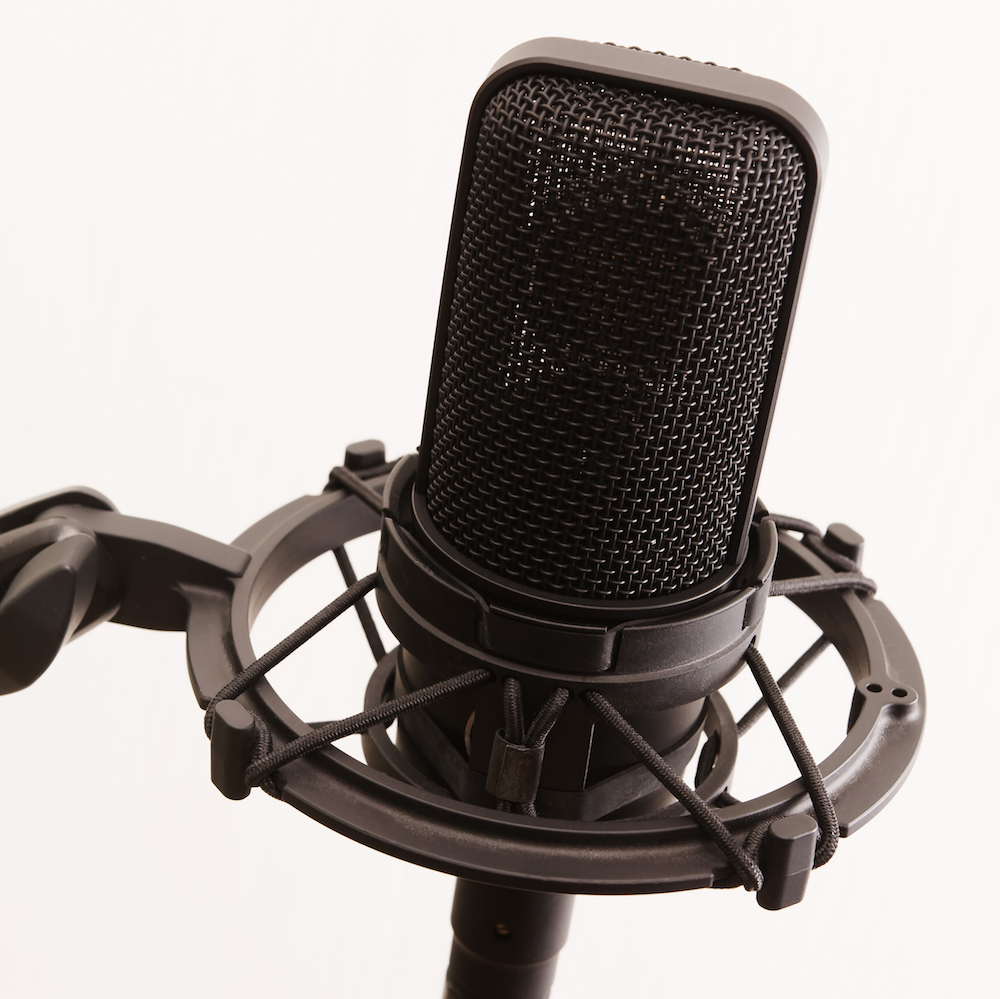
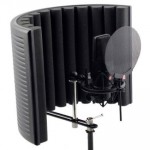
宅録では部屋の反響音を軽減するために、このような機材を導入するのもお勧めです。
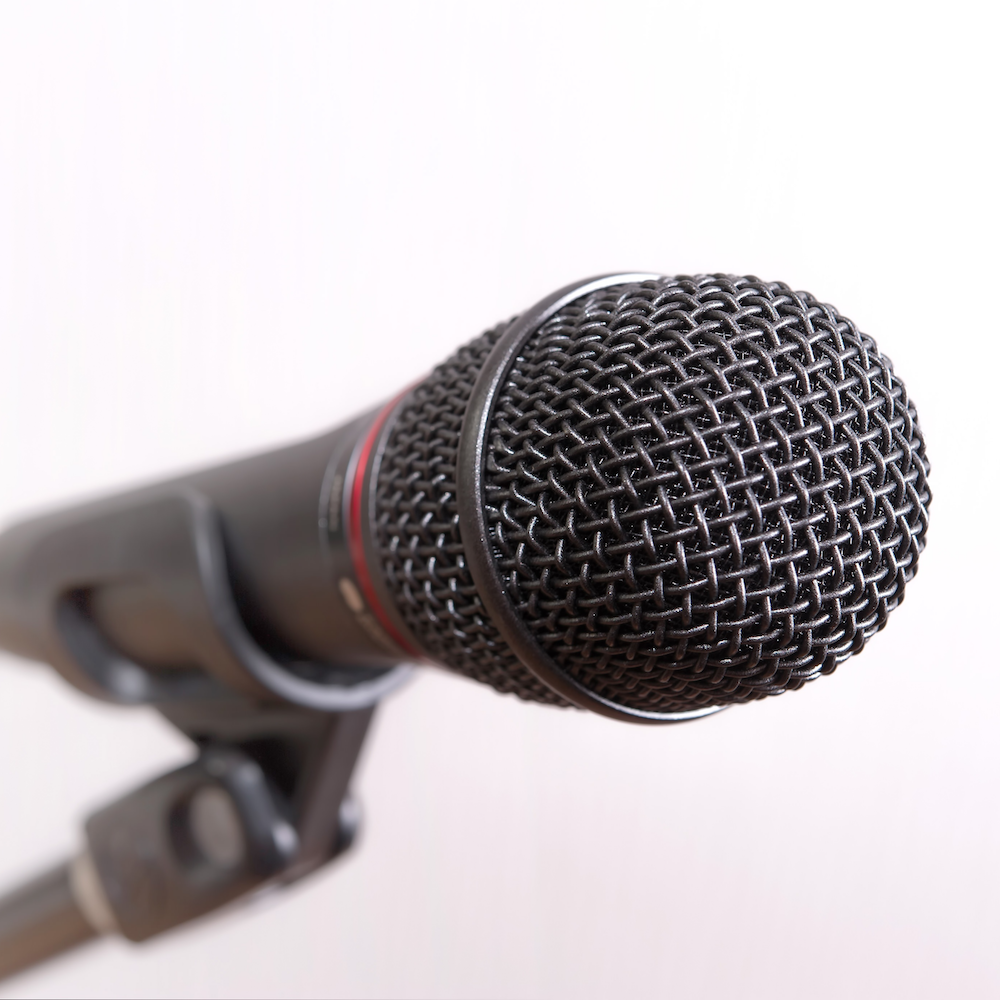
ダイナミックマイク
主にライブ等で用いられる、頑丈で指向性の高いマイクです。
コンデンサーに比べるとレンジが狭く中域寄りの音になりますが、
それがロック等のガッツある曲には合う場合もあります。
また環境ノイズを拾いにくいので、
周囲がうるさい環境で録らざるをえない場合には便利です。
一昔前はコンデンサーマイクより安かったのですが、
今はどちらも安くなったのでそれほど差はなくなりました。
オーディオインターフェイスとの接続
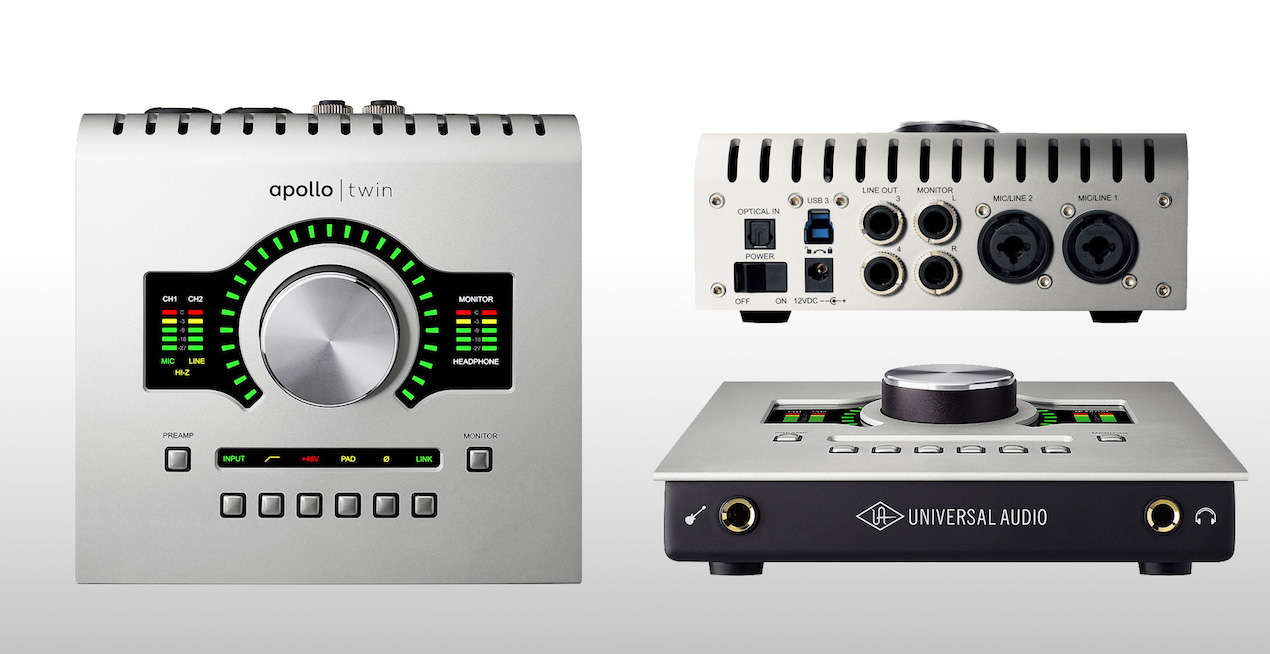
レコーディングを行う場合は、オーディオインターフェイス(I/F)は必ず必要です。
各社から様々なタイプが出ていますので、用途に合わせて選んでみて下さい。
宅録の場合、あまり入出力数は多くなくても足りるでしょう。
以下はマイクとオーディオI/Fを繋ぐ際の手順です。
この順番が大事なので、外す際は逆順に行って下さい。
- ①マイクに接続したケーブルをインプットに挿す
- ②コンデンサーマイクの場合は、+48V電源スイッチをオンにする(外す際はオフにする)
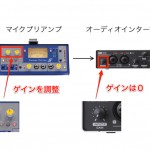
- ③GAIN(またはSENS等)と書かれたつまみを上げる(外す際は下げる)
レベルの設定等については、以下の記事もご参照下さい。
あまりに音量の大小差が大きい場合は、少しコンプをかけて録るのも手です。
最近ではオーディオI/Fにソフトとして内蔵されるものも増えてきました。
またモニタリングについては、ダイレクトモニタリング機能があるものがお勧めです。
宅録のPCのスペックでは、DAWを介してモニターするとどうしてもレイテンシーが伴います。
最近のオーディオI/Fはダイレクトモニタリングに加え、独立したリバーブを搭載しているものもあります。
歌う際に気をつけたいこと
最後に、歌う際に気をつけていただきたいポイントをいくつか挙げておきます。
- コンデンサーマイクとの距離は10〜20cm程度
- 喉が疲れない程度にウォーミングアップしておく
- ある程度の長さで区切りながら、3〜4テイクを目安に
- 歌い方については、事前(前日以前)の練習で十分に固めておくこと
- メインのトラックはできるだけ短時間で録り切る
- 感情の流れが大切な部分は、切らずに一気に録る
それで十分近い音像になります(ダイナミックマイクではもう少し近め)。
ささやき系は近接気味の方が雰囲気が出ますが、息を強く出さないようにします。
声質が安定したくらいのところでやめておきます。
1コーラス、あるいはメロごとに、といった感じです。
安定した良いテイクを重ねてこそ、後の編集が自然に繋がります。
途中で声が変わることがあります。また、日をまたぐのもなるべく避けて下さい。
場合によっては、喉に負担がかからない箇所から先に録るのも手です。
例えば、落ちサビから大サビへといった最も盛り上がるところ等です。
歌っていて気持ちいい部分なのに、勢いを止めるのはよくありません。
また、歌い出しも超重要。イントロをじっくり聞きながら気持ちを作って歌い始めましょう。
以上、次回はこの応用としてステップアップ編を解説していきます。
このような記事も読まれています
【DTM】宅録ボーカルミックスの基本プロセス 〜基礎処理編〜
宅録でもクオリティを追求しよう 今回から2回に渡って「宅録ボーカルミックスの基本プロセス」と題してお送りしていきます。 DTMが普及し、近年では自宅の部屋でレコーデ
Waves_Vocal Rider ボーカル音量コントロール
ミックス時に調整するボーカルのボリュームオートメーションを自動的に作成するプラグインです。もちろん、細かなカスタムも行なうこともできます。
ピッチ修正の定番ソフト Melodyne Editor 2
レコーディングしたボーカルを簡単に、そして、細かく修正することが可能です。DNS機能を使用すれば、和音を分析し、そのコードを変更することも可能です。
オートメーション_Automation
オートメーションでボーカルボリュームを変化させることで、より魅力的な楽曲を作ることができます。オートメーションをDAW別で解説していきます。
レイテンシー_Latency
MIDI鍵盤やレコーディング時のプレイが遅れて聴こえる場合に設定を確認します。
記事の担当 大鶴 暢彦/Nobuhiko Otsuru
