
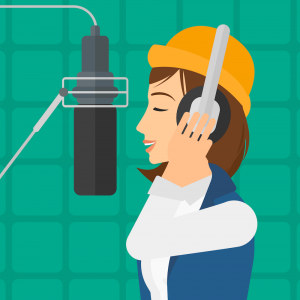
Vocal recording notes 2
Upgrading and utilizing your recording gear
Previously, we took a look at the minimum requirements for vocal recording,
and some precautions for the process.
When first starting vocal recording, these basics might suffice,
but over time you may want to step up your gear.
We will take a look at what kind of gear you can choose from,
as well as how to utilize them.
Using external mic preamps
Mic preamps help increase the mic input signal, allowing for an optimal level for recording.
Most audio interfaces have them on board,
and they aren’t 100% necessary for recording.
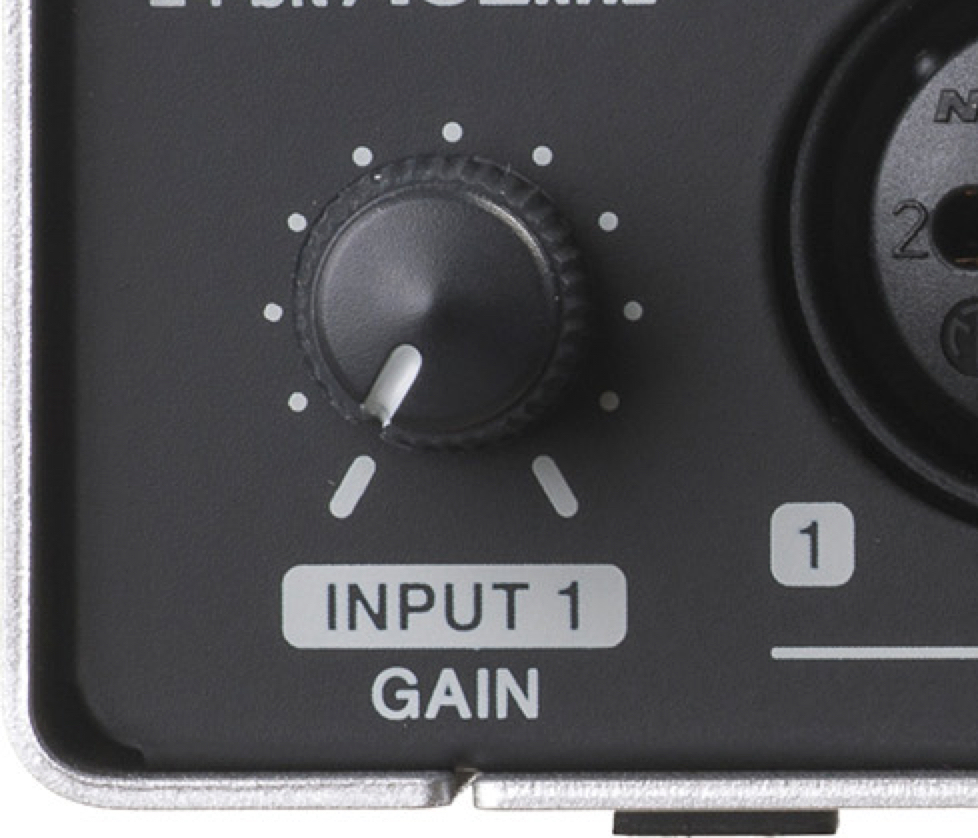
(the GAIN and SENS knobs parts are the preamp)
However, cheaper interfaces generally have weaker preamps,
and you may be able to utilize external hardware to solve this.
Also, each preamp has its own characteristics,
allowing for your to color the sound source how you want.
Recommended mic pres for home recording
The range of mic-pre prices vary greatly, with the low starting under 100$, and the higher models going for thousands.
Because getting a thousand dollar mic-pre as a beginner seems daunting,
we will look at some of the best bang-for-your-buck preamps for home recording.
When not recording many channels in a home setting,
why not use this kind of product to perfect 1ch?
Tonally it is very clear and bright, and includes a meter for ease of use. Similar to ISA ONE, its a 1ch mic pre.
「NEVE」 is known for vintage products, but the PRE-73 aims to achieve that kind of sound at an affordable price.
Its a bit more colored than the ISA ONE, with a punchy mid range.
If you want to listen to the pre’s but you can’t
Although it is best to try a mic-pre out before purchasing it,
if you can’t access one, you can listen to examples on YouTube.
As an exmaple, we included videos that compare recorded guitar sounds on the mic preamps.
(When looking for these kind of videos, add the keyword 「Shoot Out」)
Connecting your mic preamp
Mic pre’s are connected between your mic and audio interface.
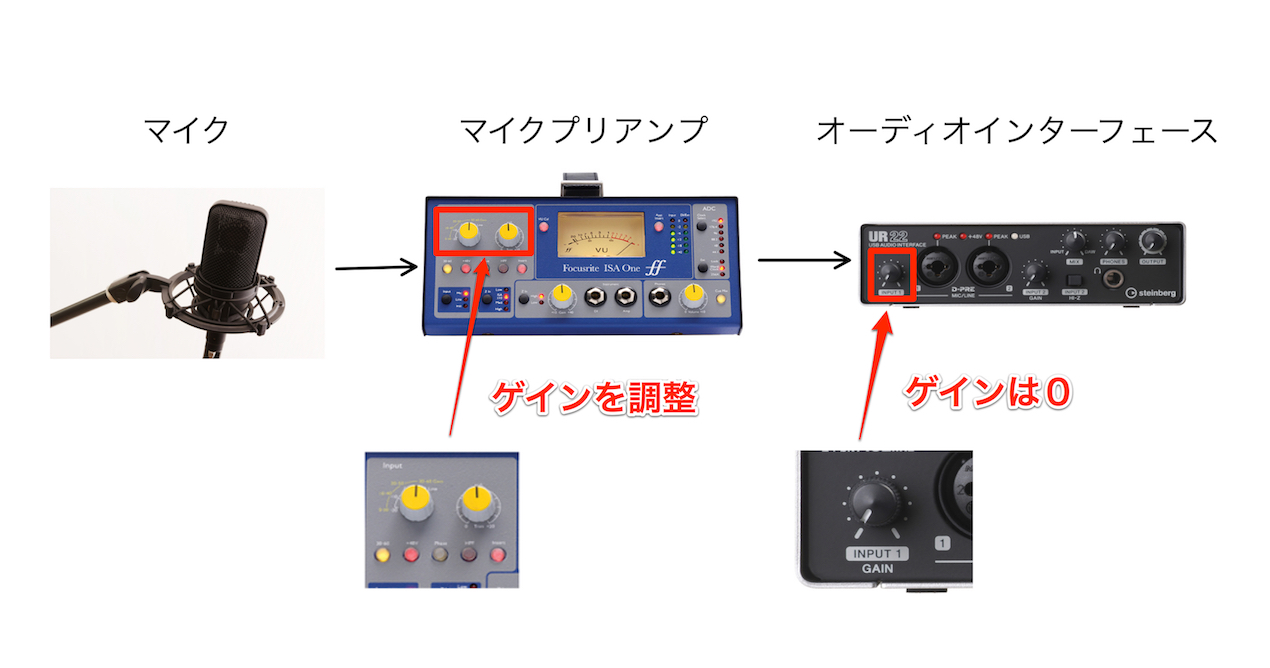
- Adjust the gain on the mic pre, and don’t adjust the audio interface side
- Phantom power (+48V) the mic from the pre as well
Having a variety of mics
What we recommend next is adding another mic.
This also allows you to select tones depending on the vocal quality or song, and will help upgrade your productions.
There are a wide variety of mics on the market, and may seem intimidating to choose at times.
If you don’t have one, we recommend a tube mic.
It’s known for its thick and warm sound, and helps bring out the best in the lower registers.
It provides a natural and realistic sound.
In recent years, there has been an increase in affordable and high quality mics on the market, so we will take a look at some examples.
RODE has solidified its place in the market with high quality affordable mics.Its a simple unidirectional mic, and has a rich tube sound.
Listen to it on video here
It has multiple functions, allowing for changes in pickup direction.
Listen to it on video here
Caution with tube mics
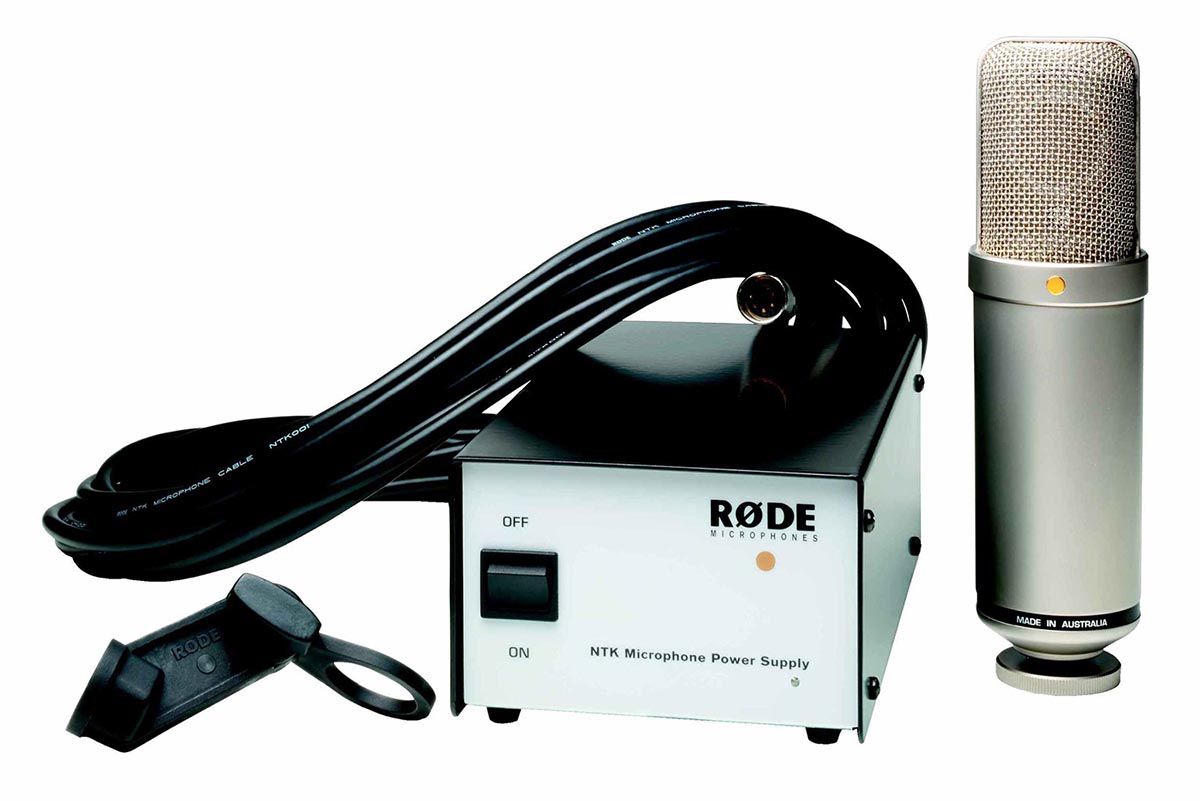
Tube mics come with a power source as shown above.
It is powered from this source, so on both your audio interface and mic pre,
be sure not to turn your phantom power(+48V)on.
In addition, tube mics need to warm up before it is ready for optimal use.
Wait 10〜30minutes after turning it on, and use after the temperature has stabled.
(gage by touching the mic)
Key points when adding new gear
-
- 1. Check mic direction type
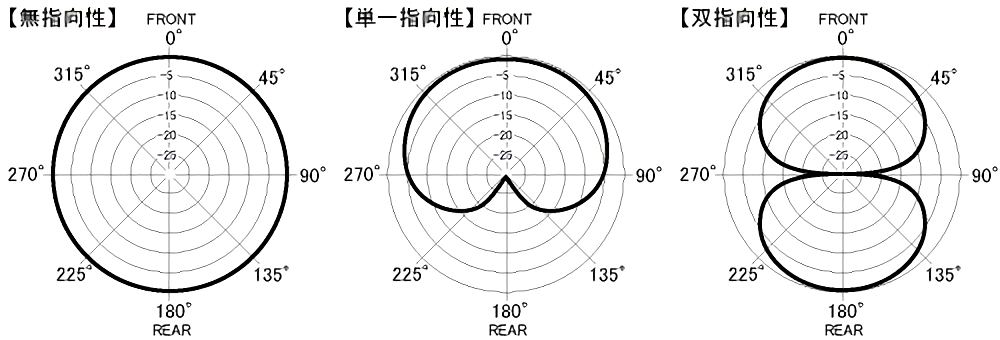
For mics, there are different directions like 「unidirectional (cardiod)」「omnidirectional」and「bidirectional」.
Think about the center point of the charts above as where the mic is. The lines around it show where the areas where you can pick up sound from.
For product types, they are generally unidirectional, or have a switch to use all 3 types.
If you purchase one with the switching capability, record vocals with a unidirectional setting.
It picks up less unneeded noise this way, and allows for a more powerful sound.
(If you can adjust in stages, find the setting that you like best)
-
- 2. Utilizing low cuts
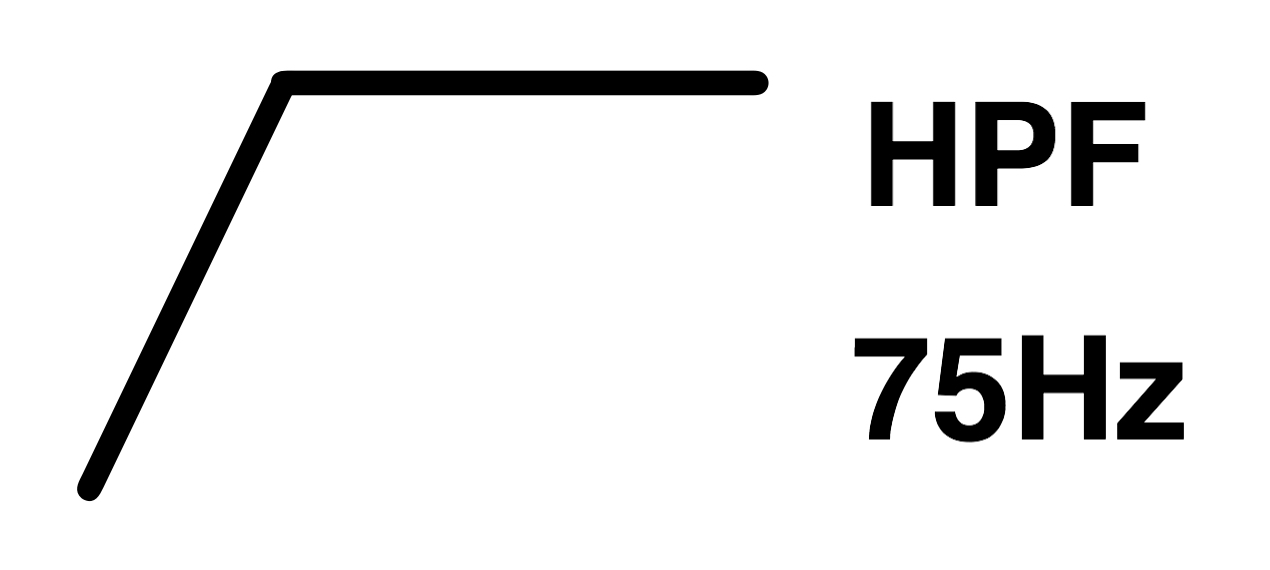
There are many mics and preamps that have lowcut (high pass filter) capabilities as well.
Cut the unwanted low noises under the frequencies that you are going to record,
for an optimal S/N (sound to noise) ratio.。
If there is a mark like the one shown above, the mic has a lowcut function.