様々な編集を行う Logic Pro の使い方
※最新のLogic Pro 11 解説はコチラから
編集作業で楽曲を構築する
今までの工程で作成した素材に編集を加え楽曲を構築していきます。
編集にはコピー、ペースト、移動、分割など様々な項目が用意されています。
その中でも必ず必要になる操作を解説していきます。
すぐに実践できるものばかりですので、まずは体に操作を覚え込ませてください。
Logicで素材をコピー&ペーストする


素材を他の場所へ複製するDTMには欠かす事ができない操作です。

コピーしたいものを選択し、
Command+C
これで選択した情報がパソコンへ取り込まれます。
この時、見た目に変化は起こりません。

「選択ツール」をクリックし、ファイルをコピーしたい小節を選択し、
Command+V
この様に取りこんだ情報を貼付けることができました。
これをペーストといいます。

素材を移動する
素材を他の場所へ移動します。
「矢印ツール」を選択し、
移動したいものをクリック後、そのまま希望の小節までドラッグします。
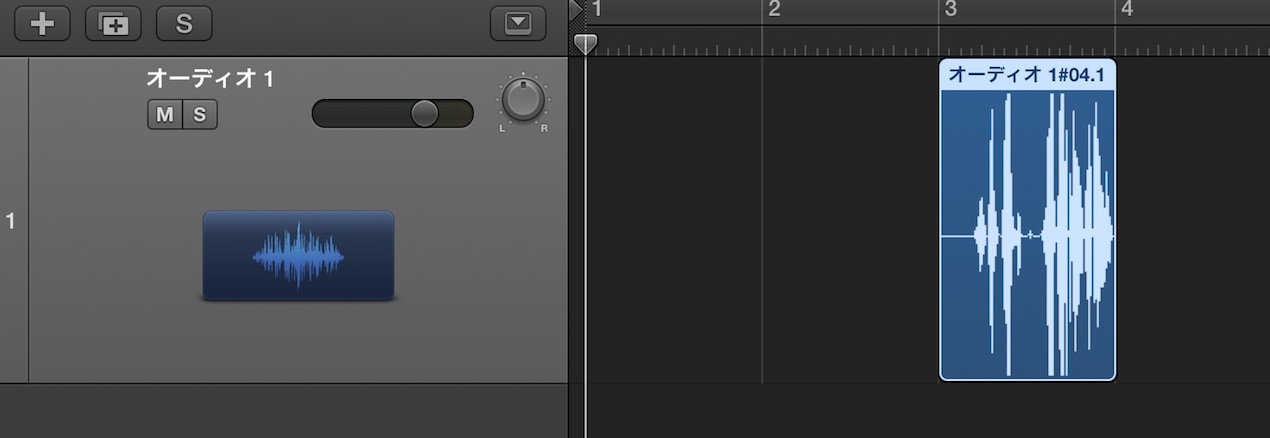
素材を分割する
2小節の素材があり、1小節目だけを他の場所へ移動したいとします。
しかし、「移動」すると、2小節全てが移動してしまう事になります。
こんな時に使用するのが分割です。
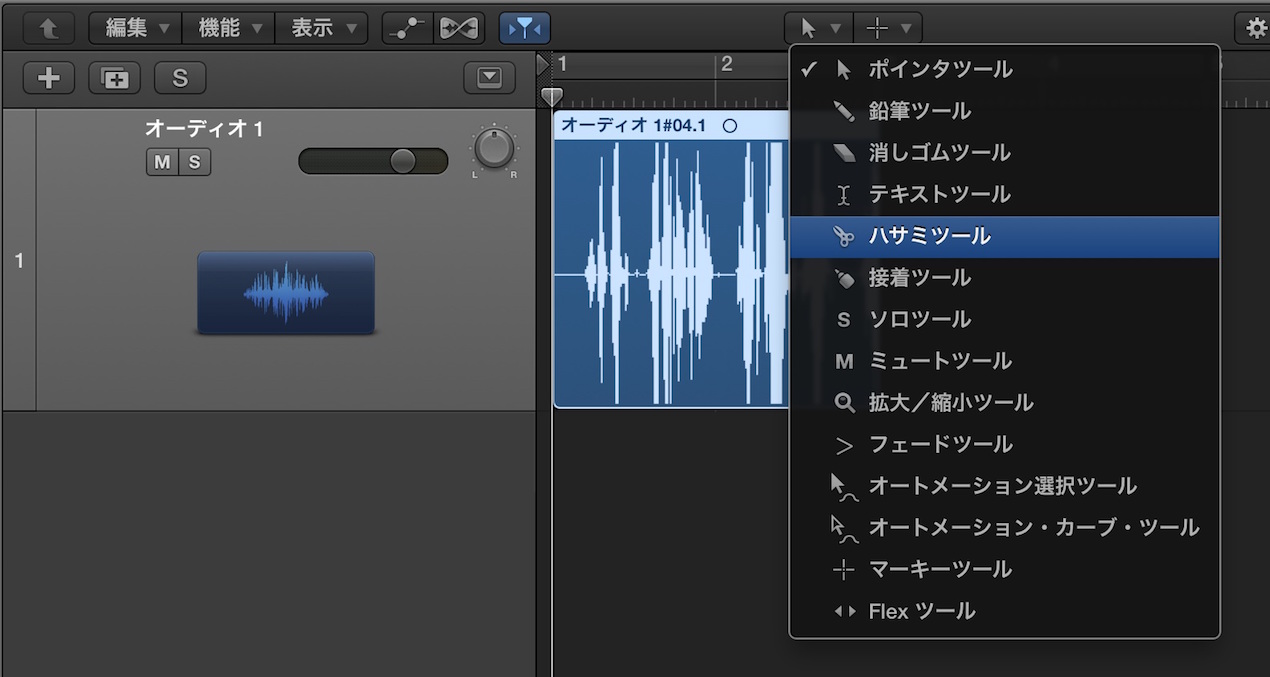
「ハサミツール」を選択し、分割したい箇所をクリックします。
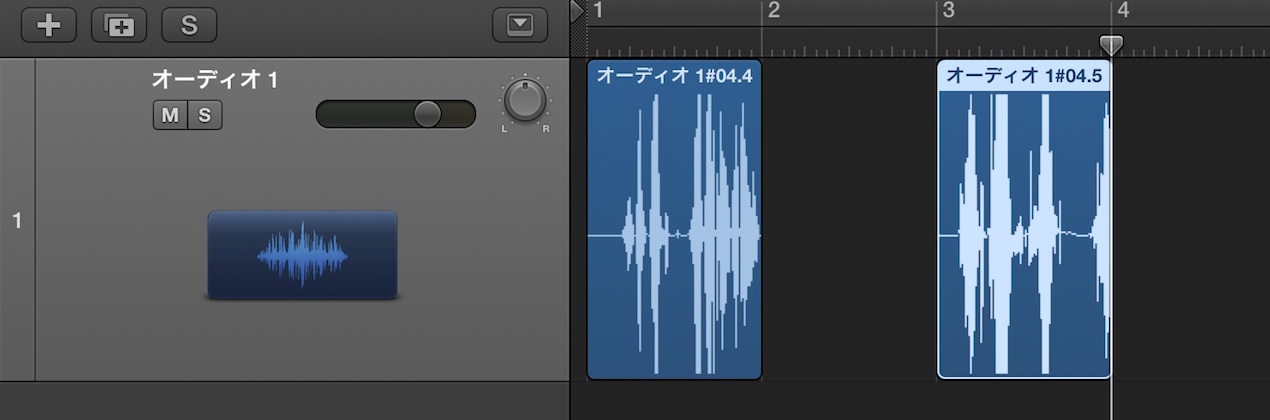
素材が分割され、1小節ごとの移動が可能になりました。
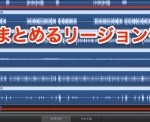
Logic リージョンをまとめて分割する
分割したい間隔が一定の場合に便利な方法です。
一括で素材を分割することができます。
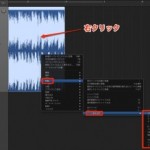
素材を結合する
上記、分割とは逆で2つ以上の素材を1つにし、扱いやすくするためのものです。
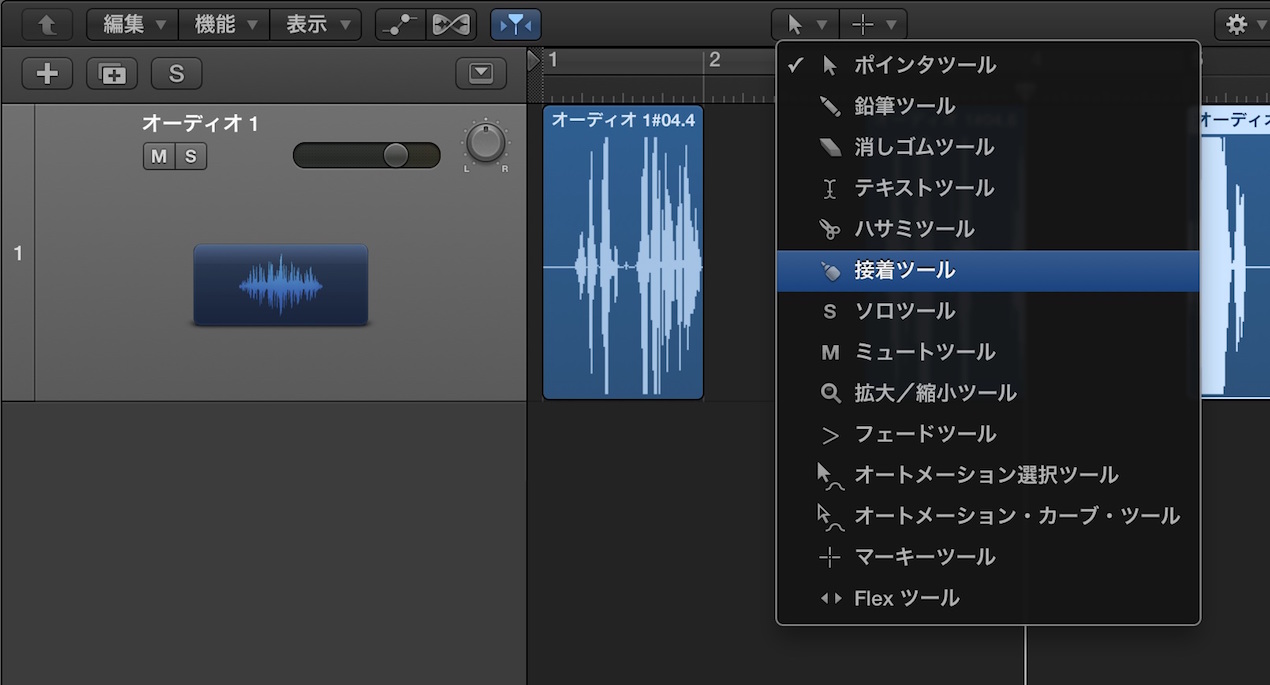
「接着ツール」を選択し、結合したい範囲をクリックします。
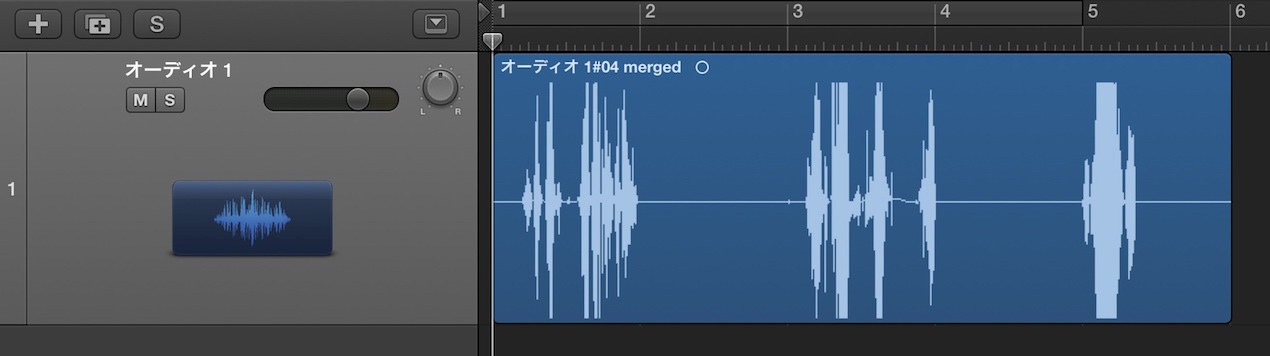
このように素材が1本に結合されました。
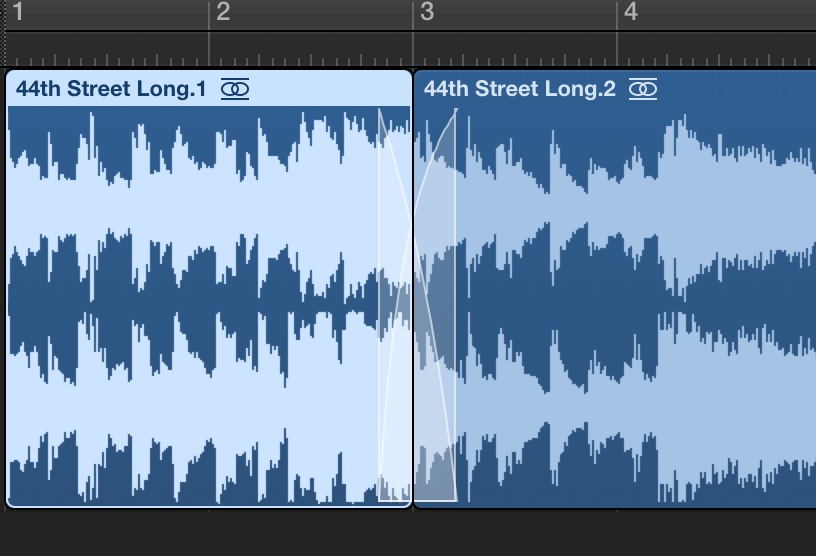
素材にフェード、クロスフェードを適用する
ボーカル、ギターなどのオーディオ録音の際、
違うテイク同士を繋げると、不自然なサウンドになってしまう場合があります。
この問題を解決するのが「フェード」です。
トラック同士の繋ぎ目を調整することで、自然なサウンドに仕上げることができます。
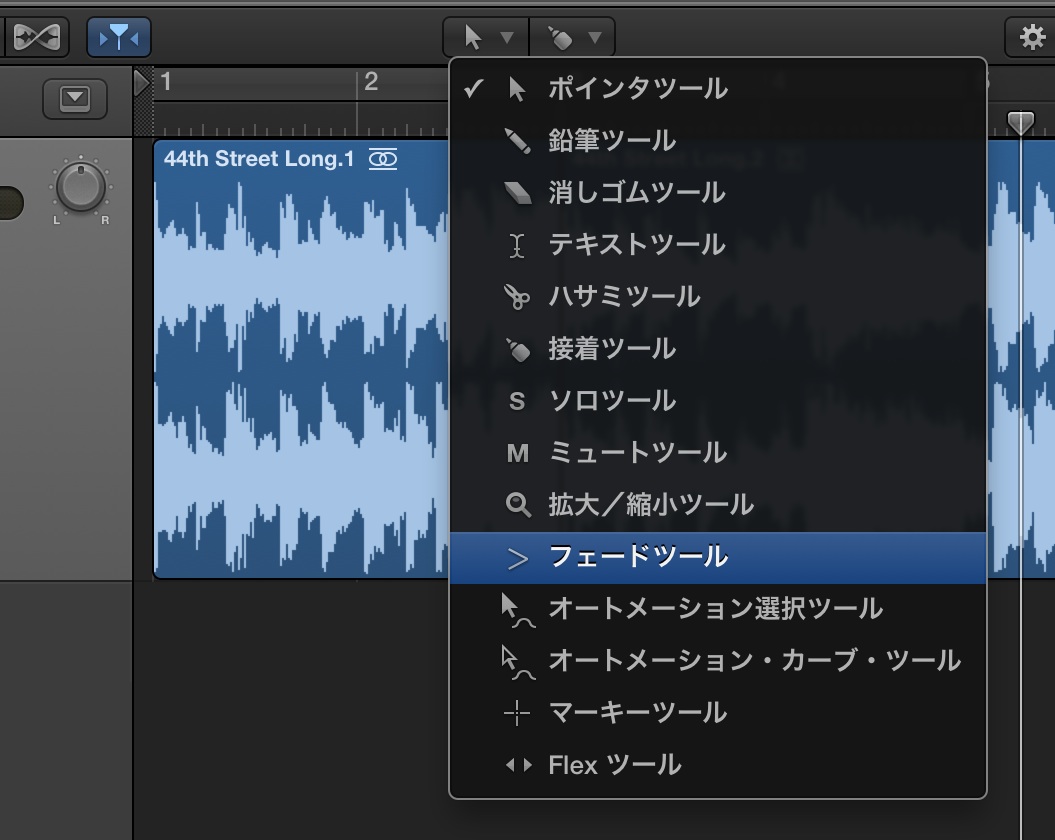
フェードツールへ切り替え、クロスフェードを適用したい範囲を選択します。
このようにクロスフェードが適用されました。
音をフェードイン、フェードアウトさせることも可能
上記フェードツールを使用し、素材の頭、お尻などを選択すれば、
フェードイン、アウトの効果も出ことができます。
フェードイン-アウト/クロスフェードの解説
上記記事を確認した後は、実際の作業を動画で確認してみください。
素材を伸縮させる
素材の長さを変える事で、必要な部分のみを使用する事ができます。
また素材を小節にピッタリと合わせる事もできます。
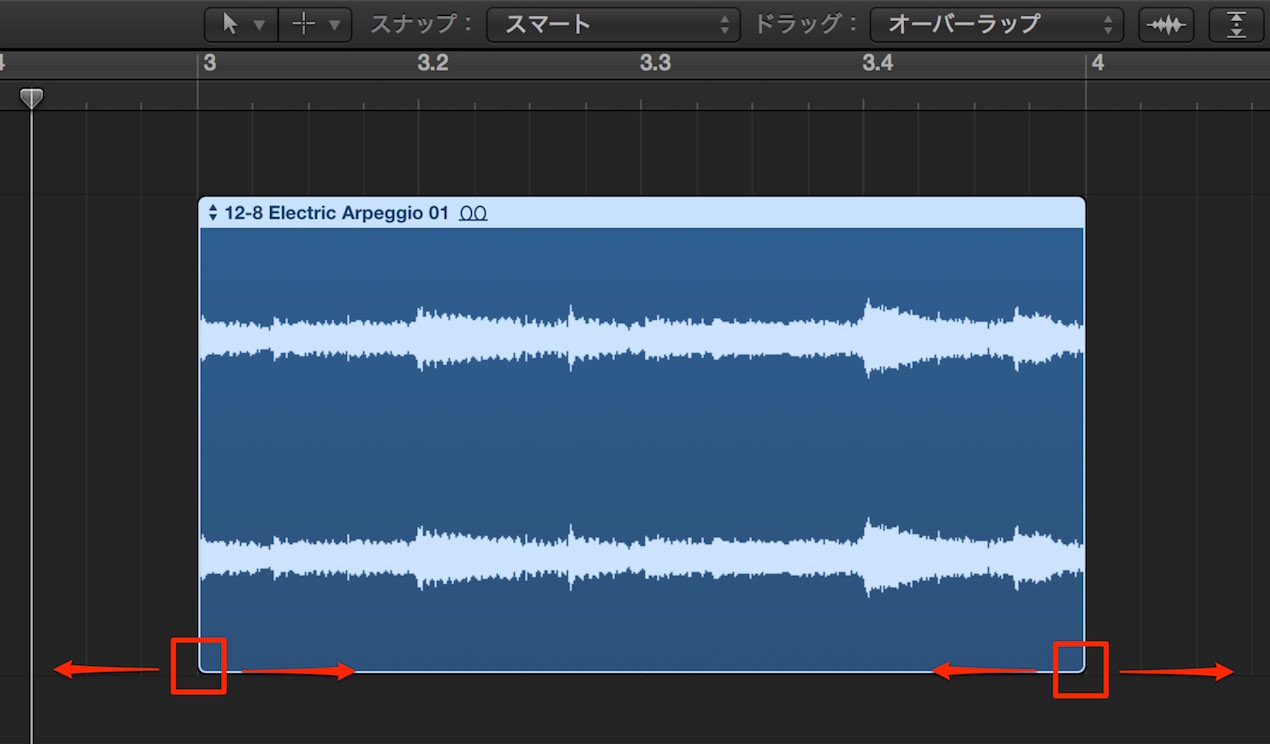
矢印ツールを選択し、 赤で囲んだ入れ物の下角部分をドラッグします。

このような記事も読まれています

フォルダトラックでトラックをまとめる
トラックが多くなってきた際に活躍するのが「フォルダトラック」です。パソコン上のフォルダと同じ感覚でトラックを格納する事ができる機能です。
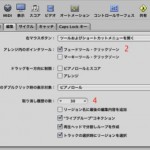
便利なおすすめ環境設定
Logicの環境設定をカスタマイズし、自分の使いやすいように整えることは非常に重要です。ここではオススメの環境設定をご紹介していきます。
ナッジを使用してリージョンを移動
「ナッジ」はあらかじめ指定した値で、イベントを前後へ移動する機能です。手動でリージョンを移動するよりも、素早く正確に移動を行うことができるため、作業効率を上げることができます。
音程のぶつかりを一発で把握する方法!!
作曲を進めていくにつれ、当然、トラック数や音数は増えていきます。その際に注意したいのが、「音程のぶつかりです」この解消方法を解説していきます。
ギターチョップ処理
オーディオ素材を途中でカットし、「8分、16分、32分」へ配置し直すテクニックです。素材から新たなリズムを作成することができる他、独特のブツ切り感を得ることができます。