
This article explains track operation techniques worth learning to make mixing in Studio One more efficient. By learning how to reset fader and knob values to their defaults, how to use the Shift key for fine adjustment, and how to select multiple tracks at once and change their values relatively, you can greatly improve the speed and accuracy of balancing levels and mixing in general. These shortcuts are basic skills that everyone from DTM beginners to advanced users needs in day-to-day production.
Handy Operations for Mixing in Studio One
Learning handy operations for controlling tracks
can make your mixing more efficient.
Resetting a Value to Its Default
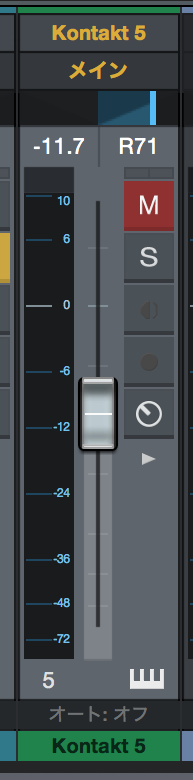
- Mac: Command
- Windows: Control
Hold this key and click a fader or knob.
Making Fine Adjustments
- Mac/Windows: Shift
Hold this key while moving a fader or knob,
and the fader moves more slowly so you can fine-tune the value.
This is useful for the final balancing of levels.
Selecting Multiple Tracks
- Mac/Windows: Shift
Hold this key and click tracks one after another
to select multiple tracks.
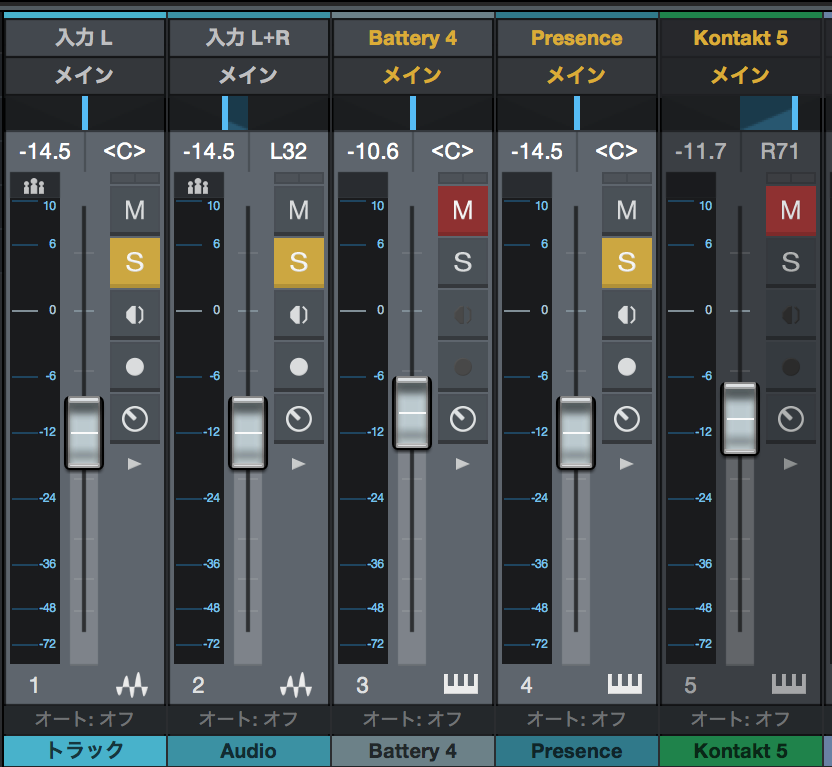
Also, with multiple tracks selected,
moving the fader or knob of one track
changes the values of all the selected tracks relatively.

Frequently asked questions
Q1. How do I quickly reset a fader's value in Studio One?
Hold Command on Mac or Control on Windows and click the fader, and its value returns to the default. This is handy when you want to reset after adjusting several parameters.
Q2. How do I make fine adjustments to faders and knobs?
Hold Shift while moving a fader or knob, and it moves more slowly than usual so you can fine-tune it. This technique is especially useful for final level adjustments.
Q3. Can I adjust the volume of multiple tracks at the same time?
Hold Shift and click several tracks to select them, then move any one of their faders, and the values of all the selected tracks change relatively. This is effective when you want to change the overall level while keeping the balance.
NEW ARTICLES
Latest English Articles











