
Cubase's Normalize function is an important processing tool for optimizing audio files that are too quiet. By raising the loudest part of the waveform to 0 dB, just before clipping, it efficiently solves cases where the volume is still too low even with the track volume at maximum. This article explains everything from the basic concept of normalizing to how to apply it and how to adjust it by percentage, so both beginners and experienced users can learn practical level-adjustment techniques.
Optimize Quiet Audio Files
Normalize is a function used when an audio waveform is too quiet,
raising the loudest part of the waveform right up to 0, just before the sound clips.
It is handy when the volume is still not loud enough even with the track volume at maximum.
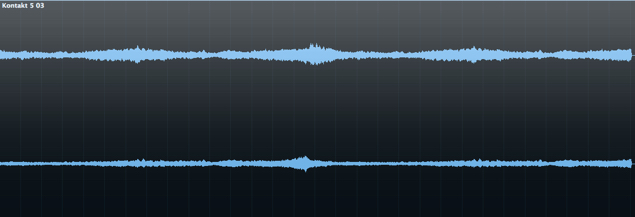
Normalize Explained
Cubase: How to Apply Normalize

Select the event you want to normalize,
then choose Audio → Process → Normalize from the top menu.

The Normalize dialog appears.
Press the "Process" button in the dialog.
You can adjust how much normalization is applied by changing the percentage here.
100 percent is the maximum.
0 percent results in silence.

After processing, the waveform's volume is raised.
Frequently asked questions
Q1. What is the difference between Normalize and the volume fader?
The volume fader adjusts the playback volume, whereas Normalize processes and raises the audio data itself. That makes it effective for quiet sources that are still not loud enough with the track volume at maximum.
Q2. What does the Normalize percentage mean?
It is a parameter that controls the strength of normalization. 100% raises the level to the maximum, and 0% results in silence. Lowering the value lets you fine-tune the processing and avoid excessive gain.
Q3. What should I do if the sound clips after applying Normalize?
Process again with the percentage set lower than 100%, or combine it with a limiter or maximizer to raise loudness while preventing clipping.
NEW ARTICLES
Latest English Articles











