
When producing songs in Ableton Live, data management and backups are essential for protecting your work. This article explains an efficient backup method using the "Collect All and Save" function in the "File" menu, teaching you specific steps to prevent losing song data due to computer trouble or mistakes. Making regular backups a habit stabilizes your production environment so you can focus on creating with peace of mind.
Organizing and backing up Live song data

Something to be careful about in music production: "backing up your songs".
Back up regularly in case of computer trouble or mistakes.
How to back up a song
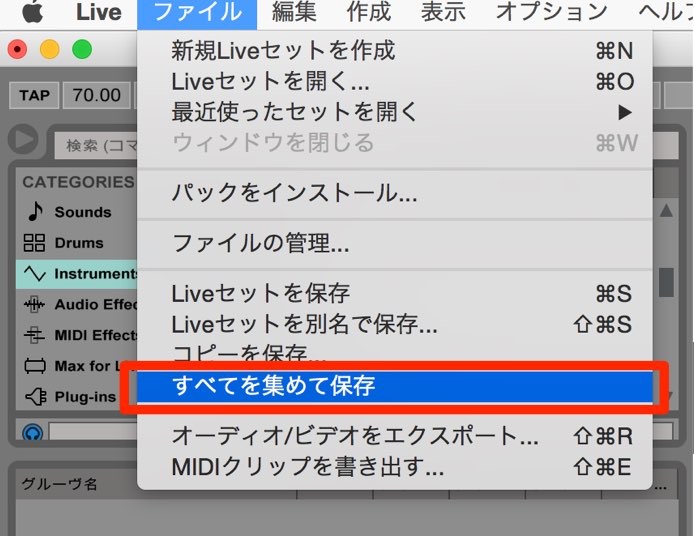
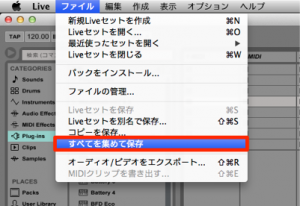
From the top menu, select "File" → "Collect All and Save."
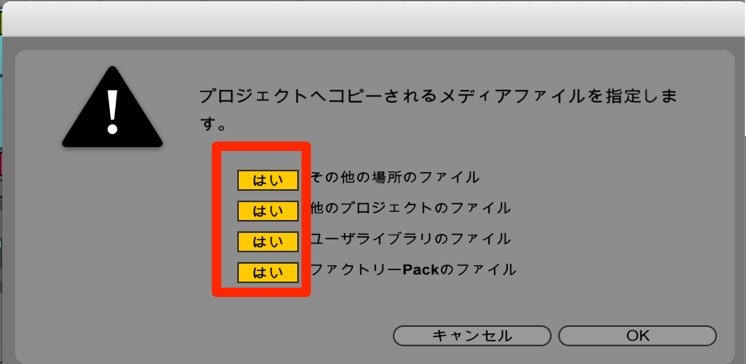
Select "Yes" for all the items and click "OK."
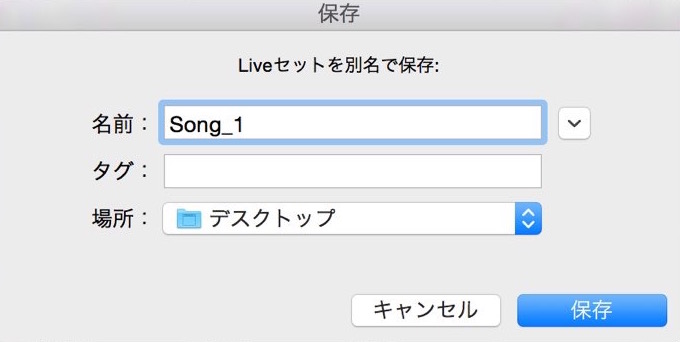
Decide on the "name" and "location," then select "Save."

A backup file is created in the location you specified above.
It contains all the files the song needs.
Frequently asked questions
Q1. What information is saved when backing up in Ableton Live?
Using "Collect All and Save" consolidates the whole project, including all the samples the song needs, plug-in information, and automation settings, into one backup.
Q2. How often should I make backups?
We recommend backing up regularly, for example after important edits or at the end of each day's production. Especially when you make major changes, backing up each time reduces the risk.
Q3. What is the difference between "Save As" and a backup?
"Save As" saves multiple working project files, while "Collect All and Save" gathers all related files in one place. If safety is your priority, the backup is more appropriate.
NEW ARTICLES
Latest English Articles











