あらゆるノイズをクリーンに iZotope RX 7 の使い方① 基本概要編
ノイズ除去ソフトの業界標準「RX 7」
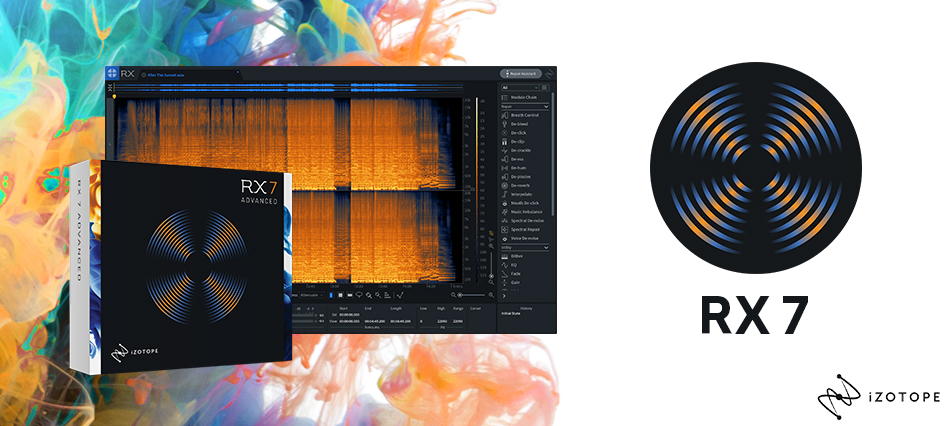
今回からiZotope社のオーディオリペアツール「RX 7」の使い方を数回に渡ってお送りしていきたいと思います。
RX 7は、レコーディングの際に入ってしまった様々なノイズを除去したり、音割れなどによって破損した音声を修復したりといったことを、通常不可能と思われるレベルで実現できてしまうツールです。
そのクオリティは非常に高く、このジャンルでは業界標準と言われています。
もちろん、なるべくノイズの入らない環境で、クリーンな音質でレコーディングすることがベストなのですが、意図せずしてノイズが入ってしまったり、どうしても録り直しが効かないといったケースはよくあることです。そういった際にRX 7を使えば、貴重なテイクを見事に復活させることができます。
また7からの新機能として「Music Rebalance」というものが追加されました。ミックスダウン済みの2MIXファイルをパート別に分解し、音量バランスを調整したり、ミュートする、またはソロで抜き出すといったことを可能とする画期的な機能です。
この辺りも他にはないRX 7の特色なので、後ほど触れたいと思います。
iZotope RX 7 使い方動画①
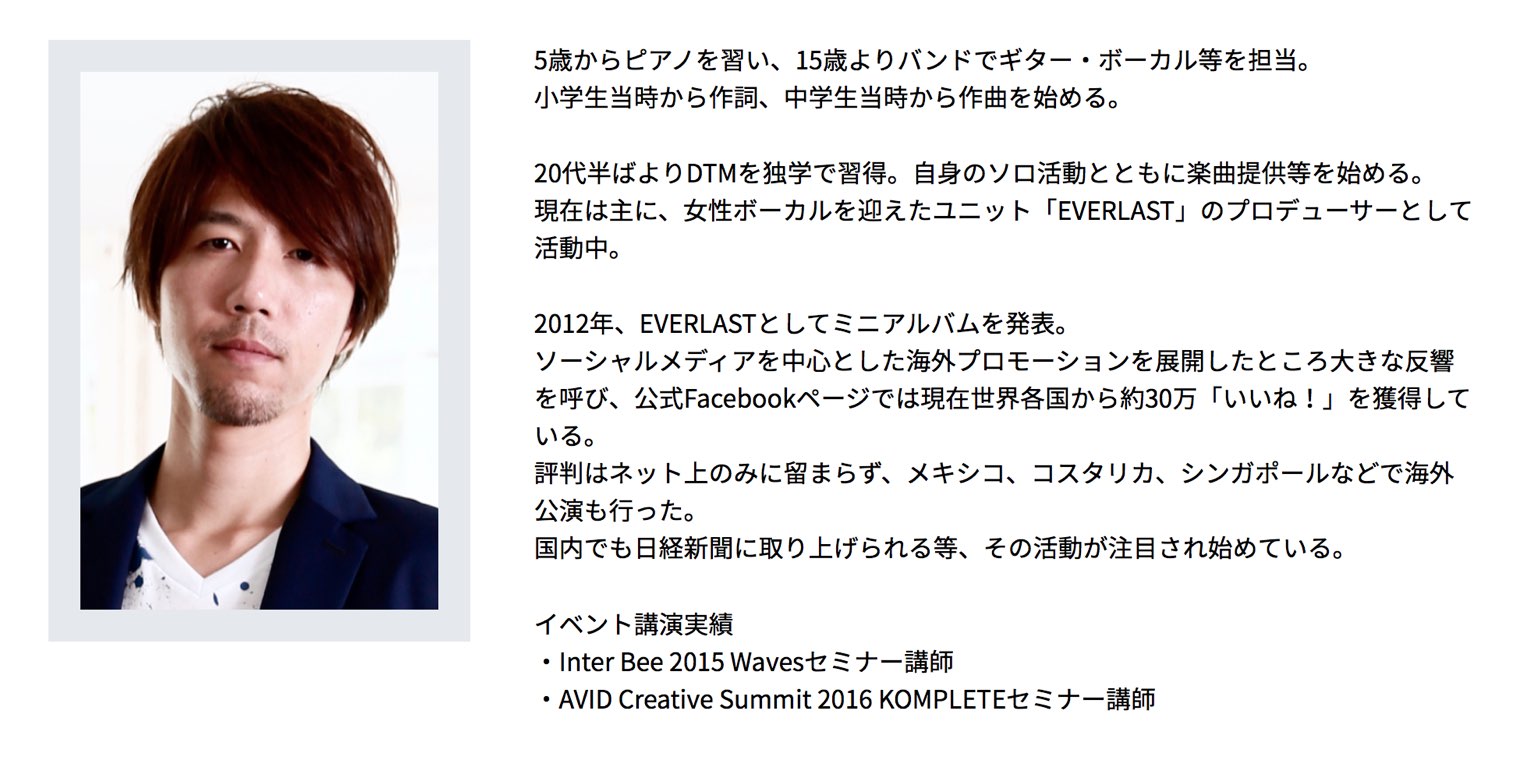
記事の担当 大鶴 暢彦/Nobuhiko Otsuru