The Quintessential Pitch-Correction Software Melodyne 4 ② Assistant basics / tutorial
Making more detailed edits with Assistant
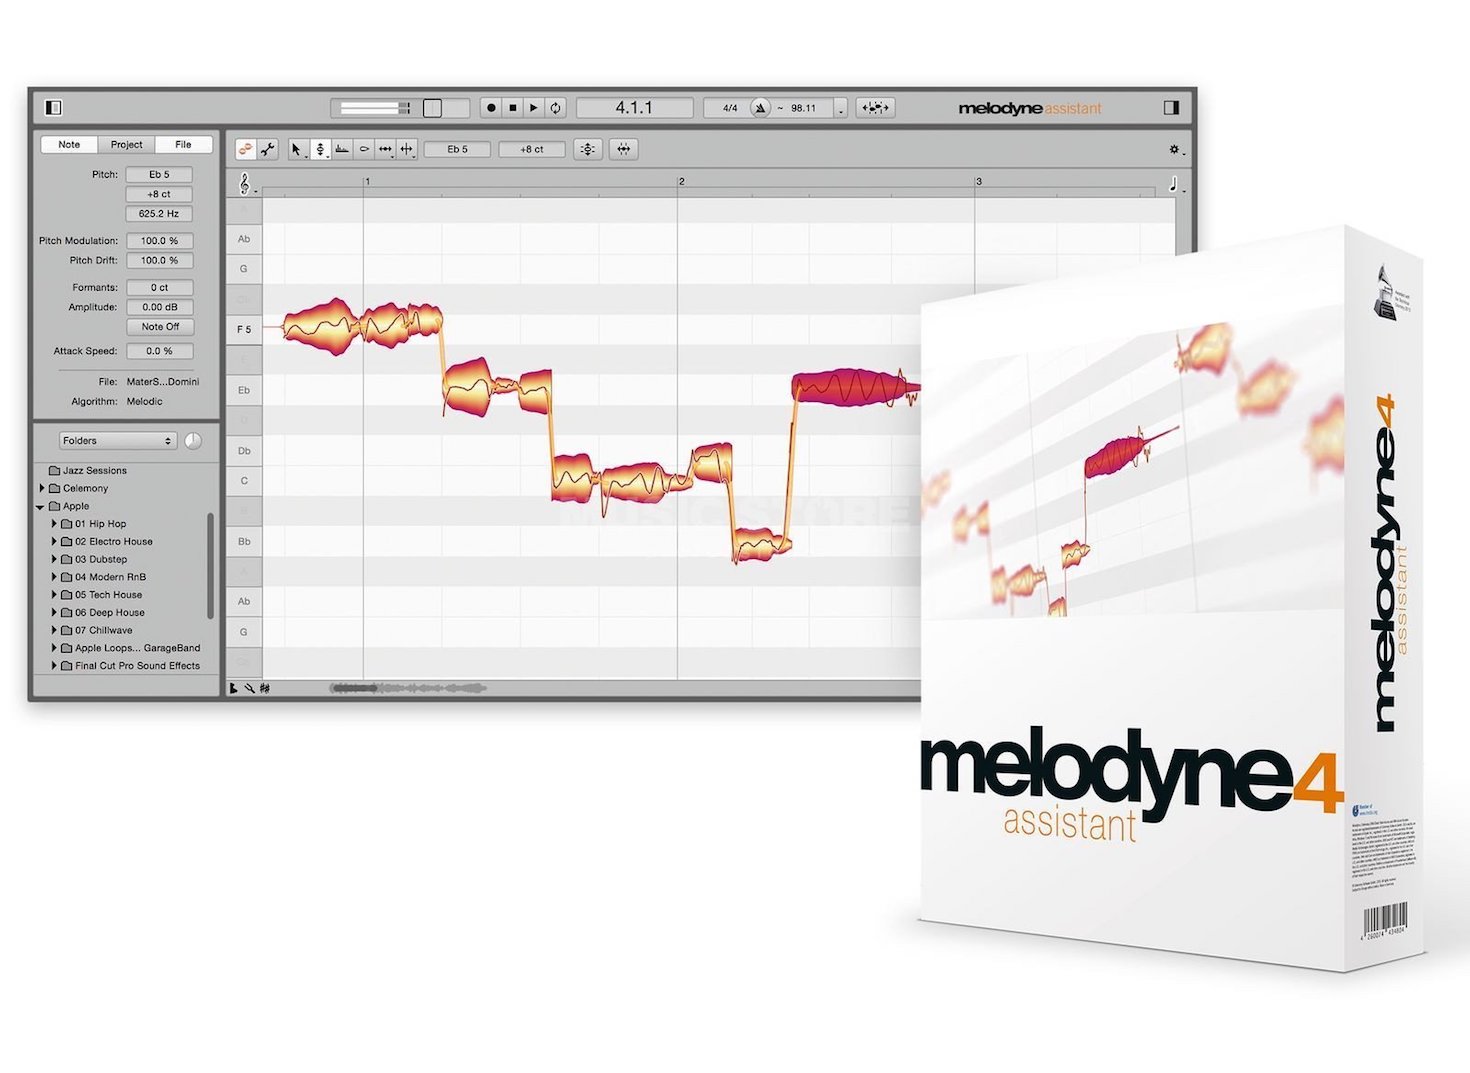
After taking a look at「Melodyne 4」「essential」, we will go into the next version up with「assistant」.
Assistant allows for more detailed edits, resulting in more accurate and natural results than essential.
In addition, if you upgrade to this version even after using Melodyne previously, the edited info from the previous version will remain in tact.
Melodyne assistant basics Video Access
Purchase here
More detailed edits with「assistant」
Looking at the top of the window, we can see that there’s an increase in available tools. You can switch between tools by right clicking above the time-line as well.
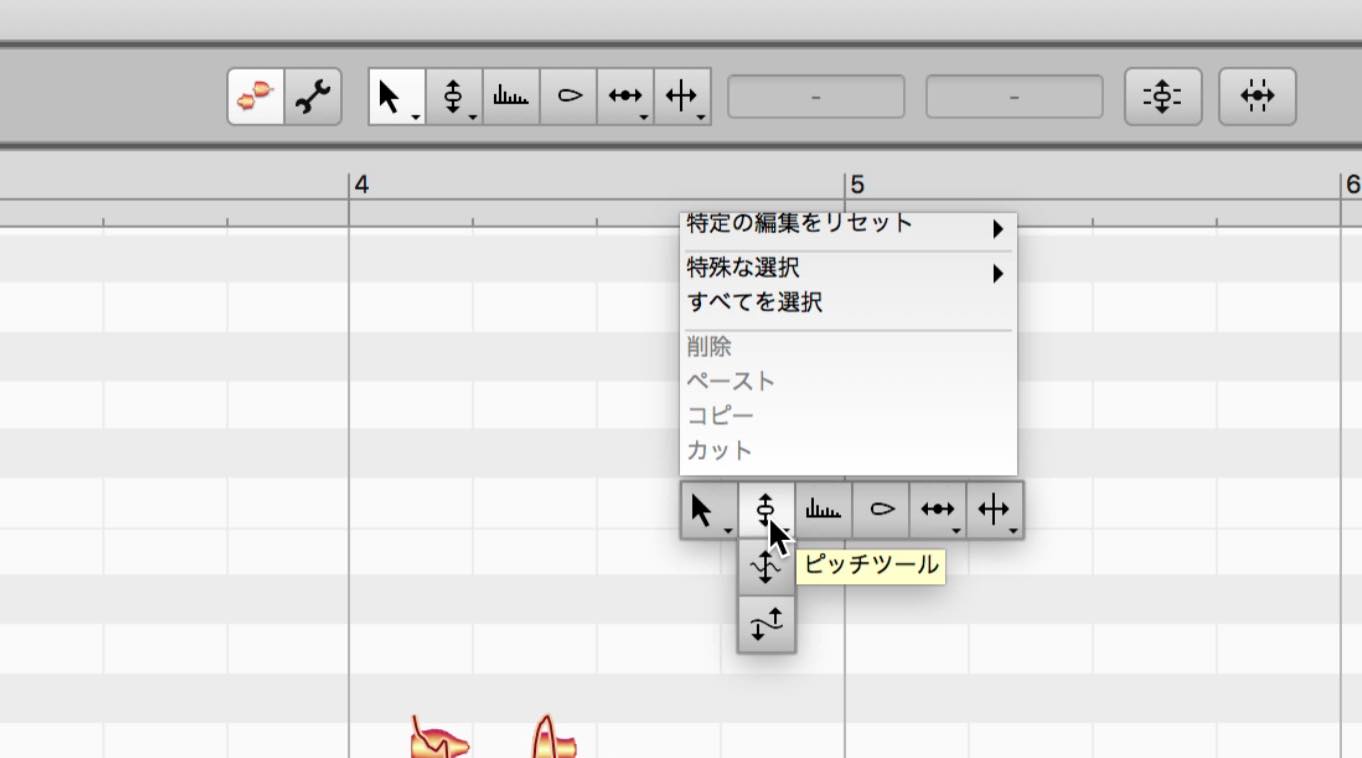
Pitch tool
The「pitch tool」allows for similar pitch edits like the main tool, as well as allowing for the user to drag the pitch curve up/down to adjust the angle.
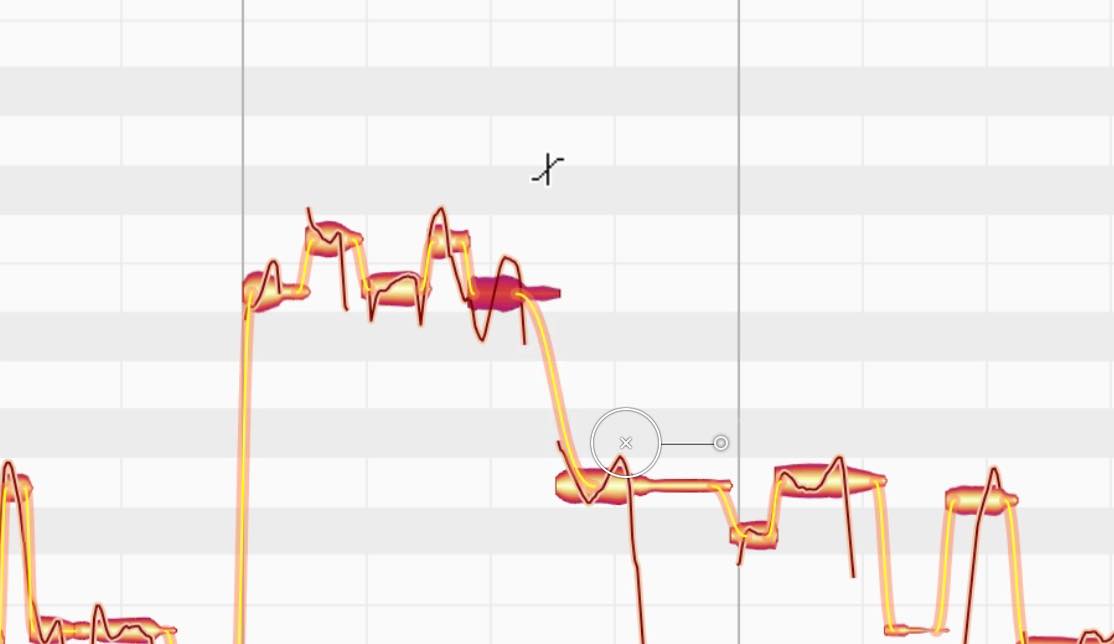
In addition, you can make「pitch modulation」and「pitch drift」edits.
The「pitch modulation tool」allows you to control the span of pitches such as vibrato or bends.
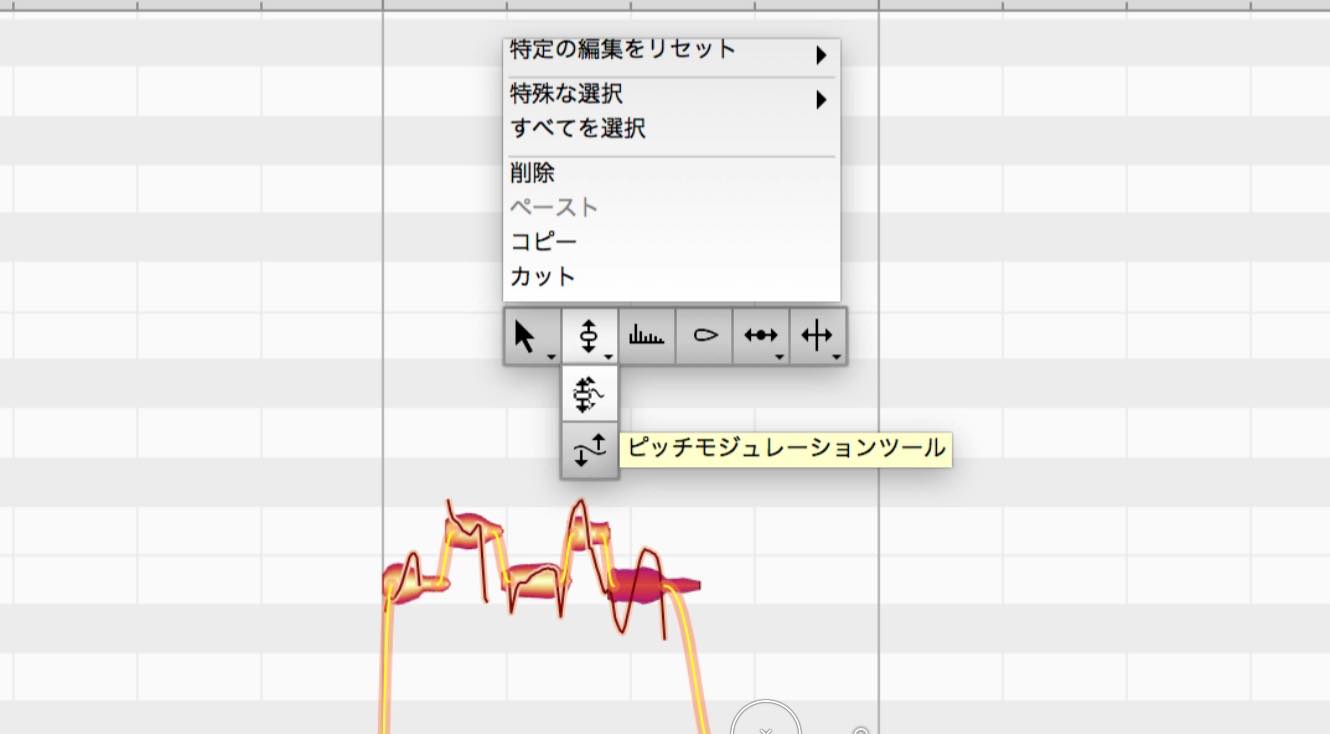
Switch to the pitch modulation tool, and drag the desired note upwards to enhance the pitch width-span, and drag it down to limit the span of the pitch.
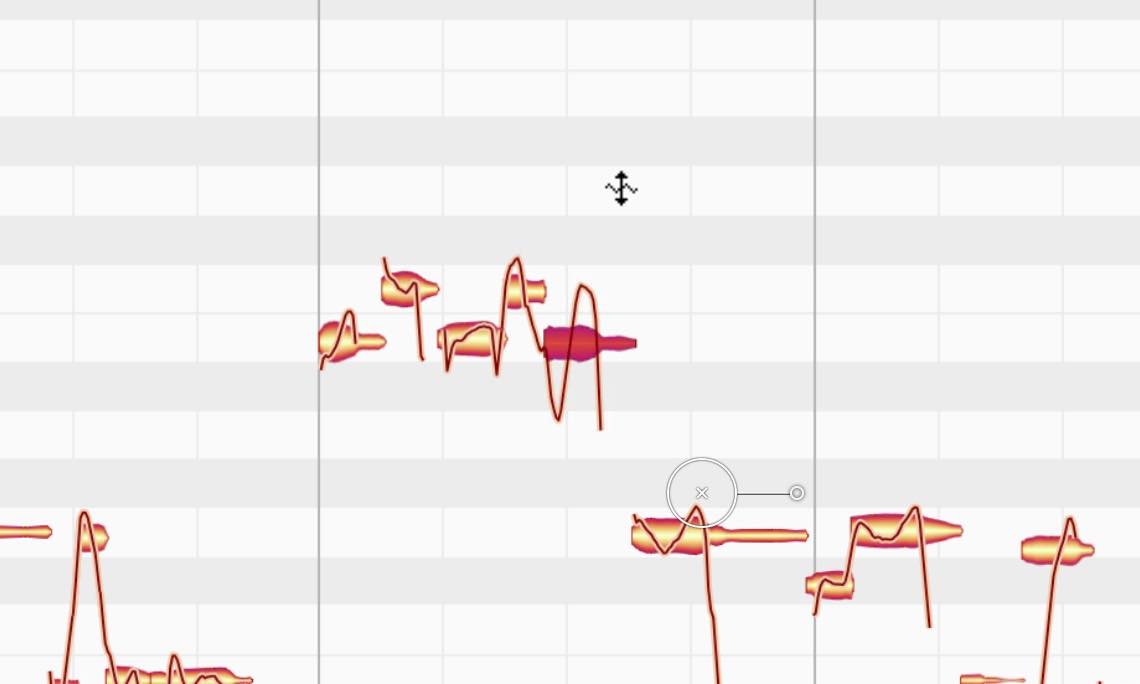
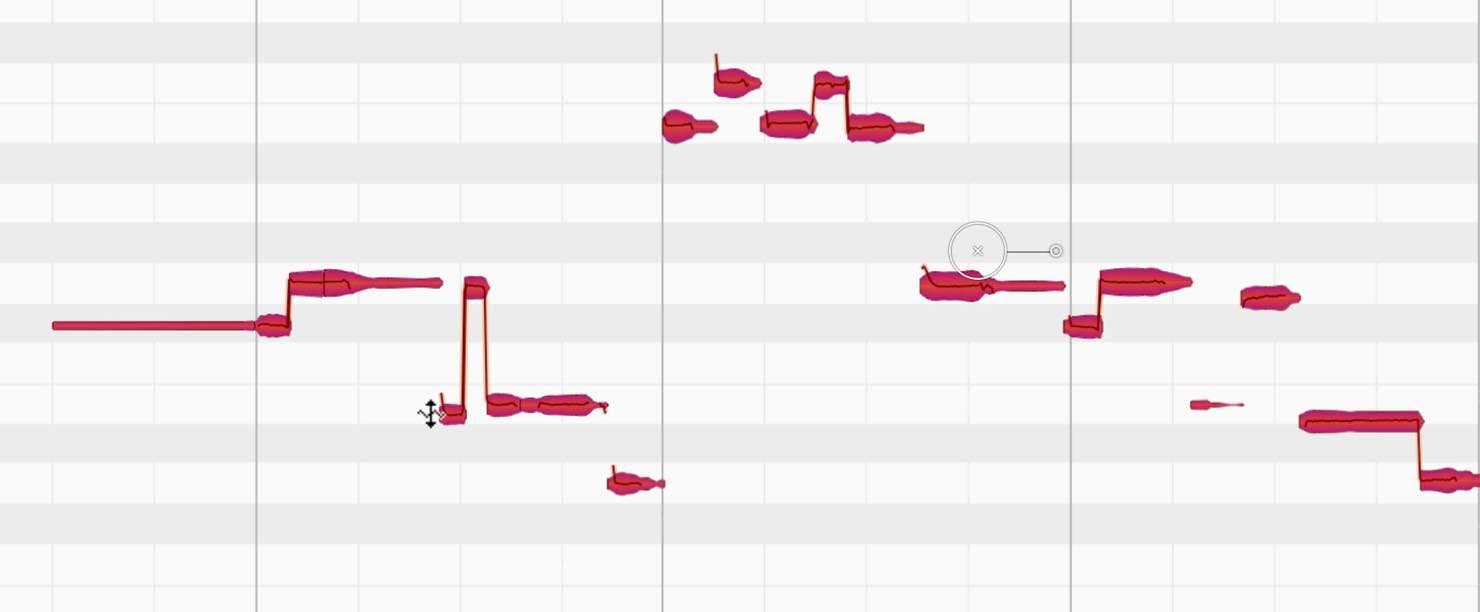
Using this function, you can select multiple notes and remove the drifting pitch movements, to create that distinct “auto-tune” like sound.
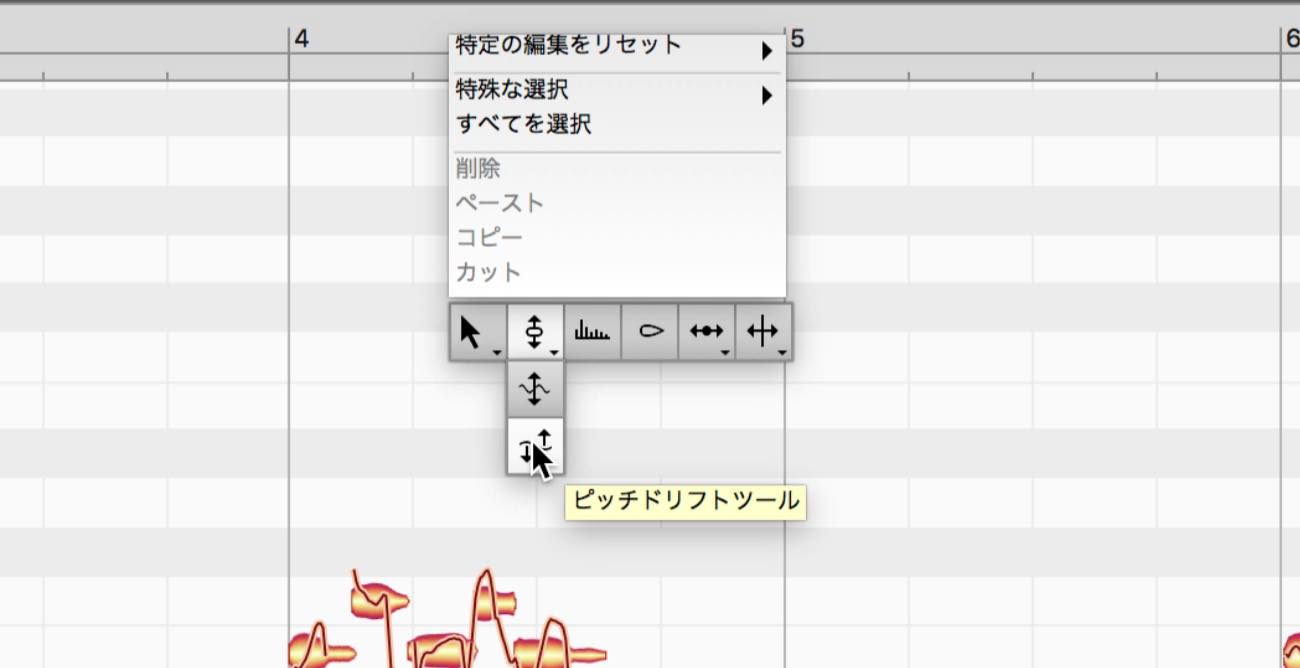
The「pitch drift tool」takes the macros found in Essential and allows you to make more detailed edits with them. Limit note movement or bring it out further, or even get creative and reverse pitch movement.
Formant tool
The「formant tool」allows you to edit a sounds tone.
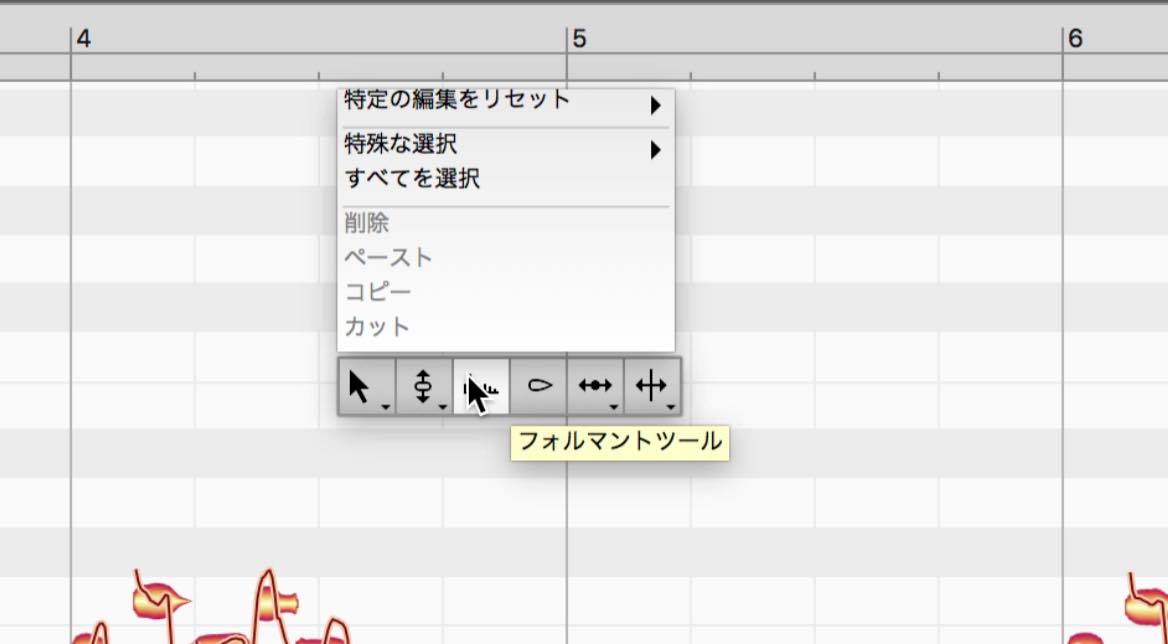
Select notes, and drag up to create a child-like brighter tone, or drag down to create a darker more masculine sound.
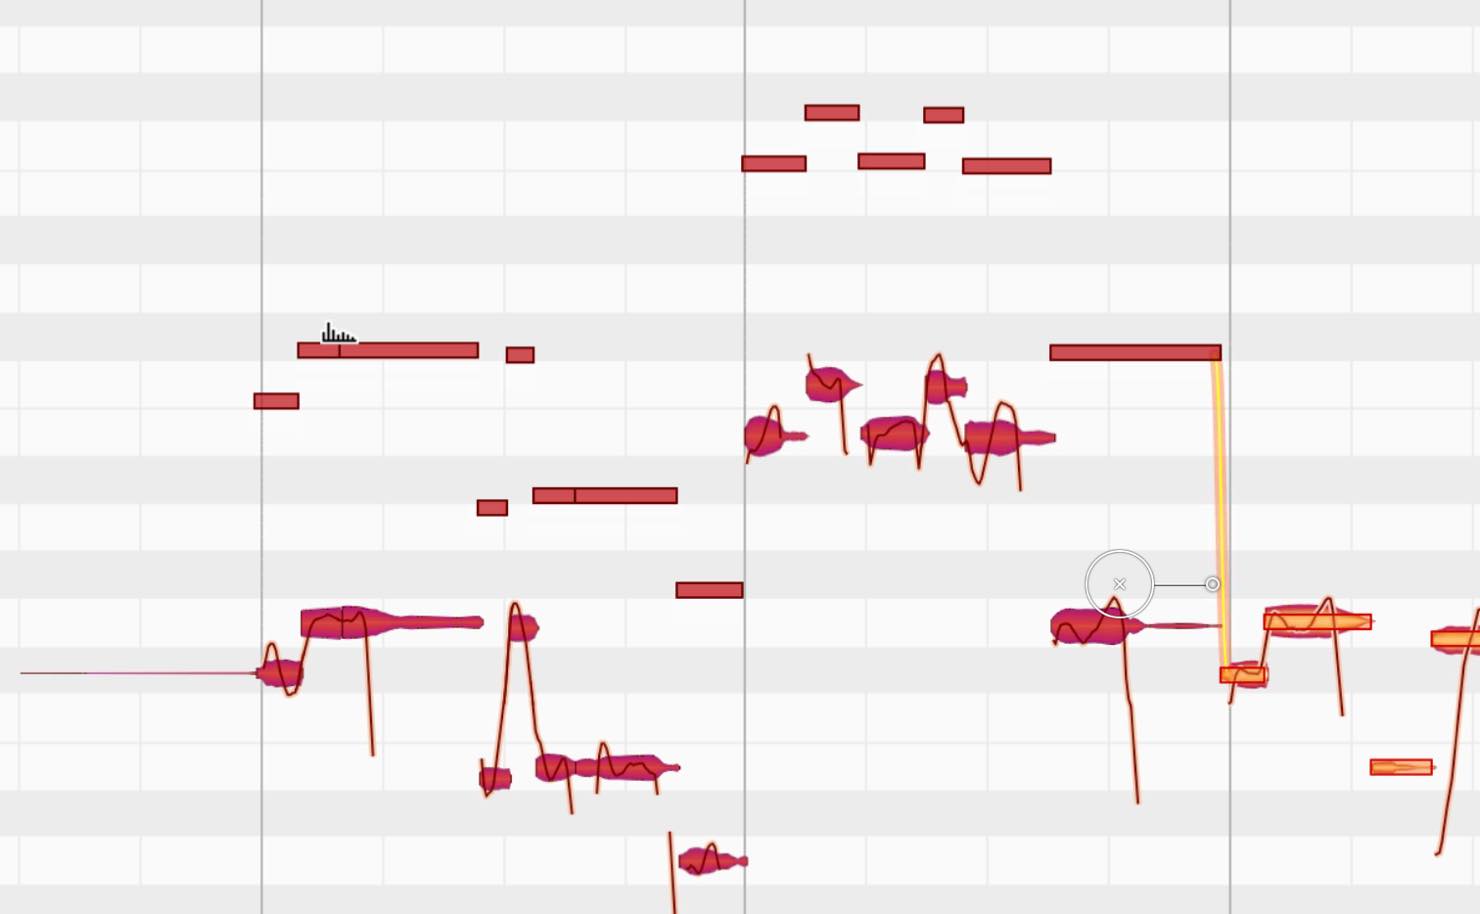
One example of this tools use, is to use it for a “doubler” sort of effect.
Simply copying and layering the same track wont create a doubling effect, but by changing the formants and shifting timing, you can add a natural thickness to your sound.
Volume tool
The「volume tool」, as the name implies, edits volume.
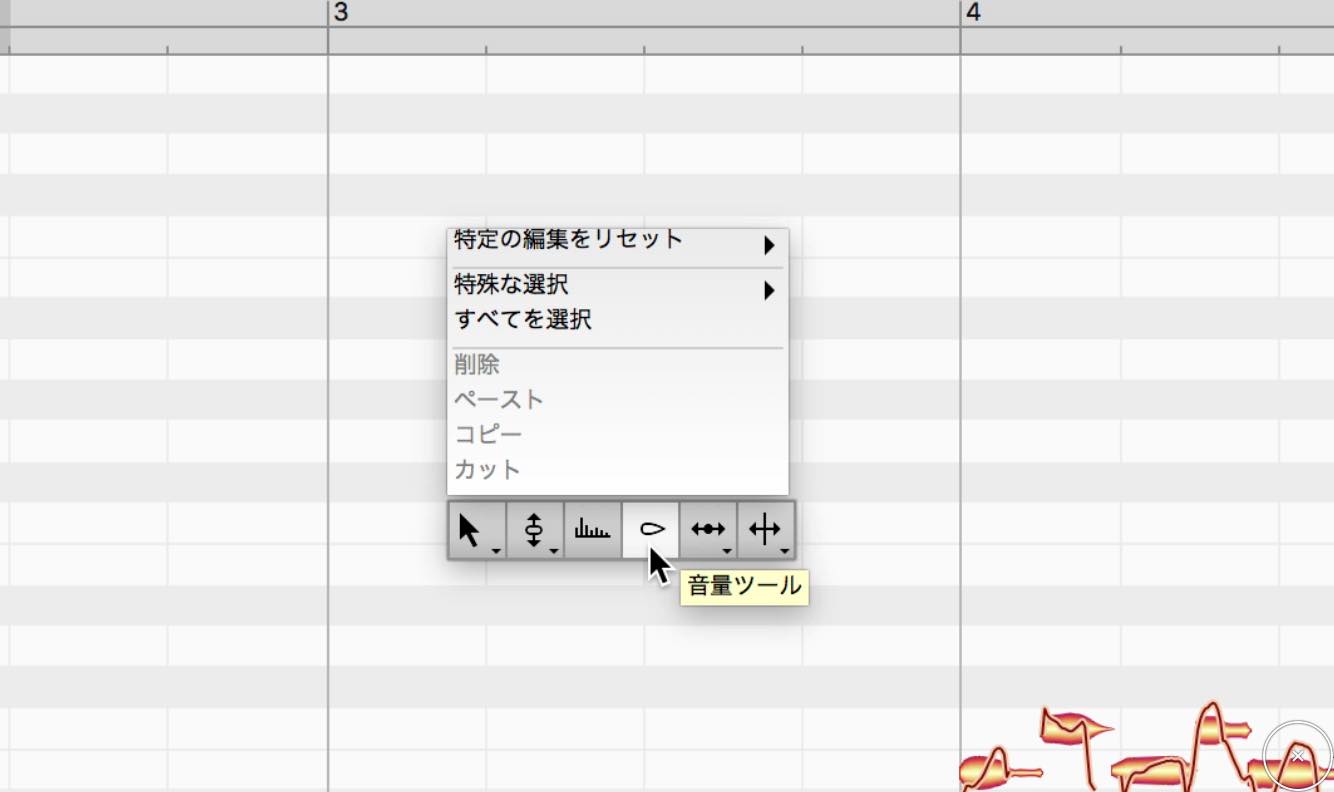
Select a note/notes, and drag up to increase volume, or drag down to lower volume.
Generally you would edit with compressors or volume automation, but Melodyne allows you to edit individual notes easily, and with a natural sounding result.
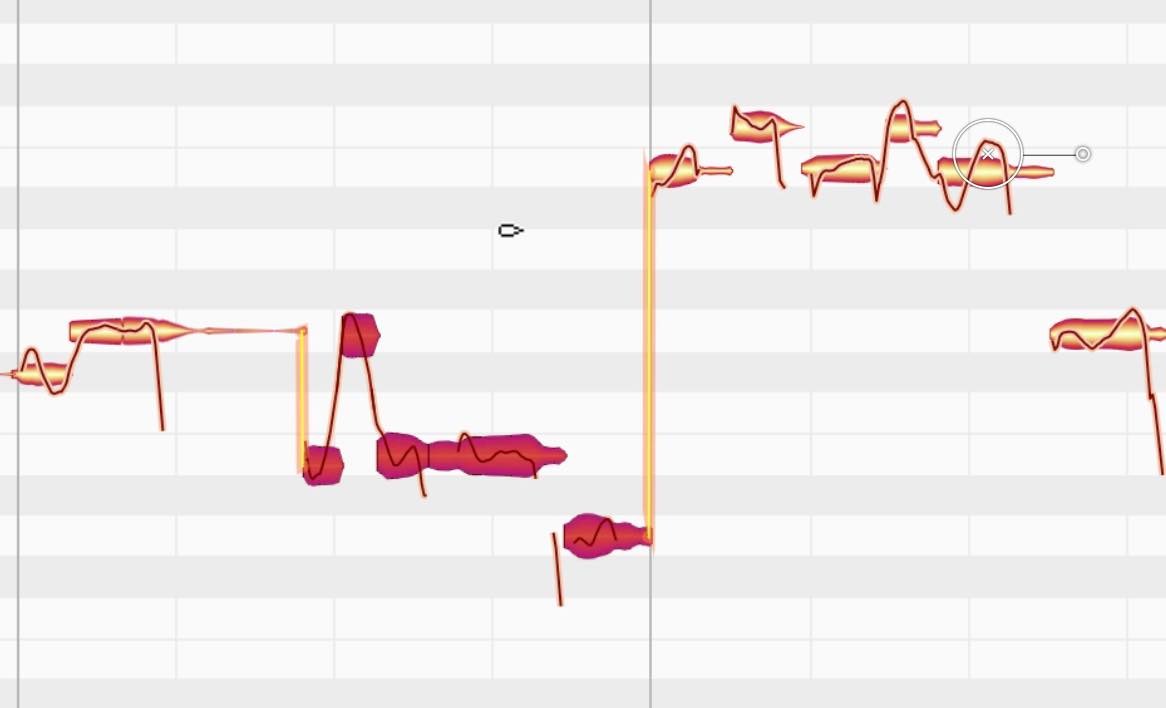
If you double click with the volume tool, you can also mute notes.
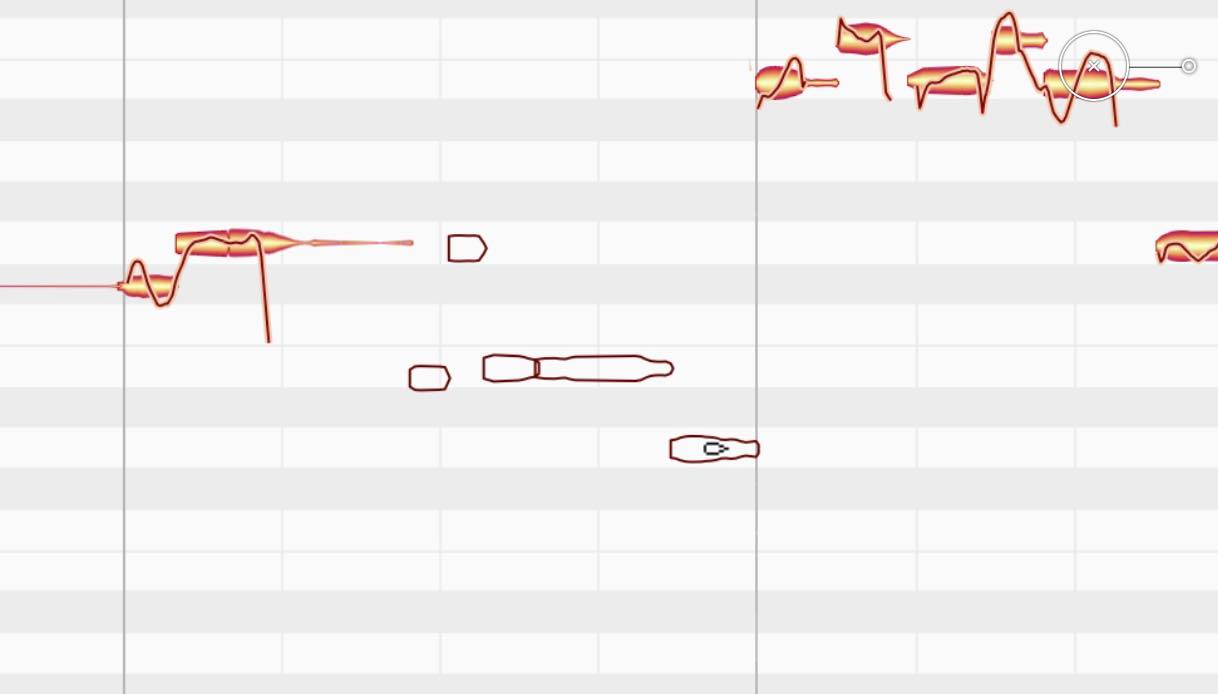
Time tool
The「time tool」allows you to make detailed edits to timing.
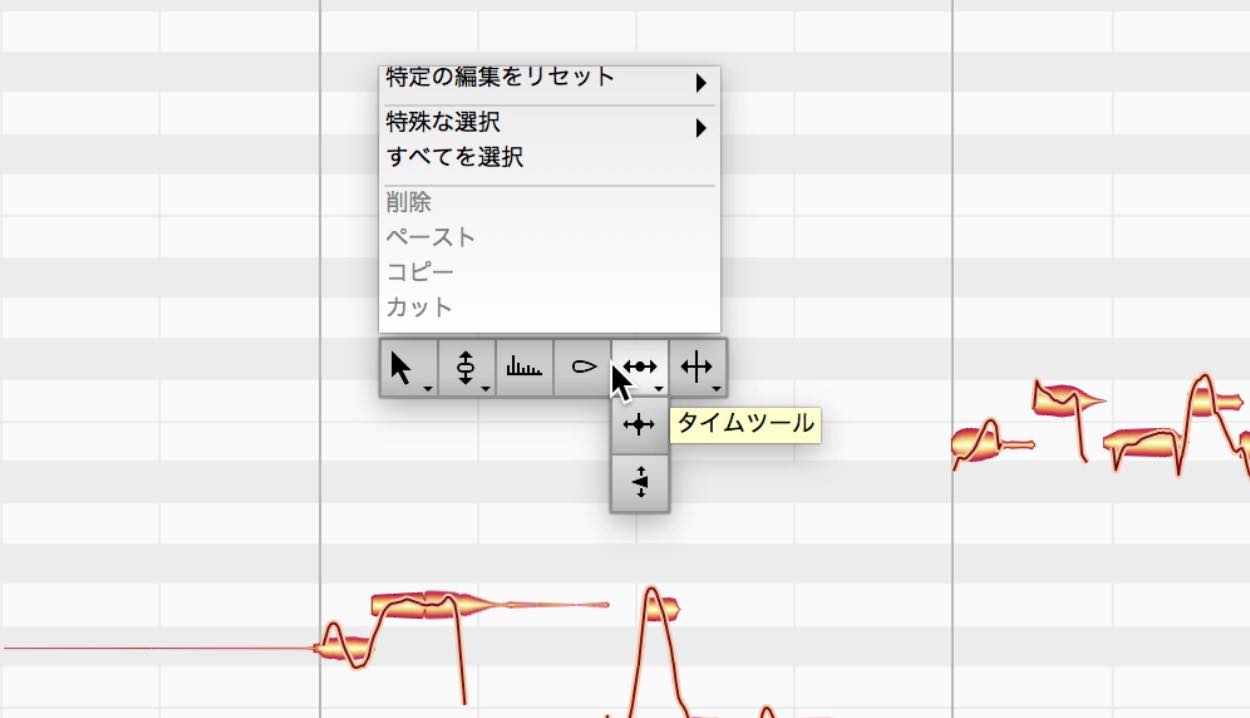
When you switch to this tool, markers will appear on the edges of the notes, allowing you to drag them. It works similar to “essential,” but allows for more focused timing editing.
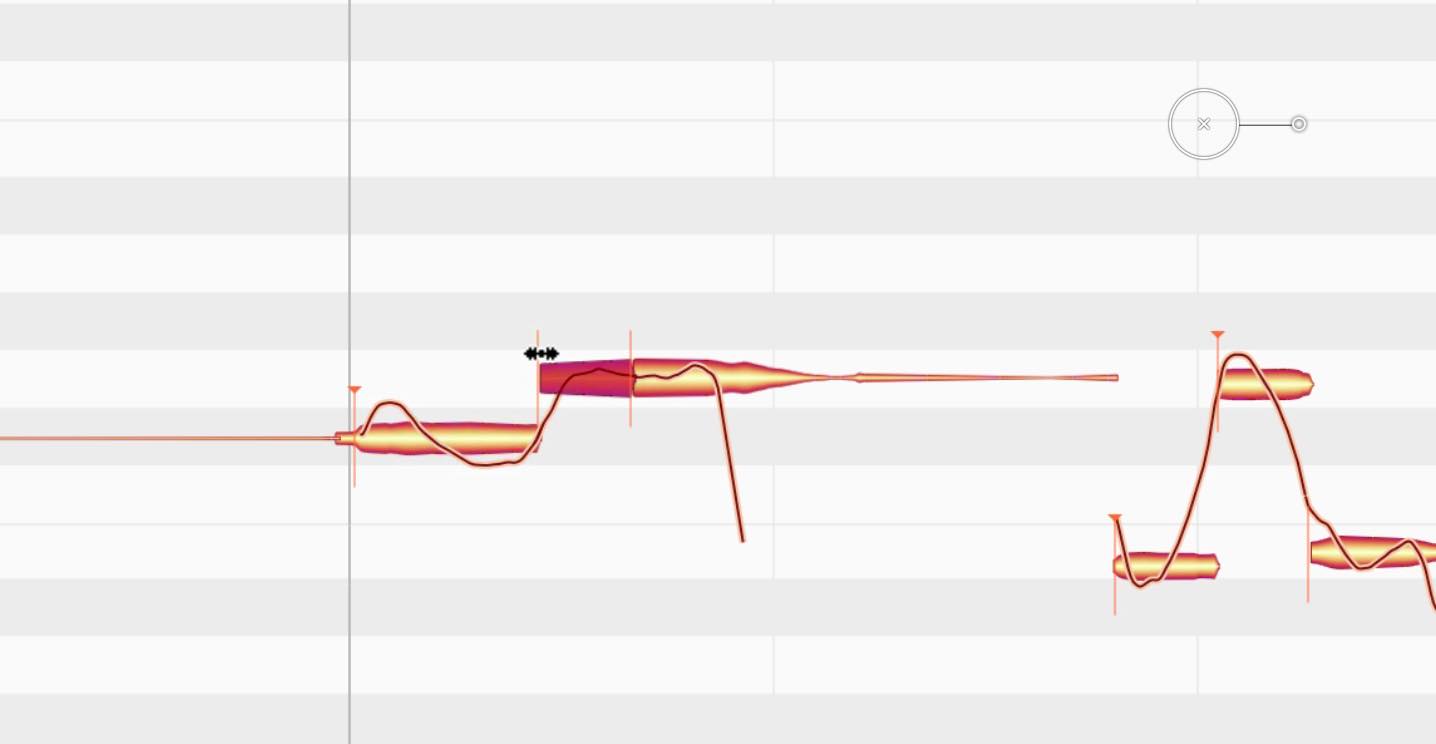
The「time handle」tool allows you to control the timing within a note, and you can shorten/lengthen areas to help tighten up phrases/lines.
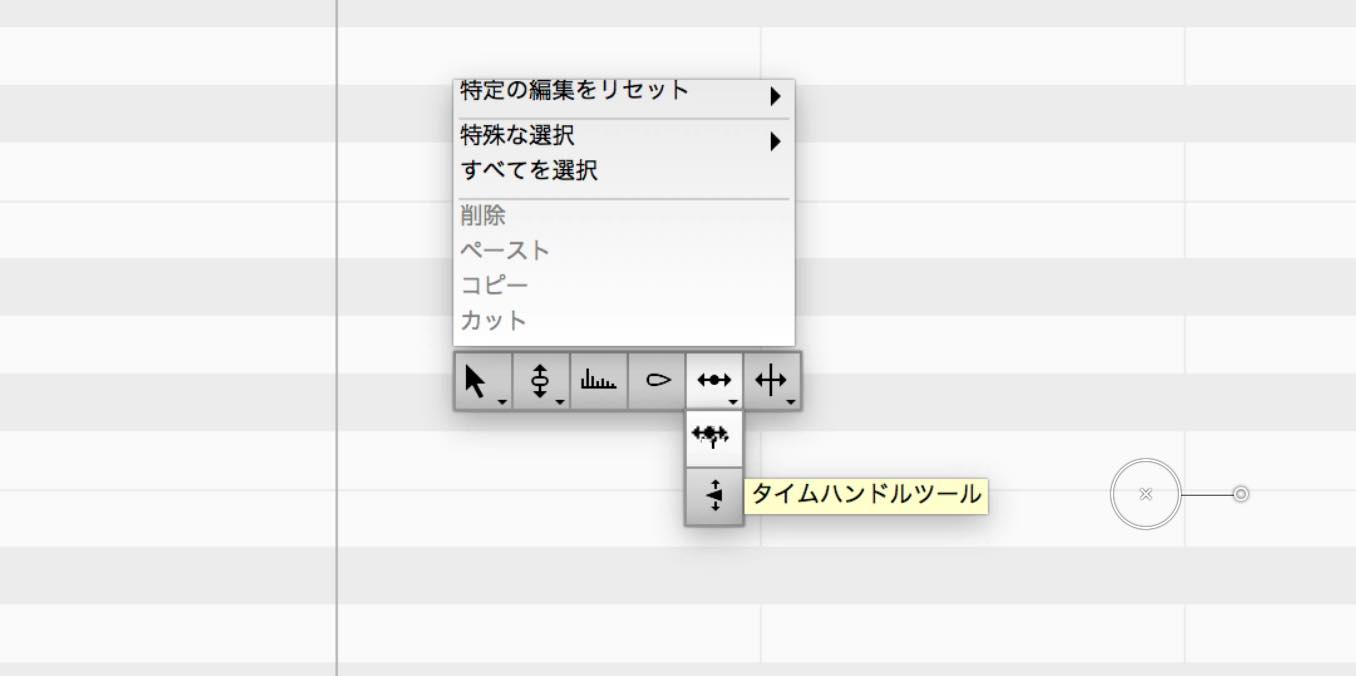
By double clicking on a note in this mode, a marker is created. By moving this forward/backward, you can edit the note length.
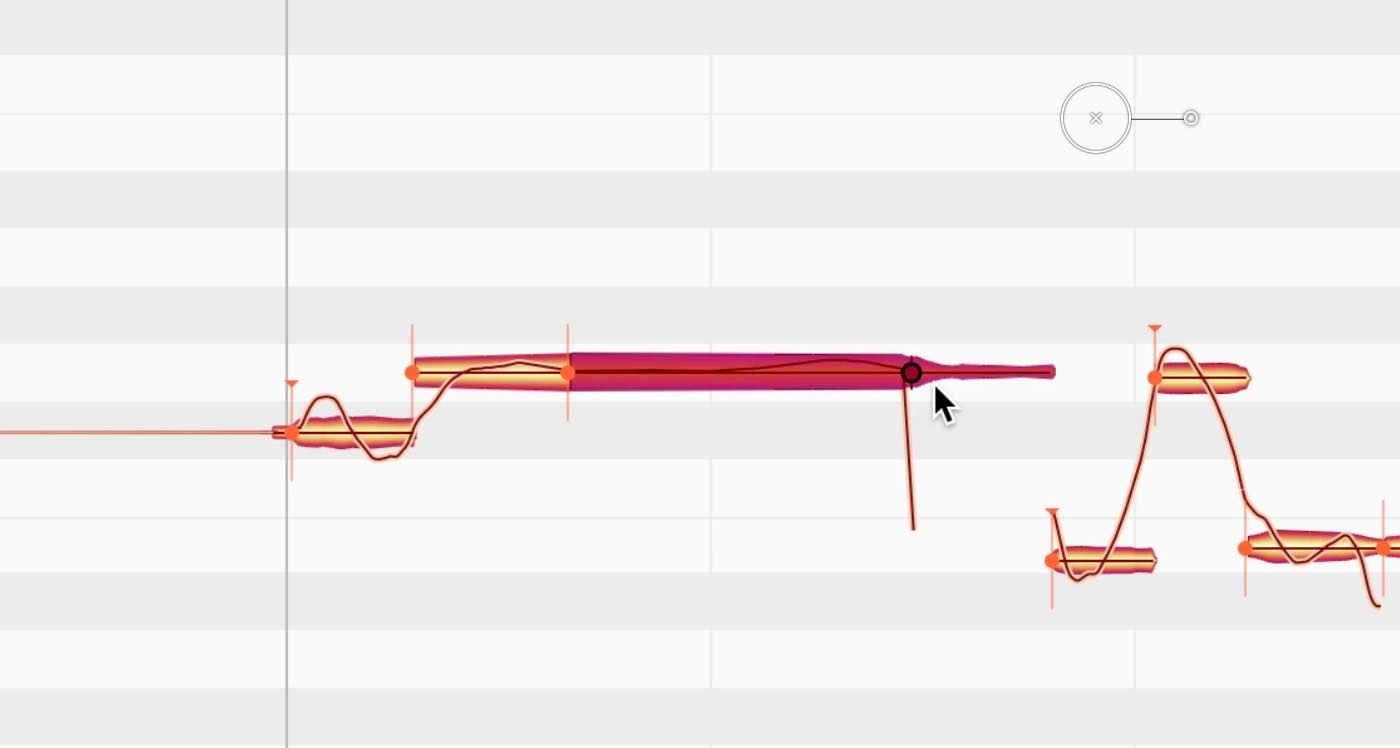
In addition, with the「attach speed tool」, you can adjust the notes attack.
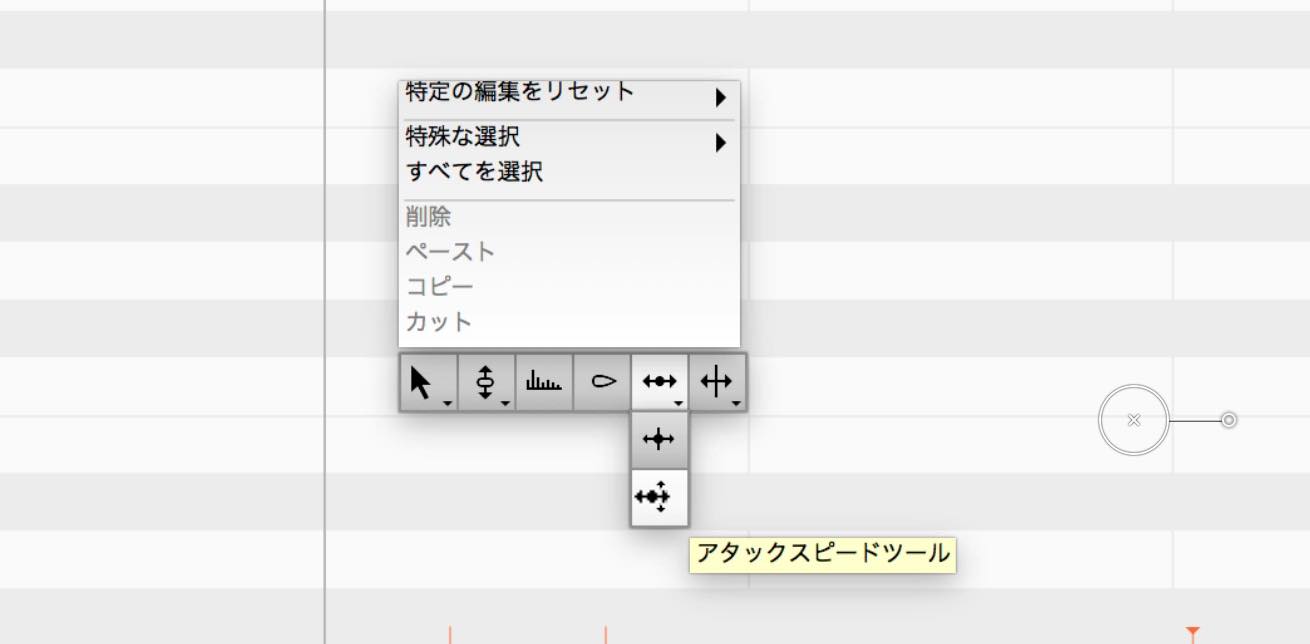
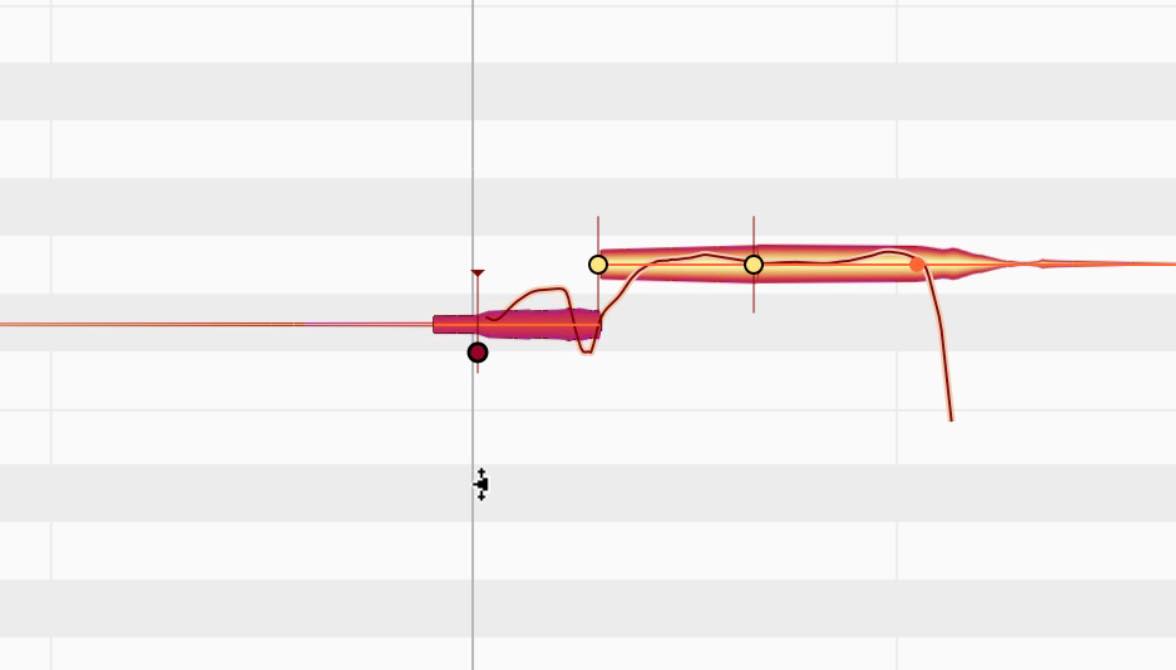
After switching, sliders will appear on note edges, and you can adjust the notes attack by dragging it up/down.
Note separation tool
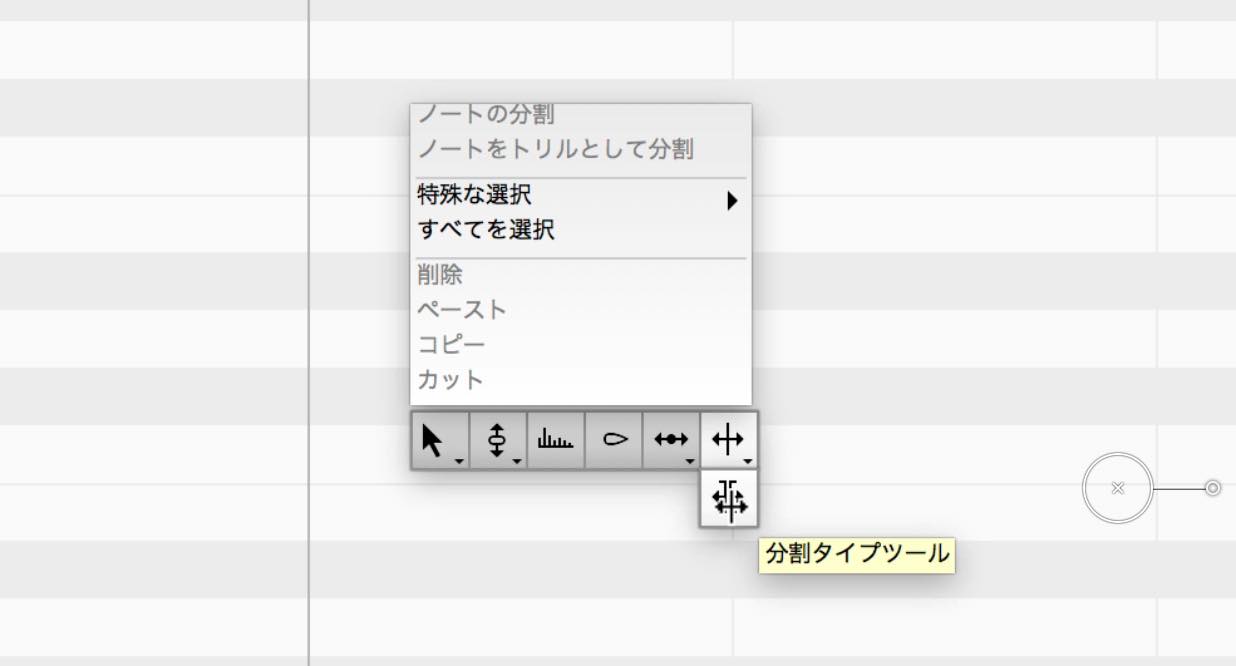
Lastly we have the「note separation tool」, which puts the note splitting function of essential into a single stand-alone tool.
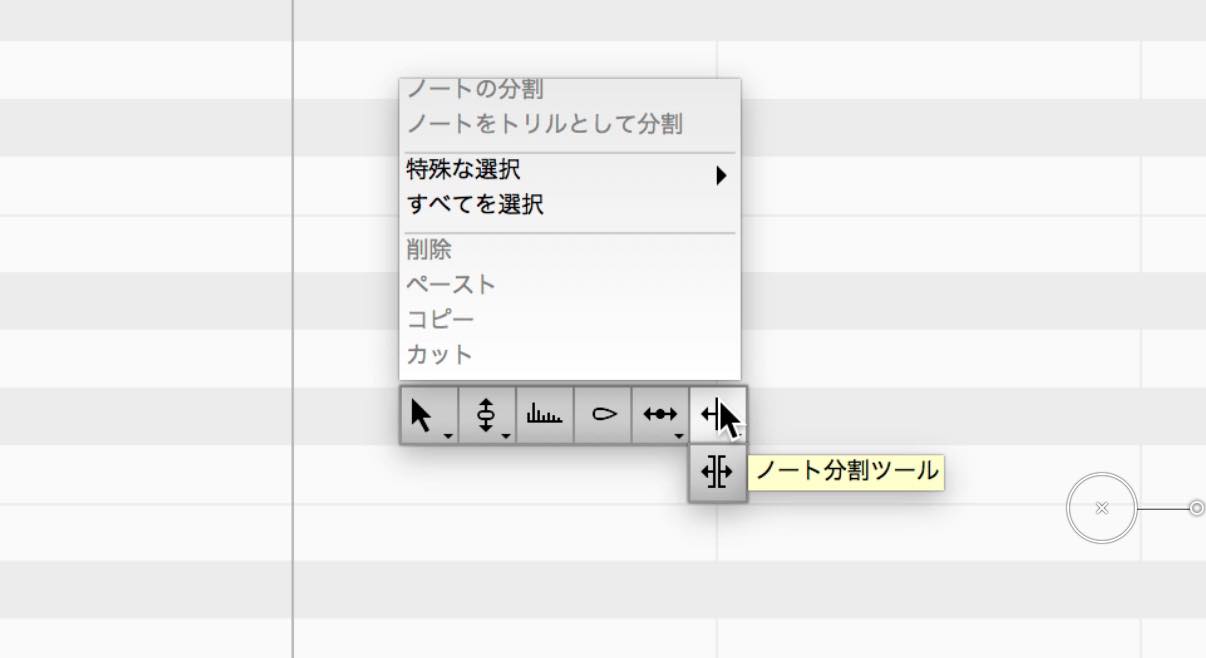
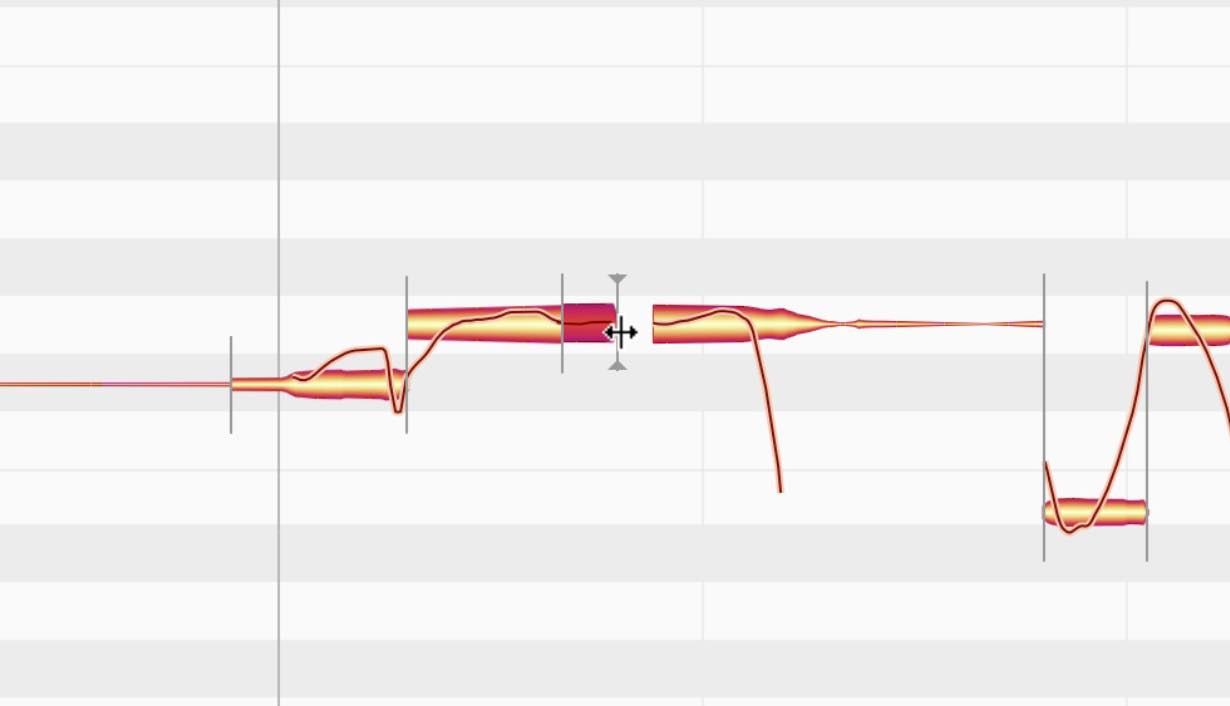
By looking at the separation type tool below it, and double clicking a note after switching to this mode, you can create a「hard seperation」.
A hard separation makes the notes before/after it become stand-alone notes, allowing you to trim and create space in-between.
Exporting to MIDI
Another additional function of assistant is exporting to MIDI.
This works great for taking notes that were edited/analyzed in Melodyne, and inserting them into synths and other instruments.
From the「Settings」menu, select「Save as MIDI」, and designate a location to save the file.

This completes our look at the functions added in assistant.
In our next article, we will look at the top tier「editor」and「studio」editions.


